Earlier in the process of developing the project, there was such a demand: the exe executable program can only operate on a certain computer or has a certain time limit. This chapter will introduce how to make the Unity packaging program can only be used on one computer through the combination of Visual studio form application and Unity.
1, Visual studio client (Visual studio 2019)
(1) Create form application project
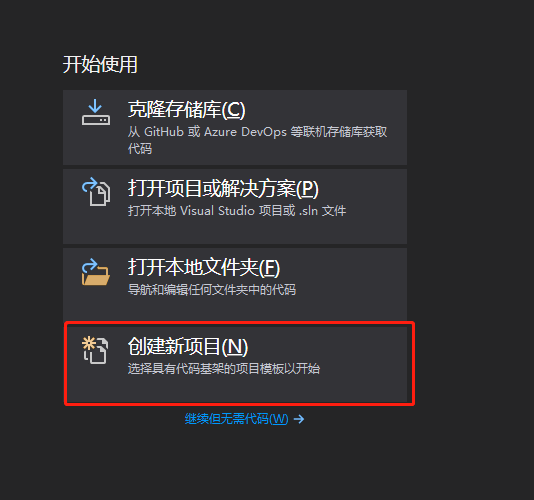
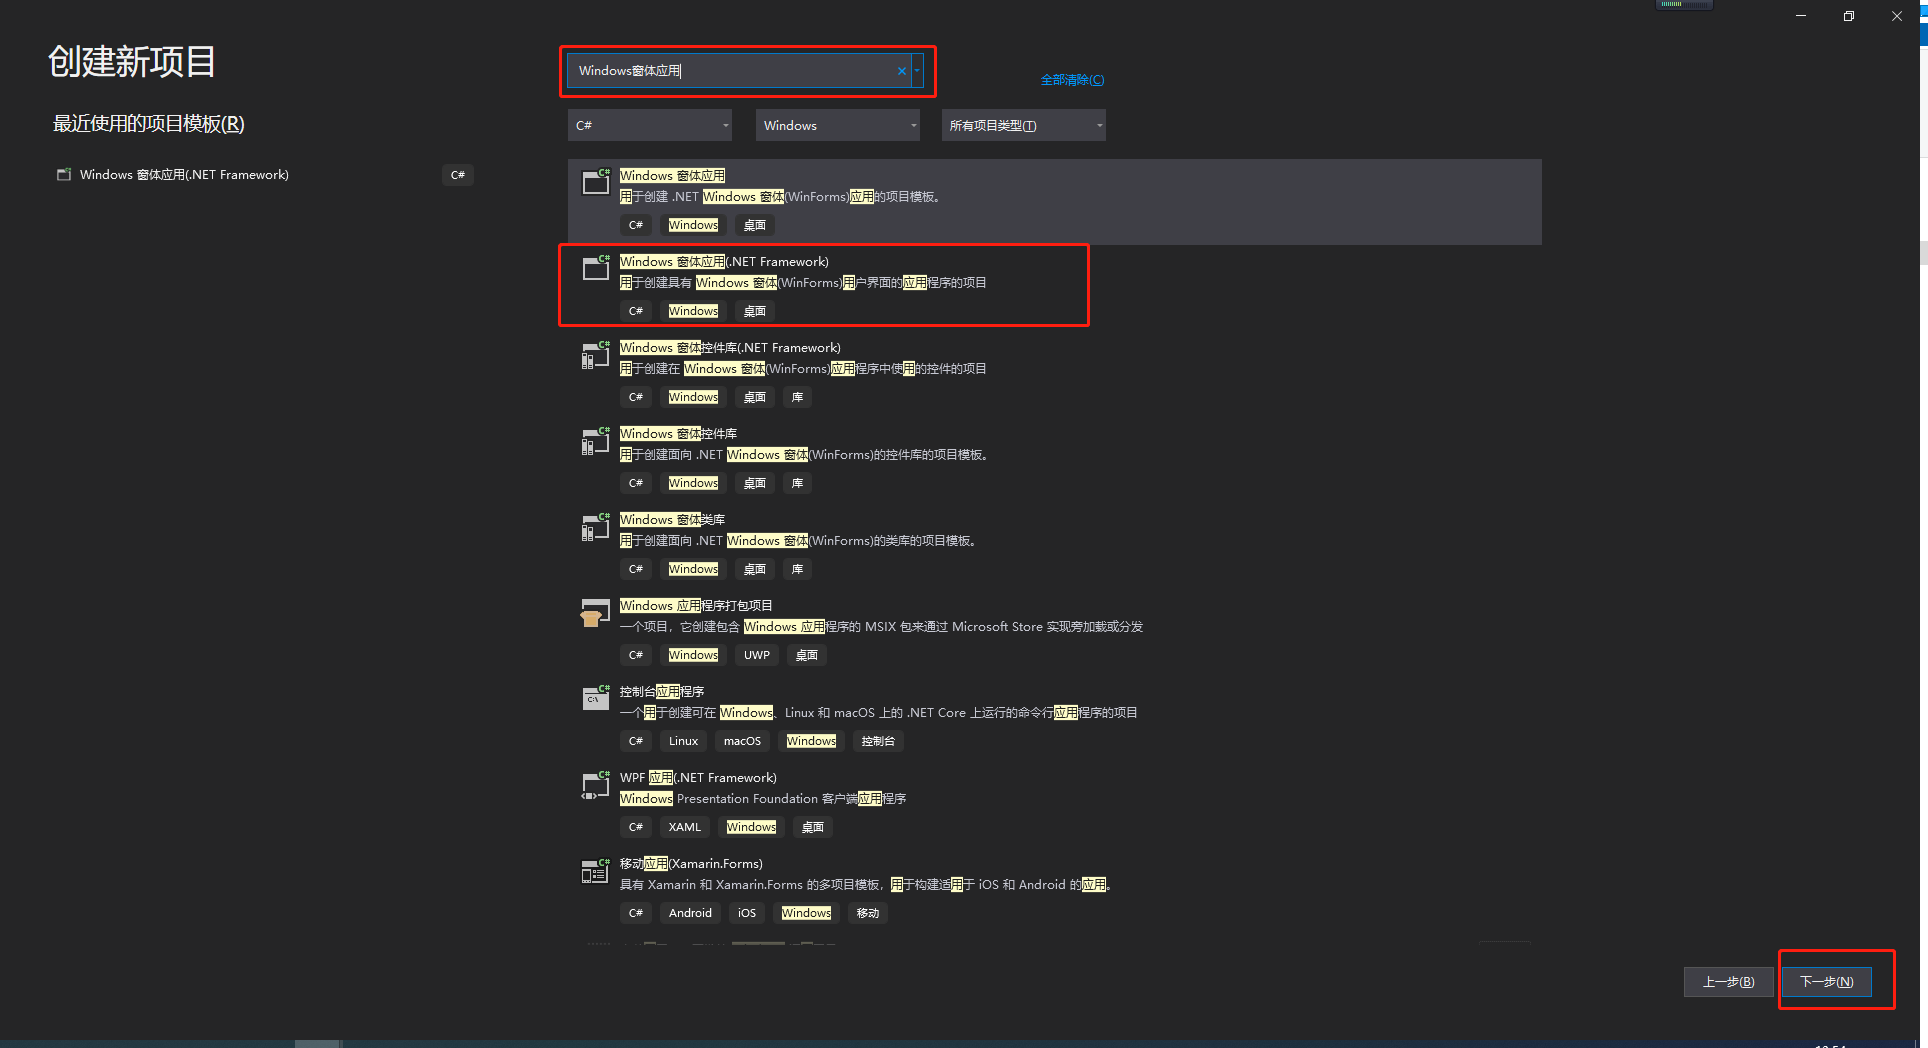
Search for Windows form applications, select the items shown in the figure below, and then click next
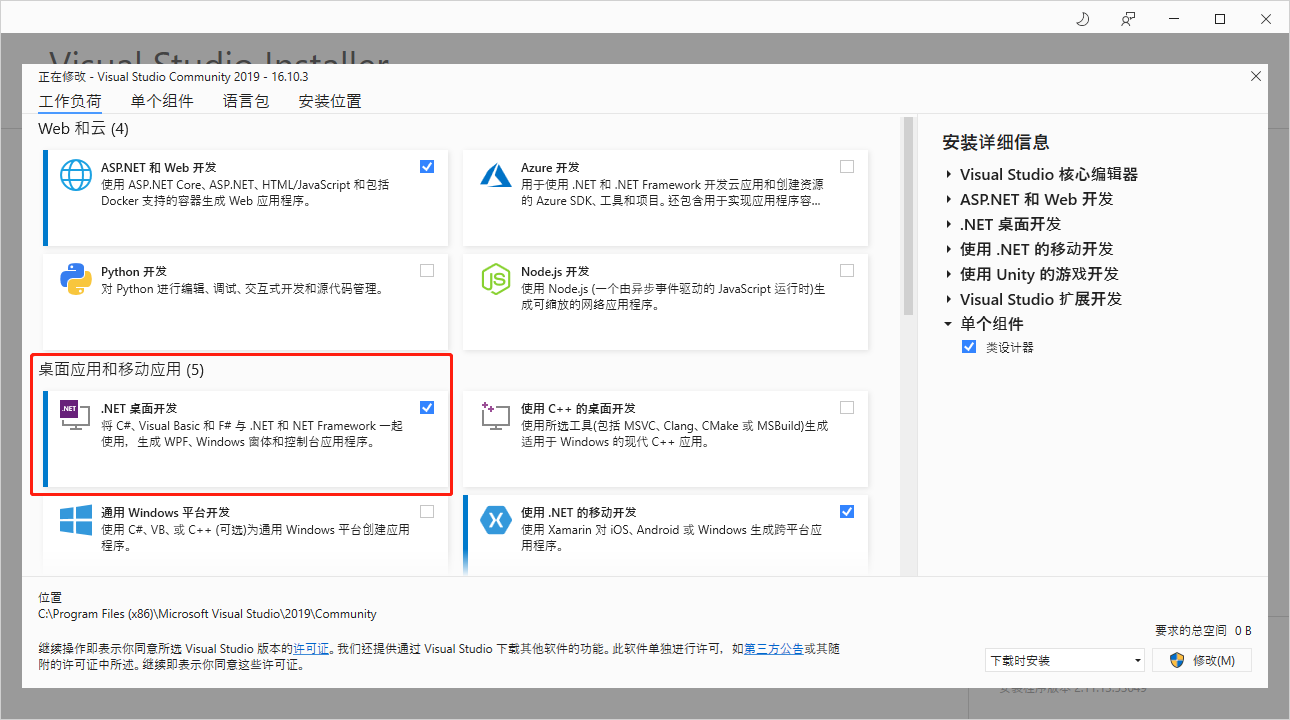
If the Windows Forms application cannot be found, it needs to be installed in Visual Studio Installer NET desktop development item
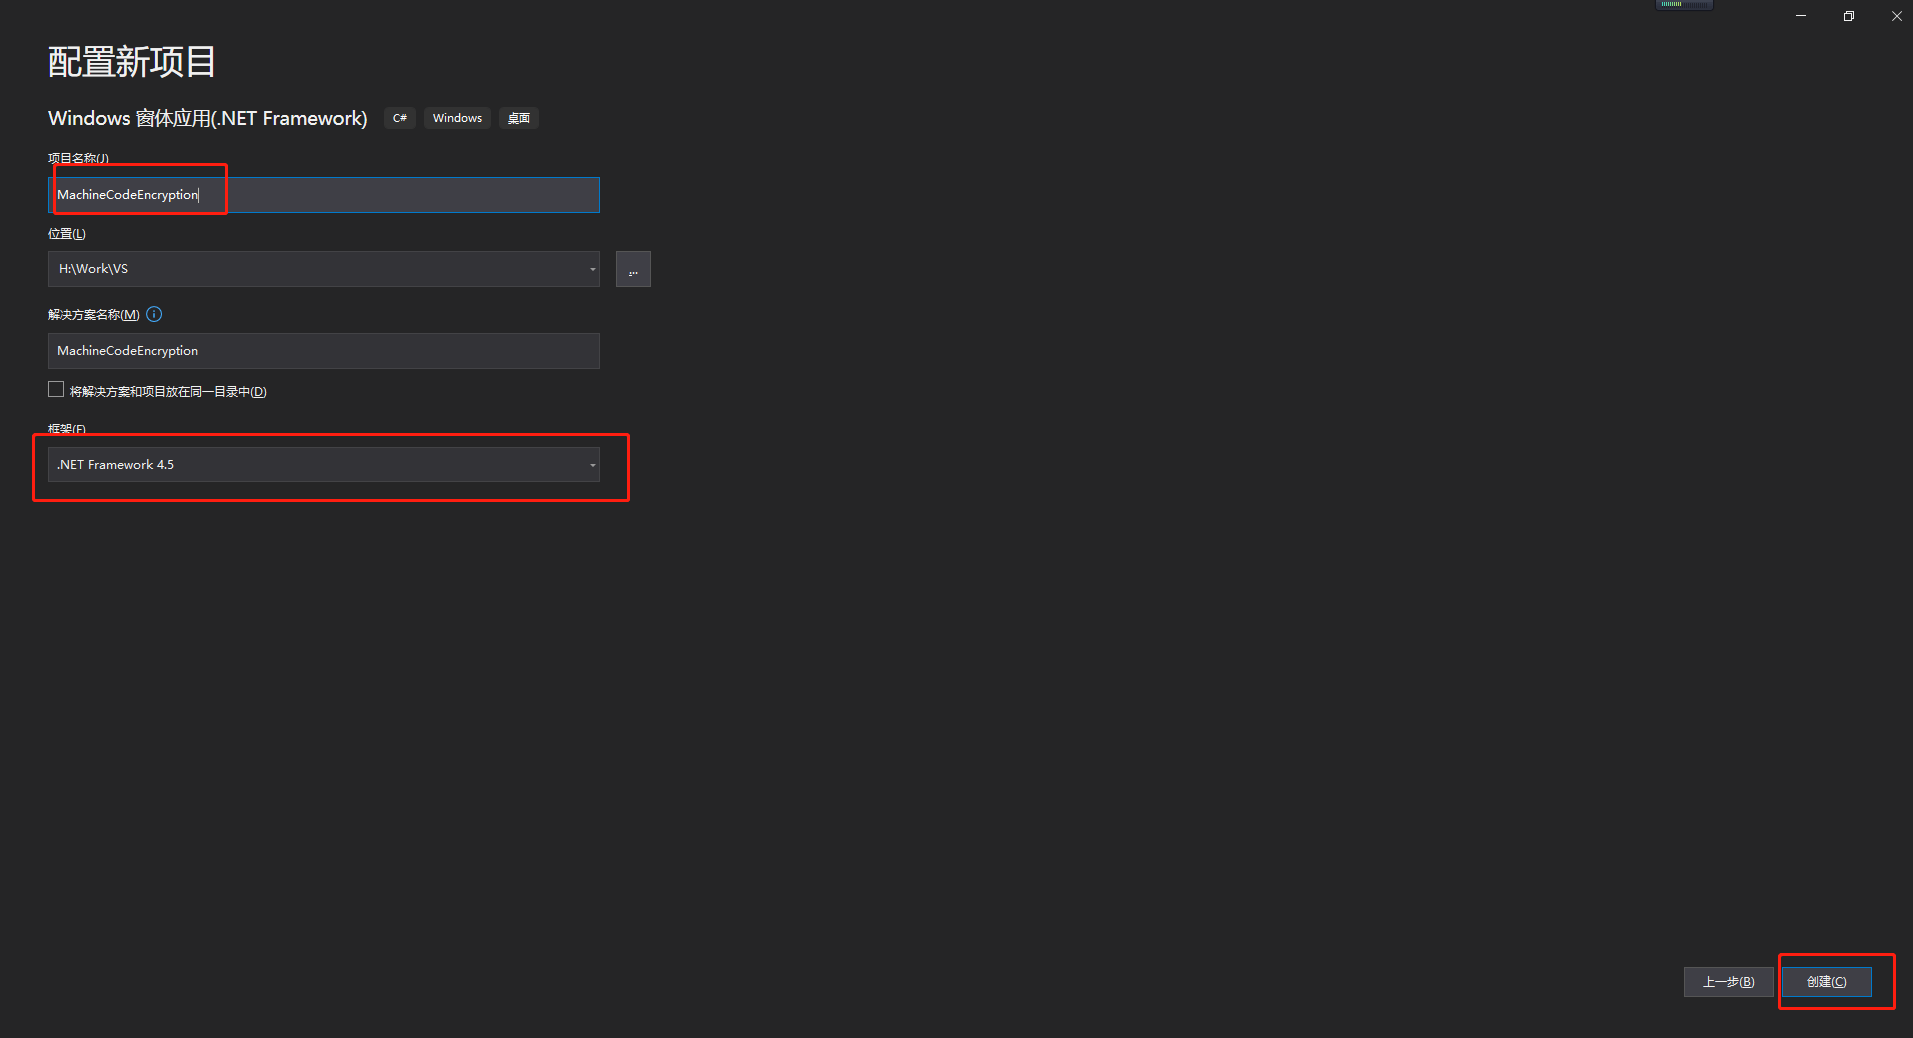
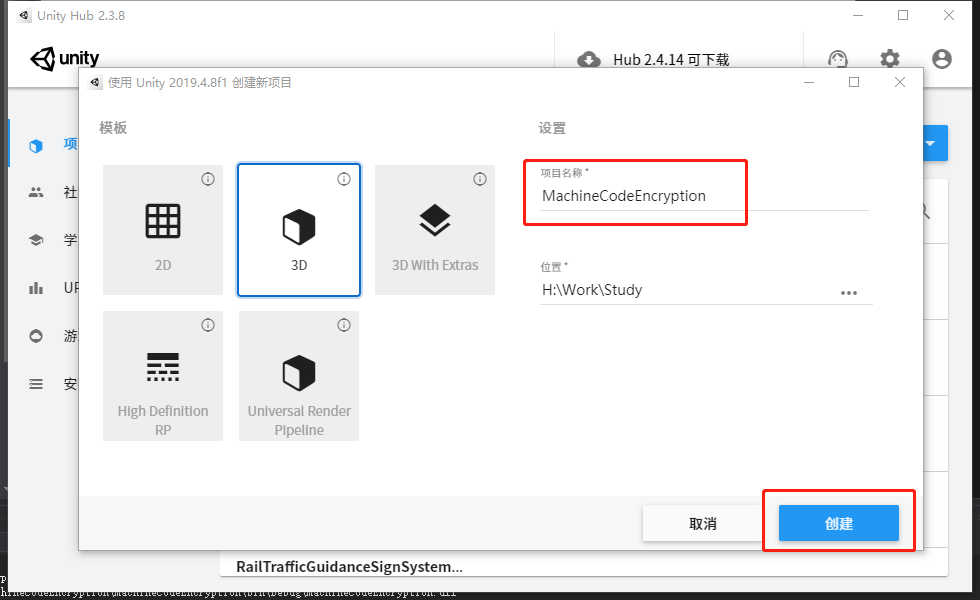
In order to facilitate the test, all students try to unify the project name (machine code encryption)
(2) Open the toolbox
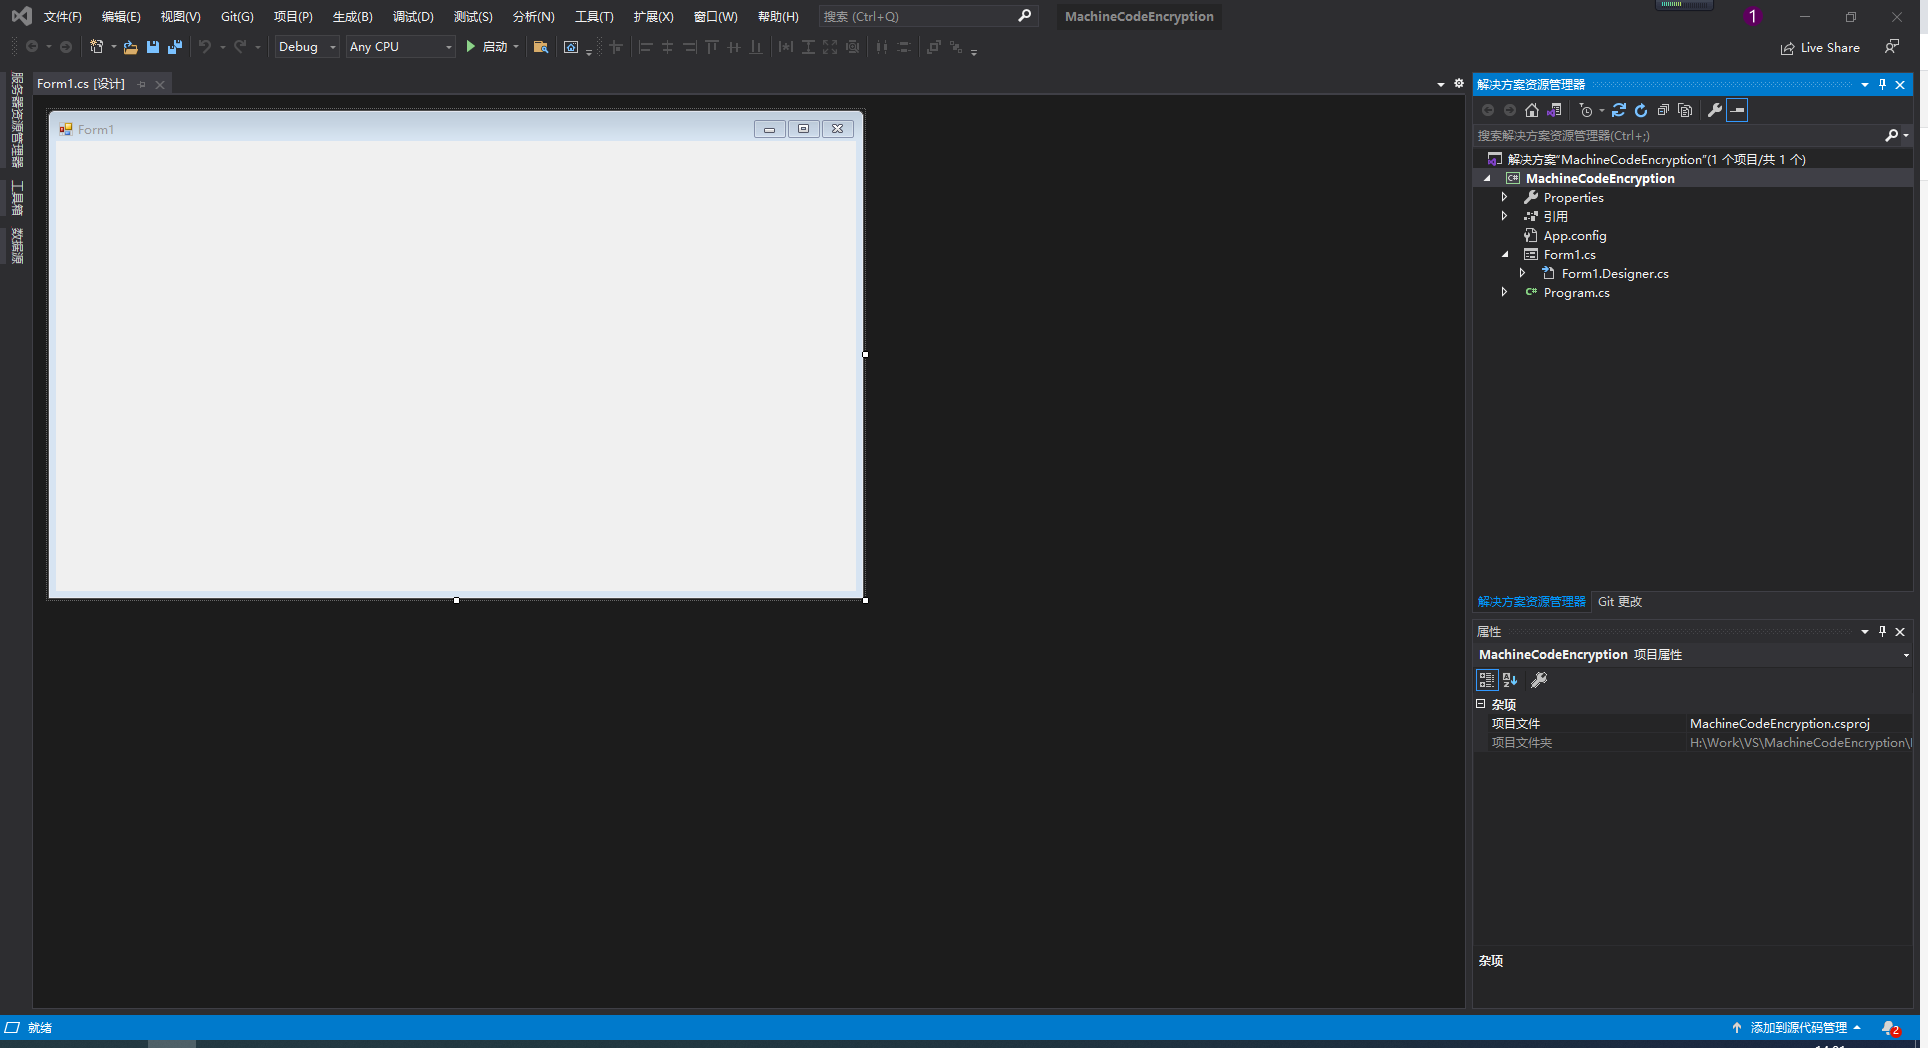
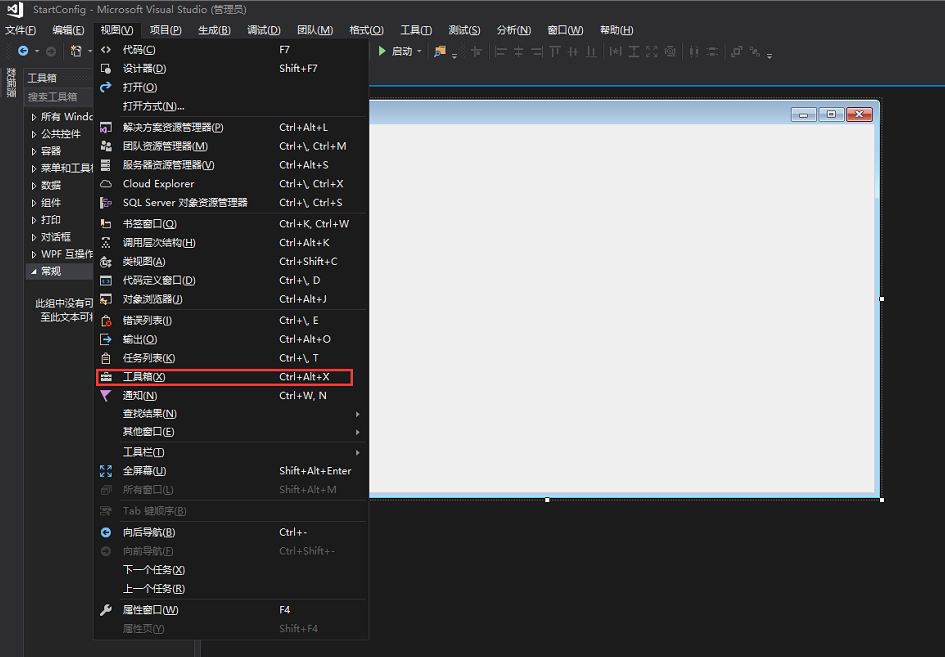
After the project is completed, the default window is shown in the figure above. You can click (view / toolbox) or use the shortcut key Ctrl+Alt+X to open the toolbox.
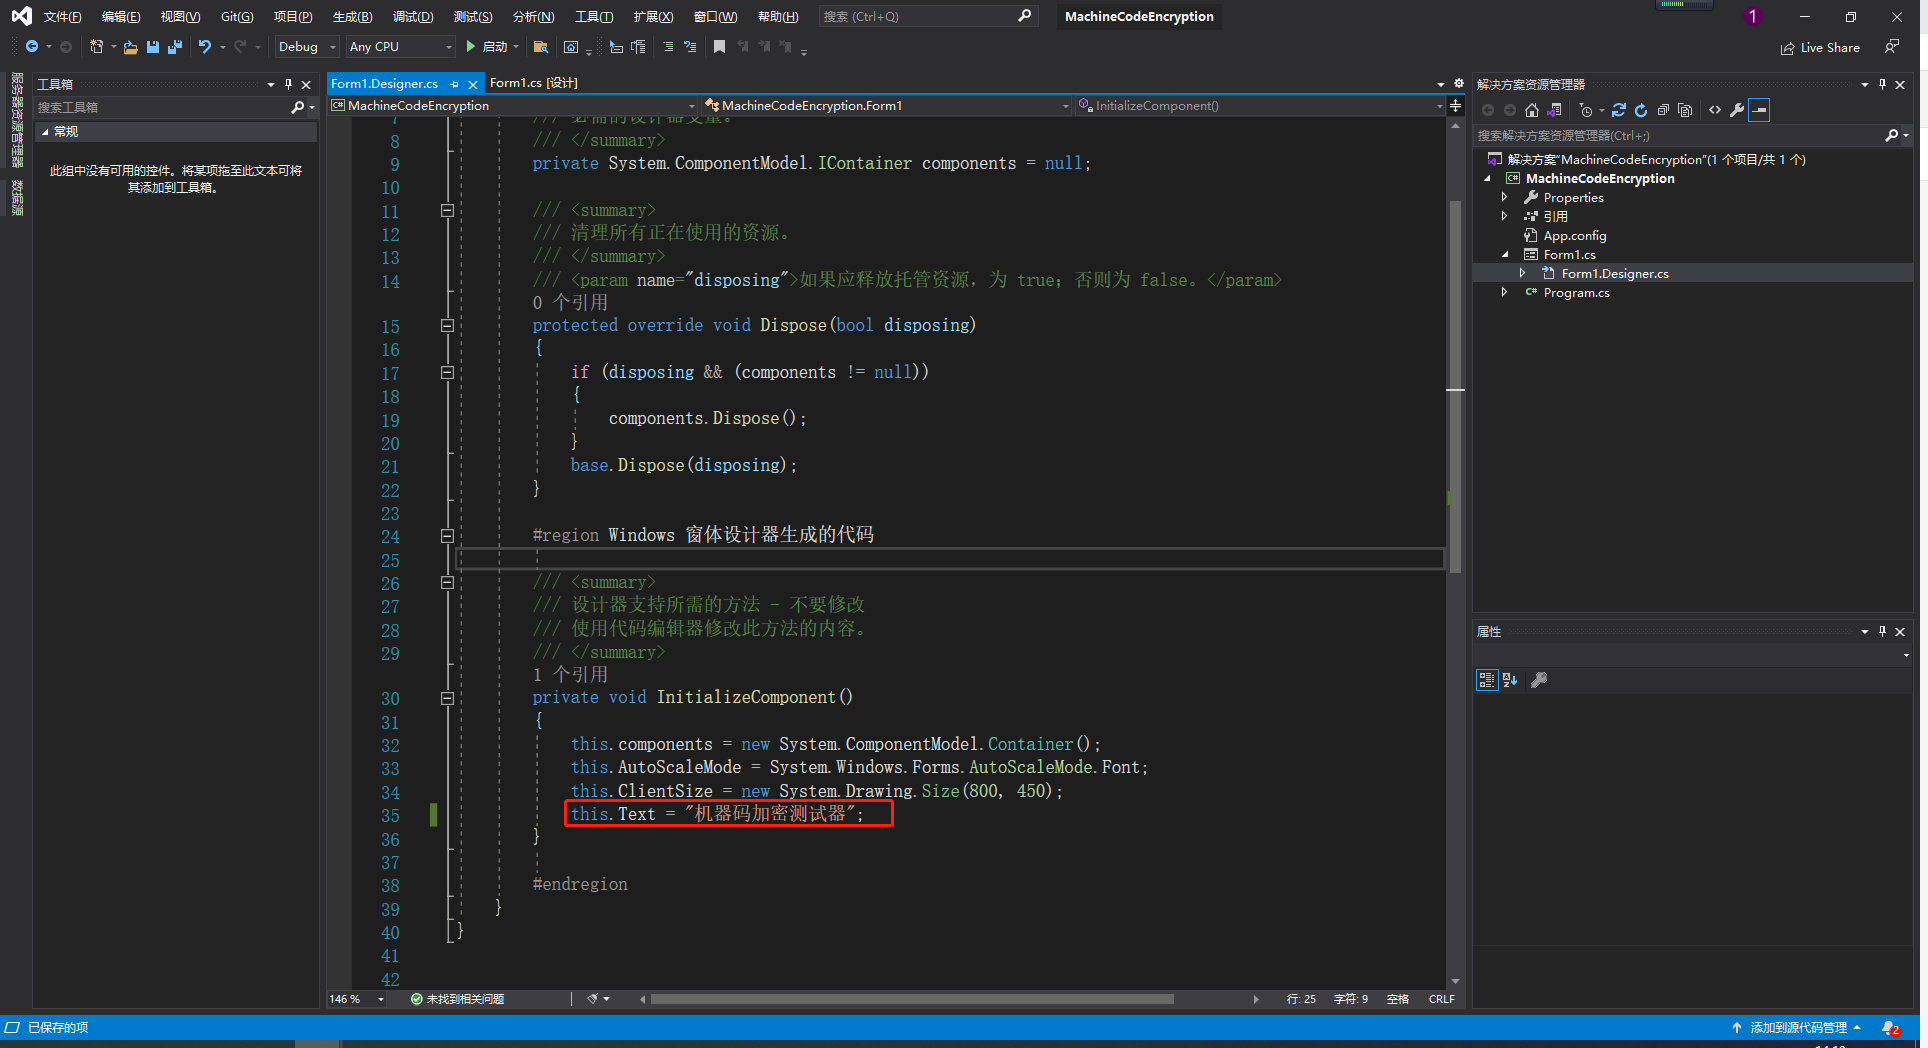
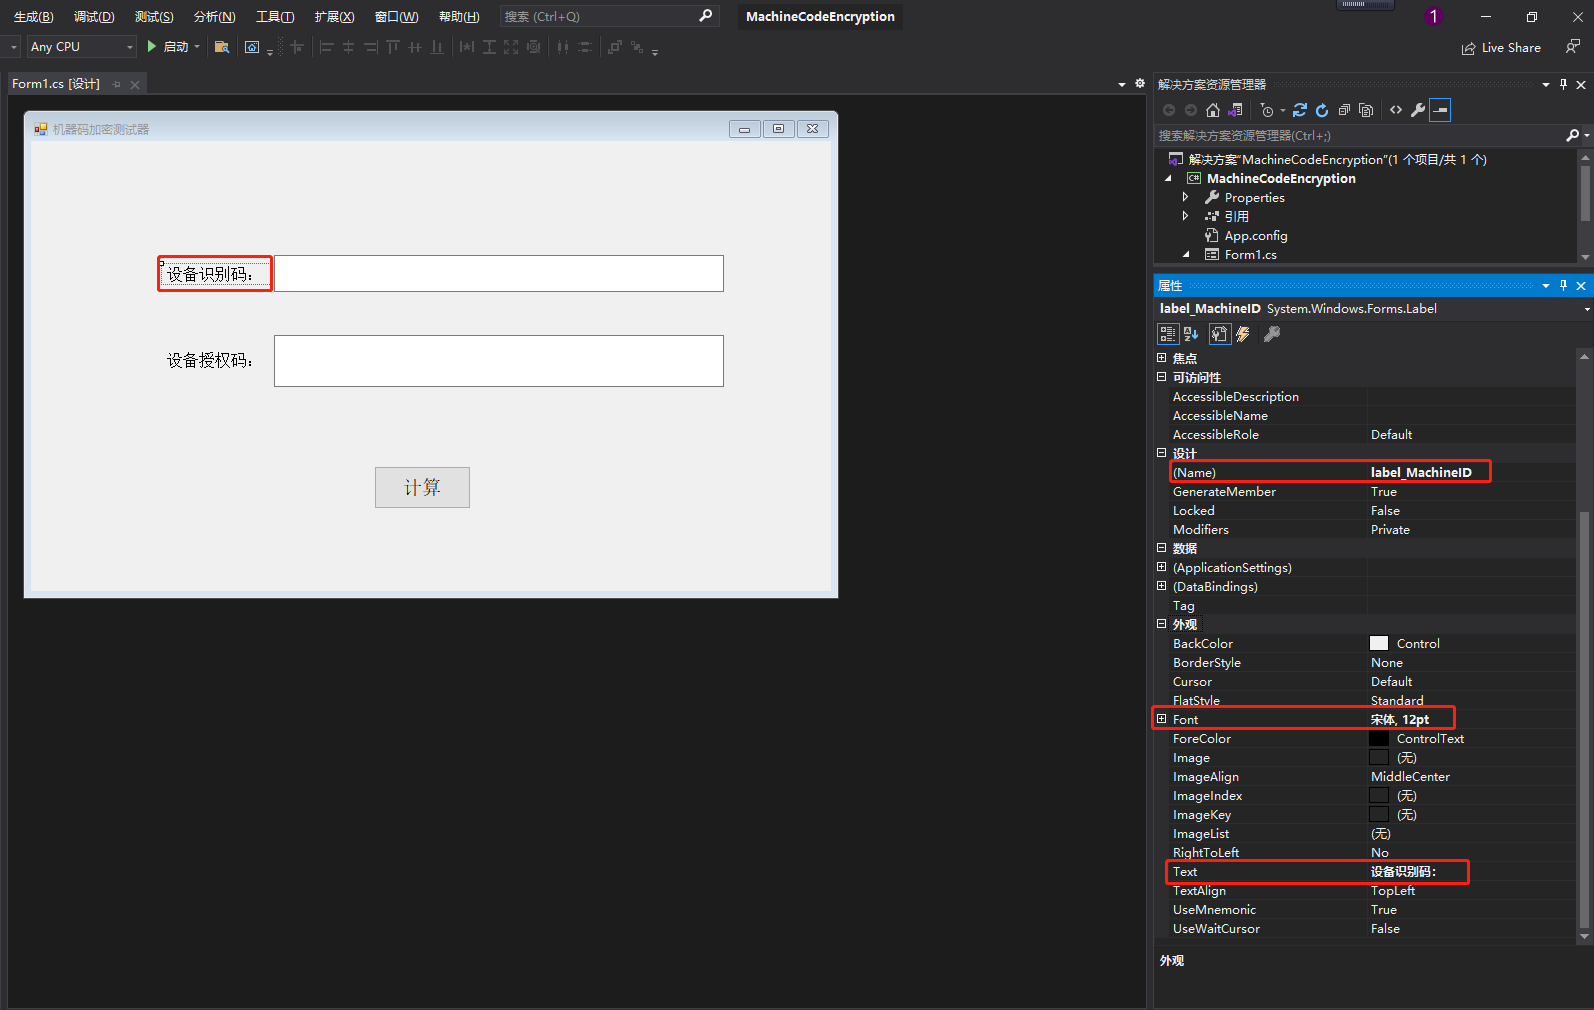
(3) Edit window title name
The window name here can be edited arbitrarily. There are two ways to modify it, one is directly in the script, and the other is directly in the editor window. I personally recommend the second. Editing and modification is relatively simple. You can directly select the window / control with the left mouse button and modify it directly in the solution explorer.
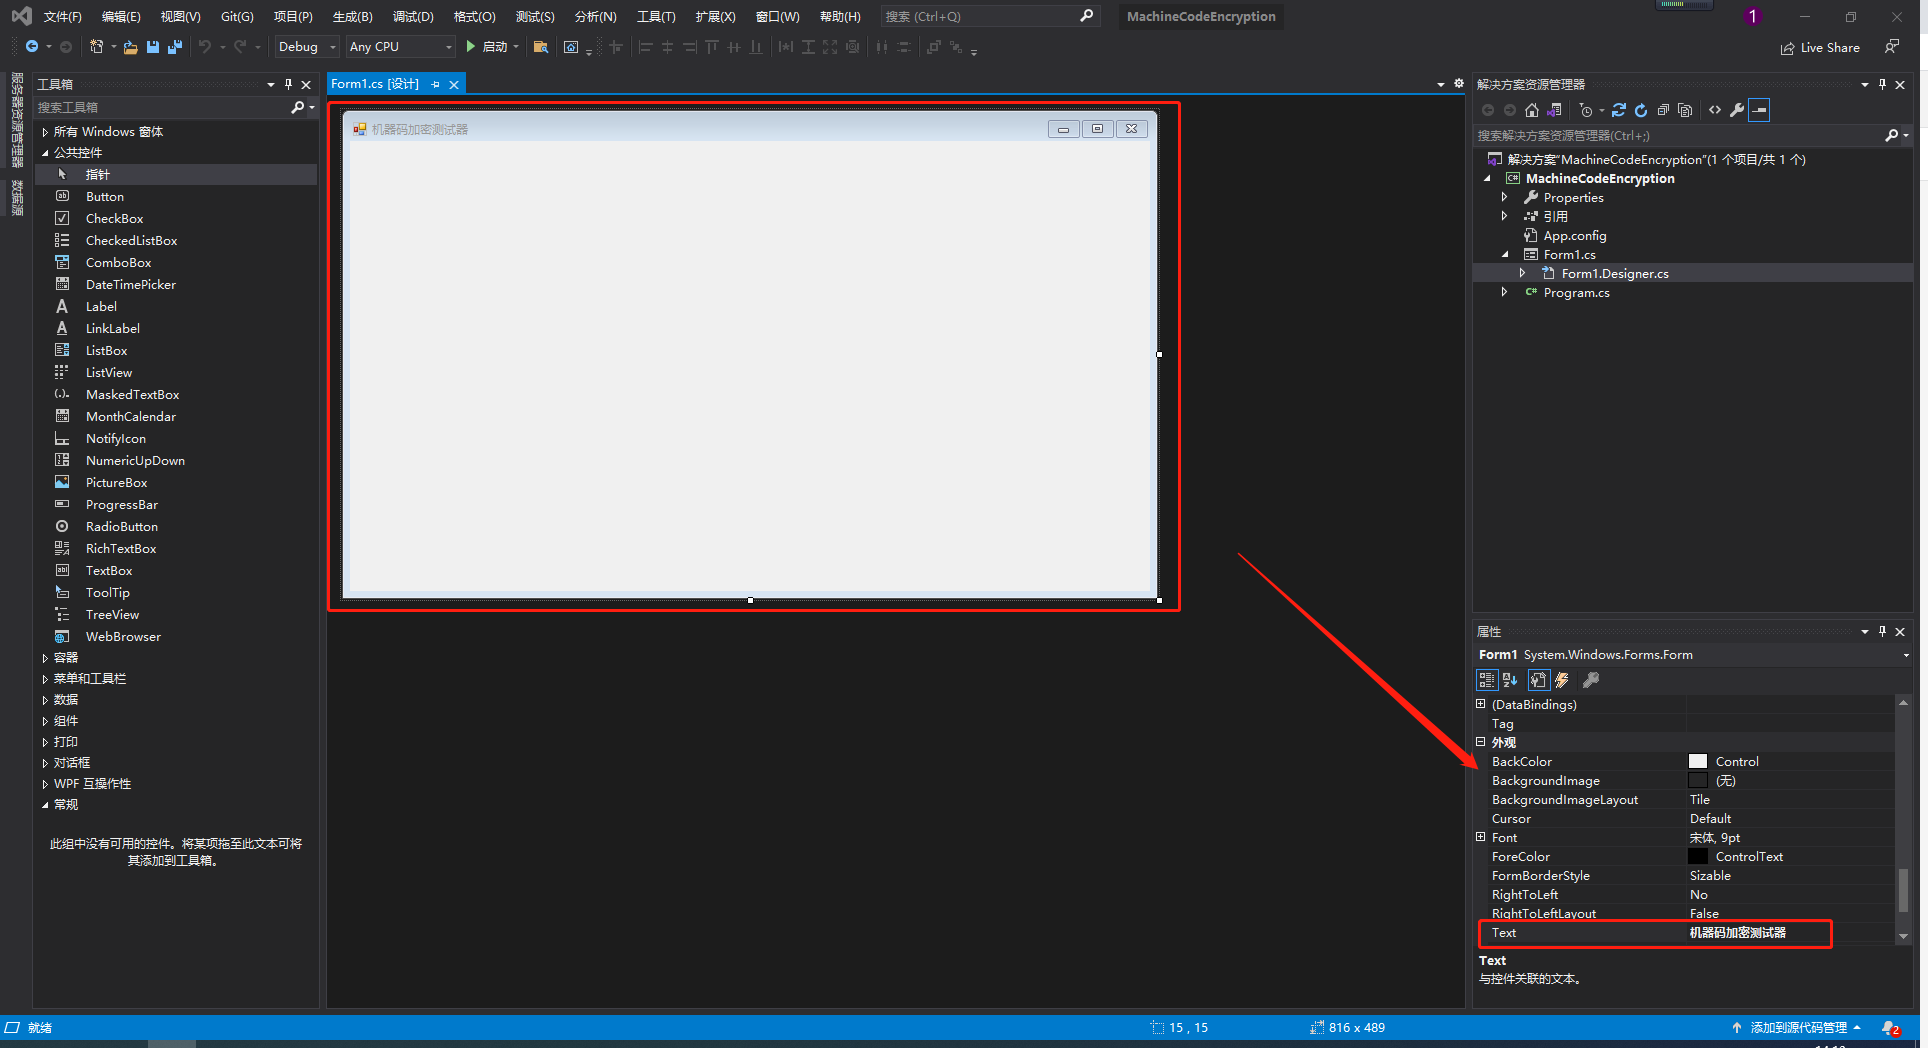
(4) Build Form window
Use the public controls in the toolbox to build a relatively simple Form window, as shown in the following figure.
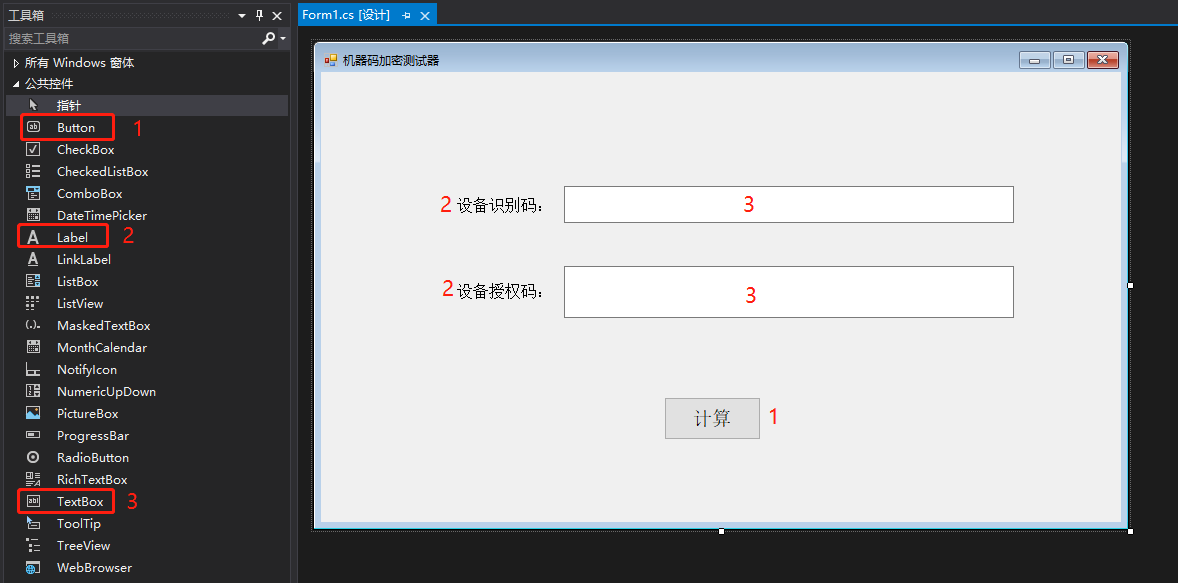
In order to facilitate the test, the name should be consistent with the names of all controls in the test case. The convenience corresponds to the code. Modification method: click the control with the left mouse button and modify it on the panel in the lower right corner. The rules are from top to bottom and from left to right. The control names are as follows:
label_MachineID,textBox_MachineID
label_AuthorizationCode,textBox_AuthorizationCode
button_Calculate
(5) MD5 encryption function writing (32-bit string)
If you want to know 16 or 64 students, you can enter - MD5 encryption - View in.
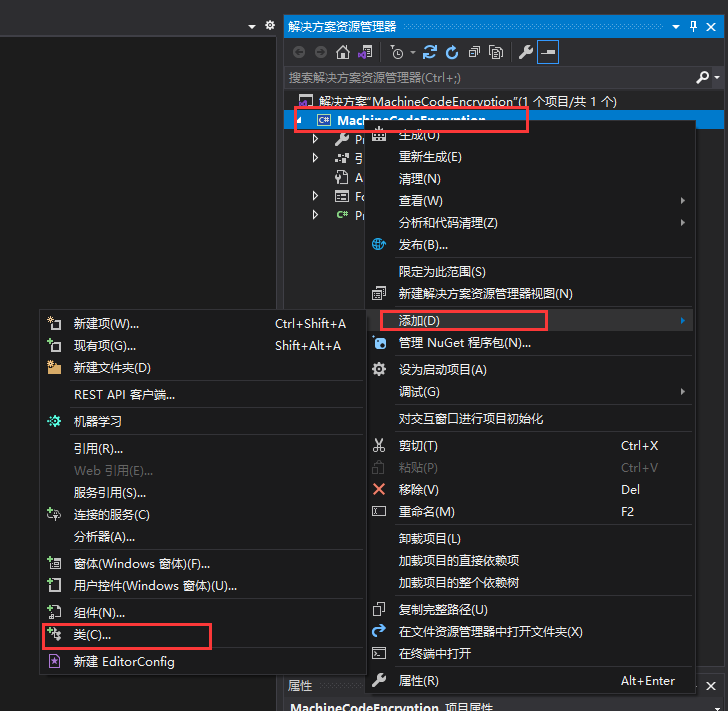
Add MD5Cryption class and function writing:

using System.Security.Cryptography;
using System.Text;

namespace MachineCodeEncryption
{
    public class MD5Cryption
    {
        /// <summary>
        ///MD5 32-bit encryption
        /// </summary>
        ///< param name = "_encryptcontent" > content to be encrypted < / param >
        /// <returns></returns>
        public static string EncryptMD5_32(string _encryptContent)
        {
            string content_Normal = _encryptContent;
            string content_Encrypt = "";
            MD5 md5 = MD5.Create();

            byte[] s = md5.ComputeHash(Encoding.UTF8.GetBytes(content_Normal));

            for (int i = 0; i < s.Length; i++)
            {
                content_Encrypt = content_Encrypt + s[i].ToString("X2");
            }
            return content_Encrypt;
        }
    }
}
(6) Encryption master logic writing
Double click the calculate button
The complete code is shown in the figure below
using System;
using System.Collections.Generic;
using System.ComponentModel;
using System.Data;
using System.Drawing;
using System.Linq;
using System.Text;
using System.Threading.Tasks;
using System.Windows.Forms;

namespace MachineCodeEncryption
{
    public partial class Form1 : Form
    {
        public Form1()
        {
            InitializeComponent();
        }

        private void button_Calculate_Click(object sender, EventArgs e)
        {
            if (!string.IsNullOrEmpty(textBox_MachineID.Text))
            {
                string authorizationCode = MD5Cryption.EncryptMD5_32(textBox_MachineID.Text);
                textBox_AuthorizationCode.Text = authorizationCode;
            }
        }
    }
}
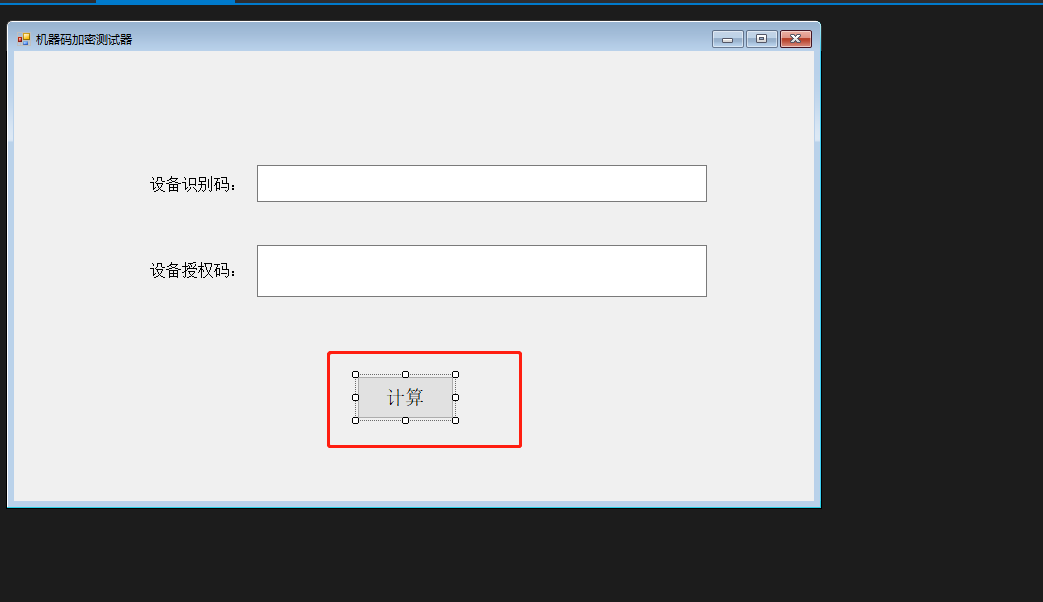
(7) Operation effect
Final result: no matter what data is input, the encrypted 32-bit string information is finally returned
(8) Output one copy of Windows application and one copy of class library
Windows application output is to facilitate starting executable programs and performing calculations.
The class library output is to facilitate the import into Unity for calling, and there is no need to write functions repeatedly.
Right click the item to enter the attribute
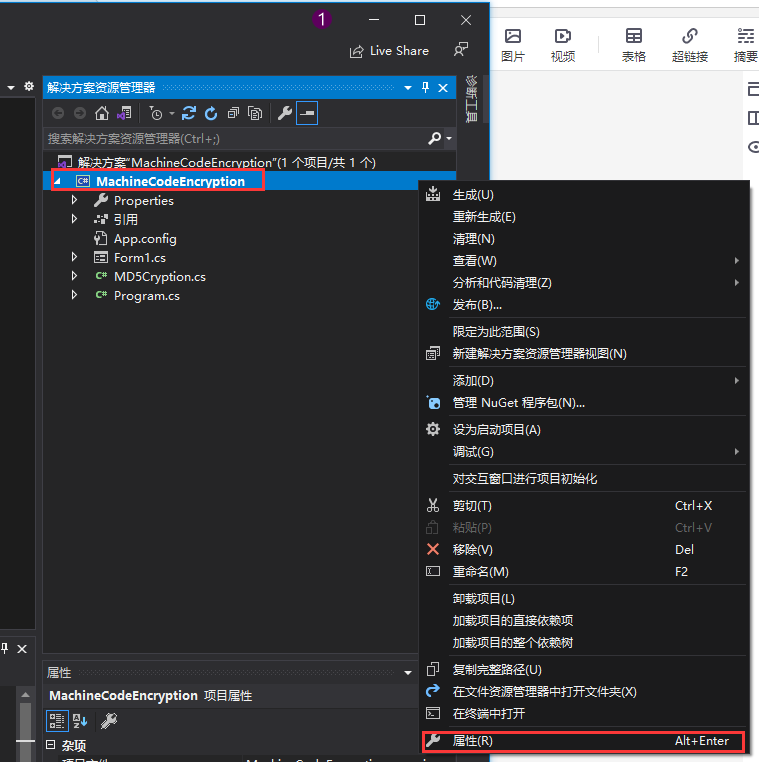
Generate windows application and class library respectively


The generation path is as follows:
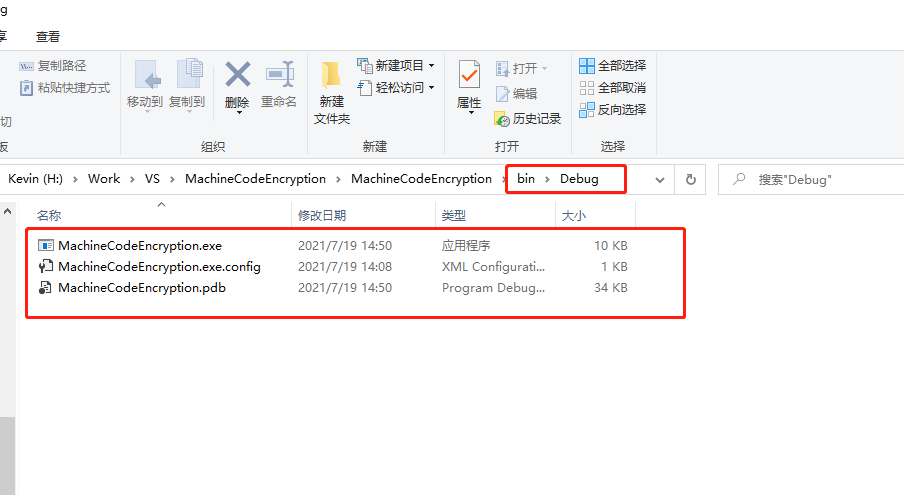
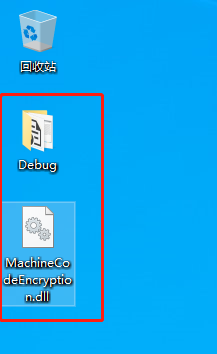
Here, in order to facilitate the test, the two generated results are copied to the desktop respectively.
2, Unity end (April 8, 2019)
(1) Create Unity project
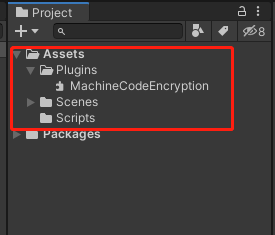
(2) Create the folder required by the project and import the class library file
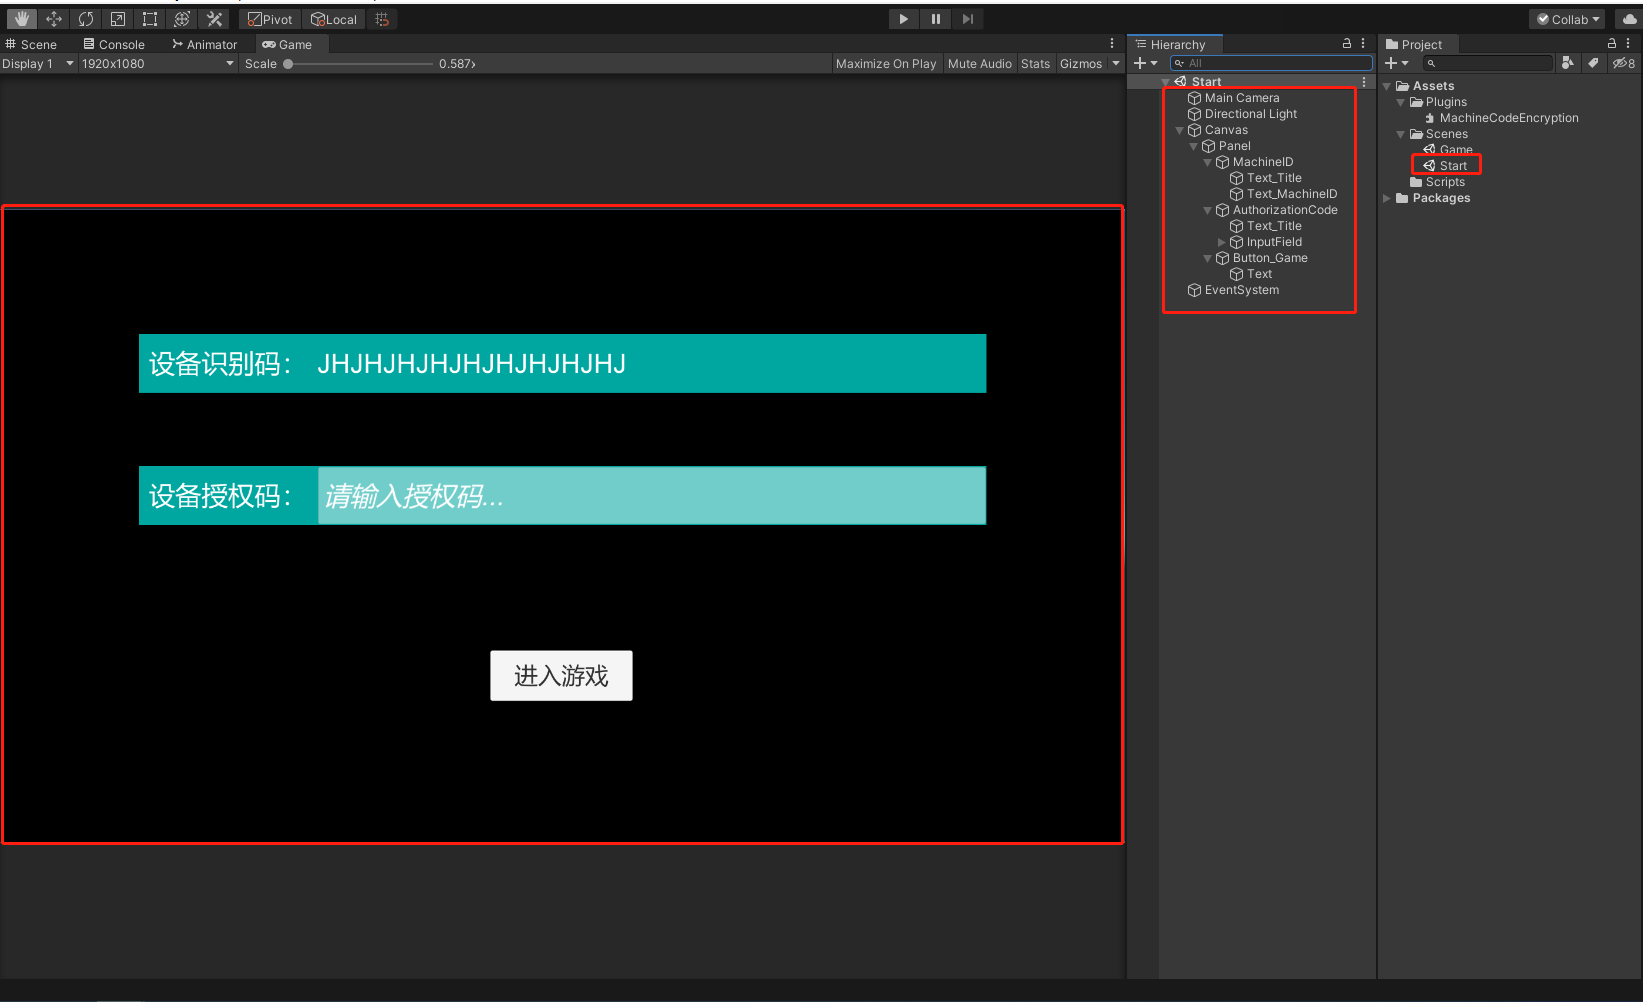
(3) Create and build scenes
Initial scenario, validation
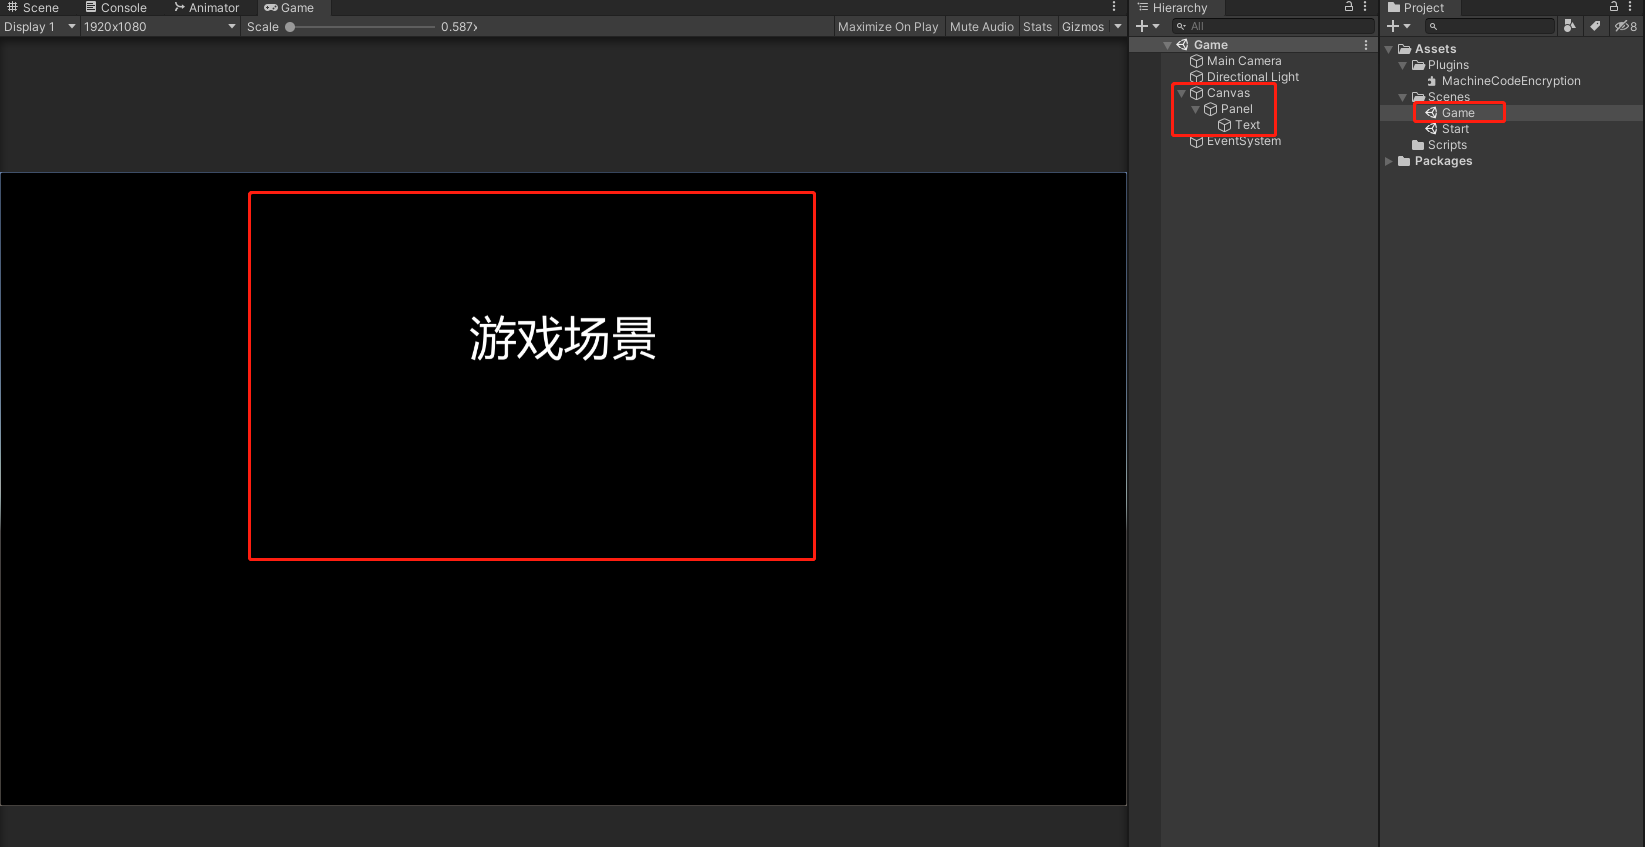
Game scene
(3) Write logical code
Create VerifyTest script, improve logic and mount components
using UnityEngine;
using UnityEngine.UI;
using MachineCodeEncryption;
using UnityEngine.SceneManagement;

public class VerifyTest : MonoBehaviour
{
    public Text text_MachineID;
    public InputField inputField_AuthorizationCode;
    public Button button_EnterGame;

    private void Start()
    {
        text_MachineID.text = GetMachineID();

        button_EnterGame.onClick.AddListener(Event_EnterGame);
    }

    /// <summary>
    ///Get device ID
    /// </summary>
    /// <returns></returns>
    public string GetMachineID() { return SystemInfo.deviceUniqueIdentifier; }

    /// <summary>
    ///Enter the game
    /// </summary>
    public void Event_EnterGame()
    {
        if (inputField_AuthorizationCode.text == MD5Cryption.EncryptMD5_32(text_MachineID.text))
        {
            SceneManager.LoadScene("Game");
        }
        else
        {
            Debug.Log("User authorization code error");
        }
    }
}

Of course, the device identification identifier here is only a proxy. I prefer to call it verification rule. Interested students can define other rules by themselves. Systeminfo is used here Deviceuniqueidentifier, from Read PC hardware information from Unity This article.
The general logic is: when the user opens the project on the computer, the system automatically obtains the identification number and displays it, then opens the form application to calculate the authorization code corresponding to the identification number, and matches it in the Unity end to realize the corresponding operation of the specified project on a single computer.
3, Show effect
This chapter ends here. It just provides you with an idea and practice. Of course, other rules can be used to limit it. In addition, it can also be written into the local TxT file after verification, so as to realize the function that a computer can enter directly after verification only once, and so on.