WeChat official account: operation and development story
By jock
The word continuous deployment is no stranger to technicians. We often mix CI and CD together. Today we separate them.
What is ArgoCD
Argo CD is a declarative, GitOps continuous delivery tool for Kubernetes.
Argo CD is a declarative GitOps tool based on Kubernetes.
Before talking about Argo CD, let's learn what GitOps is.
What is GitOps
GitOps is based on Git and uses CI/CD to update applications running in the cloud native environment. It adheres to the core concept of DevOps - "you build it you ship it".
The concept is a little empty. I drew a picture and you will understand it.
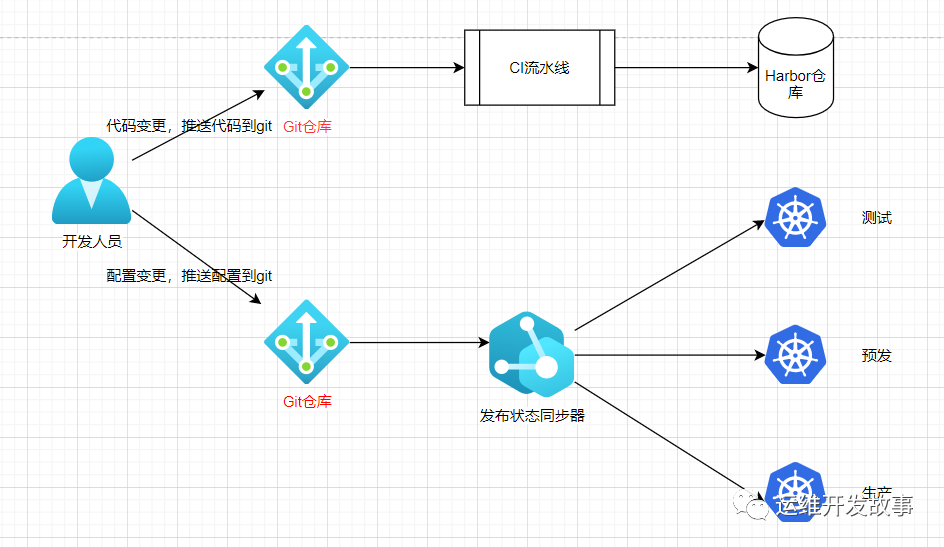
image.png
-
When the developer pushes the developed code to the git warehouse, it will trigger the CI to create an image and push it to the image warehouse
-
After CI processing, the application configuration can be modified manually or automatically, and then pushed to git warehouse
-
GitOps will compare the target state and the current state at the same time. If they are inconsistent, the CD will be triggered to deploy the new configuration to the cluster
Among them, the target state is the state in Git, and the existing state is the application state in the cluster.
Can you do without GitOps?
Of course, we can use kubectl, helm and other tools to directly publish the configuration, but there will be a serious security problem, that is, key sharing.
In order for the CI system to automatically deploy applications, we need to share the access key of the cluster with it, which will bring potential security problems.
ArgoCD
Argo CD follows GitOps mode and uses Git repository to store the configuration of required applications.
The Kubernetes list can be specified in the following ways:
-
kustomize application
-
helm chart
-
ksonnet application
-
jsonnet file
-
Configuration based on YAML/json
-
Any custom configuration management tool configured by the configuration management plug-in
Argo CD is implemented as a kubernetes controller, which continuously monitors running applications and compares the current active state with the expected target state (as specified in Git repo). If the active state of a deployed application deviates from the target state, it is considered OutOfSync. Argo CD reports and visualizes these differences while providing a means to automatically or manually synchronize the active state back to the desired target state. Any changes made to the desired target state in Git repo can be automatically applied and reflected in the specified target environment.
Argo CD is located as follows:
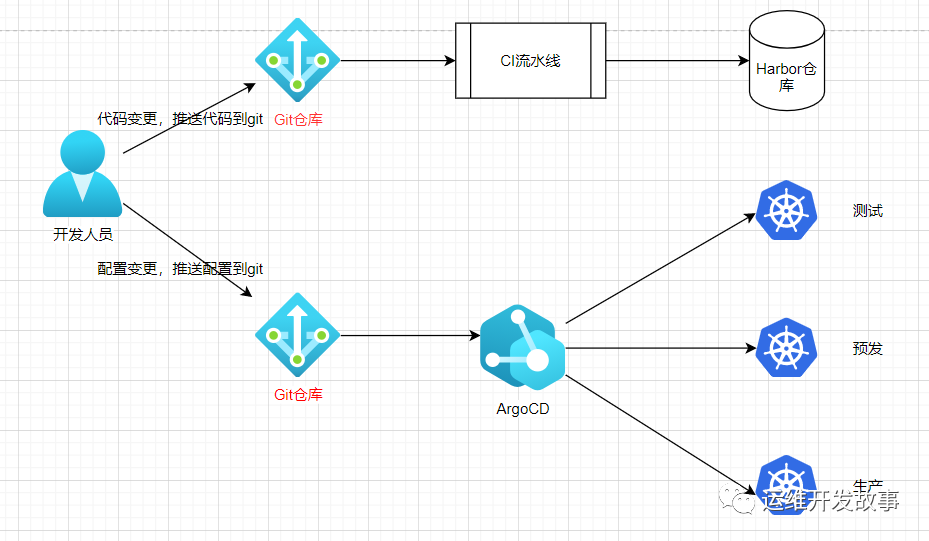
image.png
Its advantages are summarized as follows:
-
Application definition, configuration and environment information are declarative and can be version controlled;
-
Application deployment and life cycle management are fully automated, auditable and clear;
-
Argo CD is an independent deployment tool that supports unified deployment and management of applications in multiple environments and multiple Kubernetes clusters
practice
Premise: there is an available Kubernetes cluster.
Experimental environment:
-
kubernetes: 1.17.2
-
argo cd: latest
Install Argo CD
The installation is simple, but the data needs to be persisted in actual use.
Here, I directly use the installation command of the official document:
kubectl create namespace argocd
kubectl apply -n argocd -f https://raw.githubusercontent.com/argoproj/argo-cd/stable/manifests/install.yaml
After successful execution, the following resources will be created in the namespace of argocd.
# kubectl get all -n argocd
NAME                                      READY   STATUS    RESTARTS   AGE
pod/argocd-application-controller-0       1/1     Running   0          16h
pod/argocd-dex-server-74d9998fdb-mvpmh    1/1     Running   0          16h
pod/argocd-redis-59dbdbb8f9-msxrp         1/1     Running   0          16h
pod/argocd-repo-server-599bdc7cf5-ccv8l   1/1     Running   0          16h
pod/argocd-server-576b4c7ff4-cnp9d        1/1     Running   0          16h

NAME                            TYPE        CLUSTER-IP       EXTERNAL-IP   PORT(S)                      AGE
service/argocd-dex-server       ClusterIP   10.105.217.139   <none>        5556/TCP,5557/TCP,5558/TCP   16h
service/argocd-metrics          ClusterIP   10.97.116.36     <none>        8082/TCP                     16h
service/argocd-redis            ClusterIP   10.105.63.34     <none>        6379/TCP                     16h
service/argocd-repo-server      ClusterIP   10.111.153.131   <none>        8081/TCP,8084/TCP            16h
service/argocd-server           ClusterIP   10.105.229.250   <none>        80/TCP,443/TCP               16h
service/argocd-server-metrics   ClusterIP   10.104.8.45      <none>        8083/TCP                     16h

NAME                                 READY   UP-TO-DATE   AVAILABLE   AGE
deployment.apps/argocd-dex-server    1/1     1            1           16h
deployment.apps/argocd-redis         1/1     1            1           16h
deployment.apps/argocd-repo-server   1/1     1            1           16h
deployment.apps/argocd-server        1/1     1            1           16h

NAME                                            DESIRED   CURRENT   READY   AGE
replicaset.apps/argocd-dex-server-74d9998fdb    1         1         1       16h
replicaset.apps/argocd-redis-59dbdbb8f9         1         1         1       16h
replicaset.apps/argocd-repo-server-599bdc7cf5   1         1         1       16h
replicaset.apps/argocd-server-576b4c7ff4        1         1         1       16h

NAME                                             READY   AGE
statefulset.apps/argocd-application-controller   1/1     16h
There are two ways to access Argo server:
-
Through web ui
-
Using the argocd client tool
I use the web ui for management directly here.
Change the type of service to NodePort through kubectl Edit - n argocd SVC argocd server. After modification, view the port through the following command:
# kubectl get svc -n argocd
NAME                    TYPE        CLUSTER-IP       EXTERNAL-IP   PORT(S)                      AGE
argocd-dex-server       ClusterIP   10.105.217.139   <none>        5556/TCP,5557/TCP,5558/TCP   17h
argocd-metrics          ClusterIP   10.97.116.36     <none>        8082/TCP                     17h
argocd-redis            ClusterIP   10.105.63.34     <none>        6379/TCP                     17h
argocd-repo-server      ClusterIP   10.111.153.131   <none>        8081/TCP,8084/TCP            17h
argocd-server           NodePort    10.105.229.250   <none>        80:32109/TCP,443:30149/TCP   17h
argocd-server-metrics   ClusterIP   10.104.8.45      <none>        8083/TCP                     17h
Then pass http://IP:32109 Visit the page as follows:
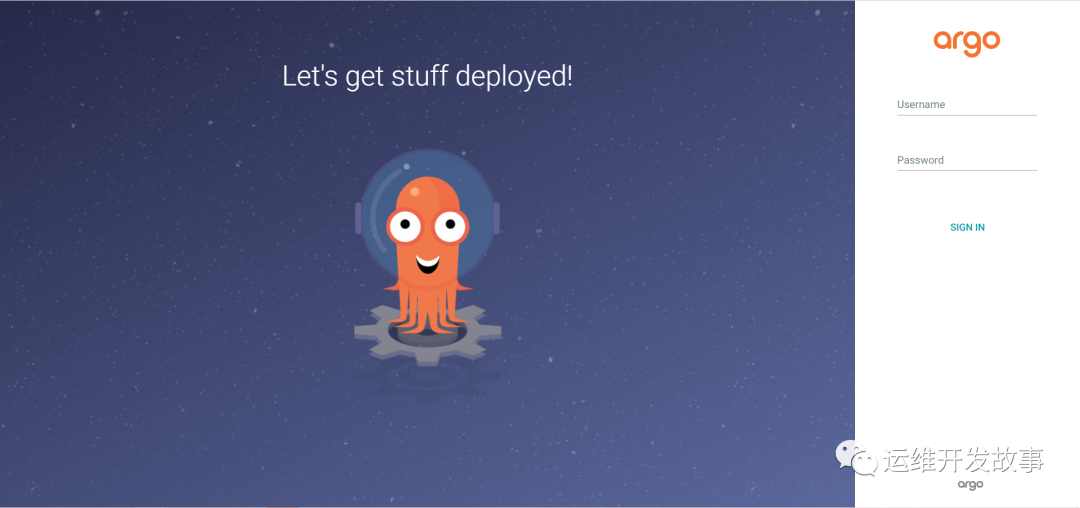
image.png
The login account is admin, and the password can be obtained through the following command.
kubectl get pods -n argocd -l app.kubernetes.io/name=argocd-server -o name | cut -d'/' -f 2
Then enter the following interface.
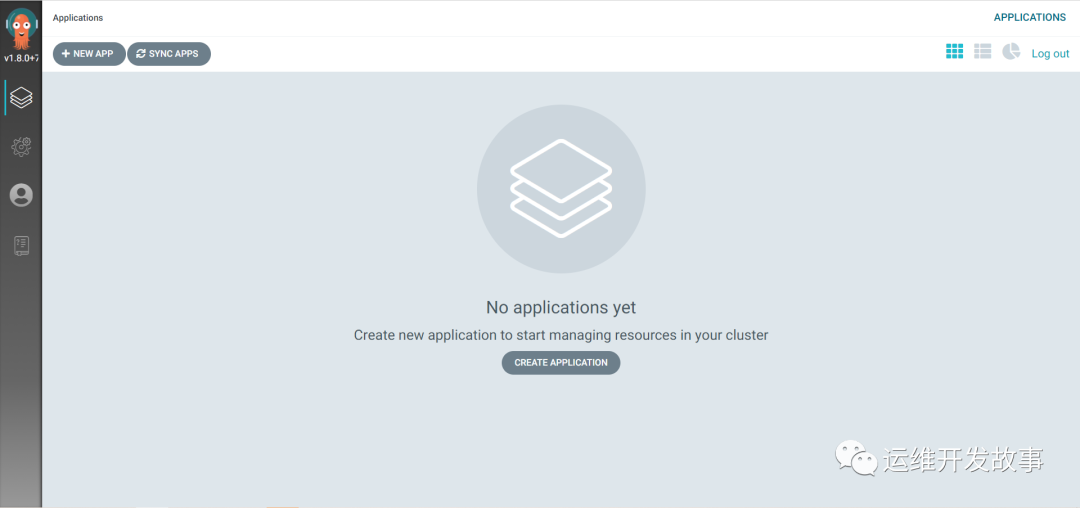
image.png
Create application
This is just to test argo, so the ci part is not done.
I have prepared a warehouse on gitlab. The files in the warehouse are very simple, as follows:
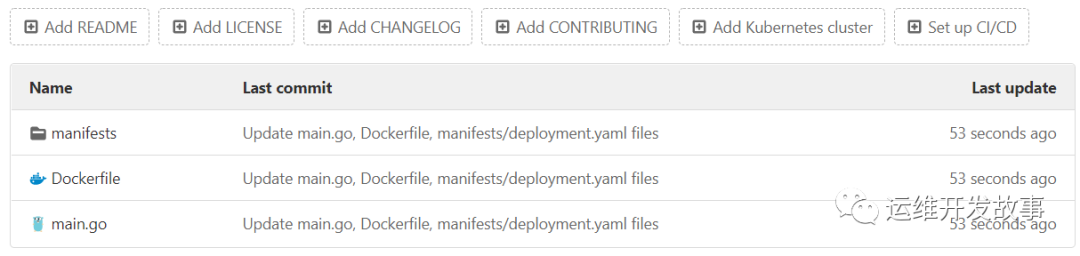
image.png
There is a deployment file under manifest, which is as follows:
apiVersion: apps/v1
kind: Deployment
metadata:
  labels:
    app: devops-argocd-test
  name: devops-argocd-test
  namespace: default
spec:
  minReadySeconds: 60
  progressDeadlineSeconds: 600
  replicas: 1
  revisionHistoryLimit: 10
  selector:
    matchLabels:
      app: devops-argocd-test
  template:
    metadata:
      labels:
        app: devops-argocd-test
    spec:
      containers:
        - name: devops-argocd-test
          image: registry.cn-hangzhou.aliyuncs.com/rookieops/argocd-test-app:v1
          imagePullPolicy: Always
          ports:
            - containerPort: 8080
              name: tcp-8080
              protocol: TCP
---
apiVersion: v1
kind: Service
metadata:
  labels:
    app: devops-argocd-test
  name: devops-argocd-test
  namespace: default
spec:
  ports:
    - name: tcp-8080
      port: 8080
      protocol: TCP
      targetPort: 8080
  selector:
    app: devops-argocd-test
  sessionAffinity: None
  type: NodePort
Now let's create an application in Argo. The steps are as follows:
(1) Add the warehouse address, Settings → Repositories, and click the Connect Repo using HTTPS button:
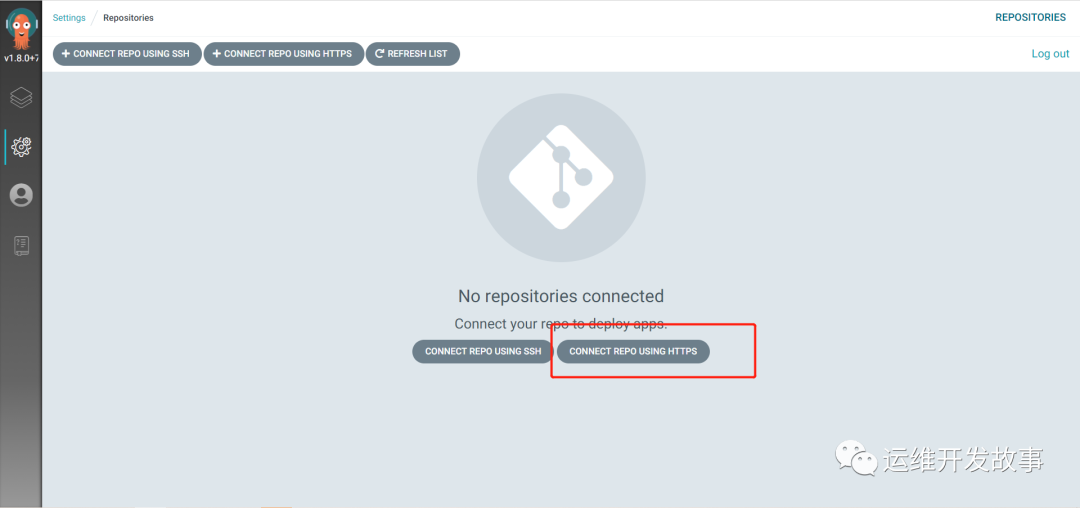
image.png
Fill in the following information.
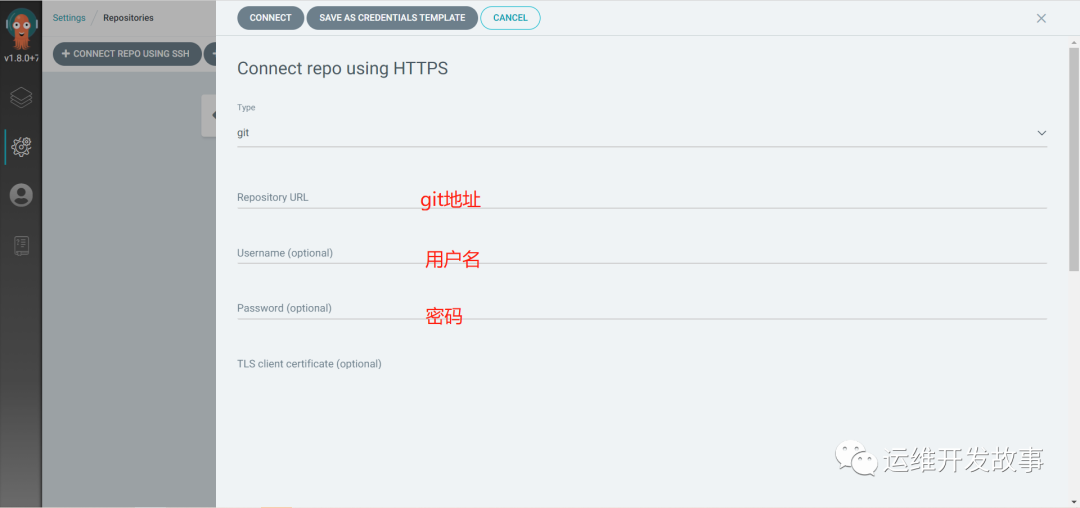
image.png
After verification, it is shown as follows:
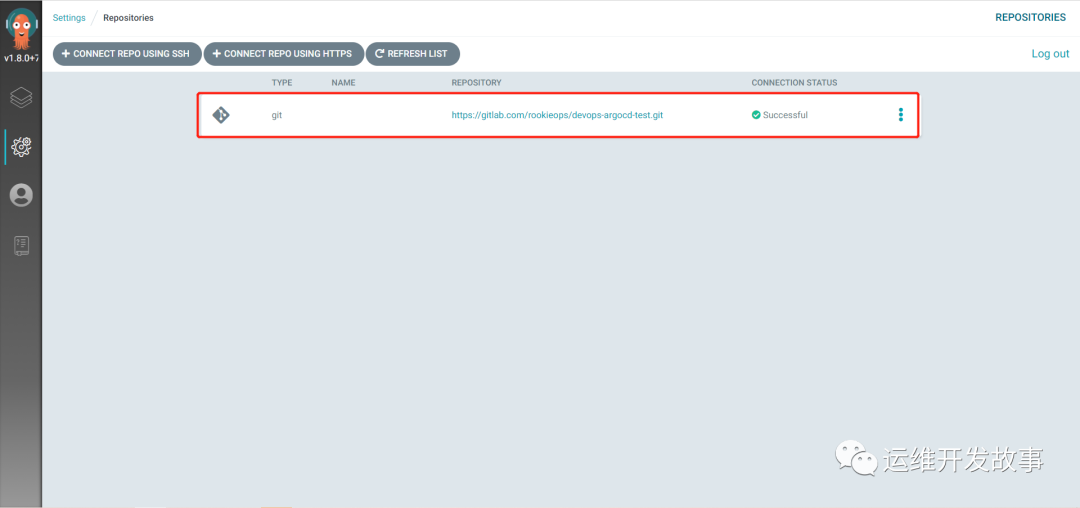
image.png
(2) Create application
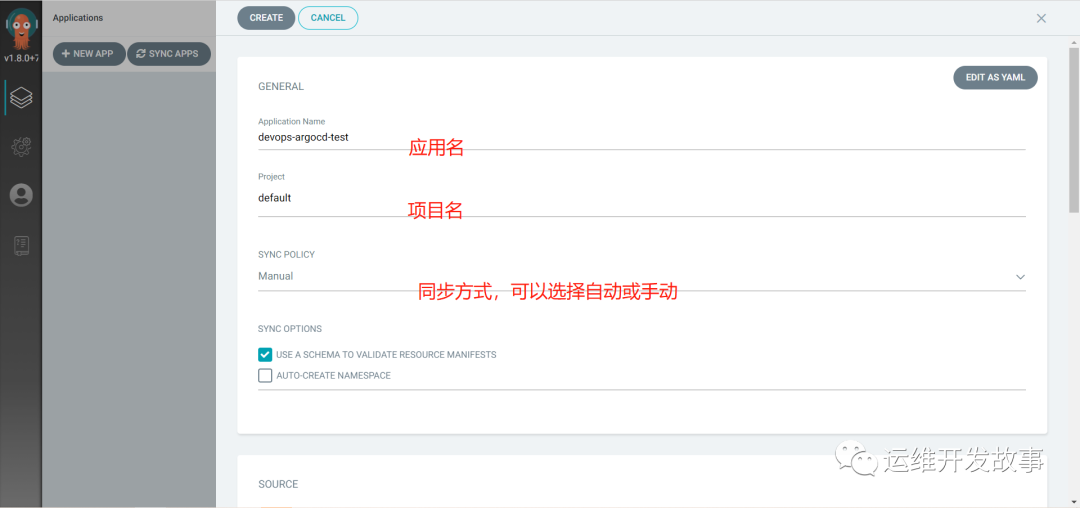
image.png

image.png
After creation, it is as follows:

image.png
Since I set manual SYNC, I need to click SYNC below to synchronize.
Then you can see that the status becomes normal.
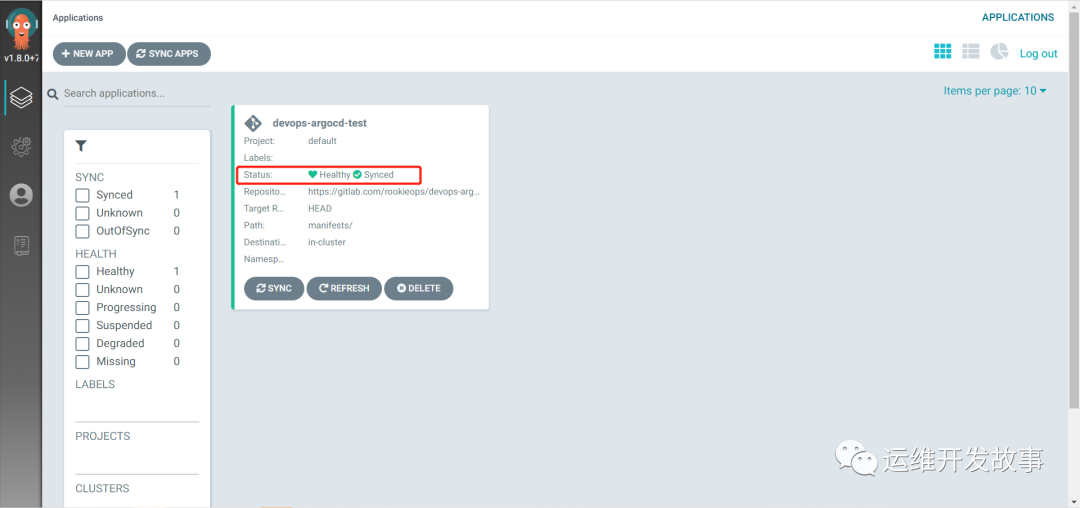
image.png
At this time, we can see the application with v1 version created in the cluster.
# kubectl get pod | grep devops-argocd-test
devops-argocd-test-7f5fdd9fcf-xbzmp      1/1     Running   0          118s
# kubectl get svc | grep devops-argocd-test
devops-argocd-test   NodePort    10.97.159.140   <none>        8080:31980/TCP   2m6s
Access the application as follows:
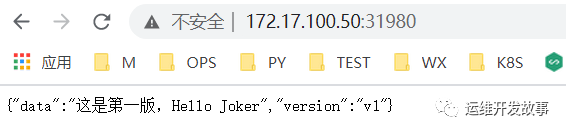
image.png
Configuration change
Next, I will manually change the configuration and modify the deployment. Menu under manifest The image in yaml file is v2 version, as follows:

image.png
Then submit to the warehouse.
This is the ArgoCD. You can see that the status changes to OutOfSync

image.png
At this time, manually sync until the status changes to normal. Then visit the above application.

image.png
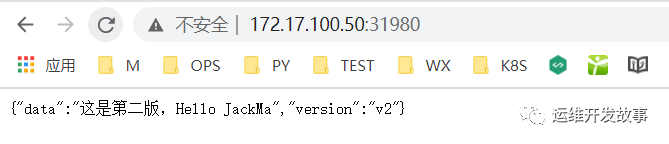
image.png
You can see that the application has been updated and deployed.
We can see the relationship status of the whole application as follows:
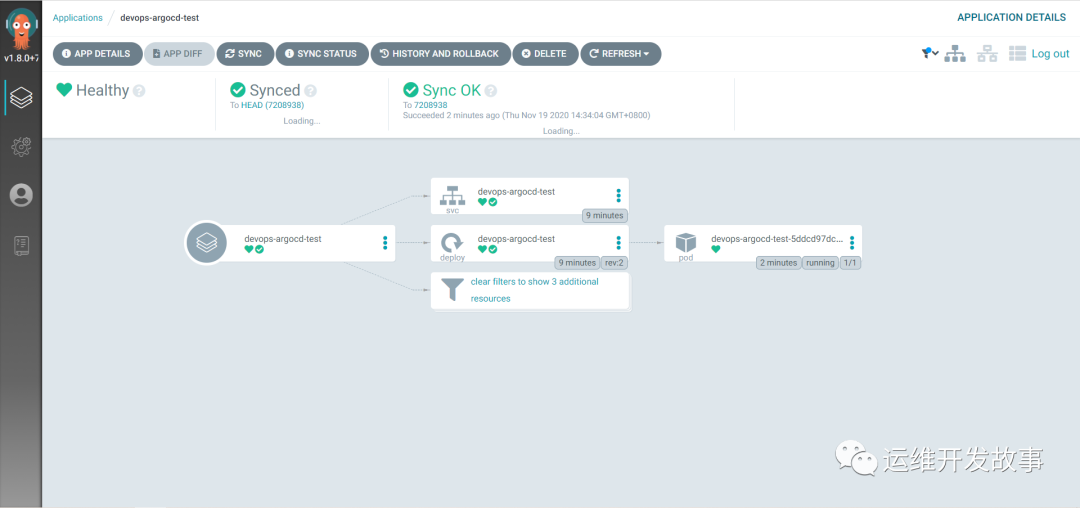
image.png
You can also see the deployment history.
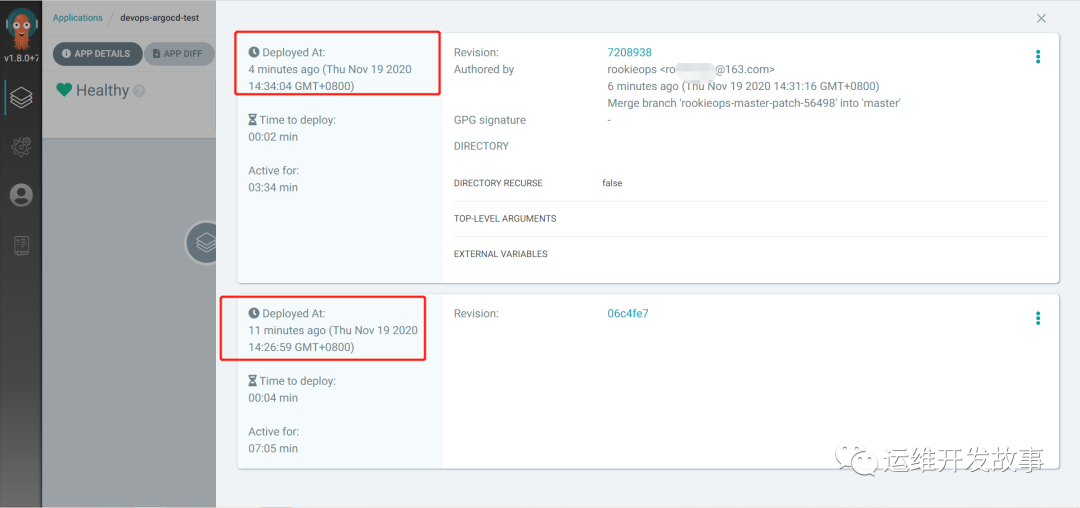
image.png
You can also roll back through this interface.
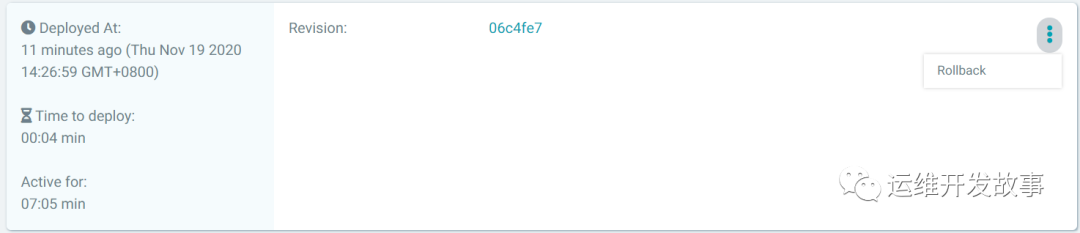
image.png
However, this rollback will not change the code on gitlab.
I set it manually. You can set it to automatic. Test it yourself.
Official documents: https://argoproj.github.io/argo-cd/#features
Official account: operation and development story
github: https://github.com/orgs/sunsharing-note/dashboard
Love life, love operation and maintenance
If you think the article is good, please click on the top right corner to send it to your friends or forward it to your circle of friends. Your support and encouragement is my greatest motivation. If you like, please pay attention to me~

Scanning QR code
Pay attention to me and maintain high-quality content from time to time
reminder
If you like this article, please share it with your circle of friends. For more information, please follow me.
........................