catalogue
. resources for preparing pretreatment
Implementation of jenkins' mandate
1. Blog introduction
This is the fourth and last part of jenkins automation process. This part will do a practical exercise on the basis of the first three articles to build a process of using python to process pictures in jenkins
Chapter 1: deploying jenkins environment on linux
https://blog.csdn.net/Mr_Sun88/article/details/118557269
Chapter 2: creation of jenkins task
https://blog.csdn.net/Mr_Sun88/article/details/118557289
Chapter 3: shell script syntax and call
https://blog.csdn.net/Mr_Sun88/article/details/118557330
Chapter 4: actual combat, using jenkins to build a python image processing process
https://blog.csdn.net/Mr_Sun88/article/details/118557309
2. Content
. prepare git warehouse
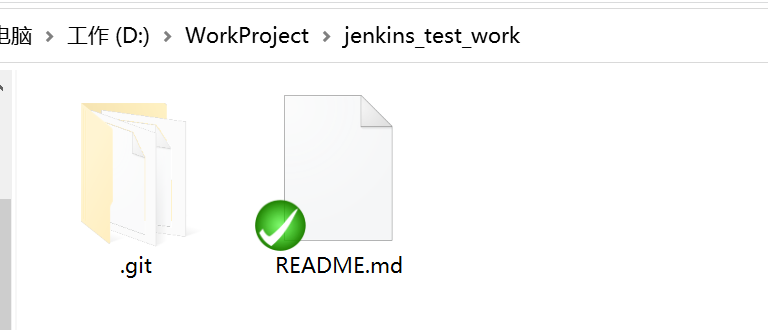


linux install git:yum -y install git

Step 1: prepare a git warehouse
1. The function of the warehouse is convenient. We can quickly modify the code and resources on linux without transmitting them every time
2. Here, you can directly enter a warehouse created on github
3. Then we move the warehouse from windows to our designated directory under linux through pscp command
4. If git is not installed in linux, remember to install it first and match the secret key, so you don't have to enter the password
. resources for preparing pretreatment
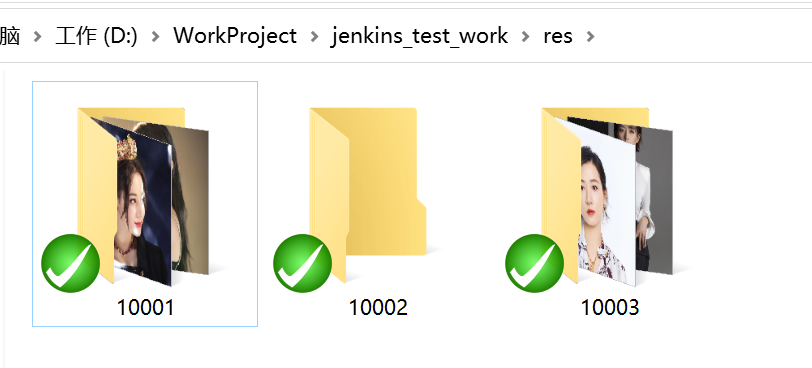
The second step is to prepare the resources we need to process and upload them to the remote warehouse of git
-The numbers are:
10001: dirieba
10002: Jinchen
10003: Wan Xi
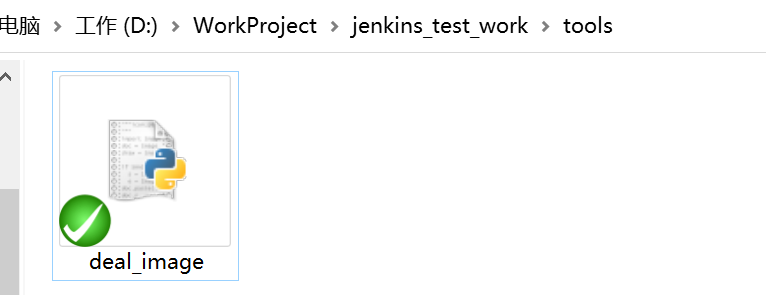
. preparing python scripts
#!/usr/bin/python
#-- coding:utf8 --
import argparse
import os
import sys
from PIL import Image

RES = "res"

def os_system(cmd):
    print "cmd", cmd
    os.system(cmd)

def init_option():
    parser = argparse.ArgumentParser()
    parser.add_argument('-d', '--dst', dest='dst_path', default=False, help='jenkins workspace')
    parser.add_argument('-n', '--name', dest='build_id', default=False, help='build task name')
    args = parser.parse_args()
    return args


def img_to_webp(res_path):
	for root, _, files in os.walk(res_path):
	    for f in files:
	        if os.path.splitext(f)[1] == '.png' or os.path.splitext(f)[1] == '.jpg':
	            fullpath = os.path.join(root, f)
	            if os.path.isfile(fullpath):
    				out_path = os.path.splitext(fullpath)[0] + '.webp'
    				print out_path
    				im = Image.open(fullpath).convert("RGBA")
    				# im.save(out_path)
    				os_system("cwebp %s -o %s" % (fullpath,out_path))
    				os_system("rm -rf" + temp_project)
    				print fullpath, out_path
    				os.remove(fullpath)

def init(args):
	global dst_path
	global build_id
	global temp_project
	global item_project
	global res_project
	global tar_project
	# parameter
	dst_path = args.dst_path
	build_id = args.build_id
	# Temporary folder
	temp_project = os.path.join(sys.path[0],"temp")
	os_system("rm -rf " + temp_project)
	os_system("mkdir " + temp_project)
	# Copy
	res_project = os.path.join(sys.path[0],"..",RES,build_id)
	os_system("mkdir " + temp_project)
	os_system("cp -r %s %s" % (res_project, temp_project))
	# Format conversion
	img_to_webp(temp_project)
	# Clean up workspace directory
	tar_project = os.path.join(dst_path,build_id)
	os_system("rm -rf " + tar_project)
	item_project = os.path.join(temp_project,build_id)
	# Copy to workspace
	os_system("cp -r %s %s" % (item_project, dst_path))
	# Clean up directory
	os_system("rm -rf " + temp_project)


def main():
    args = init_option()
    print("System action: build start!!!! ")
    print(args)
    init(args)
if __name__ == "__main__":
    main()
Step 3: we are ready for the python script to handle the business logic. Let's see what the python script does
1. Two parameters were received
parser.add_argument('-d', '--dst', dest='dst_path', default=False, help='jenkins workspace')
parser.add_argument('-n', '--name', dest='build_id', default=False, help='build task name')
dst_path: the directory where the processed resource is placed
build_id: id of the resource to be processed
2. Created a folder for temporary files
#Temporary folder
temp_project = os.path.join(sys.path[0],"temp")
temp_project: this directory copies the resources to be processed, which will not be processed on the original resources, and will be deleted after use
3. Convert the resources in the temporary directory into pictures in webp format
img_to_webp(temp_project)
4. Copy resources to target directory
#Copy to workspace
os_system("cp -r %s %s" % (item_project, dst_path))
. prepare shell script
#!/bin/bash
echo "shell build start !"
cd /home/lighthouse/work/jenkins_test_work
git pull
cd tools
python deal_image.py -d ${WORKSPACE} -n ${build_name}
Step 4: prepare the shell script for jenkins to call. Let's see what the shell script does
1. We found the working directory
cd /home/lighthouse/work/jenkins_test_work
2. Updated the current code
git pull
3. cd to the directory where the python script is located
cd tools
4. The python script was called and two parameters were passed
WORKSPACE: the default WORKSPACE parameter of jenkins. It can be used directly without declaration
build_name: this parameter is passed by ourselves. It is determined whether to transfer to dirieba or Jinchen Wanxi according to the parameter
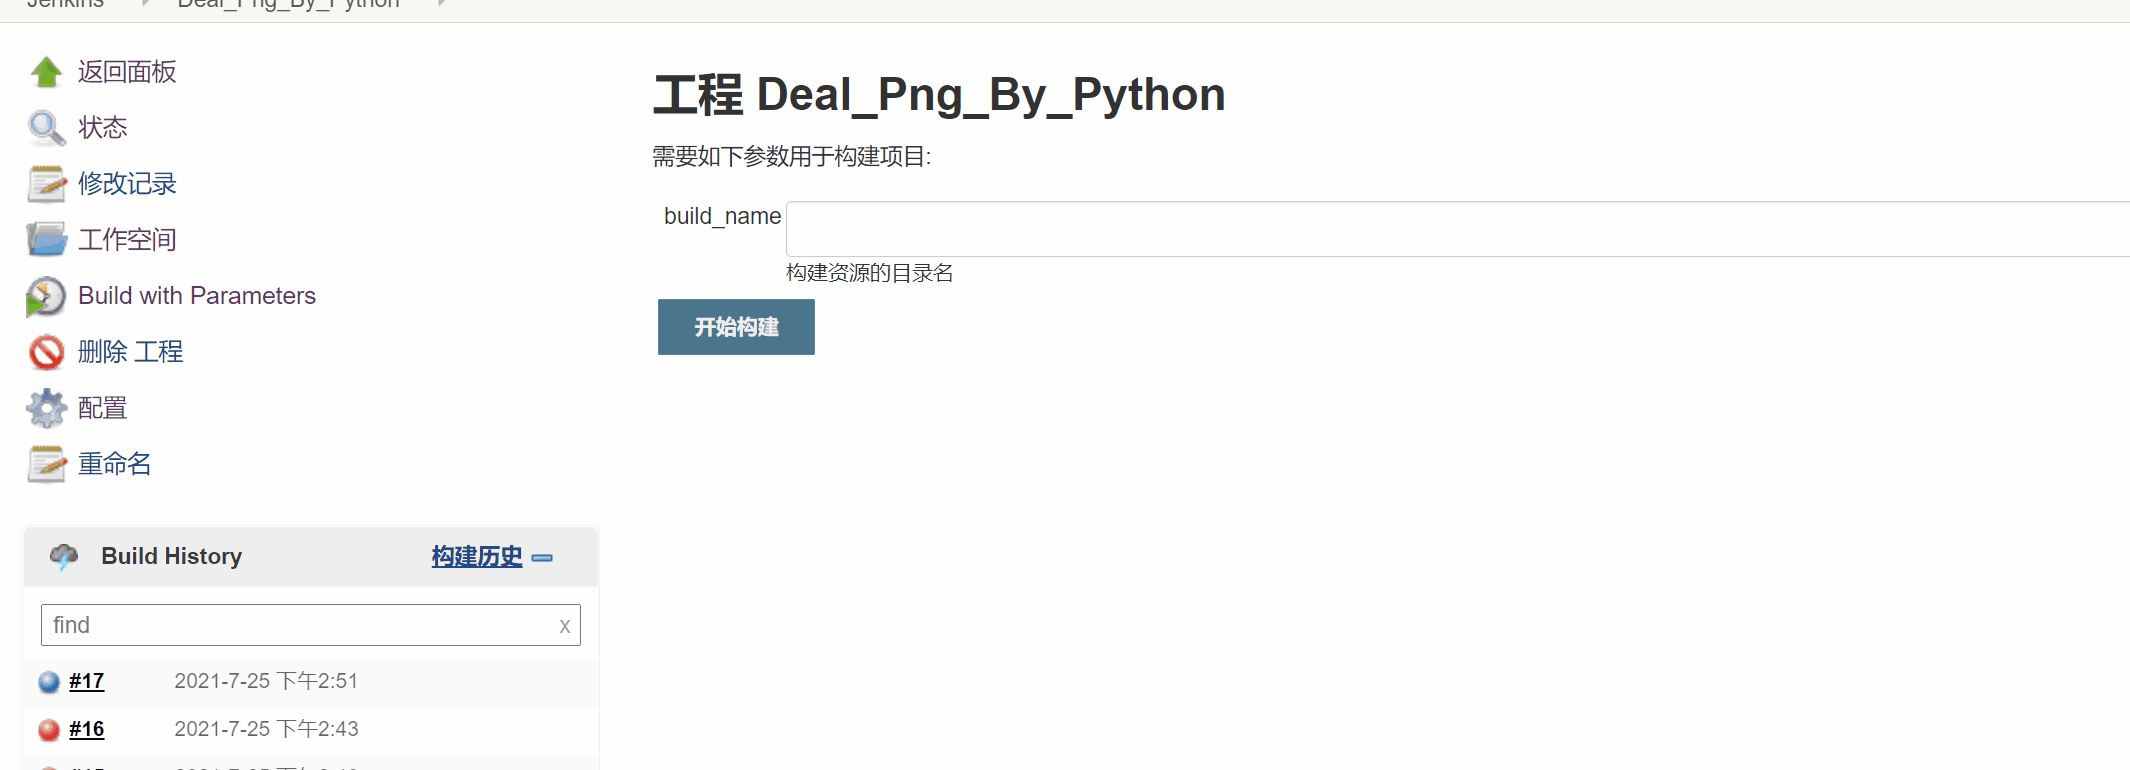
. jenkins task creation
Step 5: we create a jenkins task
1. We added a custom parameter input build_id, corresponding to the input in the shell script
2. We called the previous order SH script
Implementation of jenkins' mandate
Step 6: in the last step, we run our task
The final resource and build are completed, and we can download it
. some pits and precautions
1. linux python remember to install pilot
2. Bloggers first used pil to directly convert to webp, but the results have been unsuccessful. This was easy to use on Alibaba cloud before. I don't know why it's not easy to use now. It may be related to the pilot version. After trying several schemes, it's not easy to use. Finally, they switched to cwebp command
im.save(out_path) ----------- os_system("cwebp %s -o %s" % (fullpath,out_path))
3. The first build failed because the parameter in the shell script is build_name, the taskbar says build_id, they don't match
3. Push
Github: https://github.com/KingSun5
Portal for subsequent articles:
4. Conclusion
So far, the blogger's article on jenkins automation is over. I hope to see the last students gain something. If you think the blogger's article is good, you might as well pay attention to the blogger and praise the blog. In addition, the blogger's ability is limited. If there are any mistakes in the article, you are welcome to comment and criticize.
QQ communication group: 806091680 (China)
This group was created by CSDN blogger China. Please recommend it! I'm in the group, too!
This article is an original article, please reprint the famous author's source and put it on the top!!!!