Use of Axios at the front and rear ends
1. Back end platform construction
For back-end platform construction, please refer to the blog
https://blog.csdn.net/daniaoxp/article/details/119295619
lombok plug-in needs to be used in the construction process. Refer to the following blog post for the installation of this plug-in
https://blog.csdn.net/daniaoxp/article/details/119592904
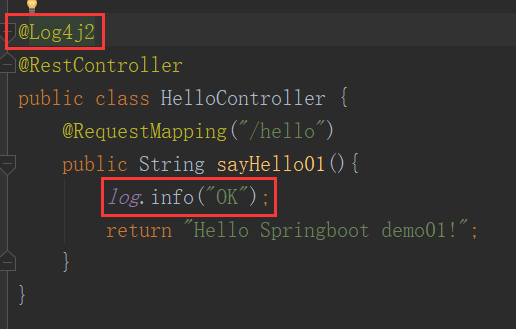
In this blog post, it is mentioned that @ DATA annotation can be used after using the plug-in. This annotation provides get, set, equals, hashCode, canEqual and toString methods of classes, which is very convenient. Here is another annotation * * @ Log4j2 * * of the plug-in, which can realize the printing function.
Experimental results after completion
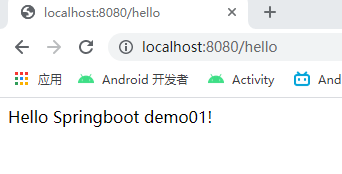
At the same time, you can see the OK print message on the console

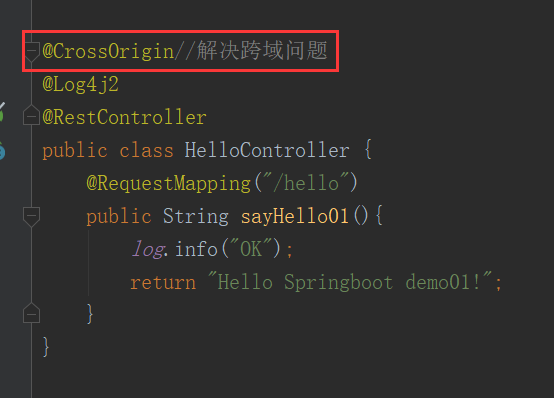
Due to the combination with the front end, to solve the cross domain problem, add the * * @ CrossOrigin * * comment
2. Front end platform construction
2.1 front end page construction
Because the front-end is relatively simple, idea is also used to build. First, build an empty project. See the blog for the process of building an empty project
https://blog.csdn.net/daniaoxp/article/details/119295619
After the empty project is built, create a new sub module, as follows.
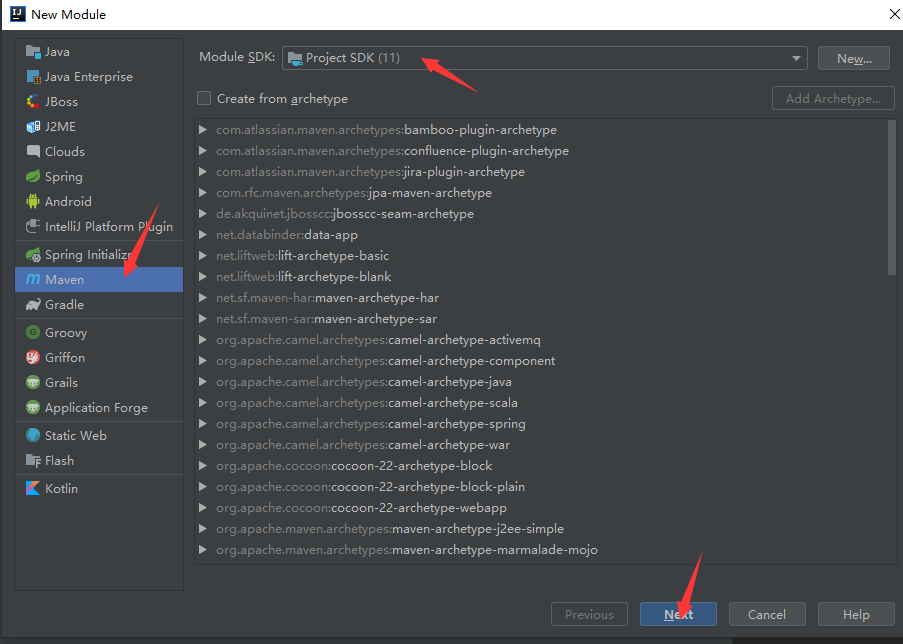
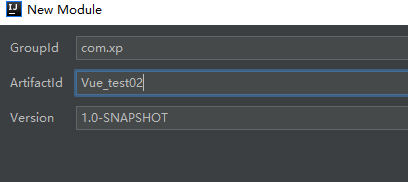
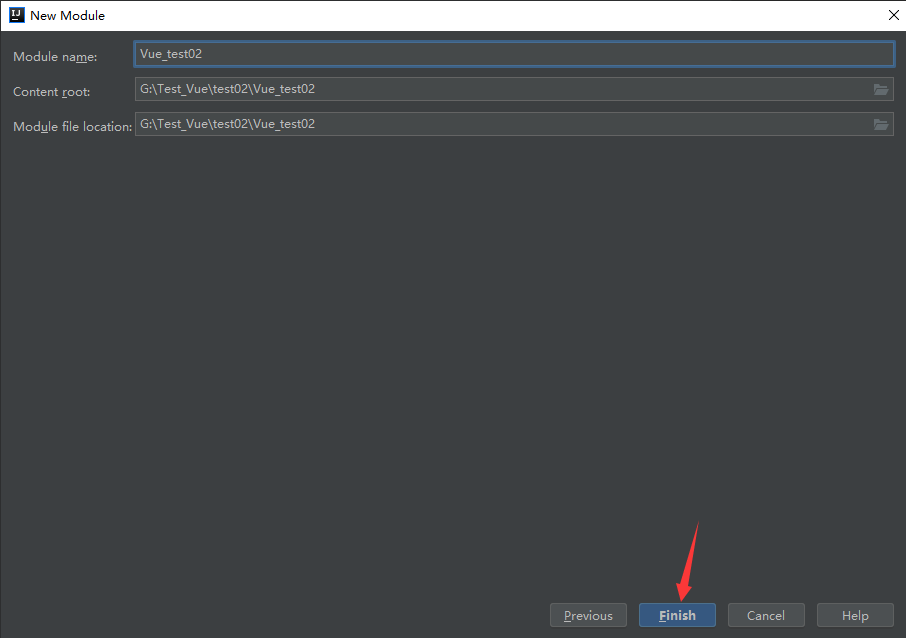
- Create a new webapp folder under the main folder

- Create a new vue folder under webapp folder

- Create a new js folder under the vue folder
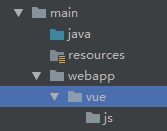
- Create a new HTML file in the vue folder and name it first HTML, notice that the file is parallel to the js folder

2.2 introduction of axios
Open axios web page
http://www.axios-js.com/zh-cn/docs/
Find the URL below, copy and paste it into the browser

https://unpkg.com/axios/dist/axios.min.js
- The axios source code appears

- Right click to save the page as the specified location
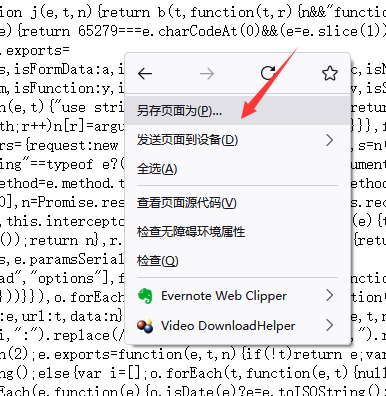
- preservation

- Copy the question to the js folder
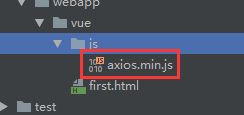
- Open first HTML file. Import axios according to the following figure
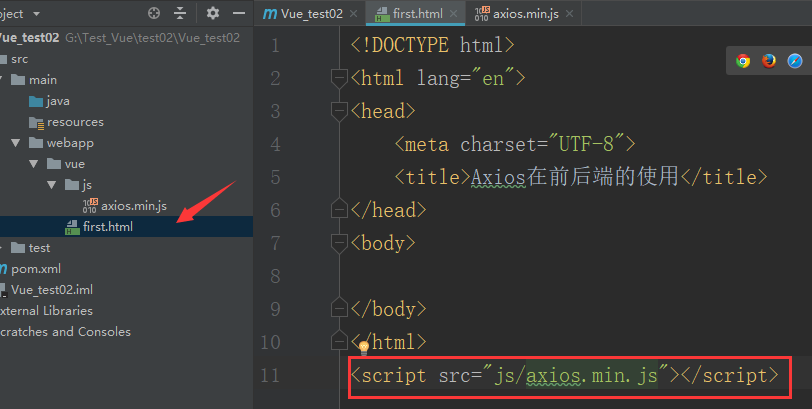
<script src="js/axios.min.js"></script>
3. Example demonstration
3.1 execute GET request
3.1. 1 front end operation
At first Complete the following code in the HTML page
<!DOCTYPE html>
<html lang="en">
<head>
    <meta charset="UTF-8">
    <title>Axios Use at front and rear ends</title>
</head>
<body>
    <div>
        <h1>Axios application</h1>
    </div>
</body>
</html>
<script src="js/axios.min.js"></script>
<script>
    axios.get("http://localhost:8080/hello?id=1&name=jack")
        .then(function (response) {
            console.log(response);
        })
        .catch(function (error) {
            console.log(error);
        });
</script>
Line 15:“ http://localhost:8080/hello?id=1&name=jack ”Medium“ http://localhost:8080/hello "It must correspond to the back end. This statement can send * *" id = 1 & name = Jack "* * information to the back end. It is recommended to use Google browser to run the front end. (run the back end before running the front end)

- After opening Google browser, press F12, as shown in the figure below
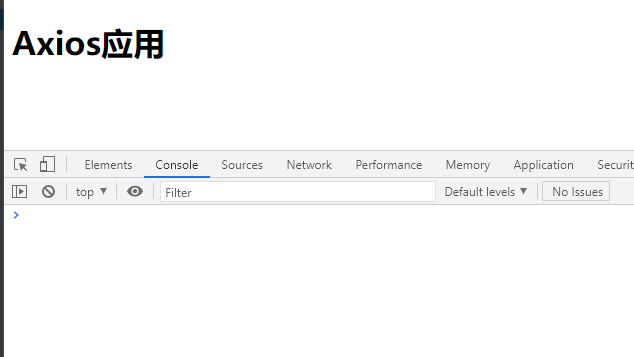
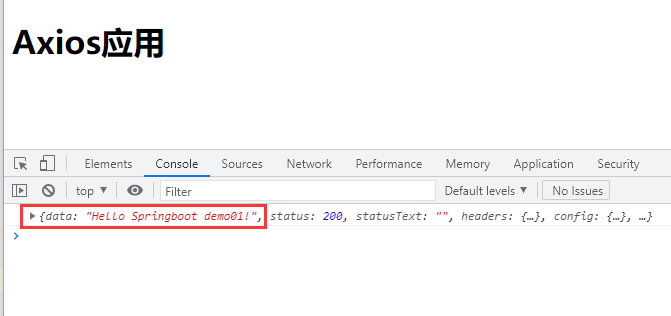
- Refresh and the back-end information appears
- At the same time, look at the back-end console. It shows that it is also running

How about the front end? Take out the * * "Hello Springboot demo01!" from the back end** What about your information? Add such a sentence to the front end.

Refresh the browser again, and the back-end information appears in the browser console.
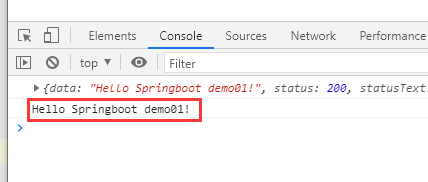
3.1. 2 back end operation
At first HTML page line 15:“ http://localhost:8080/hello?id=1&name=jack ”In, "id = 1 & name = Jack" is the information to be sent to the back end. The front end has sent it. How can the back end receive it? Modify these two lines in the back-end program.

public class HelloController {
    @RequestMapping("/hello")
    public String sayHello01(@RequestParam("id") String id,@RequestParam("name") String name){
        log.info("OK");
        log.info("id:{},name:{}",id,name);
        return "Hello Springboot demo01!";
    }
}
Redeploy and run the back-end, refresh the browser, look at the back-end console and get the front-end information.

3.2 execute POST request
3.2. 1 front end operation
In the front html page, complete the following contents, mainly the addresses from line 14 to line 26 and line 15. Note: Yes“ http://localhost:8080/test01 "
<!DOCTYPE html>
<html lang="en">
<head>
    <meta charset="UTF-8">
    <title>Axios Use at front and rear ends</title>
</head>
<body>
    <div>
        <h1>Axios application</h1>
    </div>
</body>
</html>
<script src="js/axios.min.js"></script>
<script>
    axios.post("http://localhost:8080/test01", {
        firstName: 'Fred',
        lastName: 'Flintstone'
    })
        .then(function (response) {
            console.log(response);
            console.log(response.data);
        })
        .catch(function (error) {
            console.log(error);
        });
</script>
The format of post request sending information is json format, such as
{
     firstName: 'Fred',
     lastName: 'Flintstone'
}
Next, let's see how the back end receives
3.2. 2 back end operation
The back-end receiving adopts the entity class method, so create a User class, and create an entity package before creating this class.

You can use this method to complete the process of creating new packages and classes at once
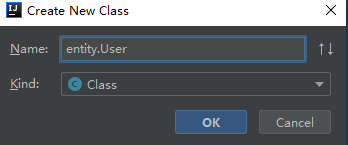
Complete the following code in the class and use @ DATA annotation, which is very convenient
@Data
public class User {
    private String firstName;
    private String lastName;
}
Go back to the HelloController class and complete the following code
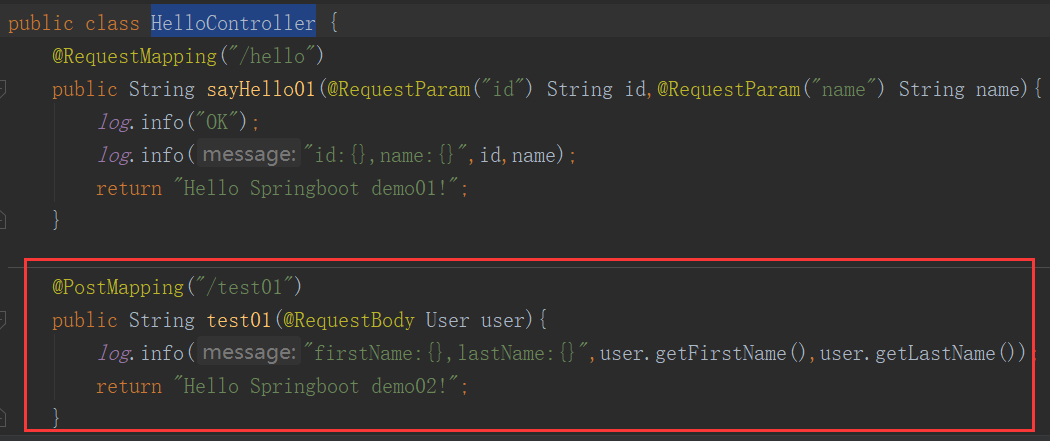
 @PostMapping("/test01")
    public String test01(@RequestBody User user){
        log.info("firstName:{},lastName:{}",user.getFirstName(),user.getLastName());
        return "Hello Springboot demo02!";
    }
Run the back-end, then run the front-end, and click the browser. The information sent by the back-end appears in the browser console
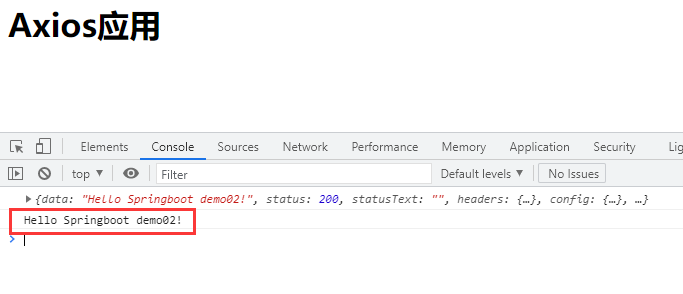
The message from the front end appears on the back end

3.3 execute PUT request
The put request is similar to the post request.
3.3. 1 front end operation
In the front html page, complete the following contents, mainly the addresses from line 14 to line 26 and line 15. Note: Yes“ http://localhost:8080/test02 "
<!DOCTYPE html>
<html lang="en">
<head>
    <meta charset="UTF-8">
    <title>Axios Use at front and rear ends</title>
</head>
<body>
    <div>
        <h1>Axios application</h1>
    </div>
</body>
</html>
<script src="js/axios.min.js"></script>
<script>
    axios.put("http://localhost:8080/test02", {
        firstName: 'Fred',
        lastName: 'Flintstone'
    })
        .then(function (response) {
            console.log(response);
            console.log(response.data);
        })
        .catch(function (error) {
            console.log(error);
        });
</script>
The format of the put request to send information is json format, for example
{
     firstName: 'Fred',
     lastName: 'Flintstone'
}
Next, let's see how the back end receives
3.3. 2 back end operation
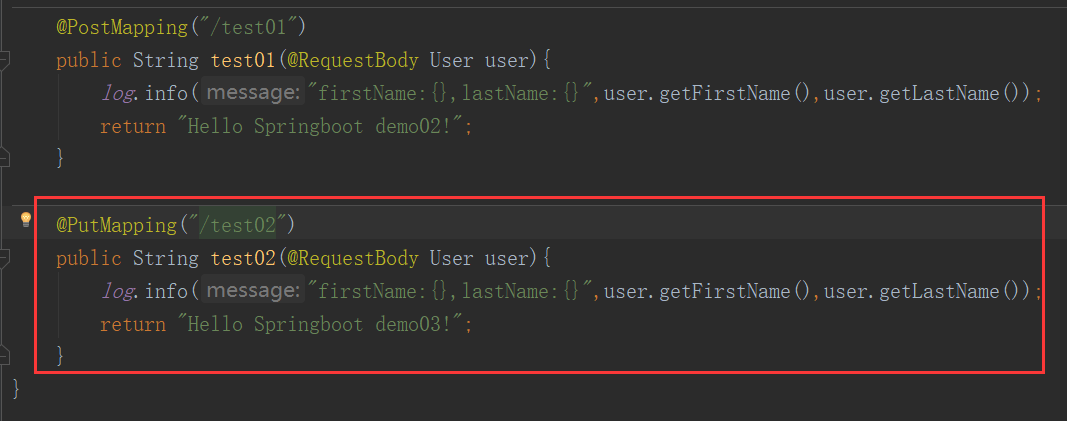
 @PutMapping("/test02")
    public String test02(@RequestBody User user){
        log.info("firstName:{},lastName:{}",user.getFirstName(),user.getLastName());
        return "Hello Springboot demo03!";
    }
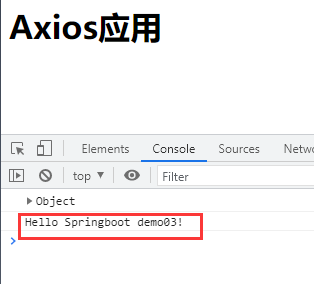
Run the back-end, then run the front-end, and click the browser. The information sent by the back-end appears in the browser console

4. Supplementary notes
Send three requests together in the front end, as shown in the figure.
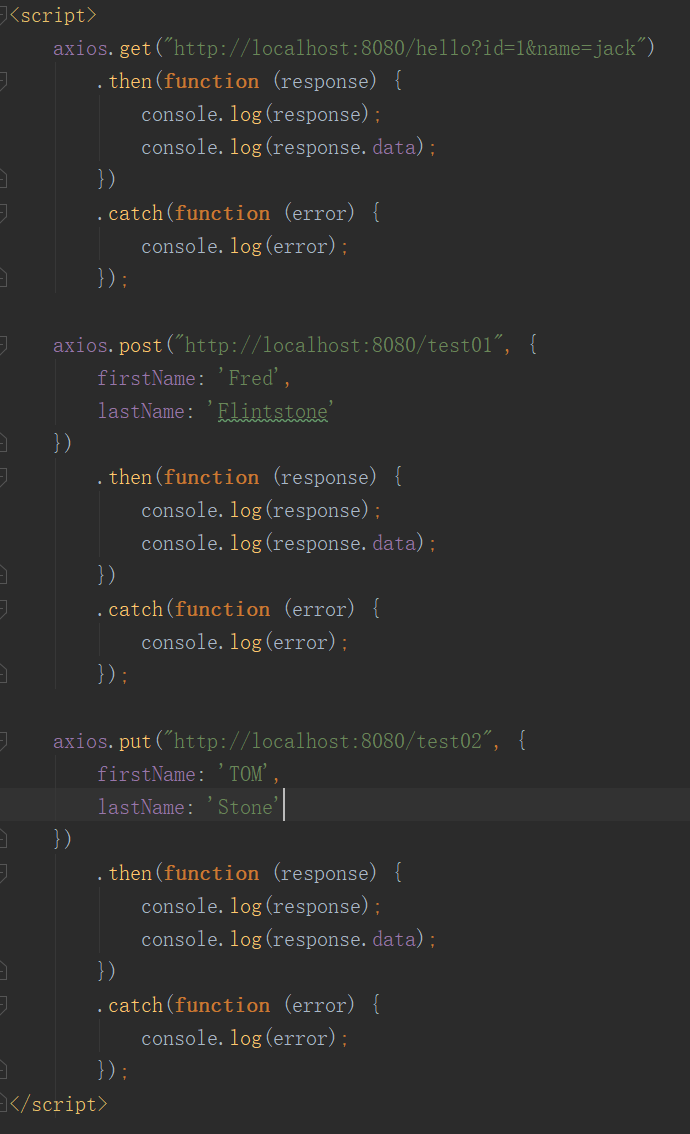
Look at the response on the back end

Indeed, all received response information. Looking back at the front-end code, there are many redundancies, such as“ http://localhost:8080 ", so it can be optimized at the front end.
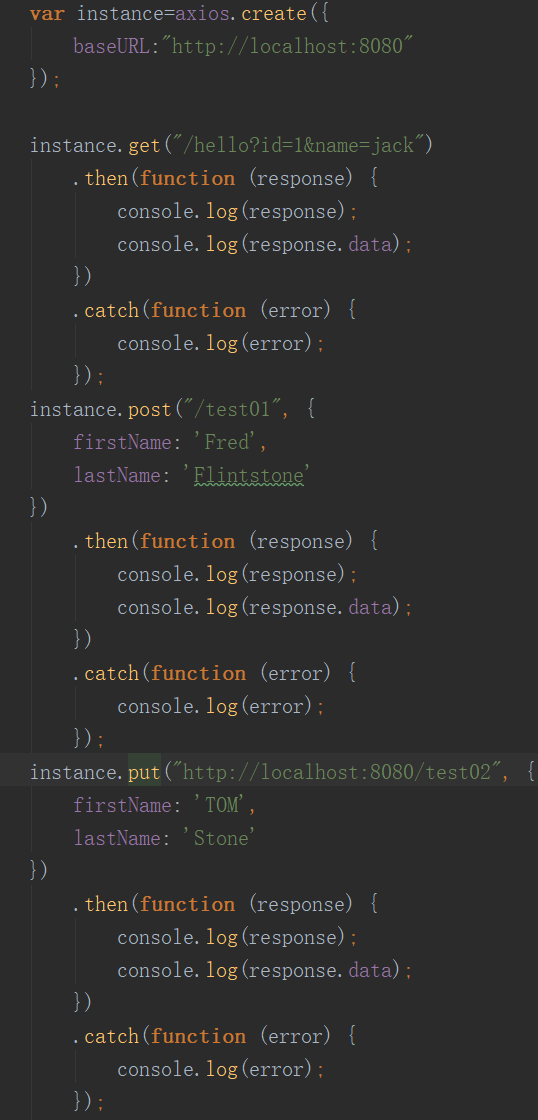
<script>
var instance=axios.create({
        baseURL:"http://localhost:8080"
    });

    instance.get("/hello?id=1&name=jack")
        .then(function (response) {
            console.log(response);
            console.log(response.data);
        })
        .catch(function (error) {
            console.log(error);
        });
    instance.post("/test01", {
        firstName: 'Fred',
        lastName: 'Flintstone'
    })
        .then(function (response) {
            console.log(response);
            console.log(response.data);
        })
        .catch(function (error) {
            console.log(error);
        });
    instance.put("http://localhost:8080/test02", {
        firstName: 'TOM',
        lastName: 'Stone'
    })
        .then(function (response) {
            console.log(response);
            console.log(response.data);
        })
        .catch(function (error) {
            console.log(error);
        });
</script>
The experimental effect is the same as the original.