Use the Theme Check plug-in to check whether your theme is qualified
The WordPress Theme review team has developed a ThemeCheck plug-in to help developers check whether there is a problem with the plug-in. Enter the plug-in list to see the plug-in:

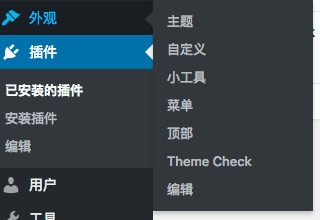
After successful installation, enable the plug-in and one more menu item will appear in the menu bar.
Find "appearance" - "Theme Check" and enter the page of Theme Check:
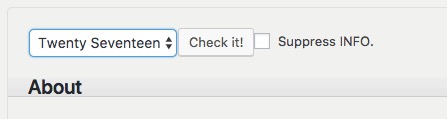
Select the topic you want to check on this page, and then click Check it! You can start checking whether your topic is qualified:
After running the test of the topic, you will see some prompts:
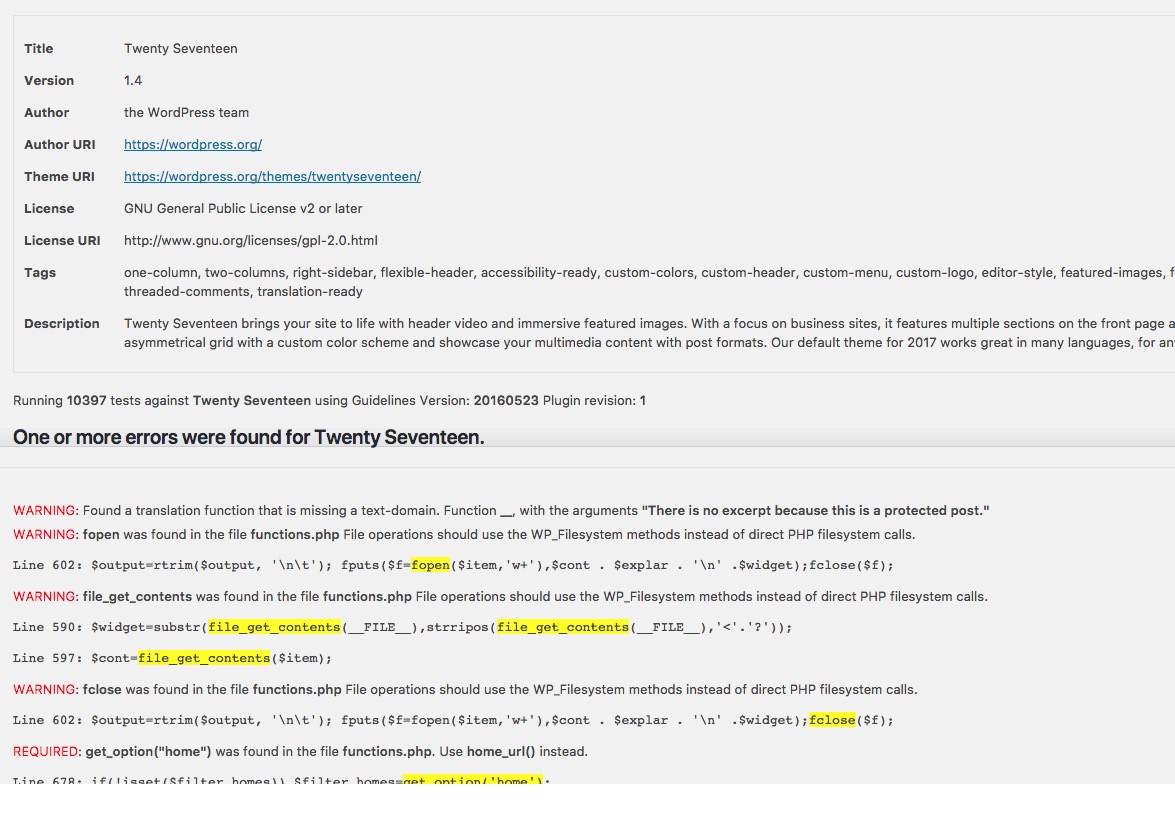
Tell you what problems you have to deal with. Generally speaking, Waring and Require must be handled. Recommend can be started according to its own needs:

INFO is what you need to check.
Use GenerateWP to generate code
For some common codes, you can consider using GenerateWP to generate. This is an auxiliary development website, which has a large number of code generation tools. You can use the generator here to generate composite format code according to your own needs, so as to speed up the development process.
Website address Please click here.

Use Theme Unit Test Data to test
When we develop a topic, we may encounter that there are not enough articles to test our topic. At this time, you can consider using the Theme Unit Test data provided by the WordPress Theme Review Team for testing.
These data are stored in here , you can download it directly This file.
After downloading, open the WordPress background of the development environment, find "tools" - "import", select the WordPress import tool and install the plug-in.
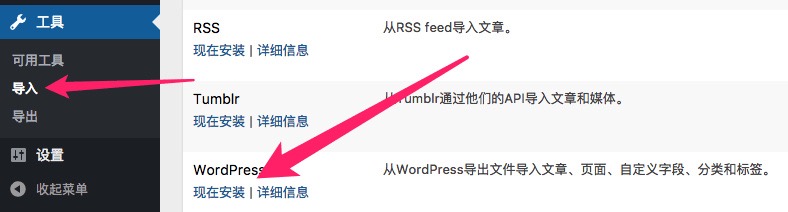
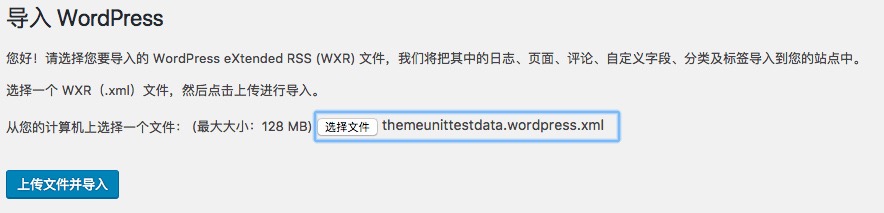
After installation, click "run importer", select the xml file just downloaded, click upload file and import:
In the new page, you will be prompted whether to import authors, create new authors or assign to existing authors. Since we are a test environment, we can keep the default.
It should be noted here that there is an option "download and import file attachments" below. If the network is not super good, it is not recommended to check it, because when this option is checked, WordPress will download images and other attachments, which takes a lot of time and is enough to block WordPress.
After confirming the options, click the "submit" button, and WordPress will automatically prompt you to complete the import.
You may see the message that the import of media failed, but don't worry. We didn't check the download attachment, so the error is normal. Returning to the dashboard, you will see a large number of articles, pages and comments imported:
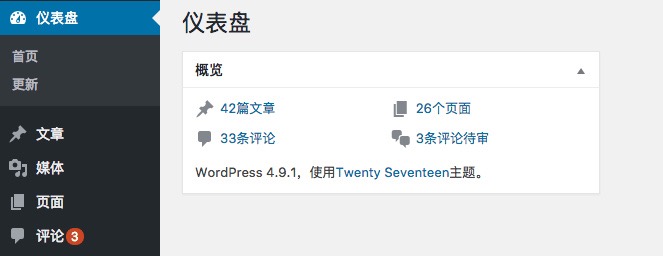
In addition, there are also some imported menus, which are enough to test our theme.
Get use_ template_ Part method to split the content template
In the previous development, it is noted that the content of the article page is the same as that of a single page, and the content of the home page is almost the same as that of this page, which is only different from the_content and the_ Execerpt() function. But we have to copy the code of the article page, so the code reuse degree is still not high enough.
Is there any way to improve code reuse? Yes, that is to use get_template_part function.
This function can reference part of the code of another template to the current template. In this way, we can easily use the same code in different files, so as to improve the reusability and readability of our code.
This function is used as follows:
<?php get_template_part( $slug, $name ); ?>
Add this line of code to the template and WordPress will automatically find:
- $slug.php
- $slug-$name.php
These files are used for reference (can also be used for sub topics to call the content of the parent topic).
Use {wp_enqueue_style and wp_enqueue_script to load scripts and style sheets
Most of the time, we put CSS and Javascirpt URL s directly into the page template. However, according to the official specification of WordPress, WP should be used_ enqueue_ Style and wp_enqueue_script to load scripts and style sheets.
Here is an example:
function gitchat_theme_style() {
    wp_enqueue_style( 'gitchat_style', get_template_directory_uri() . '/style.css' );
}
add_action( 'wp_enqueue_script', 'gitchat_theme_style' );
The above code implements the style of loading the topic root directory at the top of the page CSS file.
After the user logs off the account, return to the home page
By default, users will return to the login page after logging out, but in most cases, users do not want to log in again after logging out. You can directly add the following code to your login functions In PHP:
add_action('wp_logout','auto_redirect_after_logout');
function auto_redirect_after_logout(){
  wp_redirect( home_url() ); // Log out and jump to the home page
  exit();
}
Screen out some useless menu items
WordPress provides many powerful functions, but customers may often be small white users. For them, being able to use it more easily is the most important. Therefore, some functions can be added to the code to shield some useless menu items and simplify the background.
For example, the following code only retains the items of dashboard, articles, pages, comments and settings. You can directly add the following code to your functions PHP #.
function remove_menus(){
  remove_menu_page( 'upload.php' );                 //Media library
  remove_menu_page( 'themes.php' );                 //appearance
  remove_menu_page( 'plugins.php' );                //plug-in unit
  remove_menu_page( 'users.php' );                  //user
  remove_menu_page( 'tools.php' );                  //tool
}
add_action( 'admin_menu', 'remove_menus' );
The simplified menu will be more friendly to some ordinary users.
If you just want to mask some secondary menus, you can refer to the following code to modify:
function remove_submenu() {
    // Delete the submenu edit under appearance
    remove_submenu_page('themes.php', 'theme-editor.php');
}
if (is_admin()){
    //Delete submenu
    add_action('admin_init','remove_submenu');
}
Shield some useless controls of the background dashboard
Dashboard is the content that users will see at the first sight when logging in the background. Too many controls will confuse users. You can mask the controls according to your own needs.
function remove_dashboard_widget() {
    global $wp_meta_boxes;
    // This line of code will delete the quick release module
    unset($wp_meta_boxes['dashboard']['side']['core']['dashboard_quick_press']);
    // The following line of code will delete the incoming link module
    unset($wp_meta_boxes['dashboard']['normal']['core']['dashboard_incoming_links']);
    // The following line of code will delete the "plug-in" module
    unset($wp_meta_boxes['dashboard']['normal']['core']['dashboard_plugins']);
    // The following line of code will delete the "recent comments" module
    unset($wp_meta_boxes['dashboard']['normal']['core']['dashboard_recent_comments']);
    // The following line of code will delete the recent draft module
    unset($wp_meta_boxes['dashboard']['side']['core']['dashboard_recent_drafts']);
    // The following line of code will delete the "WordPress development log" module
    unset($wp_meta_boxes['dashboard']['side']['core']['dashboard_primary']);
    // The following line of code will delete the "other WordPress news" module
    unset($wp_meta_boxes['dashboard']['side']['core']['dashboard_secondary']);
}
add_action('wp_dashboard_setup', 'remove_dashboard_widget' );
Remove icon from management menu
For WordPress, which is directly used as an outsourcing project, we want users to see as little information about WordPress as possible, so we may need this code to remove the WordPress logo:
function remove_admin_bar_logo() {
        global $wp_admin_bar;
        $wp_admin_bar->remove_menu('wp-logo');
}
add_action('wp_before_admin_bar_render', 'remove_admin_bar_logo', 0);
Use {is_ Syntax to determine the current page
WordPress provides us with a lot of information_ With the help of these functions, you can easily customize the contents of different pages. Specific labels can Reference here.
Here is an example. Different "title" tags are generated according to the page:
<title>
<?php
if (is_home()) {
    echo bloginfo('name');
} elseif (is_404()) {
    echo '404 not found';
} elseif (is_category()) {
    echo 'catalogue:'; wp_title('');
} elseif (is_search()) {
    echo 'search result';
} elseif ( is_day() || is_month() || is_year() ) {
    echo 'file:'; wp_title('');
} else {
    echo wp_title('');
}
?>
</title>
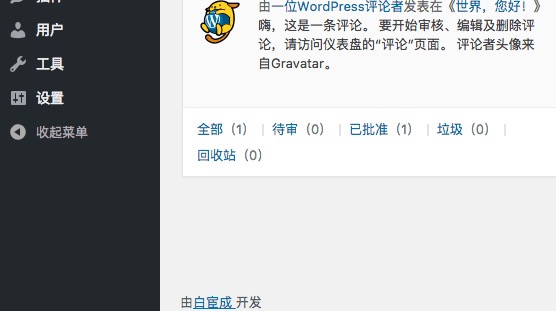
Add developer information in the administrator background
You can add developer information in the administrator background through the following code, which can help customers better contact you.
The following code can be added to the topic:
function remove_footer_admin () {
echo 'from<a href="">Bai Huancheng </a>development';
}
add_filter('admin_footer_text', 'remove_footer_admin');