1. Kafka message producer
1) Create the springboot Kafka producer demo project and import the jar package.
<dependency>
	<groupId>org.springframework.kafka</groupId>
	<artifactId>spring-kafka</artifactId>
	<version>2.4.5.RELEASE</version>
</dependency>
2) Add Kafka producer configuration item in application.properties
spring.kafka.bootstrap-servers=127.0.0.1:9092
spring.kafka.template.default-topic=topic-test
spring.kafka.listener.missing-topics-fatal=false
spring.kafka.listener.concurrency= 3

spring.kafka.producer.client-id=${spring.application.name}
# Number of retries when write failed. When the leader node fails, a repli node will be replaced by a leader node. At this time, write failure may occur,
# When retris is 0, produce does not repeat. retirs resend. At this time, the repli node becomes the leader node completely, and no message is lost.
spring.kafka.producer.retries=0
# The number of messages sent in batches each time, the product accumulates to a certain amount of data, and sends them once
spring.kafka.producer.batch-size=16384
# Once the product accumulates data and sends it, the data will be sent when the cache size reaches buffer.memory
spring.kafka.producer.buffer-memory=33554432
spring.kafka.producer.key-serializer=org.apache.kafka.common.serialization.StringSerializer
spring.kafka.producer.value-serializer=org.apache.kafka.common.serialization.StringSerializer
#request.required.acks has three values 0 1 - 1
#0: the producer will not wait for the broker's ack. The delay is the lowest but the storage guarantee is the weakest. When the server hangs up, the data will be lost
#1: The server will wait for the ack value leader copy to confirm receiving the message and then send the ack. However, if the leader fails to ensure that the new leader is copied, the data will be lost
#-1: Also, on the basis of 1, the server will wait for all the follower s' copies to receive the data before receiving the ack issued by the leader, so that the data will not be lost
spring.kafka.producer.acks=-1
3) Add @ EnableKafka annotation to Kafka message producer startup class
4) Write Kafka message sending class - Kafka message producer
@Slf4j
@Component
public class KafkaSender {

    @Autowired
    private Globals globals;
    @Resource
    private KafkaTemplate<String,String> kafkaTemplate;

    /**
     * Send message method
     * @param msg
     */
    public ResponseEntity send(String msg) {
        log.info("send message,Message content : {}", msg);
        try {
            String uuid = UUID.randomUUID().toString();
            String topic = globals.getTopic();
            Message message = new Message();
            message.setId(uuid);
            message.setMsg(msg);
            message.setSendTime(new Date());

            ListenableFuture listenableFuture = kafkaTemplate.send(topic, uuid, JSON.toJSONString(message));

            //Callback after sending successfully
            SuccessCallback<SendResult<String,String>> successCallback = new SuccessCallback<SendResult<String,String>>() {
                @Override
                public void onSuccess(SendResult<String,String> result) {
                    log.info("Message sent successfully");
                }
            };
            //Send failed callback
            FailureCallback failureCallback = new FailureCallback() {
                @Override
                public void onFailure(Throwable ex) {
                    log.error("Failed to send message", ex);
                }
            };

            listenableFuture.addCallback(successCallback,failureCallback);
        }catch (Exception e){
            log.error("Sending message exception", e);
        }
        return new ResponseEntity("", HttpStatus.OK);
    }
}
5) Send message test class
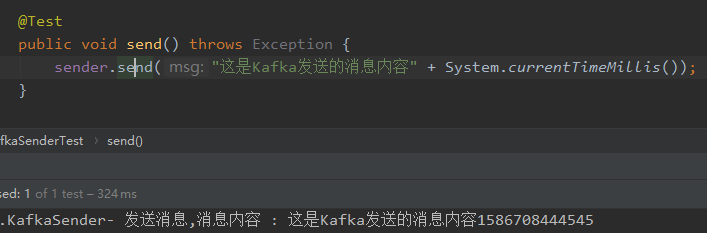
public class MsgSenderTest extends KafkaProducerApplicationTest {
    @Autowired
    MsgSender sender;

    @Test
    public void send() {
        sender.send("This is Kafka Message content sent" + System.currentTimeMillis());
    }
}
2. Kafka message consumer
1) Create the springboot Kafka consumer demo project and import the jar package.
<dependency>
	<groupId>org.springframework.kafka</groupId>
	<artifactId>spring-kafka</artifactId>
	<version>2.4.5.RELEASE</version>
</dependency>
2) Add Kafka consumer configuration item in application.properties
#============== kafka ===================
# Specify kafka proxy address, multiple
spring.kafka.bootstrap-servers=127.0.0.1:9092
spring.kafka.template.default-topic=topic-test
spring.kafka.listener.missing-topics-fatal=false
spring.kafka.listener.concurrency=3
spring.cloud.bus.trace.enabled=true

#=============== consumer  =======================
spring.kafka.consumer.client-id=${spring.application.name}
# Specify the default consumer group ID -- > because in kafka, the consumers in the same group will not read the same message, relying on the group ID to set the group name
spring.kafka.consumer.group-id=test
# Smallest and largest are only valid. If smallest starts to read again from 0, then largest will read from the offset of logfile. In general, we set up smalles
spring.kafka.consumer.auto-offset-reset=earliest
spring.kafka.consumer.enable-auto-commit=false
# If 'enable.auto.commit' is true, the consumer offset is automatically submitted to Kafka in milliseconds, with a default value of 5000.
spring.kafka.consumer.auto-commit-interval=100
spring.kafka.consumer.max-poll-records=10
# Specifies the encoding and decoding method of message key and message body
spring.kafka.consumer.key-deserializer=org.apache.kafka.common.serialization.StringDeserializer
spring.kafka.consumer.value-deserializer=org.apache.kafka.common.serialization.StringDeserializer
3) Add @ EnableKafka annotation to Kafka message consumer startup class
4) Create Kafka message consumer class with @ KafkaListener
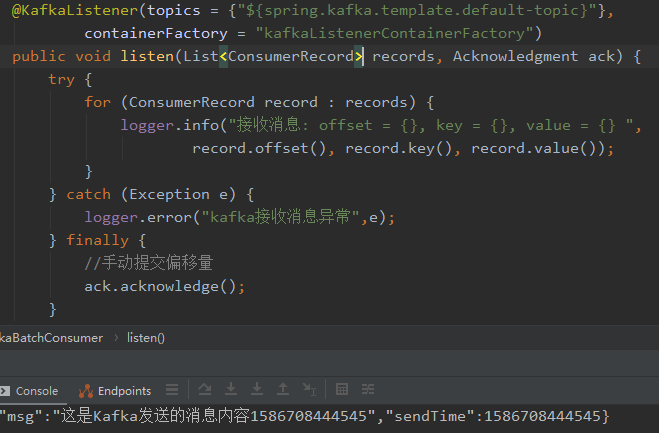
@Component
public class KafkaBatchConsumer {

    protected final Logger logger = LoggerFactory.getLogger(this.getClass());

    @KafkaListener(topics = {"${spring.kafka.template.default-topic}"},
            containerFactory = "kafkaListenerContainerFactory")
    public void listen(List<ConsumerRecord> records, Acknowledgment ack) {
        try {
            for (ConsumerRecord record : records) {
                logger.info("receive messages: offset = {}, key = {}, value = {} ",
                        record.offset(), record.key(), record.value());
            }
        } catch (Exception e) {
            logger.error("kafka Receive message exception",e);
        } finally {
            //Manually submit offset
            ack.acknowledge();
        }
    }
}
3. Test Kafka
Start the Kafka message consumer springboot Kafka consumer demo project first
1) Execute the send() method in MsgSenderTest class of Kafka message producer, as shown below
2) Switch to Kafka message consumer view consumption results
Source code example: https://gitee.com/lion123/springboot-kafka-demo