- vue.js is the core * element UI is a support Vue JS UI component library * mock JS: since there is no back-end interface, you need to use local data to pretend to be back-end data.
Technology stack
vue.js+element UI+mock.js
Initialize project
use first vue-cli Initialize a project structure [if you haven't installed it yet vue-cli,So need npm install -g vue-cli]
Command: vue init webpack Project name
cnpm install -g vue-cli
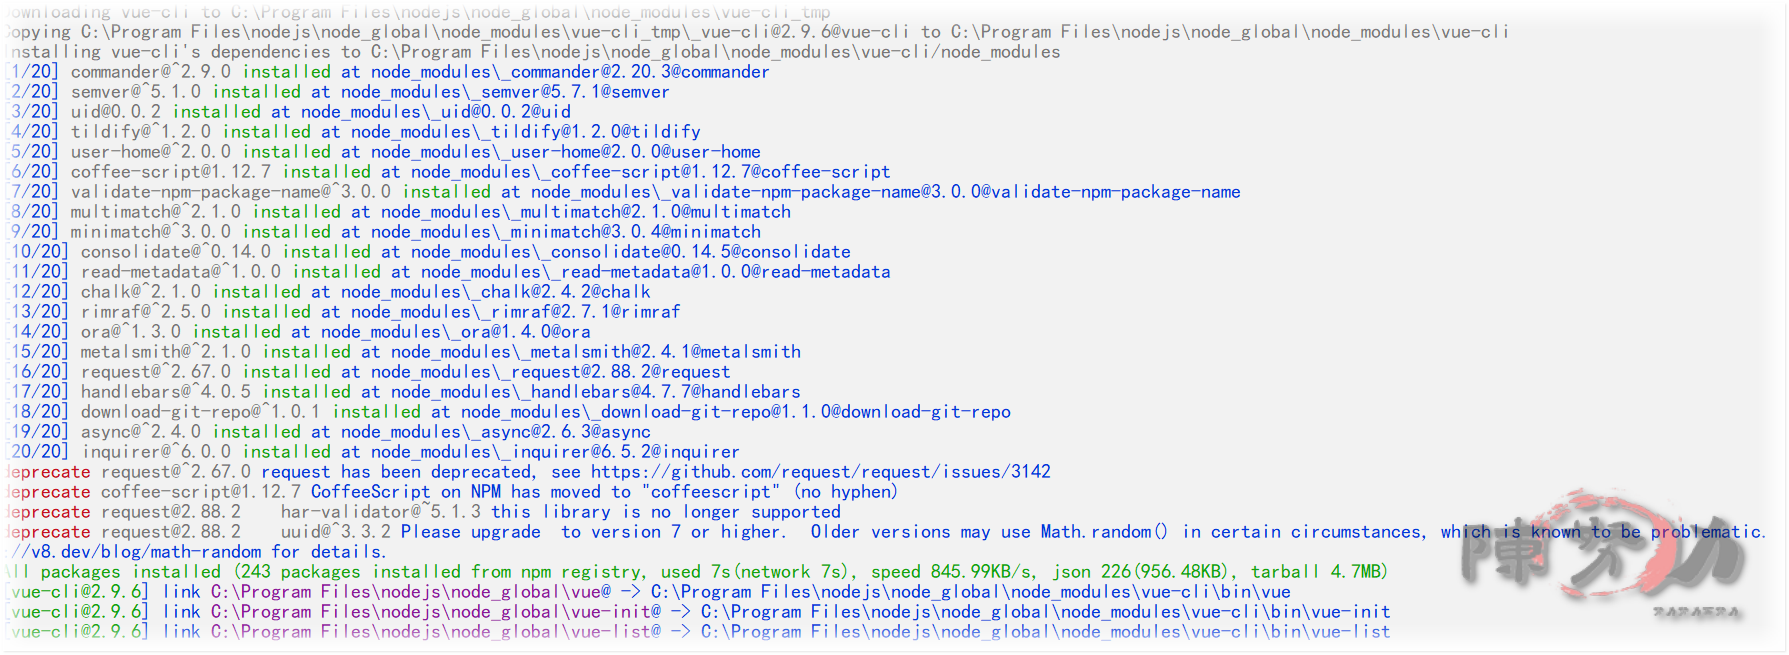
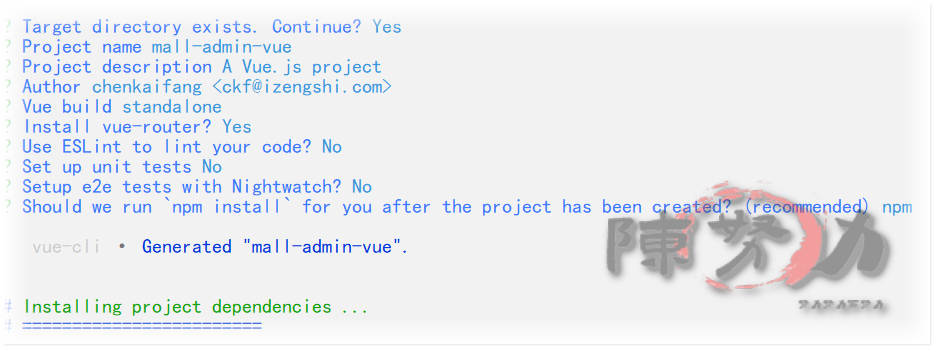
vue init webpack mall-admin-vue
Initialization succeeded, file directory
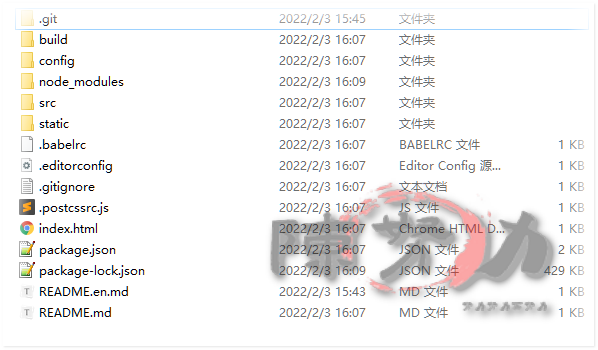
Project structure analysis
node_modules Directory: node_modules is the directory of project dependent modules, and the folders inside are all project dependent modules. Generally, it doesn't need to be ignored. When we use npm install to install dependent modules, we download the modules here.
Build directory: the build directory is a directory of project construction information, which mainly contains some configurations of the webpack construction project.
config Directory:
The config directory is the directory where the configuration files of the project are stored.
The basic configuration information is in index js
Configuration information in the development environment: dev.env js
Configuration information in online product environment: prod.env js
Static Directory: it stores the static resource files of the project. This directory is open access.
package.json and package lock JSON file:
package. The JSON file contains the list of project dependent modules. When npm is used to install project dependent modules, it is from package JSON to determine what dependencies are needed.
package-lock. The JSON file contains some restriction information of the project dependent module (restricted version number, restricted download address, restricted hash value)
.eslintrc.js and eslintignore file:
.eslintrc.js is a file about the syntax rules of eslint.
. eslintignore specifies which files or folders to ignore eslint syntax detection.
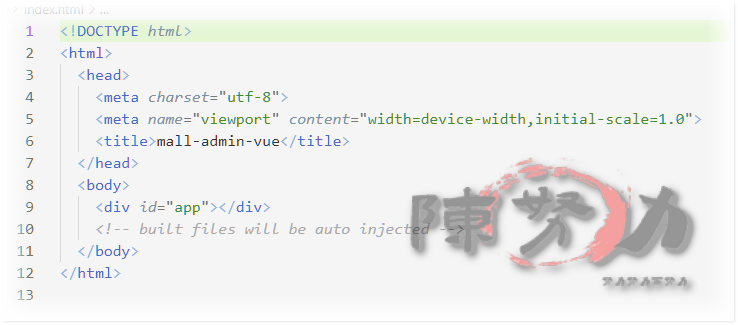
index.html file: it is the home page file of the current project.
. babelrc file: it is a file about the conversion between vue syntax and js syntax [generally ignored]
src Directory: it is the source code directory of the project
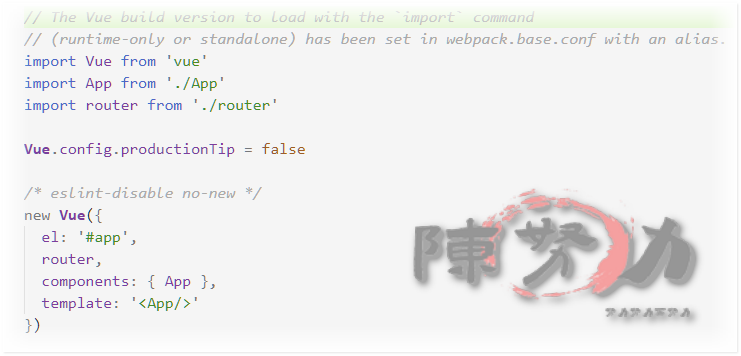
main.js: is the entry file of the project, including operations such as creating a new root instance. (there may be operations such as global registration of components in the future.)
router Directory: used to set the directory of vue routing information
store directory: used to set the directory of vuex data management
App.vue file: it is the root component of the project.
Components Directory: the directory related to components. Single file components are generally stored here
Assets Directory: static resource repository [the difference between static and static is that static will be built intact, while assets will be processed by webpack, and the path webpack will be automatically managed]
usage
Root instance
In main JS file will automatically create a root instance
Root instance management area
From main JS file, you can see that the id of the area corresponding to the root instance is still app, and this app is in index HTML
Render Page
You can see main JS is the core entry file, which creates a root instance to manage index The app area of HTML and declares the template used internally, so when rendering, the app area will be rendered, and the app is a component (this is a single file component, App.vue), so that is to display the content of the app component in the app area.
Modify home page
From the above, the home page is index HTML, the core display area is the app area, and the app area displays the content of the component app. If we modify the content in the app component (App.vue), we can modify the home page.
Register components
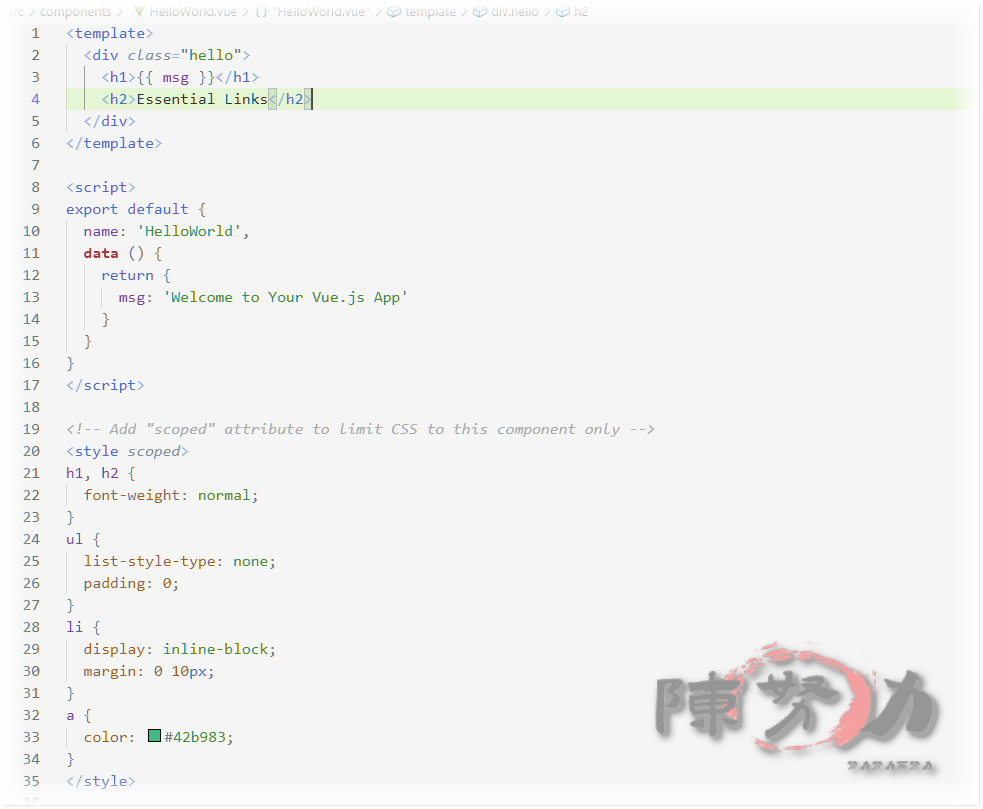
After using npm to build a project, a component can be defined in a separate vue.
In addition to the previous global registration and local registration, you can also use a single Vue file to register a component (essentially equivalent to local registration). This step can be briefly described here. First, define a Vue file, such as App Vue file, and then in App Vue defines the content of the component, and uses export to "export" the component. If necessary, use import to import the component, and then you can use the component. (when the above main.js uses the App.vue component, there is also a line of import App from '. / App')
router-view
This is an element for route display. It will load the content defined by the current route. If you have learned iframe or frame, you will understand the meaning of this thing. Router view will display the corresponding content according to the current url (the corresponding content of this route is in index.js under the router directory).
Modify initialization page
npm run dev
Your application is running here: http://localhost:8081
Home page of project initialization

This is app Vue page code can be modified to test whether the page display can be modified:
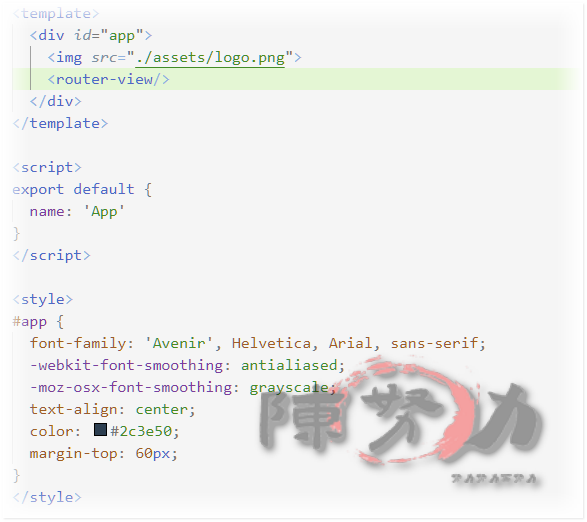
We can try to delete < img SRC = ". / assets / logo. PNG" > to test whether we can modify the app Vue to achieve the effect of modifying the initial page.

Use routing
App.vue has a < router view / >
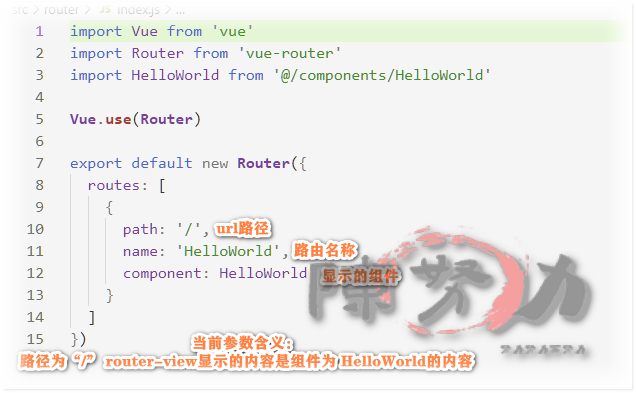
src/router/index. The original code of JS is as follows. The code explains which Component corresponds to the text content under the picture in the initial page of routing / rendering. It imports HelloWorld from '@ / components/HelloWorld' and then defines it in the route.
import Vue from 'vue'
import Router from 'vue-router'
import HelloWorld from '@/components/HelloWorld'

Vue.use(Router)

export default new Router({
  routes: [
    {
      path: '/',
      name: 'HelloWorld',
      component: HelloWorld
    }
  ]
})
New management platform page
Because the routing jump is component oriented, if we want to perform routing jump, we need to define several components first.
The following components are defined in src/components:
- Login.vue: corresponding to the route / route, the login page (Login.vue) will be rendered on the first page of the project by default
- AdminIndex.vue: corresponding to routing / admin. After successful login, it will enter the home page of background management
- ProductManage.vue: corresponding to routing / product, click the product management menu to enter the product menu page
- ClientManage.vue: corresponding to the route / client, click the customer management menu to enter the customer menu page
When designing these component s, we use Element UI as our UI library. First, we import them.
Execute command: npm install element-ui --save
Then in main The following code can be added to all components in the UI element:
import Vue from 'vue'
import App from './App'
import router from './router'
import ElementUI from 'element-ui'
import 'element-ui/lib/theme-chalk/index.css'
Vue.use(ElementUI)

Vue.config.productionTip = false

new Vue({
  el: '#app',
  router,
  components: { App },
  template: '<App/>'
})
When designing the component, pay attention to modifying the app A margin top in Vue style, otherwise you may find a blank at the top of the interface.
Login.vue
<template>
  <div>
    <h3>
      This is the login page. Because the function is not perfect,<br />
      Therefore, the login function is ignored here. Click directly to enter the background management home page
    </h3>
    <router-link to="/admin">Enter the background Management Homepage</router-link>
  </div>
</template>
<script>
export default {
  name: "Login",
};
</script>
<style scoped>
</style>
Background management homepage adminindex vue
<template>
  <el-container>
    <!-- Top of page -->
    <el-header> LOGO </el-header>
    <el-container>
      <!-- Menu on the left side of the page -->
      <el-aside width="200px" style="background-color: rgb(238, 241, 246)">
        <el-menu router="true">
          <!-- Open menu router=true After that, clicking the menu will index As route jump path -->
          <el-menu-item index="product">
            <i class="el-icon-setting"></i>product management
          </el-menu-item>
          <el-menu-item index="client">
            <i class="el-icon-setting"></i>customer management
          </el-menu-item>
        </el-menu>
      </el-aside>

      <el-main>
        <!-- The following content is the content of the middle blank area, which you can customize -->
        This is the content of the home page of background management
      </el-main>
    </el-container>
  </el-container>
</template>

<style>
.el-header {
  background-color: #c1cbd8;
  color: #333;
  line-height: 60px;
}

.el-aside {
  color: #333;
}
</style>

<script>
export default {
  name: "AdminIndex",
};
</script>
<style scoped>
</style>
Customer management page clientmanage vue
<template>
  <el-container>
    <el-header> LOGO </el-header>
    <el-container>
      <el-aside width="200px" style="background-color: rgb(238, 241, 246)">
        <el-menu router="true">
          <!-- Open menu router=true After that, clicking the menu will index As route jump path -->
          <el-menu-item index="product">
            <i class="el-icon-setting"></i>product management
          </el-menu-item>
          <el-menu-item index="client">
            <i class="el-icon-setting"></i>customer management
          </el-menu-item>
        </el-menu>
      </el-aside>

      <el-main> This is the customer management page </el-main>
    </el-container>
  </el-container>
</template>

<style>
.el-header {
  background-color: #c1cbd8;
  color: #333;
  line-height: 60px;
}

.el-aside {
  color: #333;
}
</style>

<script>
export default {
  name: "ClientManage",
};
</script>
<style scoped>
</style>
Product management page productmanage vue
<template>
  <el-container>
    <el-header> LOGO </el-header>
    <el-container>
      <el-aside width="200px" style="background-color: rgb(238, 241, 246)">
        <el-menu router="true">
          <!-- Open menu router=true After that, clicking the menu will index As route jump path -->
          <el-menu-item index="product">
            <i class="el-icon-setting"></i>product management
          </el-menu-item>
          <el-menu-item index="client">
            <i class="el-icon-setting"></i>customer management
          </el-menu-item>
        </el-menu>
      </el-aside>

      <el-main> This is the product management page </el-main>
    </el-container>
  </el-container>
</template>

<style>
.el-header {
  background-color: #c1cbd8;
  color: #333;
  line-height: 60px;
}

.el-aside {
  color: #333;
}
</style>

<script>
export default {
  name: "ProductManage",
};
</script>
<style scoped>
</style>
Modify route
import Vue from 'vue'
import Router from 'vue-router'
import Login from '@/components/Login'
import AdminIndex from '@/components/AdminIndex'
import ProductManage from '@/components/ProductManage'
import ClientManage from '@/components/ClientManage'

Vue.use(Router)

export default new Router({
  routes: [
    {
      path: '/',
      name: 'Login',
      component: Login
    }, {
      path: '/admin',
      name: 'AdminIndex',
      component: AdminIndex
    }, {
      path: '/product',
      name: 'ProductManage',
      component: ProductManage
    }, {
      path: '/client',
      name: 'ClientManage',
      component: ClientManage
    }
  ]
})
Sub routing version
In the above interface, we repeatedly wrote a lot of code for the menu bar on the left.
In fact, when clicking on the menu, we may only need to modify the content of the middle content area.
This function can be realized through sub routing.
Nested router view
First, we're at adminindex Modify the code of the middle area in Vue and keep the code of the left menu unchanged:
<el-main>
<!-- Only modify the code of the middle area, and the others remain the same as before -->
  <router-view />
 </el-main>
Some contents can be nested and displayed through embedding, and the rendered contents of the parent route will not be affected when rendering the child contents
Define sub routes
import Vue from 'vue'
import Router from 'vue-router'
import Login from '@/components/Login'
import AdminIndex from '@/components/AdminIndex'
import ProductManage from '@/components/ProductManage'
import ClientManage from '@/components/ClientManage'

Vue.use(Router)

export default new Router({
  routes: [
    {
      path: '/',
      name: 'Login',
      component: Login
    }, {
      path: '/admin',
      name: 'AdminIndex',
      component: AdminIndex,
      children: [
        {
          path: 'product',
          name: 'ProductManage',
          component: ProductManage
        },
        {
          path: 'client',
          name: 'ClientManage',
          component: ClientManage
        }
      ]
    }
  ]
})
Modify menu
Modify the route corresponding to the menu in the left menu bar to a new route.
    <!-- Menu on the left side of the page -->
    <el-aside width="200px"
              style="background-color: rgb(238, 241, 246)">
      <el-menu router='true'>
        <!-- Open menu router=true After that, clicking the menu will index As route jump path -->
        <el-menu-item index="/admin/product">
          <i class="el-icon-setting"></i>product management
        </el-menu-item>
        <el-menu-item index="/admin/client">
          <i class="el-icon-setting"></i>customer management
        </el-menu-item>
      </el-menu>
    </el-aside>
Modify component
At this time, other components no longer need to write the code of the menu bar on the left repeatedly, so the code of the component needs to be modified:
Roughly as follows, remove the duplicate code and keep only the code in the middle content area
<template>
  <div>This is the customer management page</div>
</template>

<script>
export default {
  name: "ClientManage",
};
</script>
<style scoped>
</style>
<template>
  <div>
    This is the product management page
  </div>
</template>

<script>
export default {
  name: 'ClientManage'
}
</script>
<style scoped>
</style>