Vue uses hypergraph SuperMap
preface
How to put it, I answered the phone in a muddle headed way and received a temporary task in a muddle headed way. I made a mistake in a muddle headed way and worked on Hypergraph for several days. Hypergraph is really powerful, but it takes a certain amount of time to learn, because its functions are relatively powerful and there are too many function points, You can't start development in a moment and a half. Come on! I am also a Xiaobai, but I have pushed it for a long time. I still sort out some methods and steps of introducing hypergraph in vue project. I hope I can help some peers who need to use but have no direction in the future. For reference only, do not trust.
Relevant information
There may be fewer users or groups, so there will be less information on the Internet, but there are still several websites to share with you.
Hypergraph official website: Shuttle door
Hypergraph case: Shuttle door
Hypergraph 3D: Shuttle door
OpeaLayers: Shuttle door
You can certainly find the corresponding materials or API interfaces in these websites, but the cases given on the official website are js codes. If you need to use them in vue projects, you may need to convert the corresponding js codes into the syntax of vue. In fact, you don't need to understand the meaning of each line of code, because the codes in the cases are not introduced in detail, If you want to find out, you need to query a single API, but this is a huge task. You can study it slowly in the future. If you are anxious, you only need to understand the code block.
vue project introduces two-dimensional Hypergraph
Next, the vue project introduces a two-dimensional hypergraph.
Let's take OpenLayers as an example, file.
Many import methods are introduced in the document. If it is a Vue project, please use npm import method.
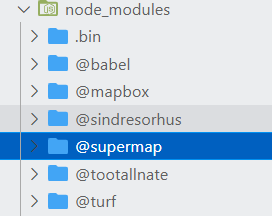
npm install @supermap/iclient-ol
After the installation is complete, node_ The modules folder will have a supermap folder. Congratulations, the installation is successful!
After the installation is completed, the CSS file is introduced into the index.html file.
<link href='https://cdn.jsdelivr.net/gh/openlayers/openlayers.github.io@master/en/v6.4.3/css/ol.css' rel='stylesheet' />

<link href='https://iclient.supermap.io/dist/ol/iclient-ol.min.css' rel='stylesheet' />
Then you can. SuperMap is successfully added to the project.
However, there is a problem, that is, whether the syntax of project ES6 can be changed to ES5. This may need to be configured, otherwise the later projects will crash and report errors when using hypergraph to load data.
Add the transformation of supermap in the webpack.base.conf.js file.
{
   test: /\.js$/,
   loader: 'babel-loader',
   include: [resolve('src'), resolve('test'), resolve('node_modules/webpack-dev-server/client'), resolve('node_modules/@supermap')]
},
In this way, there should be no problem. Then, the two-dimensional is relatively simple. Let's take a simple case.
Hypergraph 2D case
Cited Library
First, introduce some libraries on the pages that need to use hypergraphs.
  import Map from 'ol/Map';
  import View from 'ol/View';
  import TileLayer from 'ol/layer/Tile';
  import * as control from 'ol/control';
  import { Logo, TileSuperMapRest } from '@supermap/iclient-ol';
These libraries are imported according to the documents on the official website, that is OpenLayers API documentation.
We can copy several databases from the official website as needed case Then, we can go to the library used in the case OpenLayers API documentation Check the corresponding inside.
For example, in the case of the official website, there is a piece of code, var layer = new ol.layer.Tile. When we don't know what library should be introduced into vue, we can check opealayers.
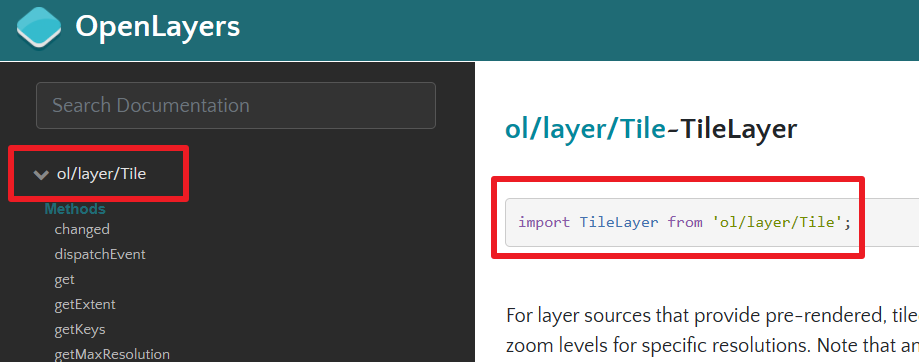
It's like this.
HTML
Then write an html to display the map.
<div id="map"></div>
TS
Then the ts code.
        var url = "https://iserver.supermap.io/iserver/services/map-world/rest/maps/World";
        this.map = new Map({
          target: 'map',
          controls: control.defaults({ attributionOptions: { collapsed: false } }).extend([new Logo()]),
          view: new View({
            center: [106.86, 39.71],
            // maxZoom: 18,
            // minZoom: 2,
            zoom: 5,
            projection: 'EPSG:4326',
          })
        });
        var layer = new TileLayer({
          source: new TileSuperMapRest({
            url: url,
            wrapX: true
          }),
          projection: 'EPSG:4326'
        });
        this.map.addLayer(layer);
Then the two-dimensional can be displayed normally.
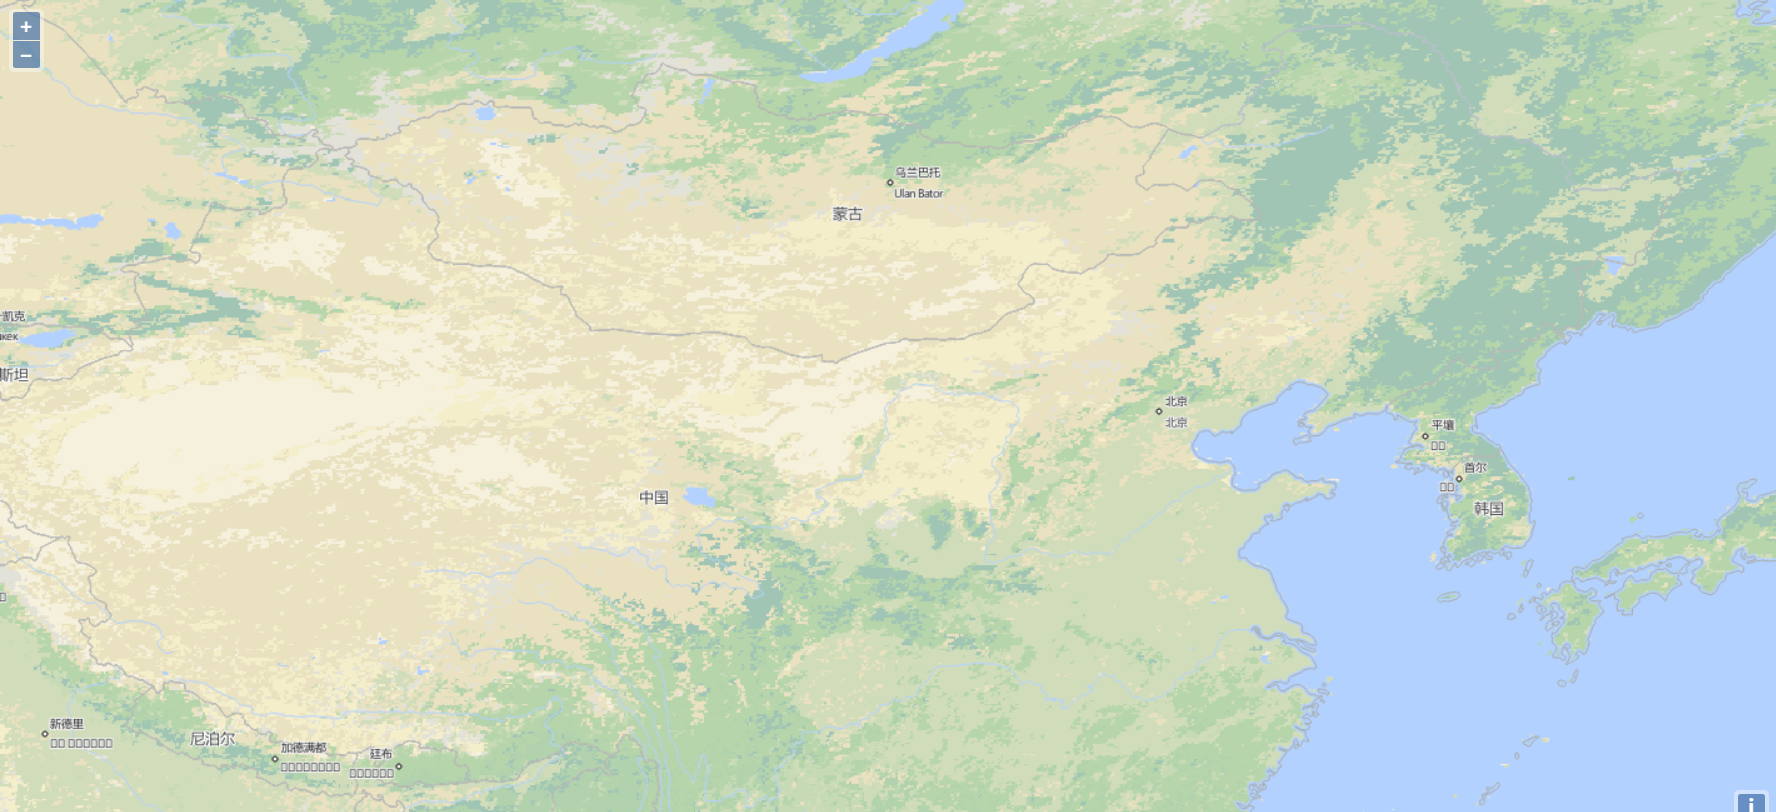
If you need other functions, you can check the cases on the official website and use them directly, but you need to convert the js code into the syntax of vue. ok!
vue introduces 3D Hypergraph
3D is a little hard. You can refer to the hypergraph 3D document . js is used on the official website. A package is required for vue installation. You can download it sometime.
Download location of package
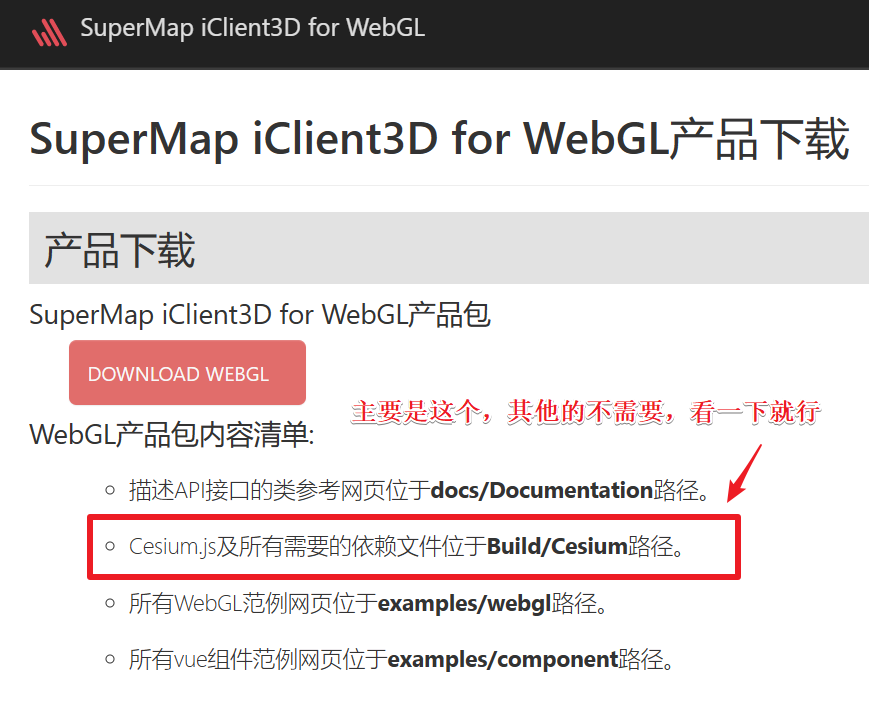
After downloading it, I put it under the static folder.
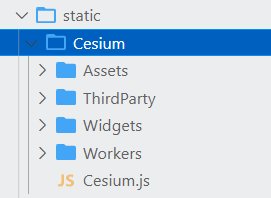
Then introduce the widgets.css, Cesium.js and zlib.min.js files in index.html.
<link rel="stylesheet" href="./static/Cesium/Widgets/widgets.css">
<script type="text/javascript" src="./static/Cesium/Cesium.js"></script>
<script type="text/javascript" src="./static/Cesium/Workers/zlib.min.js"></script>
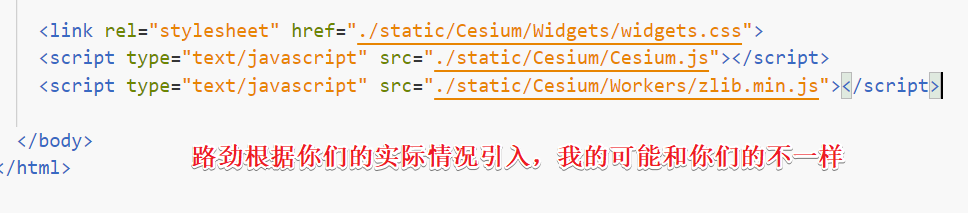
Then there is no need. You can write directly in the interface that needs to use hypergraph 3D. Similarly, you can refer to the hypergraph 3D official website 3D case To test, you need to convert js code into vue code.
Here, I will briefly introduce the demo introduced by several layers. A div is still needed to display the map. I forgot to say that this div must remember to set the width and height, otherwise it may not be displayed. Remember!
<div id="map" style="width: 100%;height:95%"></div>
Then there is ts code, which does not need to introduce such a variety of libraries like two-dimensional, just code directly.
Simply, create a three-dimensional earth
var viewer = new Cesium.Viewer('map')
In this line of code, if you can display a three-dimensional earth, it shows that the introduction is successful, there is no problem, and you can continue to develop downward.
Then I won't share the detailed code. If necessary, find the conversion from the case.
Let me share the introduction of several common layers. In fact, the official website also said that I have tested them, so I'll show you directly.
The first method is to import topographic maps and images
For example, if I want to import GIS information from a certain place in Beijing, I think Baidu can only look at the plan, which is two-dimensional and can't see the height, but after the hypermap is introduced into the topographic map, we can see the terrain information, such as height. At this time, we need a link to the terrain of a certain area and an image link of the area. Then the terrain is below and has height, Put up the image map on it. I should make it clear, right? The code is as follows:
Add topographic map
var viewer = new Cesium.Viewer('map', {
    //Create an instance of a terrain service provider whose url is the TIN terrain service published by SuperMap iServer
    terrainProvider: new Cesium.CesiumTerrainProvider({
    url: 'http://Localhost: 8090 / iserver / services / 3D Dixing / rest / realspace / data / Terrain_ Terrain ', / / load the topographic map, which is the link under data
    isSct: true,//Terrain service originates from SuperMap iServer. When publishing, isSct should be set to true
    invisibility: true
  }),
});
Add image
// Add underlying image
var layer = new Cesium.SuperMapImageryProvider({
    url: 'http://localhost:8090/iserver/services/YingXiang/rest/maps / image basemap '/ / address rest format of image service
});
var imgLayer = this.viewer.imageryLayers.addImageryProvider(layer)
In this way, the terrain and images are loaded.
Then we can locate the camera position, that is, which part we look at when loading, otherwise we see an earth and need to zoom in and find it ourselves.
// Simply define the camera view position
this.scene.camera.setView({
  destination: Cesium.Cartesian3.fromDegrees(108.19, 40.39, 1000000)
});
Then the first map can be loaded.
Load S3M layer
This place is to load all S3M layers in the file directory. You can only load a few as needed. Please refer to the official documents.
// Add River S3M layer, and open will import all layer information under the changed file path into the map
var promise = this.scene.open("http://localhost:8090/iserver/services/CJ/rest/CJ");
Cesium.when.all([promise], function (layers) {
  let layer = that.scene.layers.find('Yangtze River')  // Query the layer by name. This name is the name corresponding to the layer connection, not by itself
  layer.style3D.bottomAltitude = 1150  // Set the height of this layer in the map. Set it as required
  this.viewer.zoomTo(layer);   // Locate the layer to the model location
})

Add MVT layer
// Add grass MVT layer
this.mc = {
  url: 'http://Localhost: 8090 / iserver / services / Caodi / rest / maps / CD ', / / service address of Mvt
  canvasWidth: 512,
  name: 'grassland',  // The name of the layer is not created by itself, but the layer name corresponding to this connection
  viewer: that.viewer
}
this.McMvtMap = this.scene.addVectorTilesMap(this.mc);
The above code completes the addition of MVT layer.
Then there is deletion
this.scene.removeVectorTilesMap(McMvtMap.name);
That's all. There's another line of code. You'd better add it.
this.scene.globe.depthTestAgainstTerrain = false;
Well, that's exactly what this blog is about.