oss preparation
Step 1: first go to alicloud and buy an oss
Step 2: look at the oss documentation
Click here first
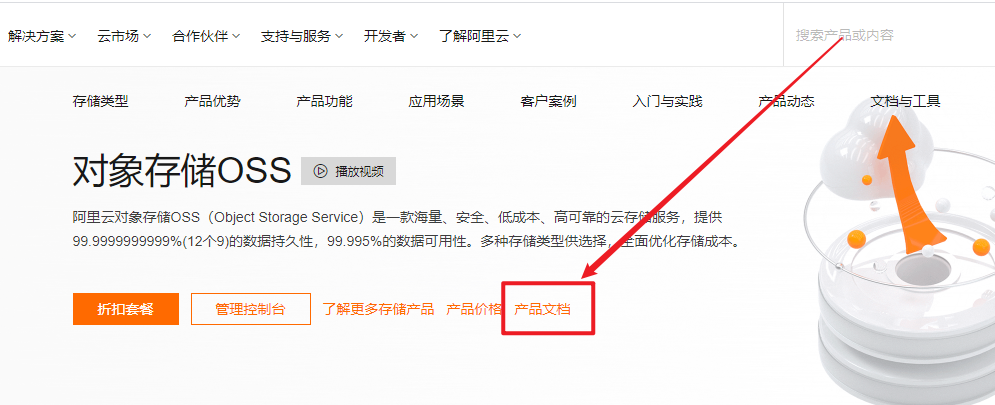
Click here again
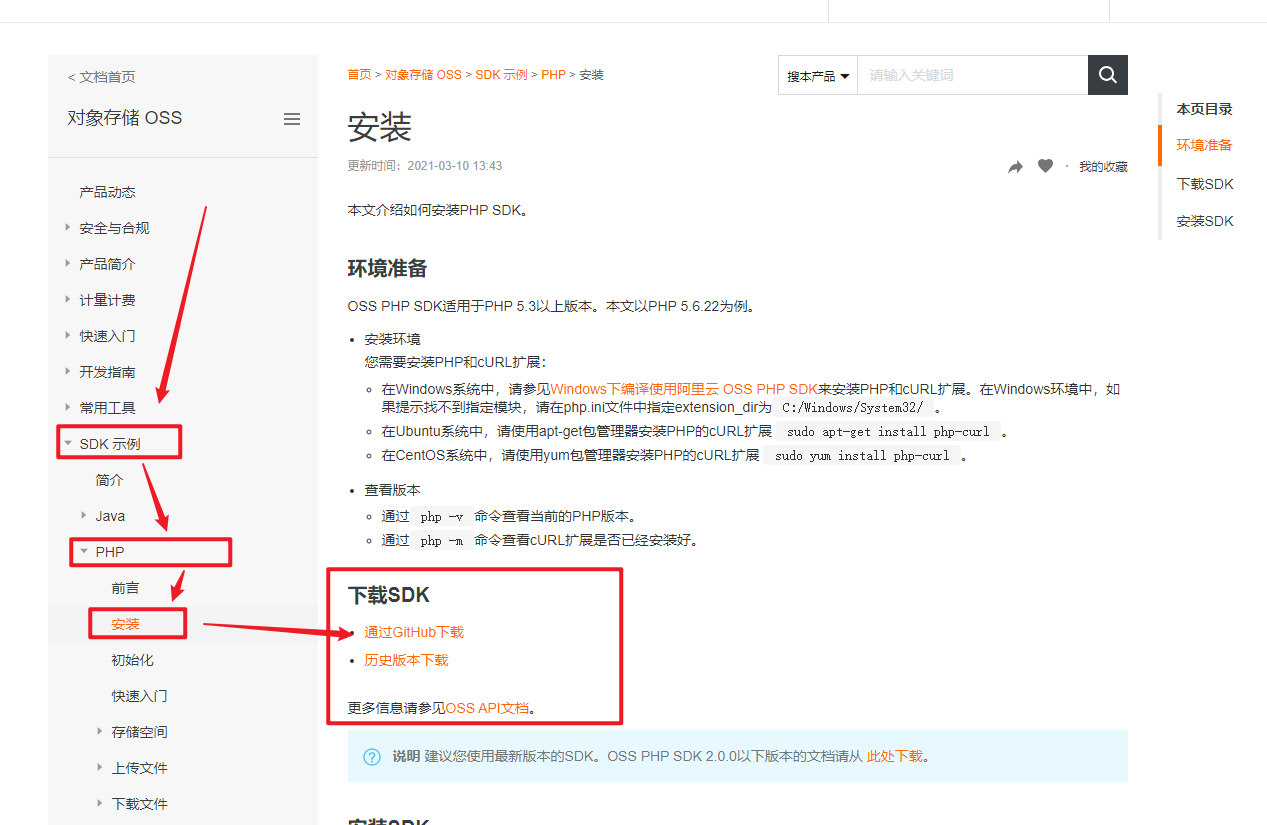
Try to download the SDK. The following is the directory structure of the SDK
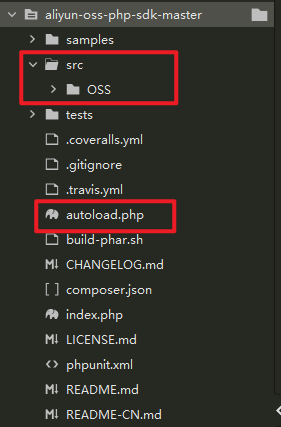
The important thing to pay attention to is the documents in the red circle above.
Continue to read the official documents
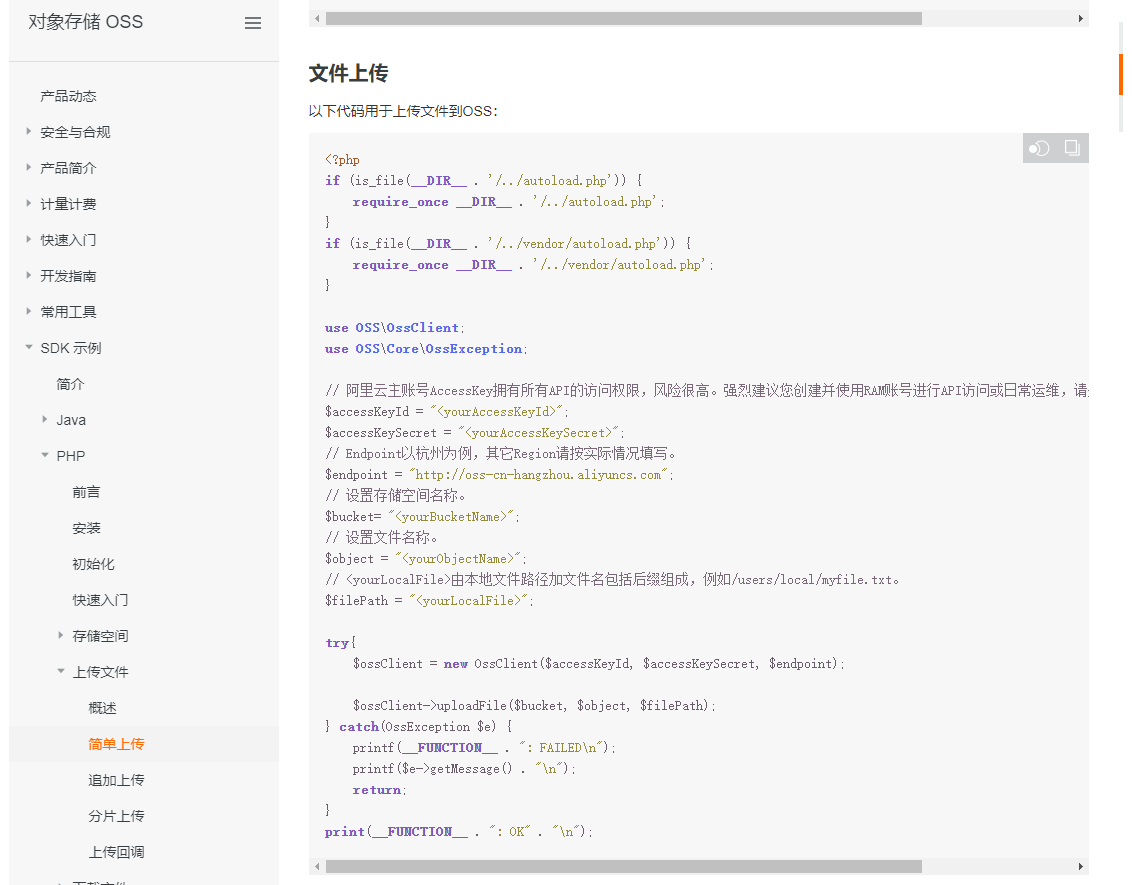
From the above code, we can see that we still need to prepare the following things
- AccessKeyId
- AccessKeySecret
- EndPoint
- Bucket
AccessKeyID and AccessKey Secret
Enter the oss management console
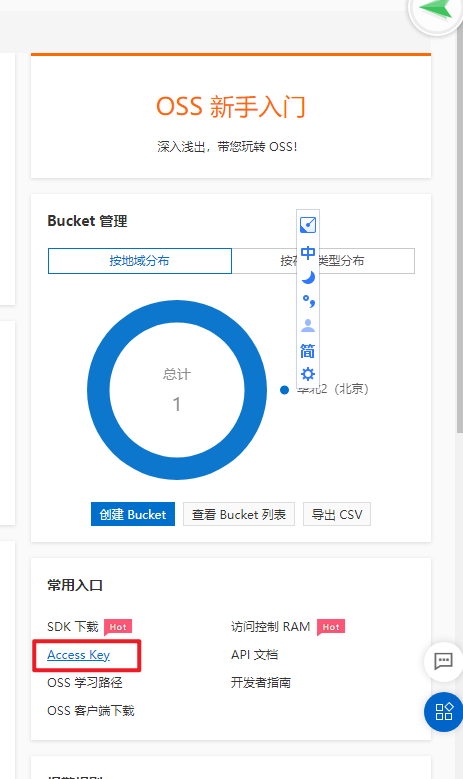
Note the [common entry] in the picture, which will be used later. First click [Access Key] to enter the next page.
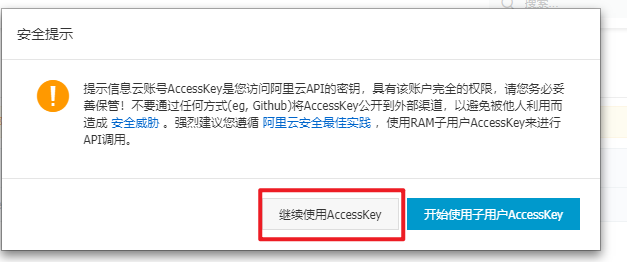
The purpose of this article is to try to use oss, so don't consider security first. Click to continue using AccessKey.

Click the display under AccessKey Secret, then enter the verification code received by the mobile phone, and it will be displayed. Note that it will only be displayed once, and the mobile phone verification code will be displayed again next time, so it needs to be copied. At this step, we have successfully obtained our AccessKey ID and AccessKey Secret.
EndPoint
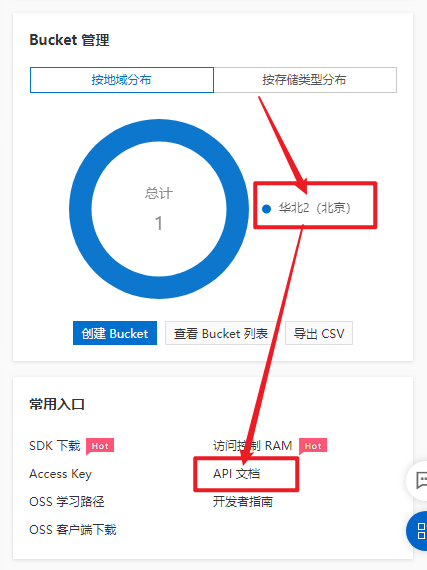
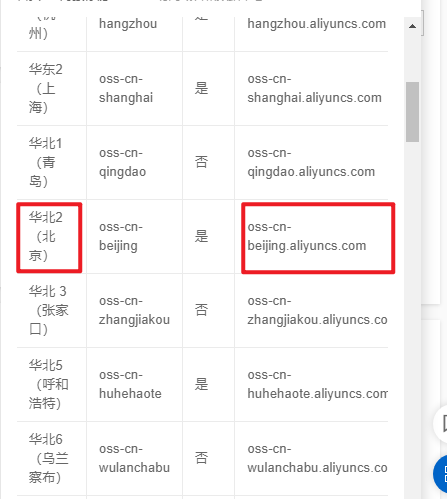
Remember the contents of the red circle in the figure above, click the API document and find the access domain name in it.
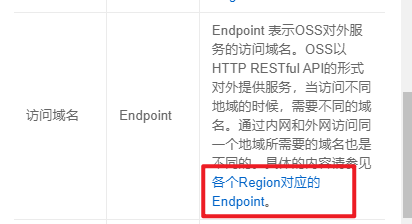
Then find the endpoint corresponding to your region.
Bucket
Find the bucket list in the sidebar and click Create bucket. Then fill in the contents and check whether you need to open various services.

So far, the things we need in oss are ready.
PHP background file preparation
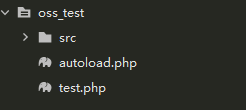
First find the SDK file downloaded in the previous step. Then create a new folder, and then the entire src folder in the SDK folder and autoload Drag the PHP file into the new folder. Then create a new test PHP file.
Edit test PHP file
This file is actually what we call the interface. The contents are posted directly.
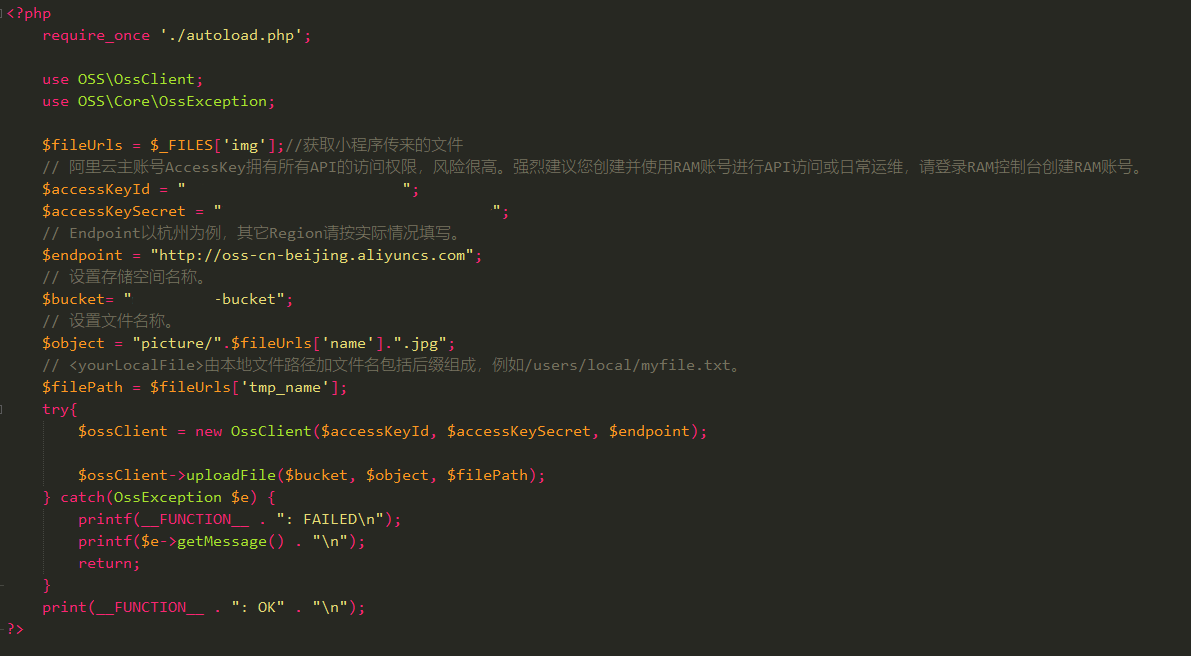
There are two points to pay attention to. One is the super global variable of PHP$_ FILES, unfamiliar or unknown, you can go to the rookie tutorial to see its usage.
The second point is that $object can see that the comment says the setting file name. In fact, this file name can include folders. Generally speaking, if I name it test Png then this picture is saved directly in the root directory of the bucket. If there is a pic folder in my bucket and I want to save the pictures in the pic folder, the value of $object must be PIC / test png.
Here, the background file is ready, and then go to the wechat applet.
Wechat applet preparation
Wechat applet mainly uses two official API s here
- wx.chooseImage()
- wx.uploadFile()
New project
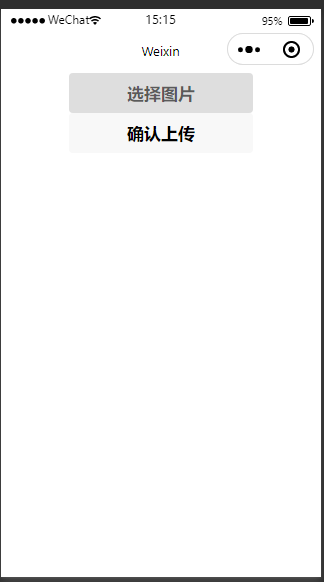
Keep everything simple. The specific idea is to write two buttons. Click one button to trigger Wx Chooseimage() selects a file, and another click triggers Wx Uploadfile() to upload files.
index.wxml
<button bindtap="ChooseImage">Select Picture</button>
<button bindtap="UpLoadFiles">Confirm upload</button>
index.js
Page({
  data: {
    src: [],//The temporary path to store the uploaded pictures on the local computer
  },
  ChooseImage: function () {
    var that = this;
    wx.chooseImage({
      count: 9, // The maximum number of pictures you can select is 9 by default
      sizeType: ['original', 'compressed'], // original and compressed compressed. Both are available by default
      sourceType: ['album', 'camera'], // album selects pictures from albums and camera uses cameras. Both are available by default
      success: function (res) {
        console.log(res)
        that.setData({
          src: res.tempFilePaths
        });
      },
      fail: function () {
      }
    })
  },
  UpLoadFiles: function () {
    var images = this.data.src;
    images.forEach(function (localUrl) {
      wx.uploadFile({
        url:'http://IP/oss_test/test.php ', / / interface address
        filePath: localUrl,
        name: 'img',//This should correspond to the background PHP file
        header: {
          "Content-Type": "multipart/form-data"
        },
        success: function (res) {
          console.log('success||');
        },
        fail: function (res) {
          wx.hideToast();
          wx.showModal({
            title: 'Error prompt',
            content: 'Failed to upload picture',
            showCancel: false,
            success: function (res) {}
          })
        }
      });
    });
  }
})
wx.uploadFile can only upload one file at a time, so you need to make multiple requests with a loop to achieve the purpose of uploading multiple pictures.
At this point, the tutorial can be completed, and the rest is to run.