2, Python Django microblog
Through simple operation, you can implement a blog application in Django
2.1 generate files with templates
Enter the directory created in the previous blog and execute the following command.
django-admin startapp blog
# You can also use the following command
python manage.py startapp blog
After the command is run, the generated directory is as follows.
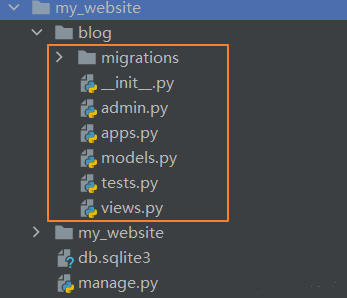
Relevant documents are described as follows:
blog # root directory
    __init__.py
    admin.py # back-stage management
    apps.py # Application settings related
    models.py # Model, database related
    tests.py # Test related
    views.py # View related
    migrations # Database change record folder
Next, modify my_ Settings. In the website folder Py file and add a blog application. The specific code is as follows, focusing on the last line.
INSTALLED_APPS = [
    'django.contrib.admin',
    'django.contrib.auth',
    'django.contrib.contenttypes',
    'django.contrib.sessions',
    'django.contrib.messages',
    'django.contrib.staticfiles',

    'blog', # This is very important
]
In Django, if you want to apply models, static files and templates, you need to install them_ Apps adds the corresponding application directory. If it is not set, the application will not be loaded.
2.2 create article model and database structure
A blog includes the title, content, release time and other contents, which are created in Django. The core to be modified is models Py file.
from django.db import models

# Create your models here.
class Blog(models.Model):
    title = models.CharField("title", max_length=100)
    content = models.TextField("content")
    creatr_time = models.DateField("Release time")
This class is a model class. To implement a model class, you need to inherit from models Model class, which is used for conversion between data in the database and Python objects.
Next, reflect the Blog class into sqlite3 database. At this stage, please focus on imitation, and the corresponding knowledge framework will be supplemented for you later.
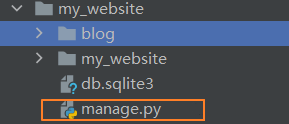
In manage Run the following command from the folder where py is located:
python manage.py makemigrations blog
This command is used to check the changes of the model file in the blog. Since we created a blog class above, models Py file is modified. When the above command is executed, the following contents will be output.
>python manage.py makemigrations blog
Migrations for 'blog':
  blog\migrations\0001_initial.py
    - Create model Blog
The prompt information is also Create model Blog. The prompt creates a Blog class. Next, models The content in py is created in sqlite3, and the command used is Python manage Py migrate Blog, the running results are as follows:
> python manage.py migrate blog
Operations to perform:
  Apply all migrations: blog
Running migrations:
  Applying blog.0001_initial... OK
2.3 create management background
The following is a simple step to manage the blog table. Django has its own user authentication system and uses the command Python manage Py migrate.
> python manage.py migrate
Operations to perform:
  Apply all migrations: admin, auth, blog, contenttypes, sessions
Running migrations:
  Applying contenttypes.0001_initial... OK
  Applying auth.0001_initial... OK
  Applying admin.0001_initial... OK
  Applying admin.0002_logentry_remove_auto_add... OK
  Applying admin.0003_logentry_add_action_flag_choices... OK
  Applying contenttypes.0002_remove_content_type_name... OK
  Applying auth.0002_alter_permission_name_max_length... OK
  Applying auth.0003_alter_user_email_max_length... OK
  Applying auth.0004_alter_user_username_opts... OK
  Applying auth.0005_alter_user_last_login_null... OK
  Applying auth.0006_require_contenttypes_0002... OK
  Applying auth.0007_alter_validators_add_error_messages... OK
  Applying auth.0008_alter_user_username_max_length... OK
  Applying auth.0009_alter_user_last_name_max_length... OK
  Applying auth.0010_alter_group_name_max_length... OK
  Applying auth.0011_update_proxy_permissions... OK
  Applying auth.0012_alter_user_first_name_max_length... OK
  Applying sessions.0001_initial... OK
This command creates a database table structure of some columns. After the table structure appears, you also need to create a login account. The core command used is Python manage py createsuperuser.
> python manage.py createsuperuser
Username (leave blank to use 'administrator'): xiangpica
Email address: dream@163.com
Password:
Password (again):
The password is too similar to the username.
Bypass password validation and create user anyway? [y/N]: y
Superuser created successfully.
The preparatory work is completed, and the admin Py file, and pay attention to admin The location of the PY file and the calling relationship between modules.
from django.contrib import admin
from blog.models import Blog
# Register your models here.

@admin.register(Blog)
class BlogAdmin(admin.ModelAdmin):
    pass
Before the official operation, you also need to modify the Chinese and English content of the web page display and open setting Py file, modify the following contents.
# LANGUAGE_CODE = 'en-us'
LANGUAGE_CODE = 'zh-hans'
When the preparation is completed, run the following command Python manage on the console py runserver:
> python manage.py runserver
Watching for file changes with StatReloader
Performing system checks...

System check identified no issues (0 silenced).
March 24, 2021 - 22:22:33
Django version 3.1.7, using settings 'my_website.settings'
Starting development server at http://127.0.0.1:8000/
The default page opens, and the contents are as follows:
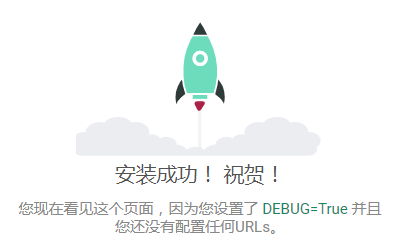
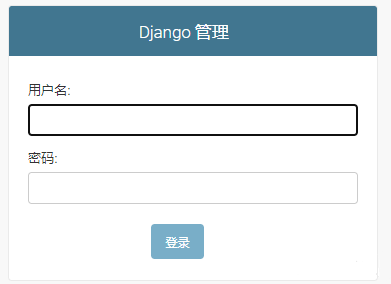
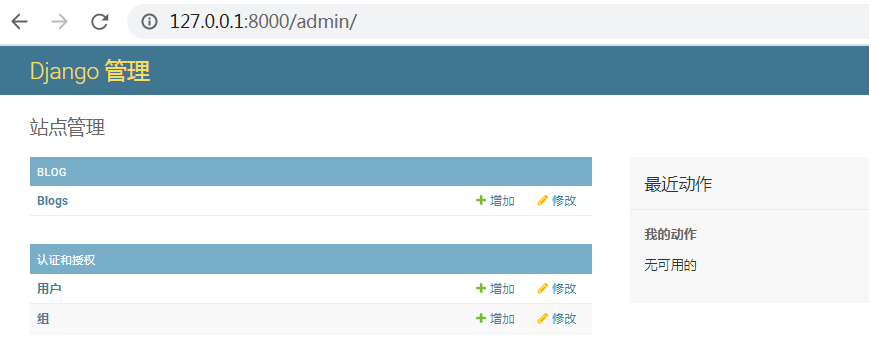
Modify the access address to: http://127.0.0.1:8000/admin , the login window appears, and you can access it by using the account registered above.
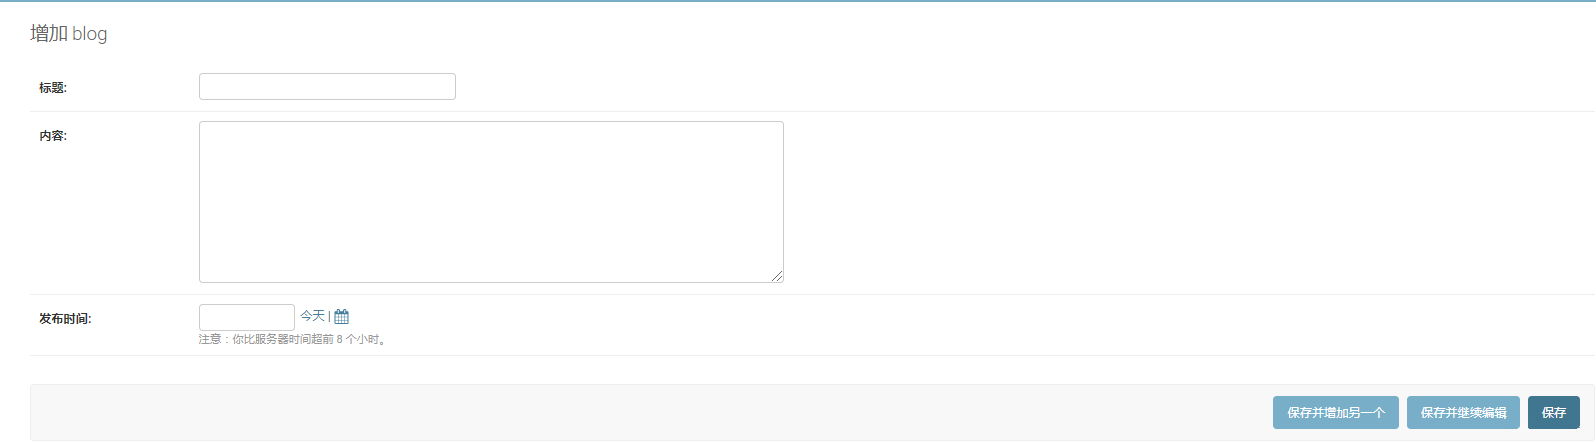
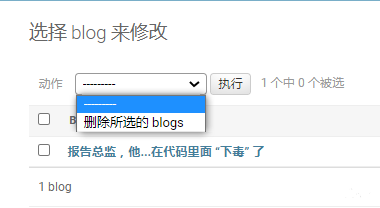
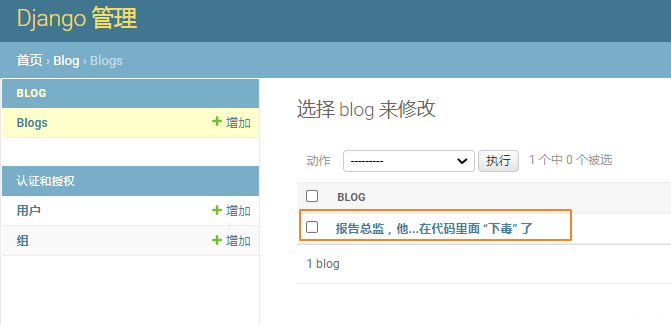
After entering some article related information to save, return to the list page and a small detail appears. The data in the orange box is a Blog object, not the title of the article. Continue to modify the code.
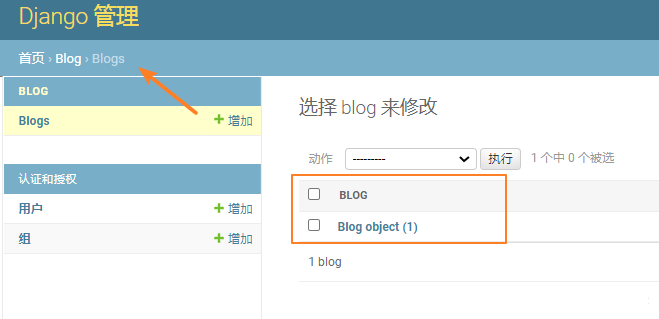
Modify modes Py file, modified as follows:
from django.db import models

# Create your models here.
class Blog(models.Model):
    title = models.CharField("title", max_length=100)
    content = models.TextField("content")
    creatr_time = models.DateField("Release time")

    def __str__(self):
        return self.title
A small blog, you can edit and delete the article.