Article catalog
Create an Android project
How to create an Andrioid project can refer to the previous article: IDEA creates an Android project and decompiles APK
If you always have this problem after creating, gradle project sync failed. basic functionality ----
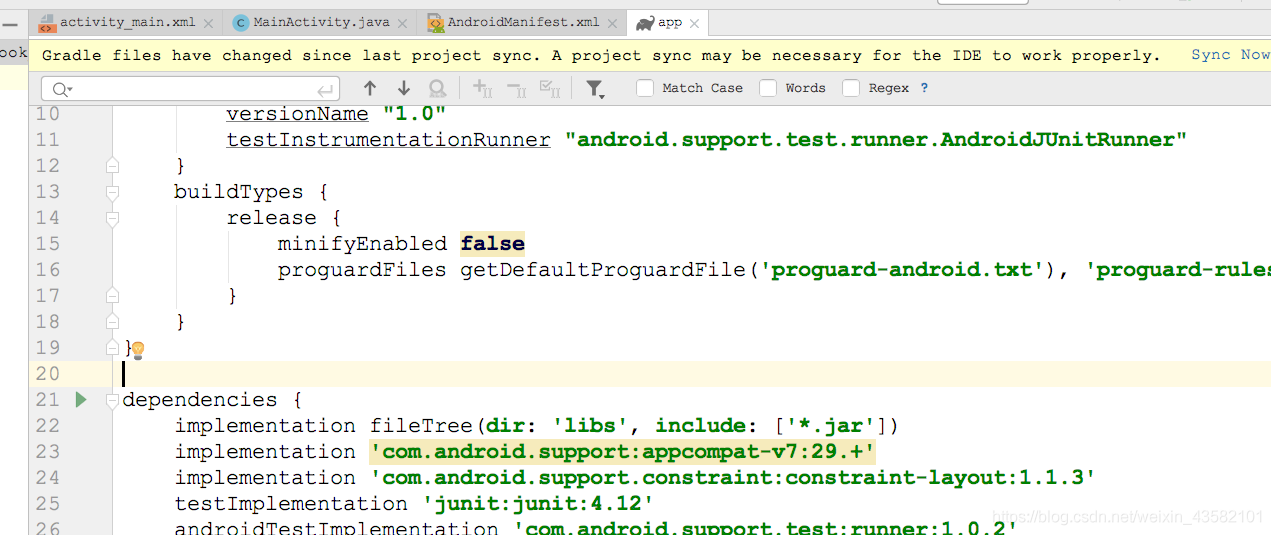
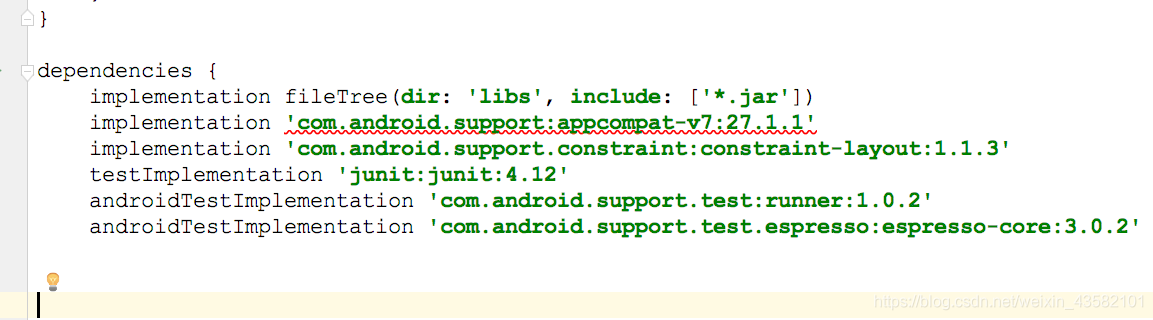
Just change the version to this, as shown below. (quotation marks, lowercase) implementation 'com.android.support:appcompat-v7:27.1.1'
Configuring xposed in a project
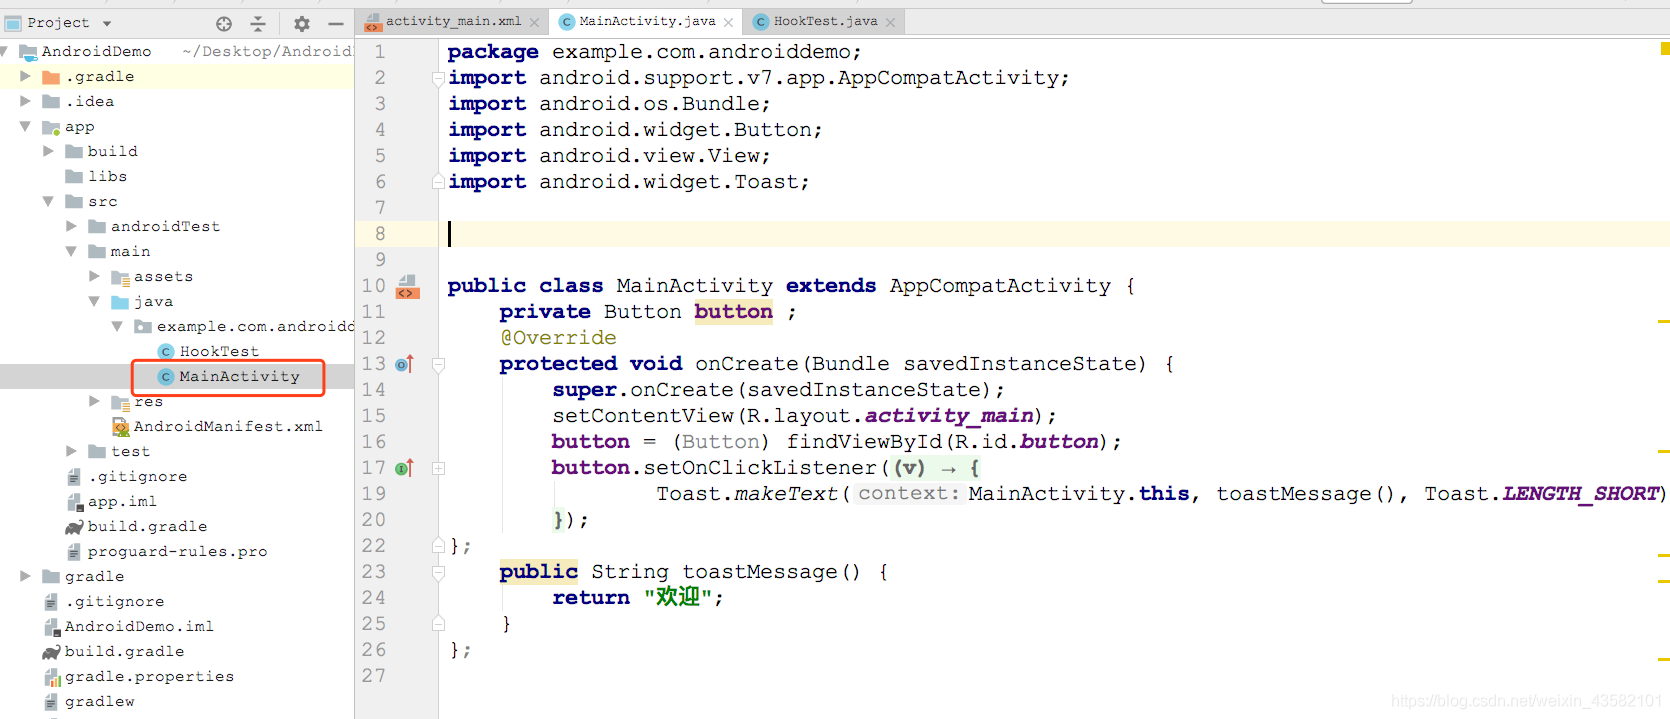
The project I created is called AndroidDemo.
Write Hook script
After the configuration is correct, first write the trigger event for the button in the AndroidDemo/app/src/main/java/example/com/androiddemo/MainActivity.java file:
package example.com.androiddemo;   //Pay attention to changing to your own package name
import android.support.v7.app.AppCompatActivity;
import android.os.Bundle;
import android.widget.Button;
import android.view.View;
import android.widget.Toast;

public class MainActivity extends AppCompatActivity {
    private Button button ;
    @Override
    protected void onCreate(Bundle savedInstanceState) {
        super.onCreate(savedInstanceState);
        setContentView(R.layout.activity_main);
        button = (Button) findViewById(R.id.button);
        button.setOnClickListener(new View.OnClickListener() {
            public void onClick(View v) {
                Toast.makeText(MainActivity.this, toastMessage(), Toast.LENGTH_SHORT).show();
            }
        });
};
    public String toastMessage() {
        return "welcome";
    }
};
Click Run to start whether it is successful:
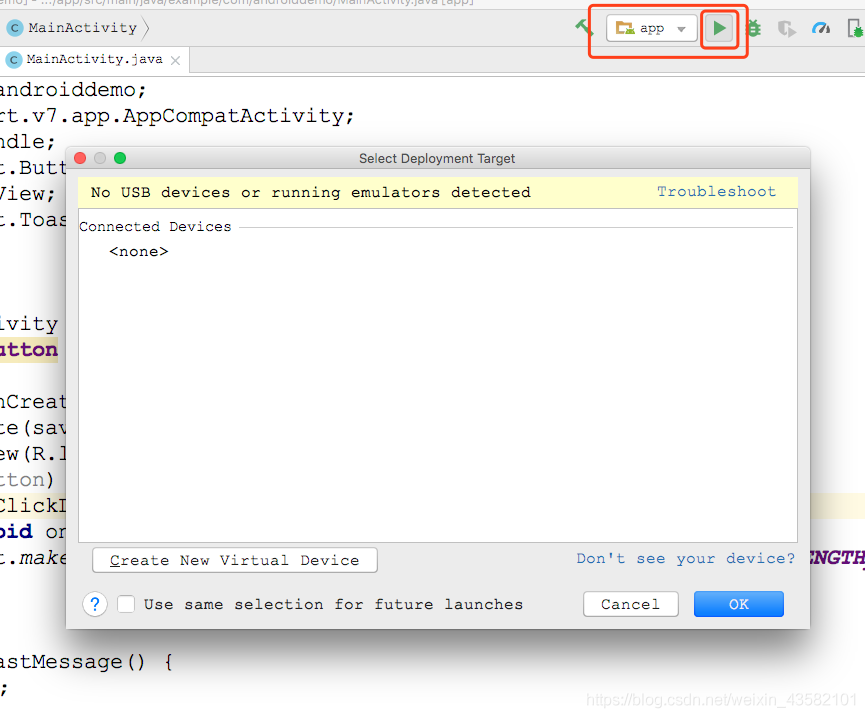
If there is no device, you need to start it with adb command: Refer to this article: Connecting wood simulator If an error is reported, say 7555 port connection rejected Then change to 5555 port:... Platform tools / ADB connect 127.0.0.1:5555 When the connection is complete, click button. See if welcome appears.
Then, in the peer directory, create a java file named HookTest.
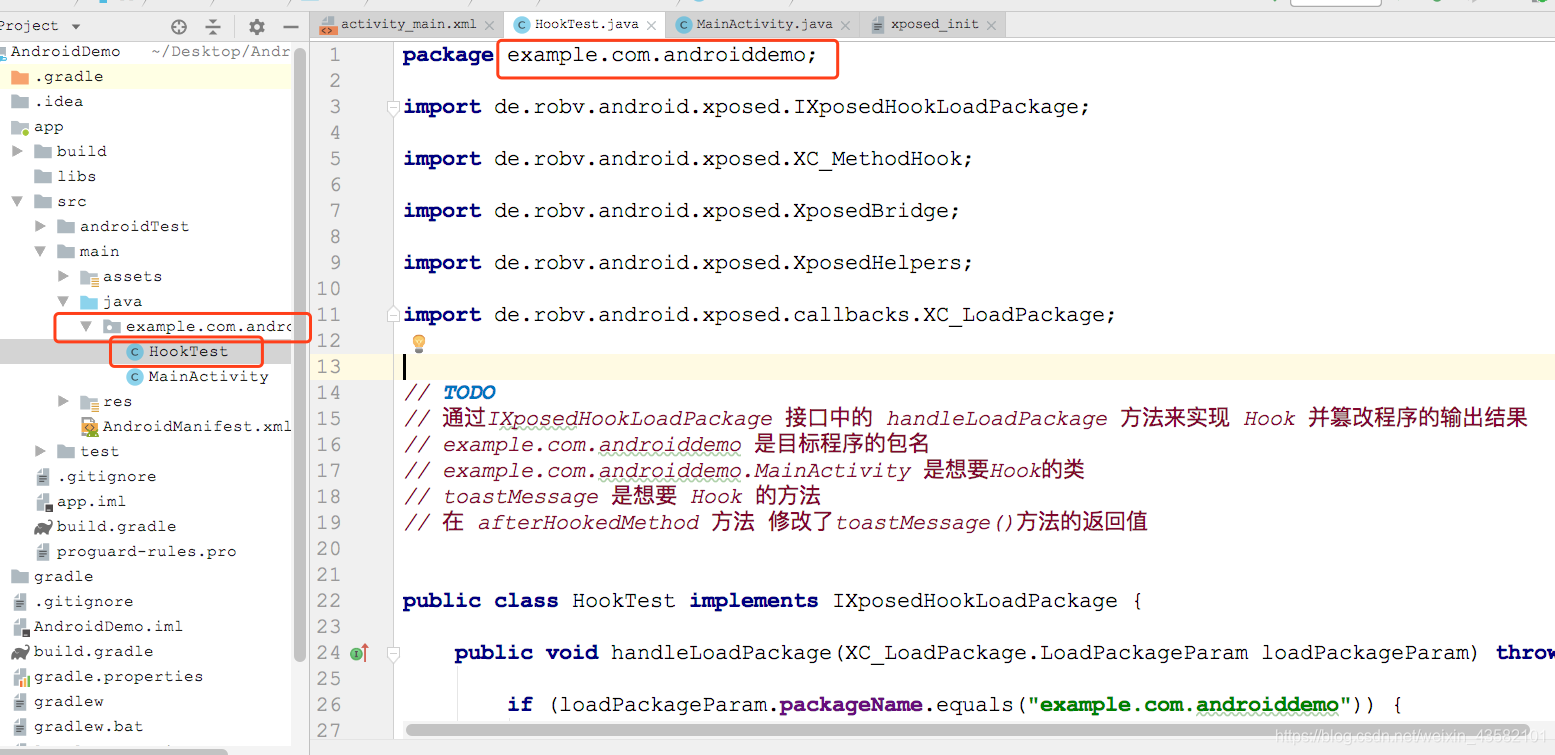
Note: change to your own package name: packageName.equals("example.com.androiddemo"); "example.com.androiddemo.MainActivity")
package example.com.androiddemo;
import de.robv.android.xposed.IXposedHookLoadPackage;
import de.robv.android.xposed.XC_MethodHook;
import de.robv.android.xposed.XposedBridge;
import de.robv.android.xposed.XposedHelpers;
import de.robv.android.xposed.callbacks.XC_LoadPackage;
// TODO
// Implement Hook through the handleLoadPackage method in IXposedHookLoadPackage interface and tamper with the output result of the program
// Example.com.android demo is the package name of the target program
// example.com.androiddemo.MainActivity is the class you want to Hook
// toastMessage is the way you want to Hook
// In the afterHookedMethod method, the return value of the toastMessage() method is modified
public class HookTest implements IXposedHookLoadPackage {
public void handleLoadPackage(XC_LoadPackage.LoadPackageParam loadPackageParam) throws Throwable {
if (loadPackageParam.packageName.equals("example.com.androiddemo")) {
XposedBridge.log("has Hooked!");
Class clazz = loadPackageParam.classLoader.loadClass(
"example.com.androiddemo.MainActivity");
XposedHelpers.findAndHookMethod(clazz, "toastMessage", new XC_MethodHook() {
protected void beforeHookedMethod(MethodHookParam param) throws Throwable {
super.beforeHookedMethod(param);
}
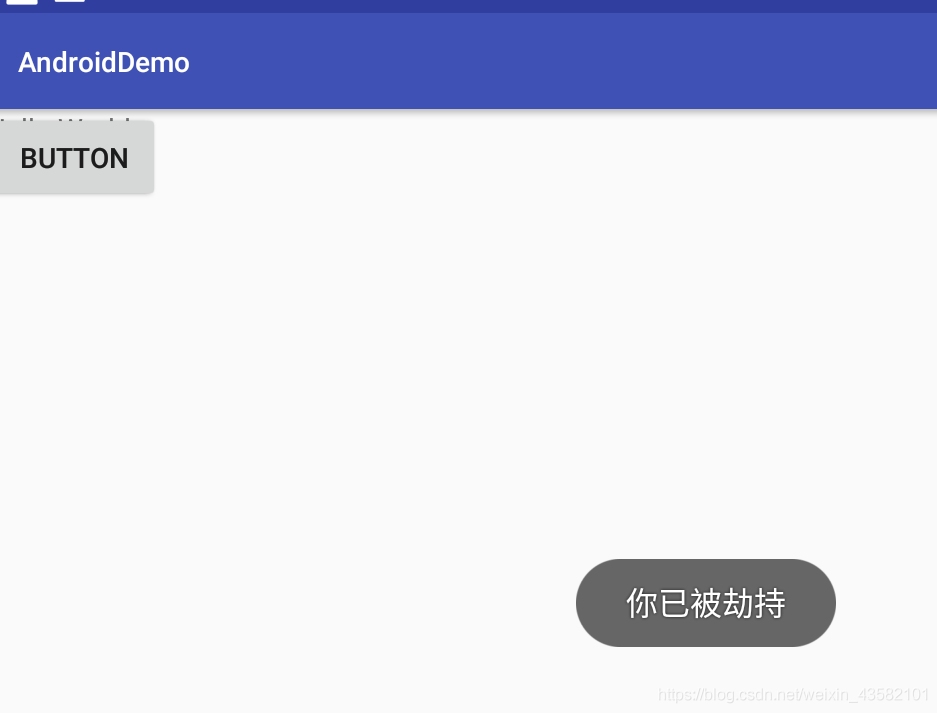
protected void afterHookedMethod(MethodHookParam param) throws Throwable {
param.setResult("You've been hijacked");
}
});
}
}
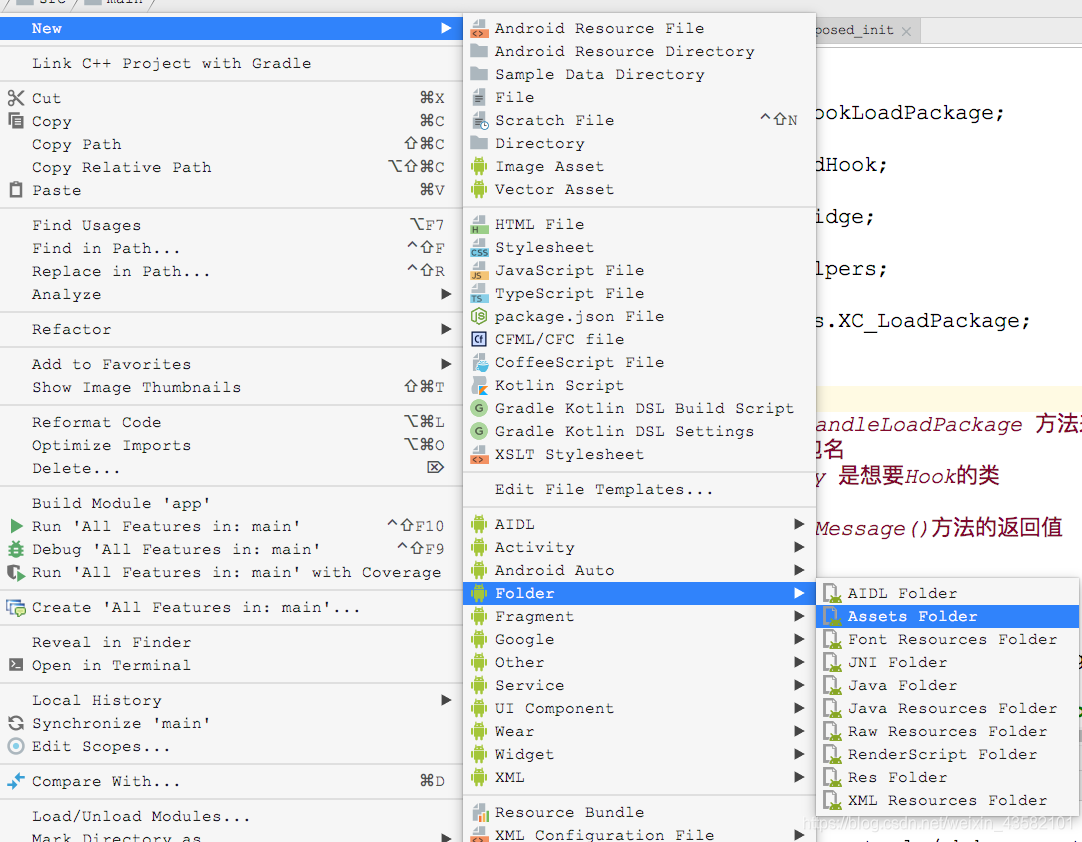
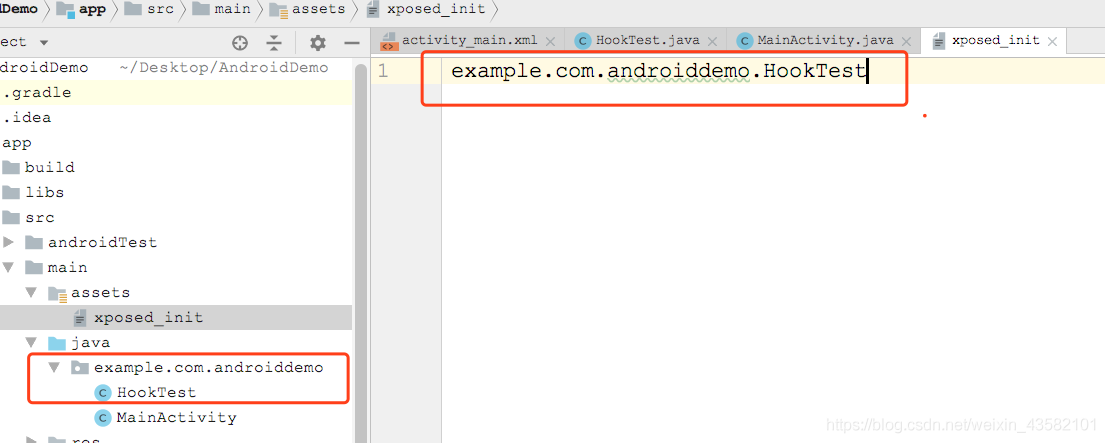
}Create entry point xposed_init file Right click the "main" folder, new – > Folder – > assets folder to create the assets folder:
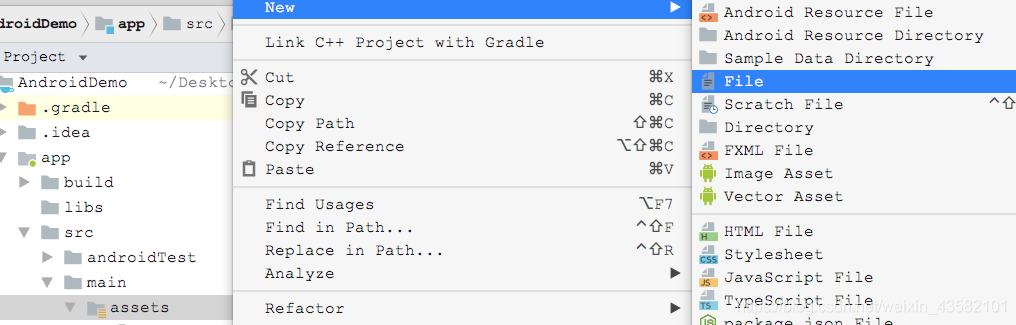
Then create a file in the assets folder, xposed_init
After creation, write (package name. Class name) in the file This allows the Xposed framework to_ Init reads the information to find the entry of the module, and then performs the Hook operation
First select the custom xposed module, and then restart the simulator device. Do not restart the Android project, or the module will be recreated.

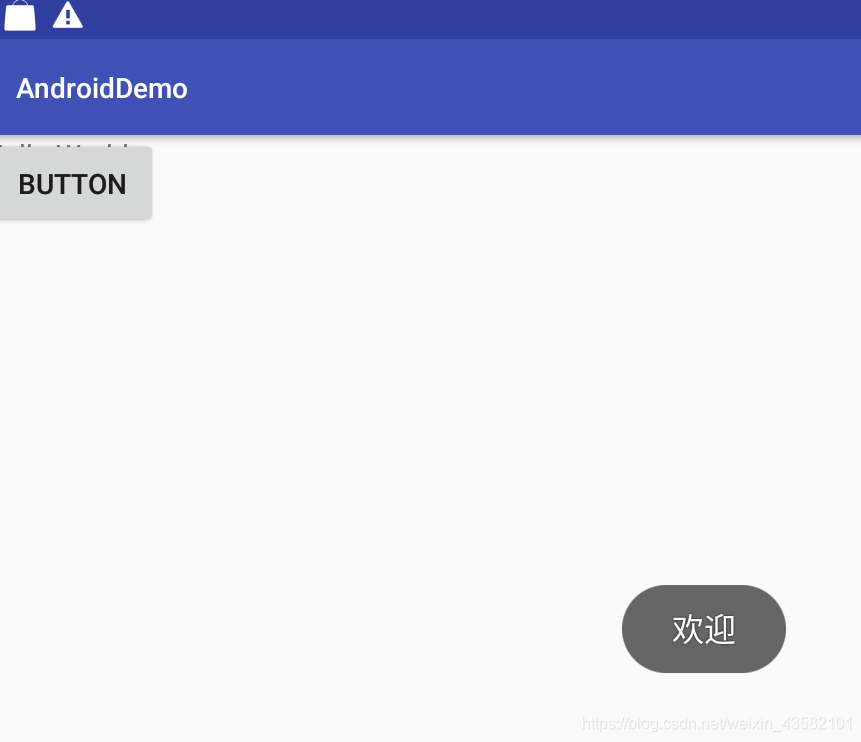
After the device is restarted, click the button button in the app to check whether the hook is successful. The following figure shows the successful hook:
If it does not succeed in the end, check whether there is error information first
- Check whether the simulator xposed module is selected ☑️
- Check whether the path and package name correspond to their own path in the HookTest file
- View xposed_ The path indicated in the init file is correct.
You can choose to disable Instant Run: click file - > Settings - > build, execution, deployment - > Instant Run to remove the check.