Following the steps of online blog to integrate RN, many pits were found, but these pits were not recorded in the blog content. Baidu failed to find a solution for a long time. Finally, it found a solution in an article in Google search, which was recorded to facilitate others to quickly integrate RN.
1. Build a react native environment
- Installing Homebrew Homebrew is mainly used to install watchman and flow Open the mac terminal and enter the following command:
ruby -e "$(curl -fsSL https://raw.githubusercontent.com/Homebrew/install/master/install)"
- Install nvm and node.js nvm is a tool for node.js version management, which is used to install node.js You can use the brew install nvm command to install, or use the following command:
curl -o- https://raw.githubusercontent.com/creationix/nvm/v0.26.1/install.sh | bash
According to the official instructions, this command should automatically configure the environment and can use the nvm command in any terminal, but I can't do it after I install it. You need to do extra work. You need to add the following line in the ~ /. bashrc, ~/.profile, ~/.zshrc file (if you don't create it yourself):
. ~/.nvm/nvm.sh
In this way, the nvm command can be used in any terminal. Then execute the following command:
nvm install node && nvm alias default node
This is used to install nodejs and npm. npm is a tool for nodejs package dependency management.
- Install flow The tool used to statically analyze js syntax errors can earlier js syntax errors. Execute the following command:
brew install flow
Here, the basic environment is configured. The following is an example of iOS. Switch the directory to the directory where you save the project on the terminal, and then execute the following command:
$ npm install -g react-native-cli $ react-native init AwesomeProject $ cd AwesomeProject/
The first execution of the second command will take a long time because many things need to be installed. Then input the following command to open the project at the terminal:
open ios/AwesomeProject.xcodeproj
This opens the iOS project, and you can see the interface in the simulator after running it. Next, modify the text in index.ios.js, and then press Cmd+R on the simulator, so that you can see that the changes will be presented to the simulator immediately.
2. Integrate react native
- Create an xcode project and add a configuration file Create a new folder nativapp, and then create an Xcode project named nativapp under this folder. Create a new folder named ReactComponent in the same directory as the Xcode project, and create a package.json file under this folder,
67B7EC5B-501A-4122-BE26-527E03CCBA64.png
The contents of the document are:
{
    "name": "NativeRNApp",
    "version": "0.0.1",
    "private": true,
    "scripts": {
        "start": "node node_modules/react-native/local-cli/cli.js start",
        "test": "jest"
    },
    "dependencies": {
        "react": "16.0.0-alpha.6",
        "react-native": "0.44.0"
    },
    "devDependencies": {
        "babel-jest": "20.0.3",
        "babel-preset-react-native": "1.9.2",
        "jest": "20.0.3",
        "react-test-renderer": "16.0.0-alpha.6"
    },
    "jest": {
        "preset": "react-native"
    }
}
Note: Name: change to your own project name. It is better to create a new react native project with react native init under the terminal, and copy the contents of the package.json file in the project:
1.png
-Install react native dependency package Run the command line in the ReactComponent Directory:
npm install
Wait patiently for a few minutes. After the command is executed, a folder is added to the ReactComponent directory, as shown in the figure:
37111338-4C45-4201-A2A9-FCE2A97AAA47.png
- Create index.ios.js(js file entry), as shown in the figure above The contents of the index.ios.js file are as follows:
/**
 * Sample React Native App
 * https://github.com/facebook/react-native
 * @flow
 */

import React, { Component } from 'react';
import {
  AppRegistry,
  StyleSheet,
  Text,
  View
} from 'react-native';

class NativeRNApp extends Component {
  render() {
    return (
      <View style={styles.container}>
        <Text style={styles.welcome}>
          Welcome to React Native!
        </Text>
        <Text style={styles.instructions}>
          To get started, edit index.ios.js
        </Text>
        <Text style={styles.instructions}>
          Press Cmd+R to reload,{'\n'}
          Cmd+D or shake for dev menu
        </Text>
      </View>
    );
  }
}

const styles = StyleSheet.create({
  container: {
    flex: 1,
    justifyContent: 'center',
    alignItems: 'center',
    backgroundColor: '#F5FCFF',
  },
  welcome: {
    fontSize: 20,
    textAlign: 'center',
    margin: 10,
  },
  instructions: {
    textAlign: 'center',
    color: '#333333',
    marginBottom: 5,
  },
});

//  The project name must correspond
AppRegistry.registerComponent('NativeRNApp', () => NativeRNApp);- cocoa pods integrated react native Create a new Podfile file in the nativrnapp folder, the same directory as the xcode project, and add the following contents:
pod 'React', :path => './ReactComponent/node_modules/react-native', :subspecs => [
  'Core',
  'RCTActionSheet',
  'RCTGeolocation',
  'RCTImage',
  'RCTNetwork',
  'RCTPushNotification',
  'RCTSettings',
  'RCTText',
  'RCTVibration',
  'RCTWebSocket'
  ]
Then execute the pod update command under the root directory:
pod install
report errors:
[!] Unable to find a specification for Yoga (= 0.42.3.React) depended upon by React/Core
You need to add yoga manually to pod file:
pod 'Yoga', :path => './ReactComponent/node_modules/react-native/ReactCommon/yoga'
  pod 'React', :path => './ReactComponent/node_modules/react-native', :subspecs => [
  'Core',
  'RCTActionSheet',
  'RCTGeolocation',
  'RCTImage',
  'RCTNetwork',
  'RCTPushNotification',
  'RCTSettings',
  'RCTText',
  'RCTVibration',
  'RCTWebSocket'
  ]
After pod install succeeds, an error is reported when running the project:
jschelpers/JavaScriptCore.h file not found
The problem can be solved by updating the Cocoapods version from 1.1.1 to 1.2.0.
3. Original project processing
1. Create a ReactViewController to inherit UIViewController and manage the react native module. The code content is as follows:
#import "ReactViewController.h"
#import <RCTRootView.h>

@interface ReactViewController ()

@end

@implementation ReactViewController

- (void)viewDidLoad {
    [super viewDidLoad];
    // Do any additional setup after loading the view.

    NSString * strUrl = @"http://localhost:8081/index.ios.bundle?platform=ios&dev=true";
    NSURL * jsCodeLocation = [NSURL URLWithString:strUrl];

    RCTRootView * rootView = [[RCTRootView alloc] initWithBundleURL:jsCodeLocation
                                                         moduleName:@"NativeRNApp"
                                                  initialProperties:nil
                                                      launchOptions:nil];
    self.view = rootView;
    //  You can also add subview to customize the size and position
}

- (void)didReceiveMemoryWarning {
    [super didReceiveMemoryWarning];
    // Dispose of any resources that can be recreated.
}

@end
2. Configure App Transport Security Open the Info.list file in the project and add the following configuration:
  <key>NSAppTransportSecurity</key>
  <dict>
    <key>NSExceptionDomains</key>
    <dict>
      <key>localhost</key>
      <dict>
       <key>NSTemporaryExceptionAllowsInsecureHTTPLoads</key>
       <true/>
      </dict>
    </dict>
  </dict>
3. Start the development server
Before running our project, we need to start our development server. Enter the reactnative directory and start the service from the command line:
react-native start
4. Run iOS project
Start the project and directly run the code:
ReactViewController * vc = [[ReactViewController alloc] init];
[self.navigationController pushViewController:vc animated:YES];
After successful operation, the effect is as follows:
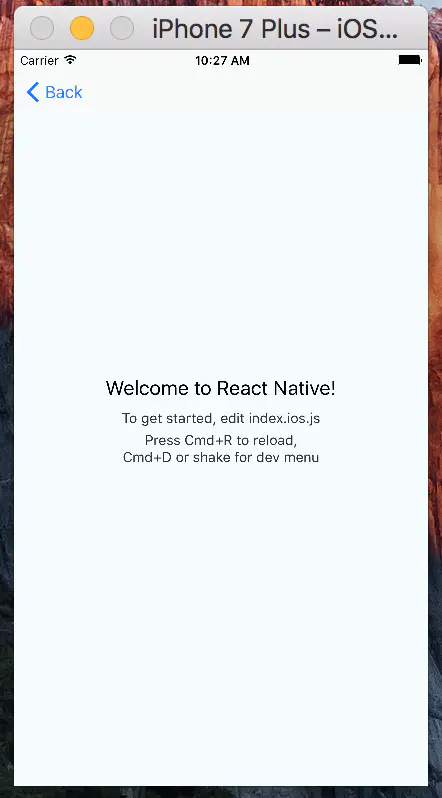
Screenshot 10.27.01.png on May 25, 2017
This is the whole integration process.