This article mainly introduces how to use Darknet to train your own data set under windows. The model uses yolov4 tiny, and the data set uses your own garbage classification data set (self access required: there are in the resources I upload)
PS: This is my first blog. If there are deficiencies, please correct them. Thank you!
Knowledge summary:
What is YOLO?
The target detection algorithm is mainly composed of convolution layer and full connection layer
Convolution layer is composed of convolution neural network, which is used to extract the features of pictures
The full connection layer is composed of a unique network for target detection. For example, yolo series uses yolo algorithm to realize the full connection layer
It is worth noting that the yolo series of target detection can replace the convolution layer with other convolution networks to achieve different effects. The convolution layer used by yolo's original author is called Darknet.
What is YOLO-TINY?
You should be familiar with yolo. So why add a tiny suffix?
This is mainly because the ultimate purpose of the algorithm research of deep learning is to solve the problems in the society. However, due to the large parameters of a series of model algorithms such as yolo, even if the recognition effect is very good, once deployed to the mobile terminal or embedded equipment for industrial application, the running speed is very slow or even unable to run due to the limitation of hardware resources. Therefore, in order to solve this problem, the industry has developed tiny series algorithms (only for yolo model, other models do not necessarily use tiny to represent lightweight optimization), and carried out lightweight optimization for yolo series. On the premise that the model parameters are reduced by 2 / 3, the accuracy is only reduced by less than 10%.
Even more than two-thirds.........
ok, no more nonsense. Let's go straight to the subject.
Darknet installation under Windows:
This step contains a lot of content. If you want to talk about it in detail, you need to write another blog.
Attach yolov4 official GitHub website link and a teaching video link of b station. If you have good English, you can directly read the instructions of GitHub for installation, or worse, follow the up installation.
b station teaching video for Darknet installation under windows
yolov4 official GitHub
How to train?
Step 1: collect data
1. Collect data sets through crawlers, but manually clean them up
2. Find resources online and recommend websites: Hejing community and AI studio community
3. Make your own dataset
ps: different deep learning frameworks and model algorithms require different data set formats.
This paper uses VOC format data set, which is suitable for Darknet training
Step 2: create data set
There are three folders for data sets in VOC format
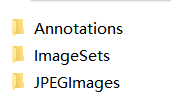
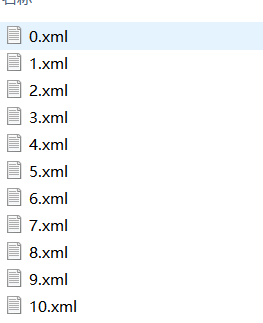 Annotations is the folder where the annotation data xml is placed
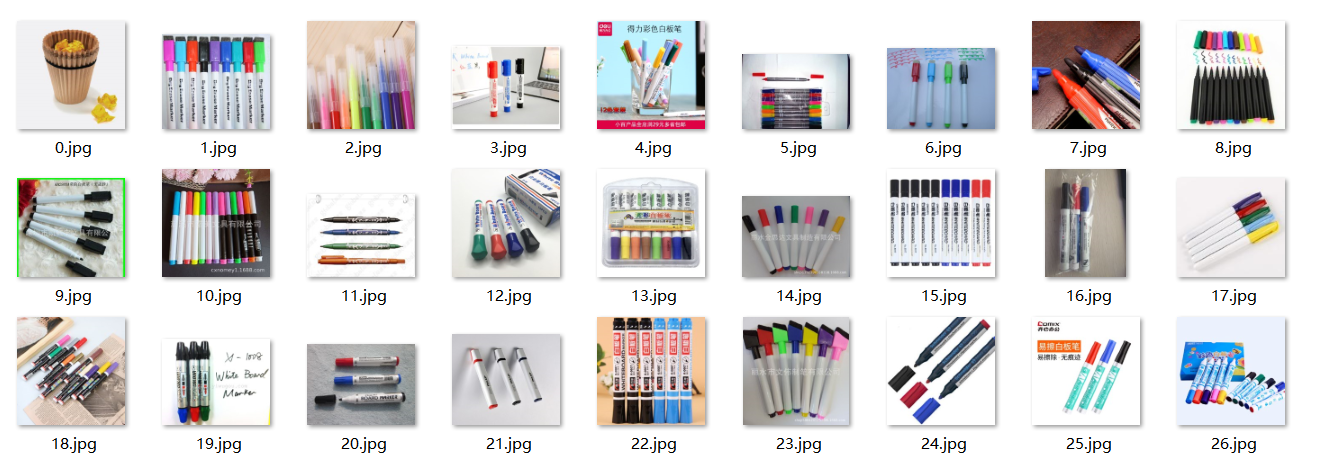 JPEGImages is the folder where the original image is placed
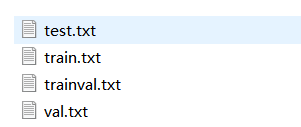 ImageSets is the folder where you can put the image paths of training sets, validation sets and test sets
labelimg software can be used to label data sets.
Enter the command prompt interface through cmd, and enter:
pip install labelimg -i https://pypi.tuna.tsinghua.edu.cn/simple
Download. pip is the package manager of python, so the premise is to install python (Python version 3.7 is recommended, which is relatively stable). Here's - i https://pypi.tuna.tsinghua.edu.cn/simple It shows that pip can be downloaded from Tsinghua source resources in China
The download speed will be much faster.
After downloading, enter labelimg in the command prompt interface to open it.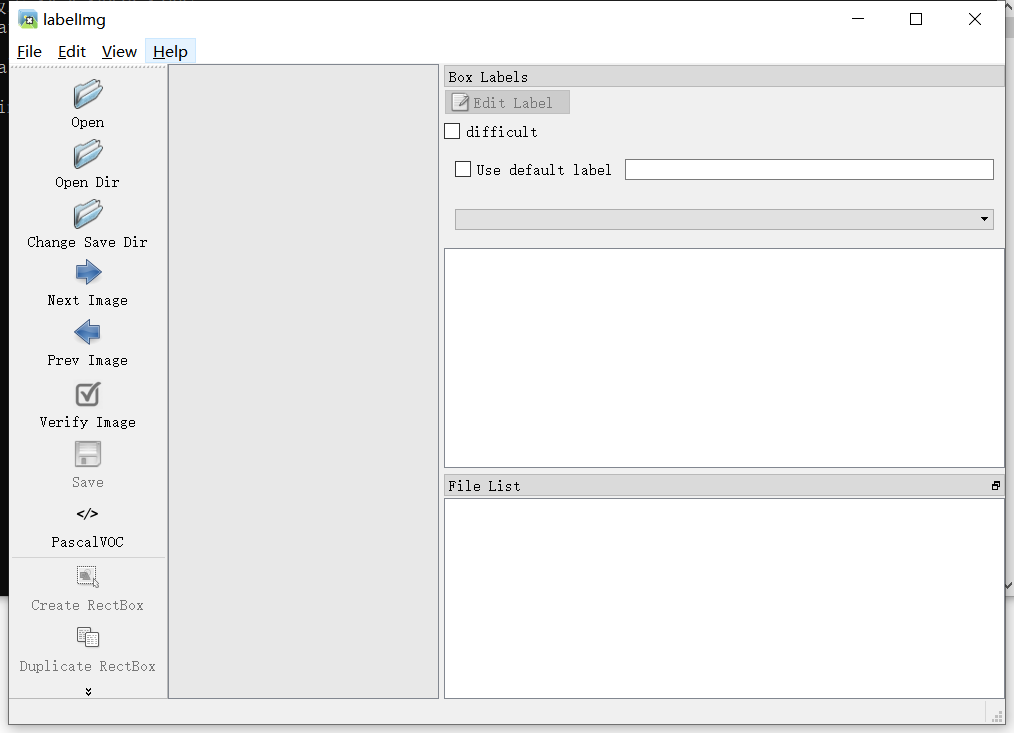
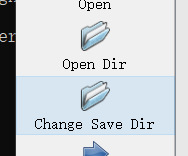 First, click Open Dir to select the JPEGImages folder to label, and then click Change Save Dir to select the Annotations folder to store xml label data. (note that the xml and the original image are matched by file names)
After both files are selected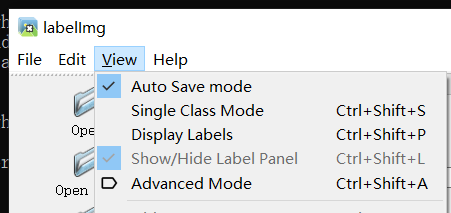 Click the View menu and check Auto Save mode to save automatically. Then you can label. The default key is the W dimension box, A is the previous one, and D is the next one.
If the dimension is very large. You can check Use default label and enter the label to automatically confirm the label name.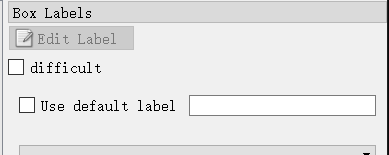
Next, we can carry out the boring and boring annotation process QAQ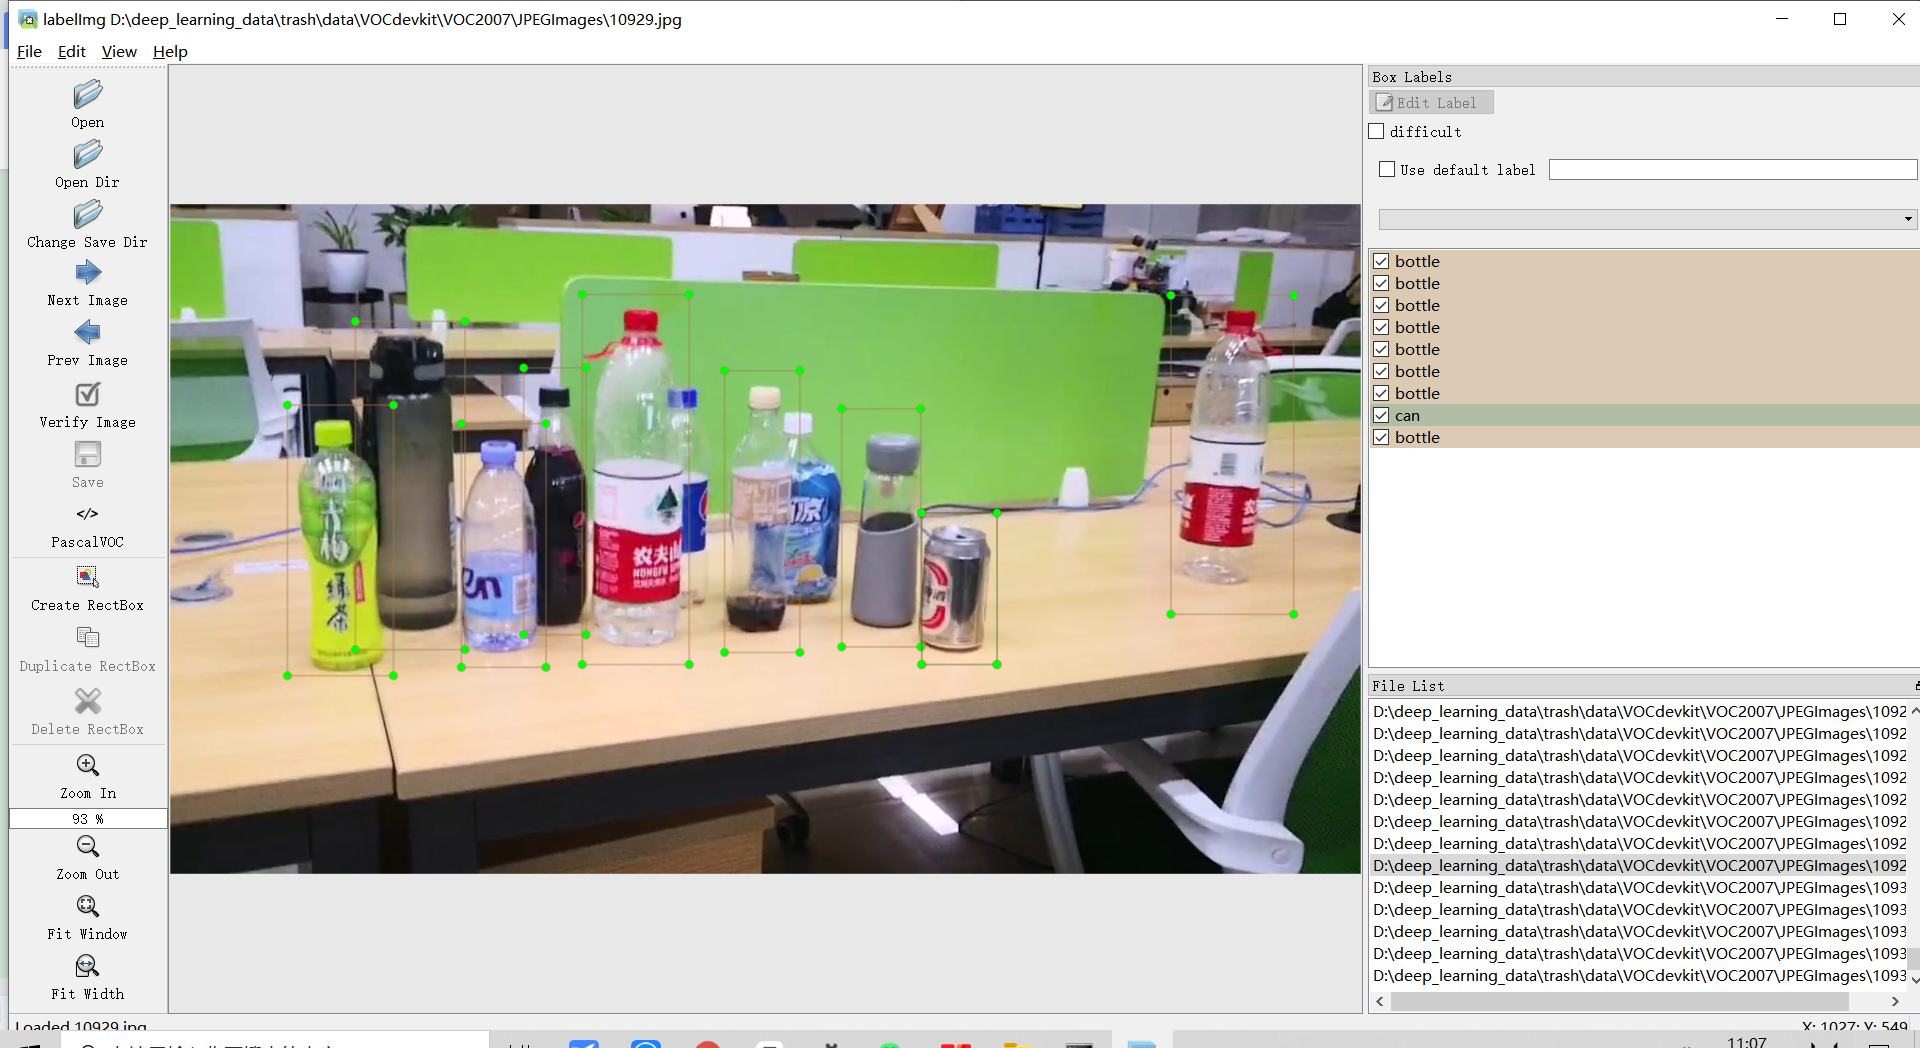
Step 3: convert dataset format
After the dataset is annotated, you will get the JPEGImages folder and Annotations folder. At this time, you need to create
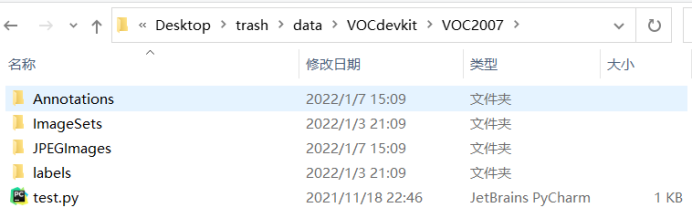 The folder shown in the above figure, where test Py comes with darknet. I'll talk about it later
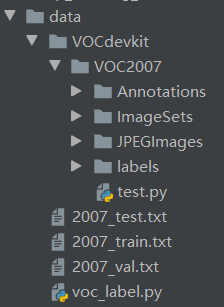 This is the tree view of the dataset (txt, xml and py files are not displayed)
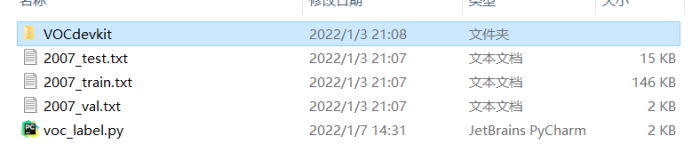
Except for Annotations, JPEGImages, ImageSets, voc207 and VOCdevkit, they are all built-in by Darknet or generated automatically through code
Enter the build in the darknet folder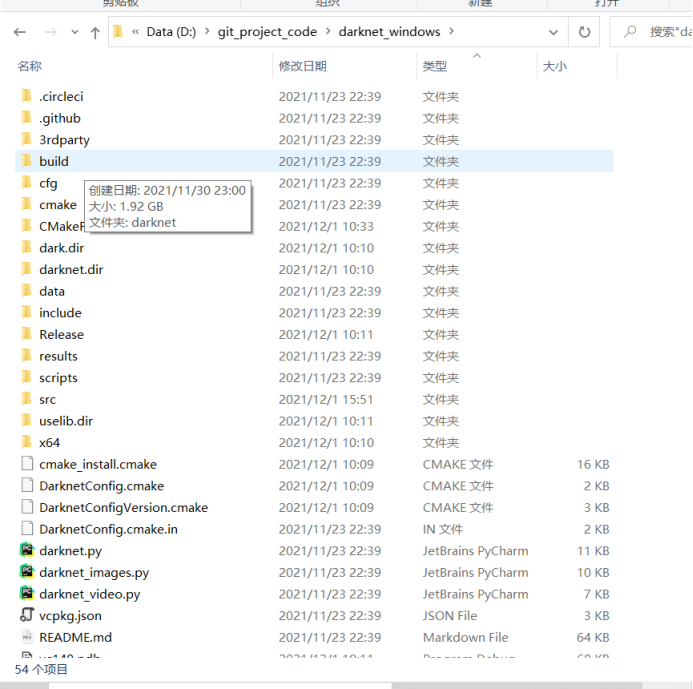
Enter darknet
Enter x64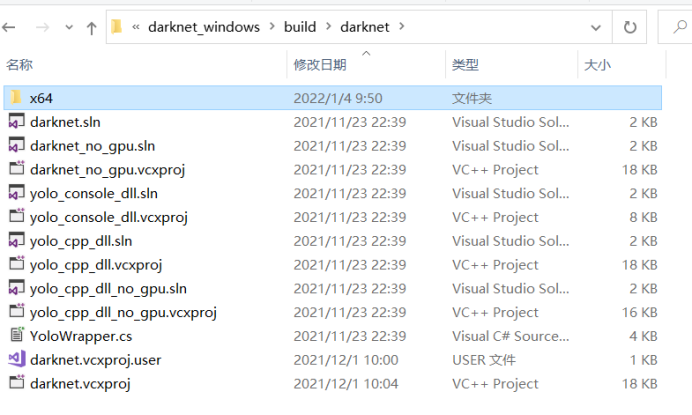
Enter data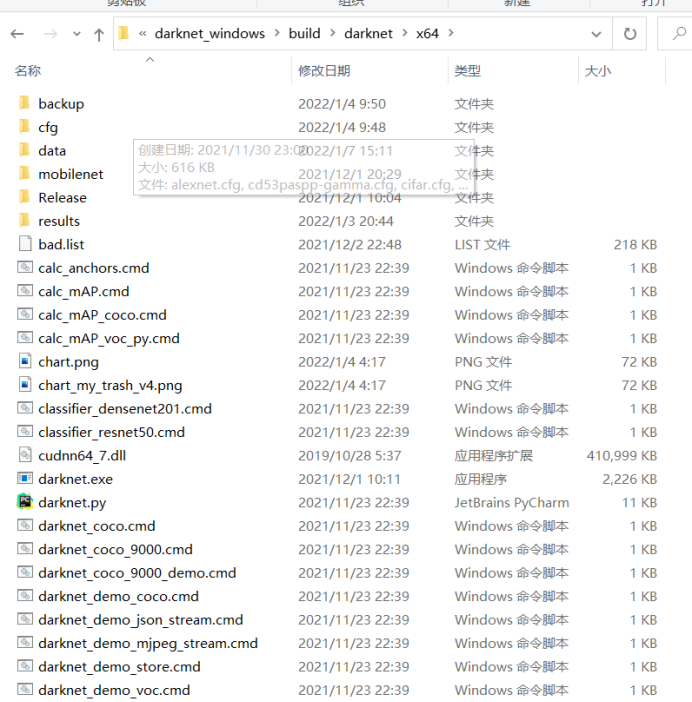
Put the VOCdevkit file into the data
First, run test. Under the VOC2007 directory Py file (no need to modify), which divides the data set into three categories: test, verification and training
test.py complete code (included in Darknet)
import os
import random

trainval_percent = 0.1
train_percent = 0.9
xmlfilepath = 'Annotations'
txtsavepath = 'ImageSets\Main'
total_xml = os.listdir(xmlfilepath)
num = len(total_xml)
list = range(num)
tv = int(num * trainval_percent)
tr = int(tv * train_percent)
trainval = random.sample(list, tv)
train = random.sample(trainval, tr)

ftrainval = open('ImageSets/Main/trainval.txt', 'w')
ftest = open('ImageSets/Main/test.txt', 'w')
ftrain = open('ImageSets/Main/train.txt', 'w')
fval = open('ImageSets/Main/val.txt', 'w')

for i in list:
    name = total_xml[i][:-4] + '\n'
    if i in trainval:
        ftrainval.write(name)
        if i in train:
            ftest.write(name)
        else:
            fval.write(name)
    else:
        ftrain.write(name)

ftrainval.close()
ftrain.close()
fval.close()
ftest.close()
Then edit the VOC in the data directory_ label. Py file
sets=[ ('2007', 'train'), ('2007', 'val'), ('2007', 'test')]

classes = ["can","pen","box","mask","battery","medicine","paper","bottle"]
Change the classes to your own label type (note that the order should be consistent with that in the. names file (mentioned later), and modify the original sets of darknet to the value shown in the figure above.
voc_label.py complete code
import xml.etree.ElementTree as ET
import pickle
import os
from os import listdir, getcwd
from os.path import join

sets=[ ('2007', 'train'), ('2007', 'val'), ('2007', 'test')]

classes = ["can","pen","box","mask","battery","medicine","paper","bottle"]


def convert(size, box):
    dw = 1./size[0]
    dh = 1./size[1]
    x = (box[0] + box[1])/2.0
    y = (box[2] + box[3])/2.0
    w = box[1] - box[0]
    h = box[3] - box[2]
    x = x*dw
    w = w*dw
    y = y*dh
    h = h*dh
    return (x,y,w,h)

def convert_annotation(year, image_id):
    in_file = open('VOCdevkit/VOC%s/Annotations/%s.xml'%(year, image_id),'rb')
    out_file = open('VOCdevkit/VOC%s/labels/%s.txt'%(year, image_id), 'w')
    tree=ET.parse(in_file)
    root = tree.getroot()
    size = root.find('size')
    w = int(size.find('width').text)
    h = int(size.find('height').text)

    for obj in root.iter('object'):
        difficult = obj.find('difficult').text
        cls = obj.find('name').text
        if cls not in classes or int(difficult) == 1:
            continue
        cls_id = classes.index(cls)
        xmlbox = obj.find('bndbox')
        b = (float(xmlbox.find('xmin').text), float(xmlbox.find('xmax').text), float(xmlbox.find('ymin').text), float(xmlbox.find('ymax').text))
        bb = convert((w,h), b)
        out_file.write(str(cls_id) + " " + " ".join([str(a) for a in bb]) + '\n')

wd = getcwd()

for year, image_set in sets:
    if not os.path.exists('VOCdevkit/VOC%s/labels/'%(year)):
        os.makedirs('VOCdevkit/VOC%s/labels/'%(year))
    image_ids = open('VOCdevkit/VOC%s/ImageSets/Main/%s.txt'%(year, image_set)).read().strip().split()
    list_file = open('%s_%s.txt'%(year, image_set), 'w')
    for image_id in image_ids:
        list_file.write('%s/VOCdevkit/VOC%s/JPEGImages/%s.jpg\n'%(wd, year, image_id))
        convert_annotation(year, image_id)
    list_file.close()
Run VOC again_ label. Py (if the data set is large, it will take a long time). If there is an error, it may be an error in the naming of the data set. You need to start from 0 and add a number without omission. The same is true for xml files. There may also be an error in the picture. The picture cannot exist in the form of gif dynamic picture frame.
Step 4: prepare the training profile
 Common needs cfg file data file names file weights/.conv.xx file
. cfg file
The. cfg file is an algorithm configuration file (generally, there are many popular configuration files in the cfg folder of darknet, or you can design or download the configuration files you don't have). The following parameters need to be modified
The [net] column is a super parameter that can be modified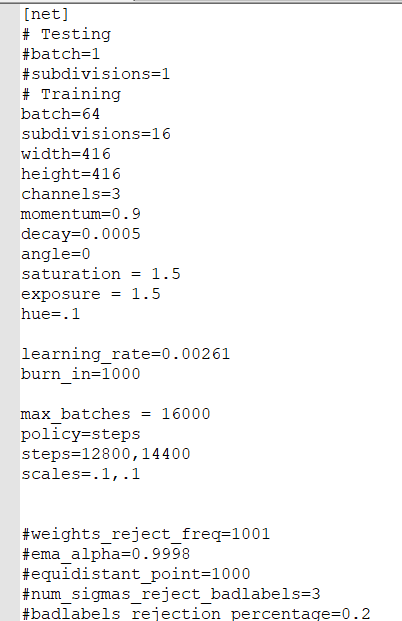
batch is the number of pictures that can be trained at one time
Subdivision is the value of dividing the number of training at a time (using this parameter can enable computers with poor graphics cards to use high batch for training). The relationship between the two is batch ÷ subdivision = actually the number of training pictures at a time
width and height are the size of the input picture. This does not need to be changed, as long as it is a multiple of 16
max_batches is the total number of training rounds (the official recommendation is: category quantity * 2000, but at least 6000. That is, if you train one category, fill in 6000, and if you train four categories, fill in 8000)
The value of steps is set to 0.6*max_batches and 0.8 * Max_ Just batches
Others do not need to be modified
The column [revolutionary] is the configuration of the algorithm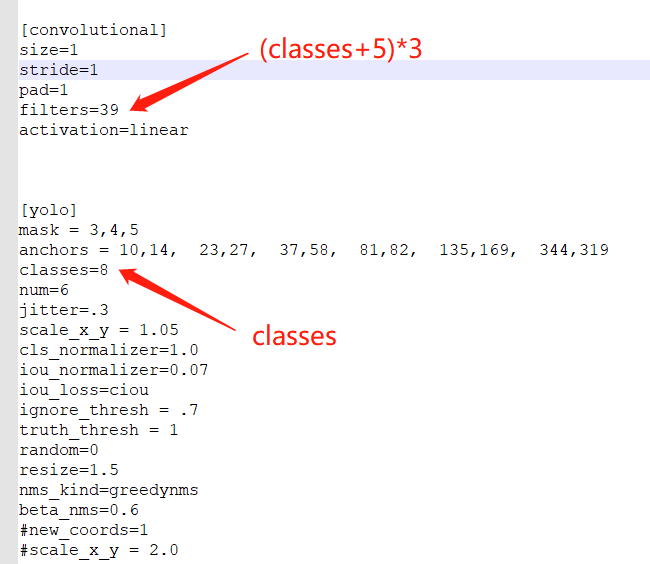
Main modifications, such as the [revolutionary] and [yolo] groups shown in the above figure (there are two groups in yolo tiny algorithm and three groups in yolo algorithm)
Modify filters to: (number of types + 5) * 3, that is, number of types 8, (8 + 5) * 3 = 39
Modify classes to the number of categories
. data file
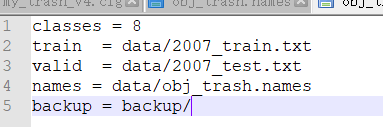
Edit the code in the above format
2007_train.txt and 2007_test.txt is executing test Py and voc_label.py will be generated automatically
backup is the storage address of the training generated model
Classes is the number of classes that a dataset has
names, etc. (see below)
. names file
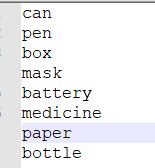
For the above code, you can change it according to your own dataset type
Pre training weight file and weight file
conv.xx file and The weights file is a pre training weight file
You can find it on yolo's official github, one of the two (you should find it according to your own cfg file)
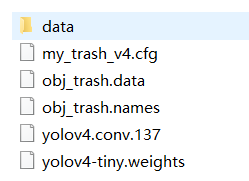
After the document is made, it will be cfg and Put the data file in the cfg folder Put the names file in the data folder Put the weights or conv.xx file in the x64 folder
At this point, the configuration of the dataset is basically over!!!!
Let's go through an exciting training process
Enter cmd in the x64 directory Enter the command prompt interface and enter
darknet.exe detector train cfg/obj_trash.data cfg/my_trash_v4.cfg my_trash_v4_final.weights
You can start training (note that the last item, my_trash_v4_final.weights, should be placed in the x64 directory)
The training process takes about 5 ~ 6 hours (depending on the size of the data set and the number of training times). In this paper, 1w data are trained and iterated for 1.6w times. The speed is still very fast. The premise is to train with GPU.
After the training, several will be generated in the backup folder (according to the settings in. data) Weight weight file and a training curve
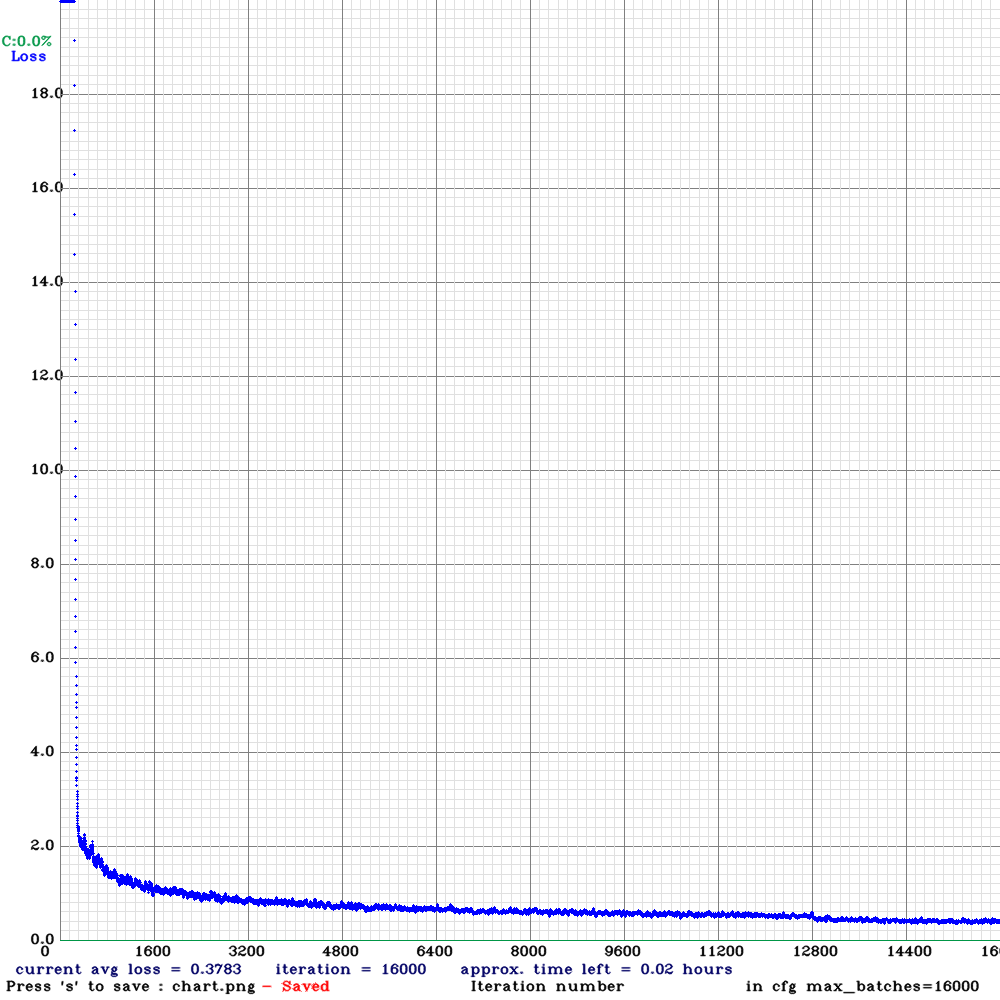
You can see the effect is still OK
How to use?
Like training, enter cmd in x64 directory to enter the command prompt interface
For real-time detection, enter
darknet.exe detector demo cfg/obj_trash.data cfg/my_trash_v4.cfg my_trash_v4_final.weights -c 0
detector means to perform target detection
demo represents real-time monitoring
The third parameter is Relative address of data
The fourth parameter is Relative address of cfg
The fifth parameter is Relative address of weights
-c 0 means camera 0 is used
For single picture detection, enter
darknet.exe detector test cfg/obj_trash.data cfg/my_trash_v4.cfg my_trash_v4_final.weights bottle.webp
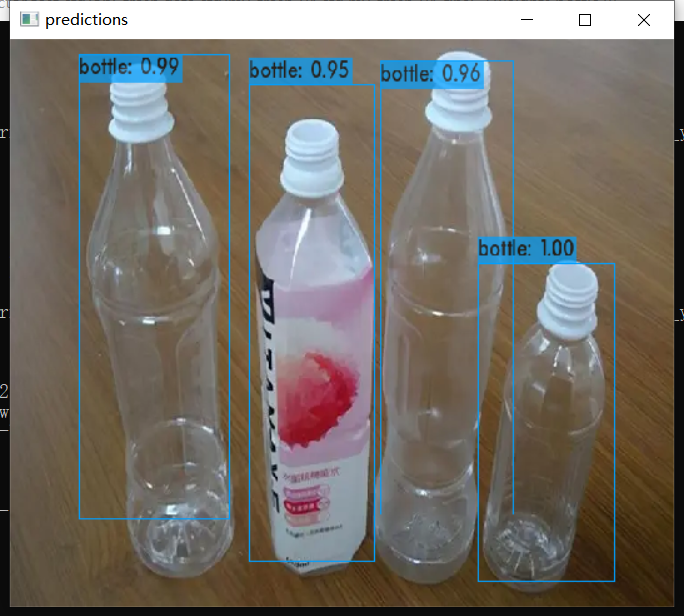
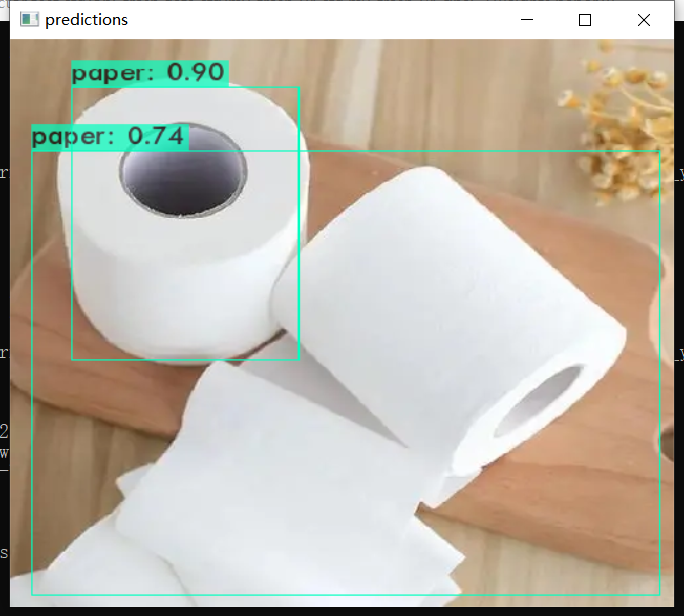
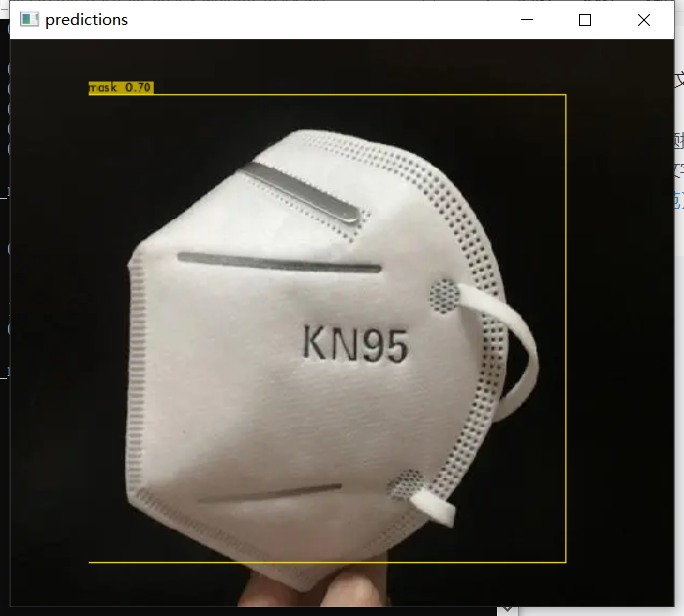
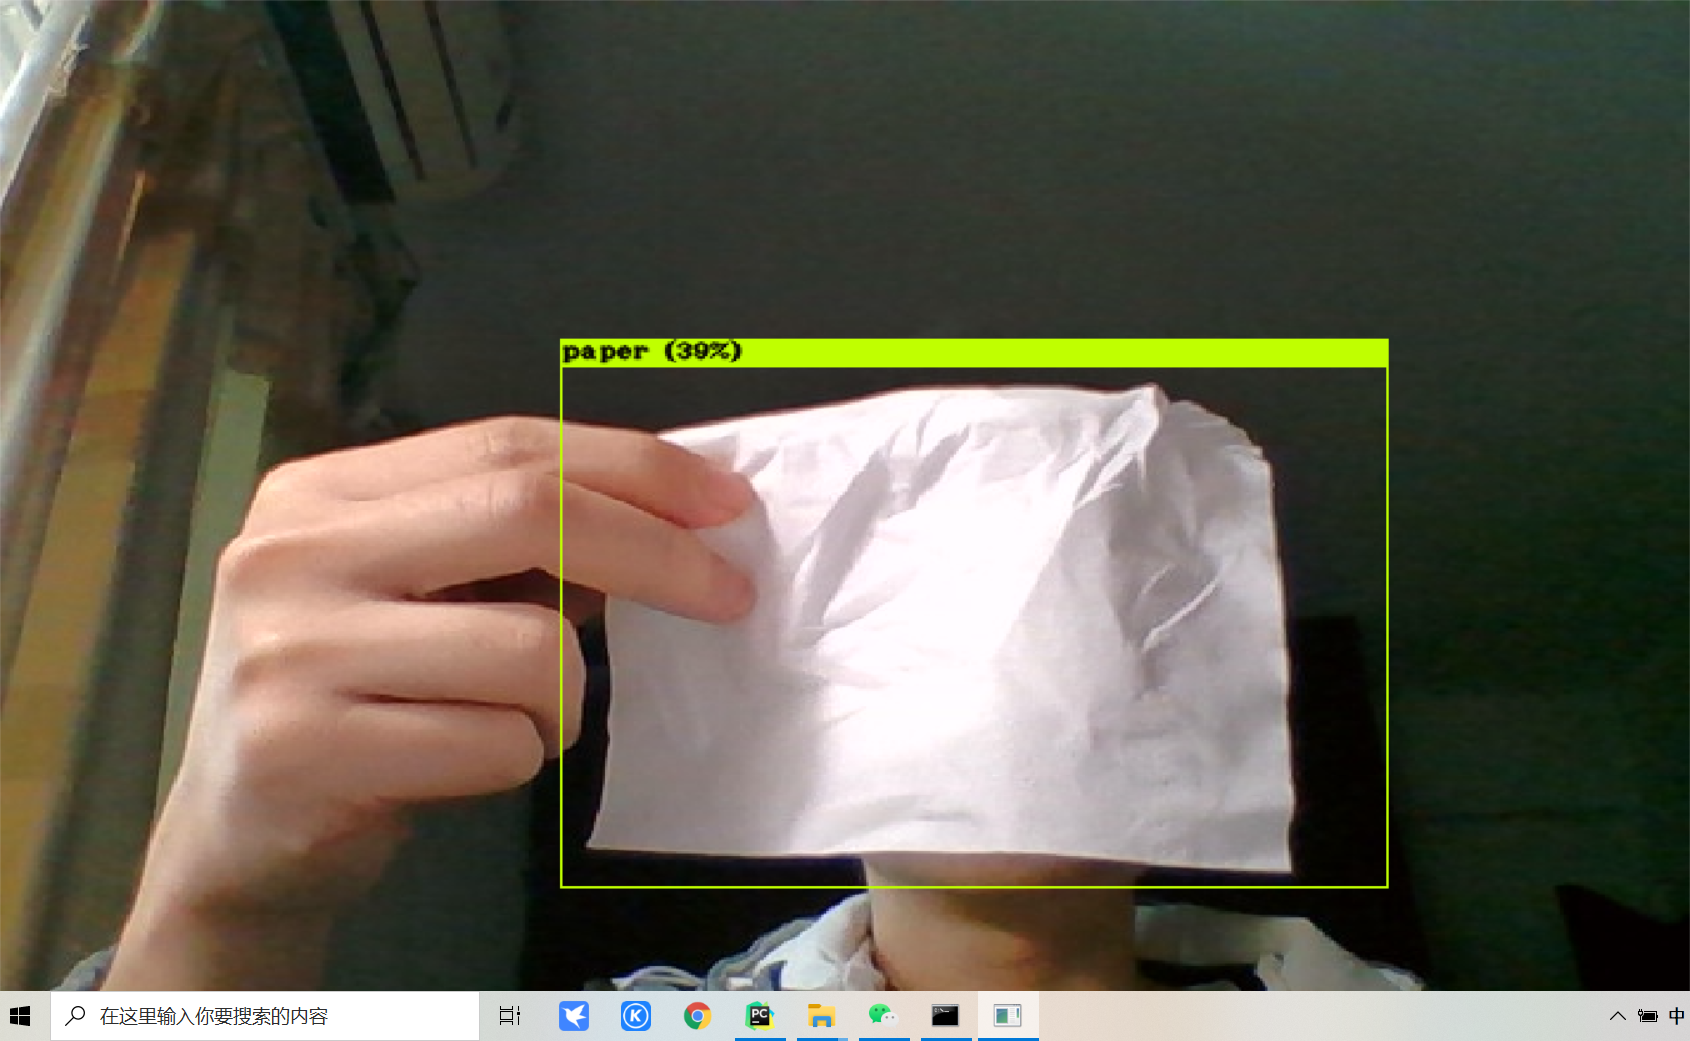
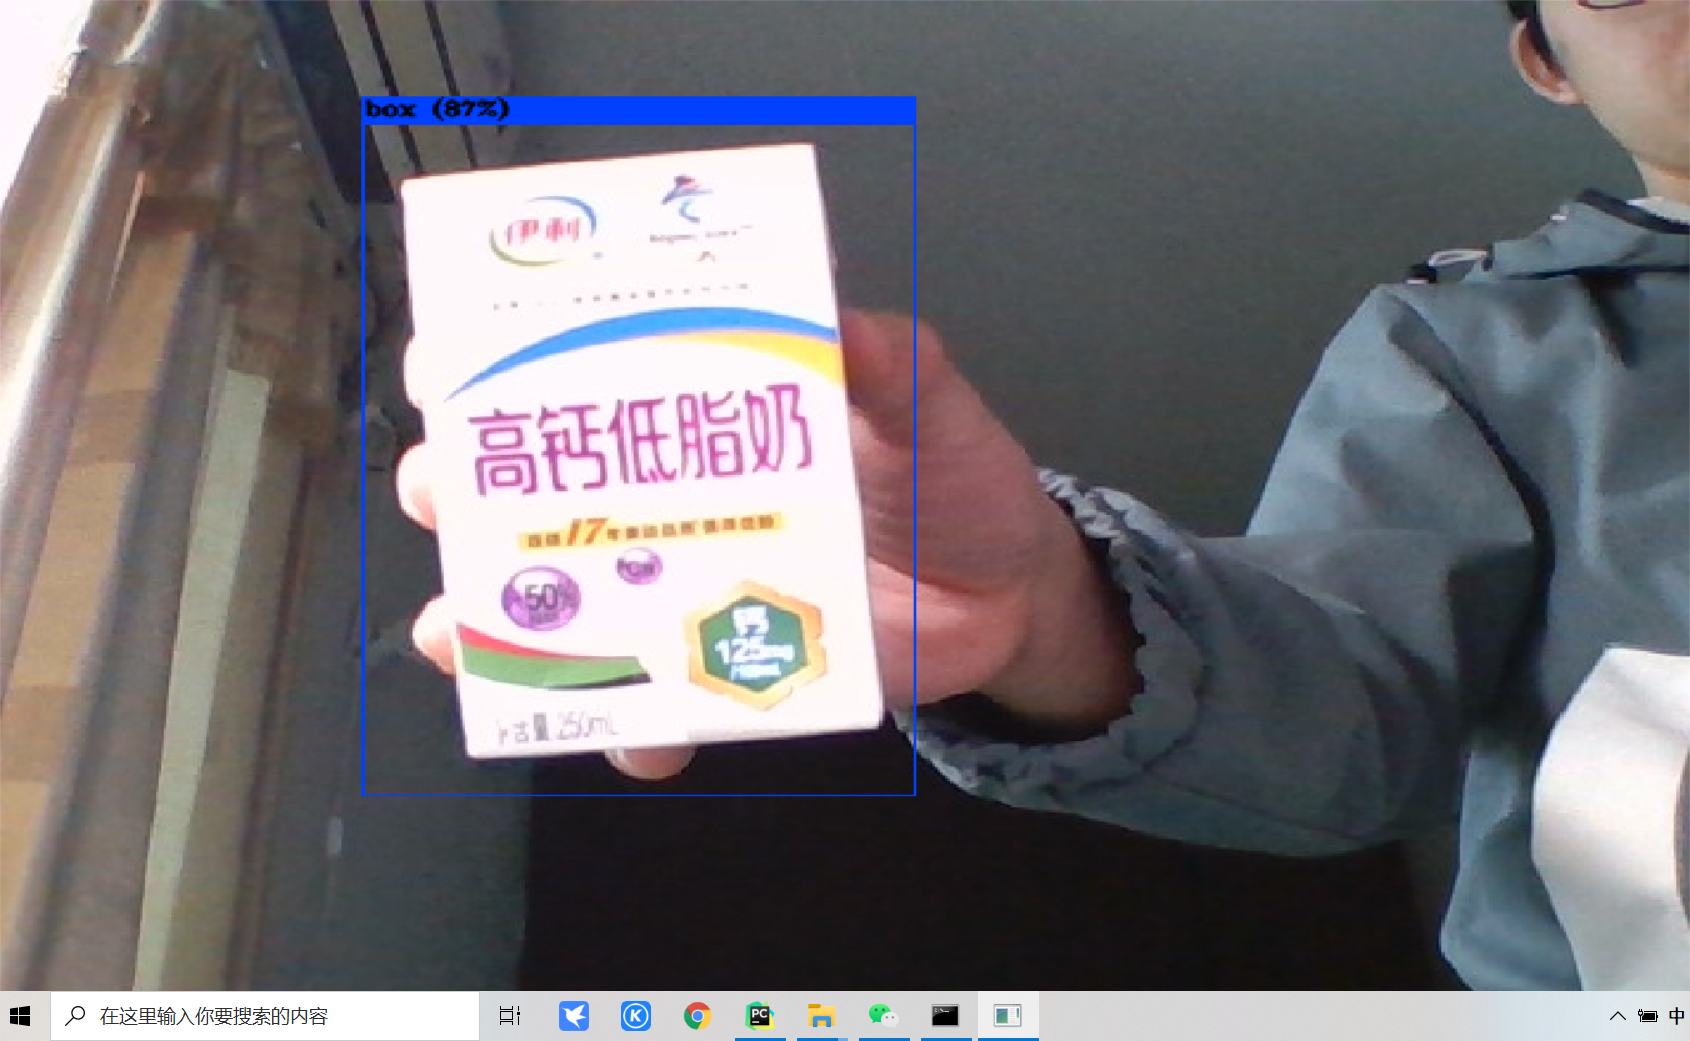
The effect is OK.
OK, this is the end of the introduction of Darknet training data set in this article. Those who like this article and feel helpful to you can praise or collect support. Thank you!
I uploaded the data set used in this article to CSDN. I need to get it myself!