All codes and related articles in this article are only used for experience and technology exchange and sharing. It is prohibited to apply relevant technologies to improper ways. The risk of misuse of technology has nothing to do with me.
This article is some records of my study.
start
Recently, we plan to do a target detection project again. After the model of the project is trained, we can carry out model deployment and real-time monitoring and development of landing.
I have done the target detection of ssd framework and yolov3 before. Through consulting the data, I found that yolov5 not only has good detection effect, but also the weight "volume" is very small. Therefore, this blog mainly introduces the use of my own data set for training.
Post the address of yolov5 github here:
https://github.com/ultralytics/yolov5
Just go down and compress the package
Prepare data
For the target detection we want to do, we need to mark the image data. I use the labelImg marking tool to mark my own data (the usage of labelImg here won't be. You can go to Baidu). I write my own crawler program and crawl the image data.
After extracting from the github yolov5 repository, create the following folder under the yolov5 master / data file:
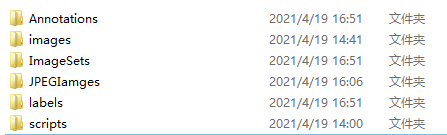
Image files (. jpg format) are placed in the images folder, marked xml files are placed in the Annotations folder, generated training txt files are placed in the ImageSets folder, and generated label files are placed in the labels folder.
Execution procedure
After completing the label file, create a new split.net file in the yolov5 master folder py
#coding=utf-8
#@Time:2021/4/19 15:47
#@Author:csdn@hijacklei
#@File:split.py
#@Software:PyCharm
import os
import random
trainval_percent = 0.1
train_percent = 0.9
xmlfilepath = 'data/Annotations'
txtsavepath = 'data/ImageSets'
total_xml = os.listdir(xmlfilepath)
num = len(total_xml)
list = range(num)
tv = int(num * trainval_percent)
tr = int(tv * train_percent)
trainval = random.sample(list, tv)
train = random.sample(trainval, tr)
ftrainval = open('data/ImageSets/trainval.txt', 'w')
ftest = open('data/ImageSets/test.txt', 'w')
ftrain = open('data/ImageSets/train.txt', 'w')
fval = open('data/ImageSets/val.txt', 'w')
for i in list:
    name = total_xml[i][:-4] + '\n'
    if i in trainval:
        ftrainval.write(name)
        if i in train:
            ftest.write(name)
        else:
            fval.write(name)
    else:
        ftrain.write(name)
ftrainval.close()
ftrain.close()
fval.close()
ftest.close()
After execution, the following four files are generated in the ImageSets folder under data /

Then create a new VOC in the yolov5 master folder_ label. Py file
#coding=utf-8
#@Time:2021/4/19 15:52
#@Author:csdn@hijacklei
#@File:voc_label.py
#@Software:PyCharm
import xml.etree.ElementTree as ET
import pickle
import os
from os import listdir, getcwd
from os.path import join
sets = ['train', 'test','val']
classes = ['Your own category']
def convert(size, box):
    dw = 1. / size[0]
    dh = 1. / size[1]
    x = (box[0] + box[1]) / 2.0
    y = (box[2] + box[3]) / 2.0
    w = box[1] - box[0]
    h = box[3] - box[2]
    x = x * dw
    w = w * dw
    y = y * dh
    h = h * dh
    return (x, y, w, h)
def convert_annotation(image_id):
    in_file = open('data/Annotations/%s.xml' % (image_id))
    out_file = open('data/labels/%s.txt' % (image_id), 'w')
    tree = ET.parse(in_file)
    root = tree.getroot()
    size = root.find('size')
    w = int(size.find('width').text)
    h = int(size.find('height').text)
    for obj in root.iter('object'):
        difficult = obj.find('difficult').text
        cls = obj.find('name').text
        if cls not in classes or int(difficult) == 1:
            continue
        cls_id = classes.index(cls)
        xmlbox = obj.find('bndbox')
        b = (float(xmlbox.find('xmin').text), float(xmlbox.find('xmax').text), float(xmlbox.find('ymin').text),
             float(xmlbox.find('ymax').text))
        bb = convert((w, h), b)
        out_file.write(str(cls_id) + " " + " ".join([str(a) for a in bb]) + '\n')
wd = getcwd()
print(wd)
for image_set in sets:
    if not os.path.exists('data/labels/'):
        os.makedirs('data/labels/')
    image_ids = open('data/ImageSets/%s.txt' % (image_set)).read().strip().split()
    list_file = open('data/%s.txt' % (image_set), 'w')
    for image_id in image_ids:
        list_file.write('data/images/%s.jpg\n' % (image_id))
        convert_annotation(image_id)
    list_file.close()
In classes = ['your own category'] here, replace it with the category of the label you marked
Executing this voc_label.py files, some people may have such a bug:
ZeroDivisionError: float division by zero
This is because we have problems in labeling, which makes the width and height of our labeled xml file appear 0

Therefore, to find out the xml file of the marked data and remove or re label it, please refer to my previous blog and write about this bug:
https://blog.csdn.net/hijacklei/article/details/113752039
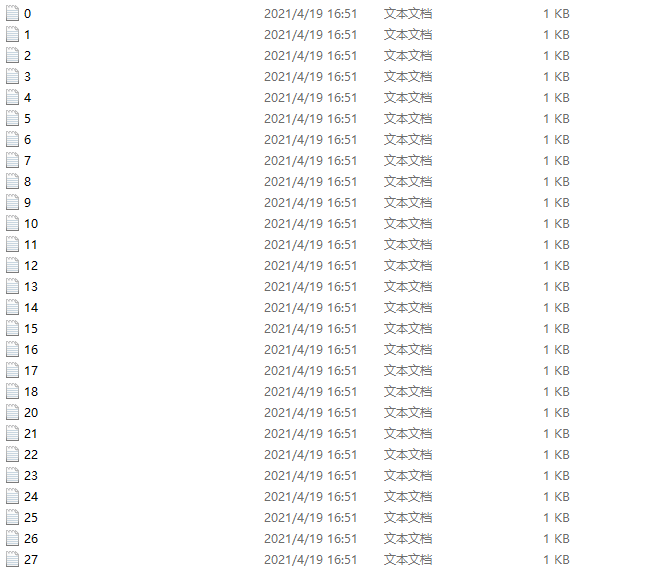
Execute voc_label.py file, the text information of the data will be generated in the labels folder:
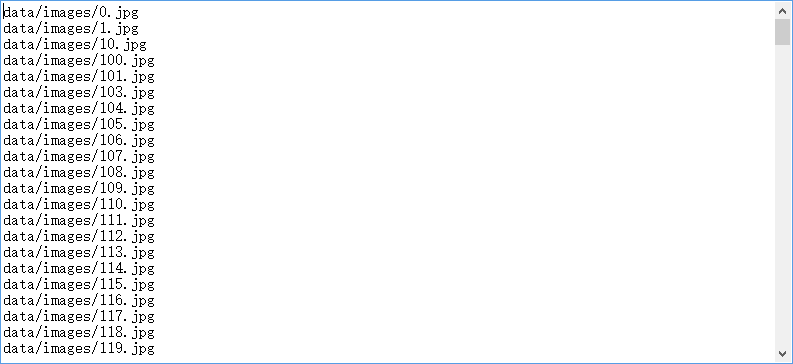
In addition, training, verification and test files will be generated in the data folder:

Modify profile
After preparing the data, prepare for the training. Before the training, modify the configuration file and find coco. Com in the data folder Yaml file:

Make a copy and rename it to your category, yaml. For example, if your category is car, write it as car Yaml, modify in this file:

Because mine is a category, it is written as nc:1, and the path above is also written as your path
Then find the file vyos Yaml file, modify it and change it to its own category;

At this time, you need to download the pre weight file of yolov5, which is slow to download from the official website. Here, I'll share it with you directly on Baidu online disk:
Link: https://pan.baidu.com/s/1gKyOZ2Mjj2dJy_lrTxBzyQ
Extraction code: 2s5s
After copying this content, open Baidu online disk mobile App, which is more convenient to operate
After downloading, it will yolov5s Put the PT weight file in the weights folder
Yes, train After modifying the PY file, you can train. Open the modification file and modify these places:
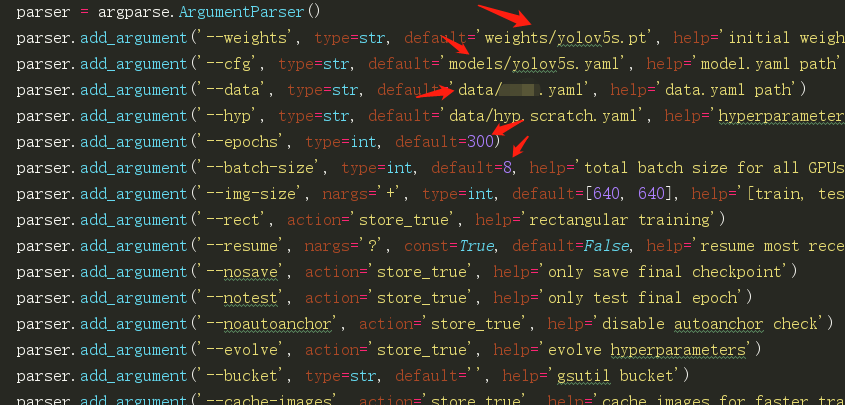
batch_ The setting of size depends on the configuration of your graphics card. If the graphics card is not good, set it smaller. I set 8 first. You can change the other paths to your own path.
Start training
A very important step here is to configure the environment, which can be configured manually and automatically according to the configuration in the requirements file under the yolov5 master file;
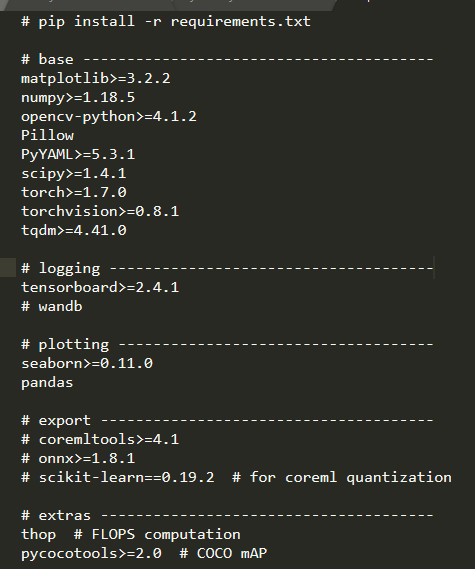
Auto configuration:
After creating the virtual environment, perform the following steps:
pip install -U -r requirements.txt
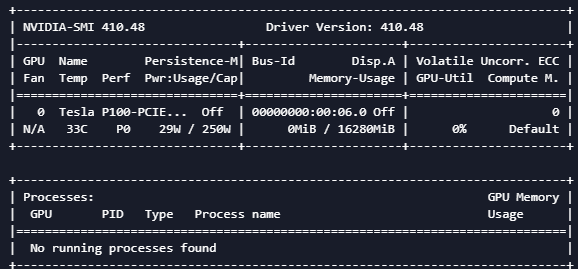
Because I actually run on Alibaba cloud servers, I can use gpu to run, and the configuration is also better. pytorch configuration above 1.7.0 is OK
!pip3 install torch==1.7.0 -f https://download.pytorch.org/whl/torch_stable.html

After configuration, you can train: execute train Py, I trained 300 epochs
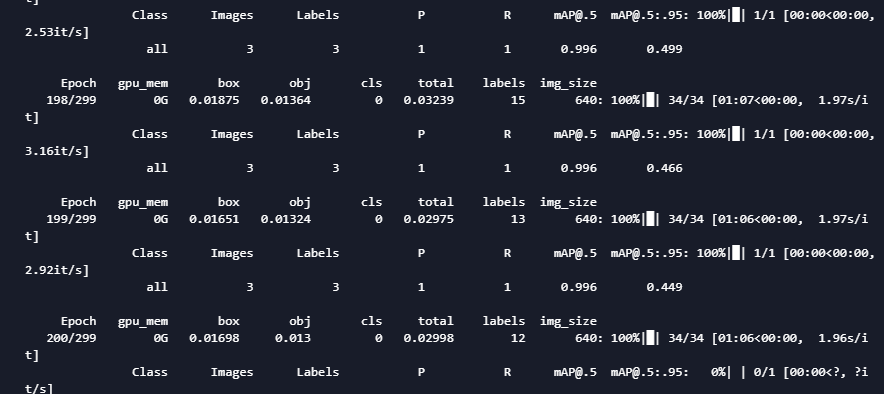
At present, 200 epoch s have been trained. From the training situation, my batch_ The size can also be set larger
The main configuration is awesome.
At present, I have been training for four hours: next, I'll wait until the end of the training to see the test and training indicators
end
The main bug s encountered during training are cuda and torch version matching. cuda here is 10.0 and torch is 1.7.0
After running, the next blog will be tested
What questions do you have to discuss in the comment area