zabbix distributed monitoring
1, Overview of zabbix distributed monitoring
1.Zabbix provides effective and available distributed monitoring for IT infrastructure through Zabbix proxies
Proxies can be used to collect data locally instead of Zabbix server, and then report the data to the server.
2.proxy feature
When choosing to use / not to use proxy, several considerations must be considered.
Item.
| Proxy | |
|---|---|
| Lightweight | Yes |
| Graphical interface (GUI) | No |
| Works independently | Yes |
| Easy maintenance | Yes |
| Automatic DB creation 1 | Yes |
| Local administration | No |
| Ready for embedded hardware | Yes |
| One way TCP connections | Yes |
| Centralized configuration | Yes |
| Generate notifications | No |
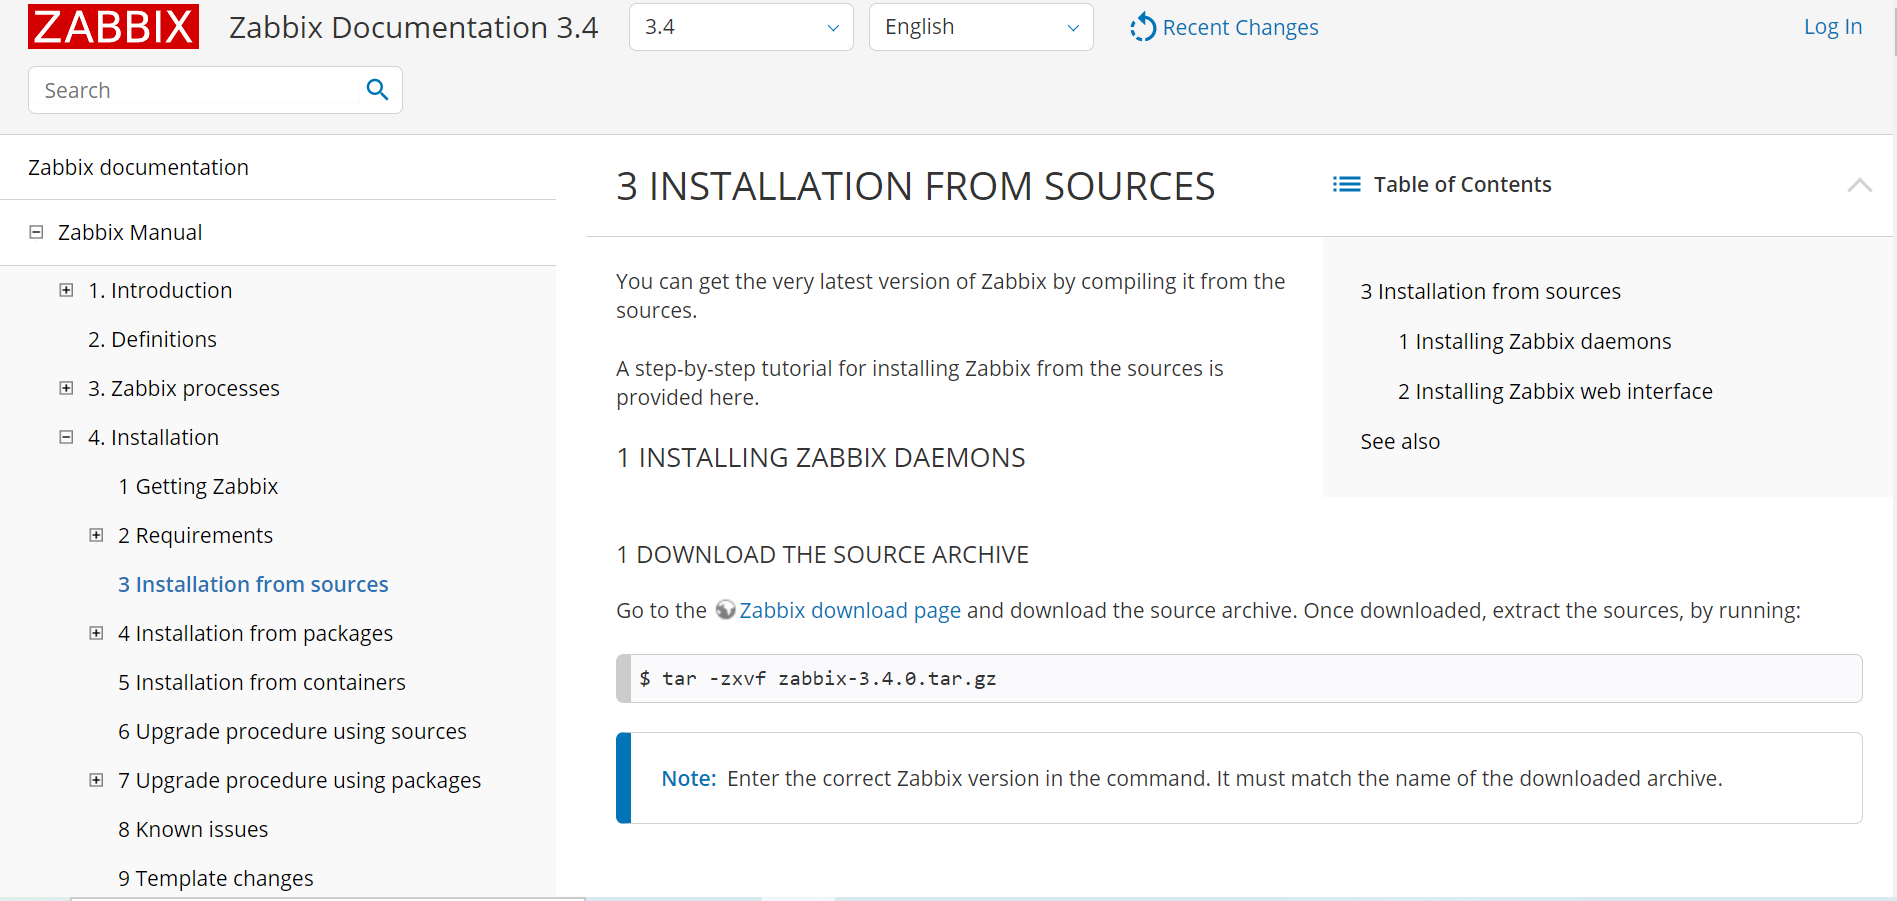
https://www.zabbix.com/documentation/3.4/manual/installation/install#requirements
2, Overview of zabbix porxy proxy
1. General
zabbix proxy can collect performance and availability data instead of zabbix server, and then report the data to zabbix server, and share the pressure of zabbix server to a certain extent
In addition, when all agents and proxies are reported to a Zabbix server and all data are collected centrally, using proxy is the simplest way to realize centralized and distributed monitoring.
Usage scenario of zabbix proxy:
1. Monitor remote area equipment
2. Monitor the unstable area of the local network
3. When zabbix monitors thousands of devices, use it to reduce the pressure on the server
4. Simplify the maintenance of distributed monitoring
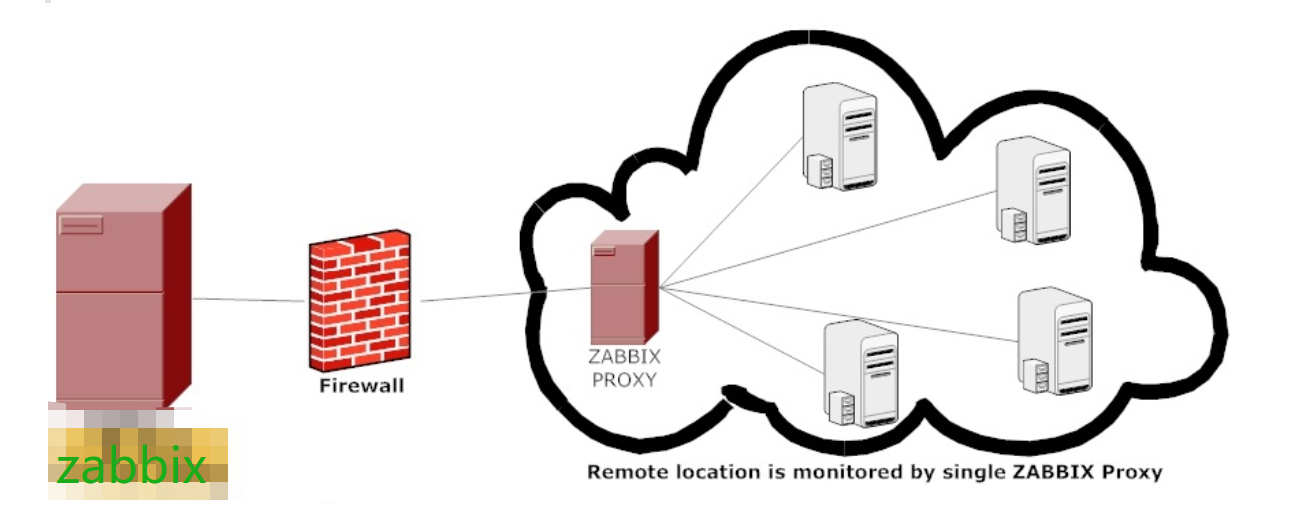
zabbix proxy only needs a tcp connection to zabbix server, so only one rule needs to be added to the firewall.
After the proxy collects the data, it first caches the data locally, and then passes it to the zabbix server after a certain time, so that the data will not be lost due to any temporary communication problems of the server. This time is determined by the parameters ProxyLocalBuffer and ProxyOfflineBuffer in the proxy configuration file.
2. Note:
1. The ZABBIX proxy database must be separated from the server, otherwise the data will be destroyed.
2. Updating the latest configured proxy directly from Zabbix server database may be newer than Zabbix server, and the configuration of Zabbix server cannot be updated quickly due to CacheUpdateFrequency. Therefore, the Zabbix server data collected and sent by proxy may be ignored.
3, zabbix porxy proxy function
zabbix proxy is a data collector. It does not calculate triggers, process events and send alarms. For an overview of proxy functions, see the following table:
| function | proxy support (yes/no) | |
|---|---|---|
| Items | ||
| Zabbix agent checks | Yes | |
| Zabbix agent checks (active) | Yes 1 | |
| Simple checks | Yes | |
| Trapper items | Yes | |
| SNMP checks | Yes | |
| SNMP traps | Yes | |
| IPMI checks | Yes | |
| JMX checks | Yes | |
| Log file monitoring | Yes | |
| Internal checks | Yes | |
| SSH checks | Yes | |
| Telnet checks | Yes | |
| External checks | Yes | |
| Built in web Monitoring | Yes | |
| Network discovery | Yes | |
| Low level discovery | Yes | |
| Calculating triggers | No | |
| Processing events | No | |
| Sending alerts | No | |
| Remote commands | No |
When using agent active mode, you must remember to add the IP address of proxy to the parameter ServerActive in the agent configuration file.
4, zabbix proxy proxy enterprise scenario

1.zabbix proxy distributed scenario practice environment planning
| Server function | Server extranet | Server Intranet |
|---|---|---|
| zabbix-server | 10.0.0.71 | 172.16.1.71 |
| zabbix-proxy | 10.0.0.8 | 172.16.1.8 |
| zabbix-agent | 10.0.0.7 | 172.16.1.7 |
2. Install and deploy zabbix proxy
[root@web01 ~]# yum install -y https://mirrors.aliyun.com/zabbix/zabbix/3.4/rhel/7/x86_64/zabbix-proxy-mysql-3.4.15-1.el7.x86_64.rpm
3. Configure zabbix proxy database
[root@web01 ~]# yum install -y mariadb-server
[root@web01 ~]# systemctl start mariadb
[root@web01 ~]# systemctl enable mariadb
[root@web01 ~]# mysql
#Create database
MariaDB [(none)]> create database zabbix_proxy charset utf8;
#Create user
MariaDB [(none)]> grant all on zabbix_proxy.* to zabbix_proxy@'localhost' identified by '123'
MariaDB [(none)]> grant all on zabbix_proxy.* to zabbix_proxy@'10.0.0.%' identified by '123';
4. Import data
#View data file
[root@web01 ~]# rpm -ql zabbix-proxy-mysql
/usr/share/doc/zabbix-proxy-mysql-3.4.15/schema.sql.gz

#Import data
[root@web01 ~]# zcat /usr/share/doc/zabbix-proxy-mysql-3.4.15/schema.sql.gz |mysql zabbix_proxy

#View imported data
[root@web01 ~]# mysql
MariaDB [(none)]> show databases;
MariaDB [zabbix_proxy]> use zabbix_proxy
MariaDB [zabbix_proxy]> show tables;
5. Modify zabbix proxy configuration file
[root@web01 ~]# vim /etc/zabbix/zabbix_proxy.conf
Server=10.0.0.71
Hostname=hlj_proxy
DBName=zabbix_proxy
DBHost=localhost
DBUser=zabbix_proxy
DBPassword=123
6. Start the zabbix proxy and join the startup self startup
[root@web01 ~]# systemctl start zabbix-proxy
[root@web01 ~]# systemctl enable zabbix-proxy
[root@web01 ~]# netstat -lntup
Proto Recv-Q Send-Q Local Address           Foreign Address         State       PID/Program name
tcp        0      0 0.0.0.0:10051           0.0.0.0:*               LISTEN      82597/zabbix_proxy
7. Configure zabbix agent
[root@web02 ~]# vim /etc/zabbix/zabbix_agentd.conf
Server=172.16.1.7
ServerActive=172.16.1.7
Hostname=web02
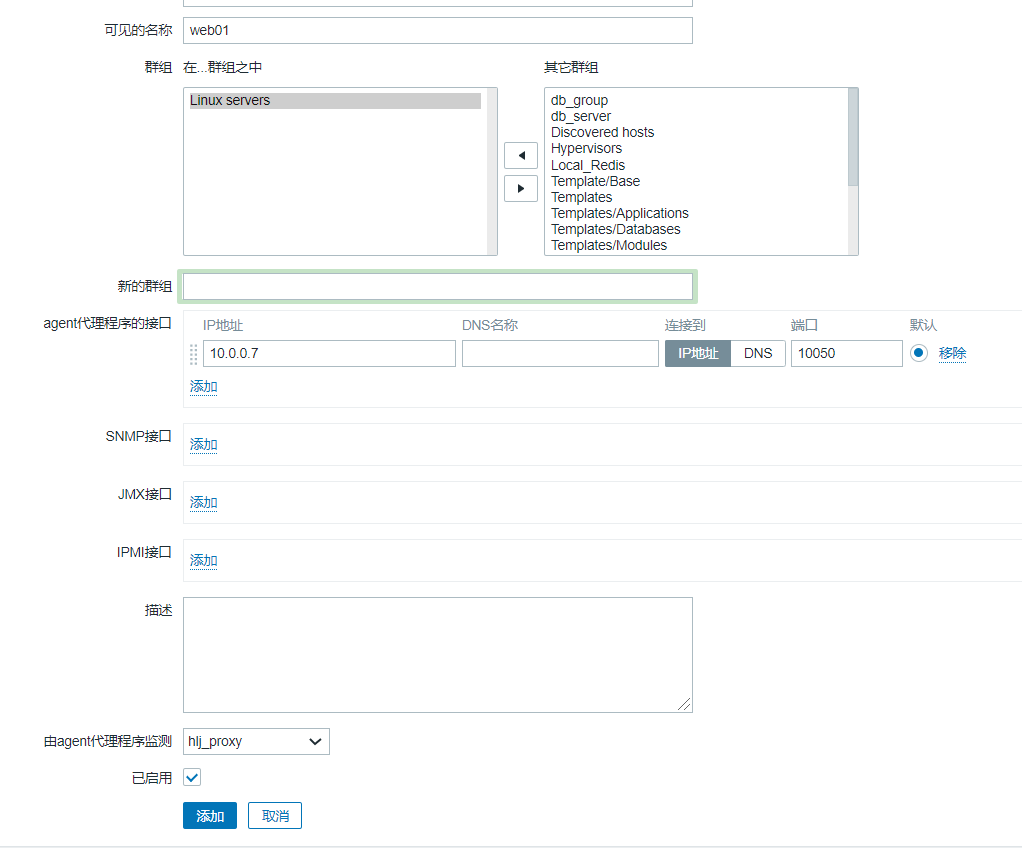
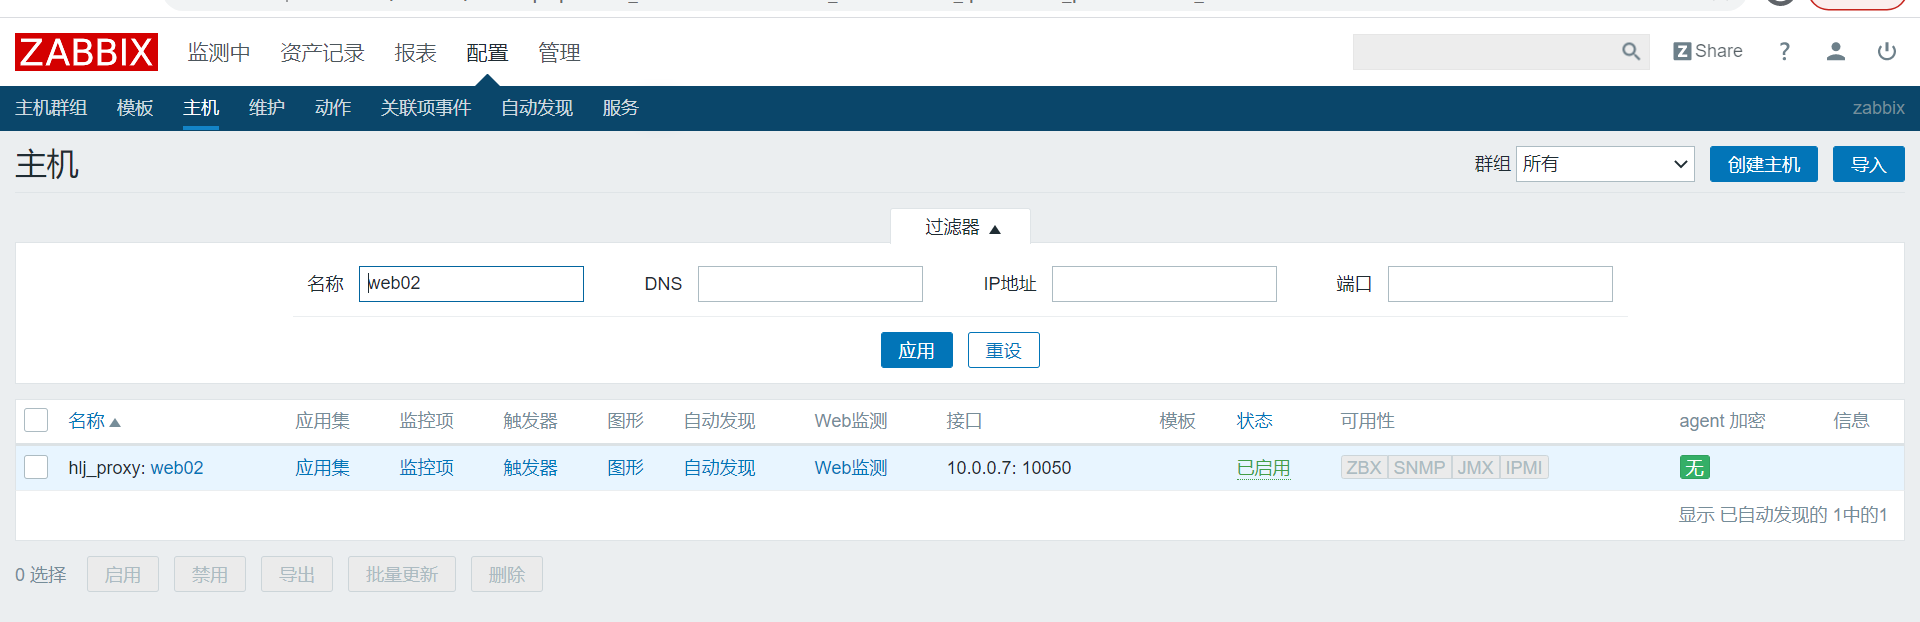
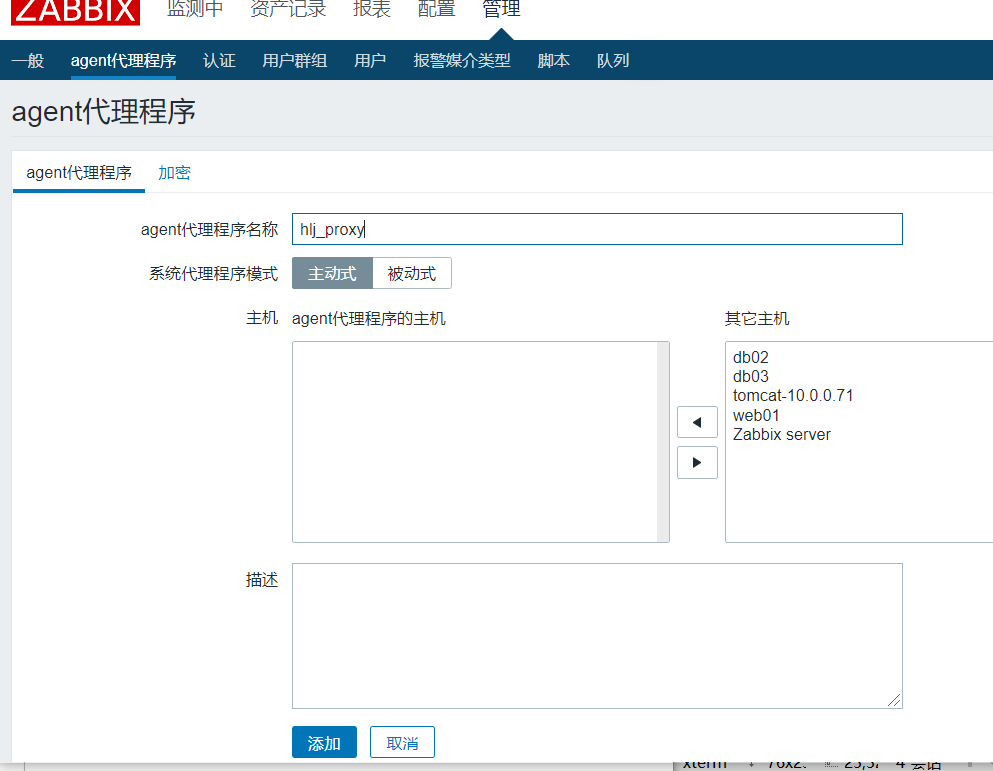
8. Configure zabbix proxy on the page
1) Create agent agent
 2) create host