In the previous Linux article, it was mentioned that the principle of automatic installation is actually script installation, but the installation part saves some manual repeated work, but Windows is special and needs to use the self-contained software of powershell. After the introduction of Windows 2008, this software started the journey of Windows automation, which opened the prelude to the Windows command line, If you are interested, you can refer to the official documents. The latest 7.0 is still relatively powerful.
text
thinking
The overall idea is to push the powershell script through ansible remote to the Windows host, and Windows executes the powershell script to automatically pull the agent file, replace the configuration and start a series of operations.
preparation
Since Ansible to Windows requires the host powershell version to be above 3.0, if it is not 3.0 powershell, it should be noted that the version after Windows 2008 R2 (excluding the version before Windows 2008 R2) starts with 4.0, so it is satisfied.
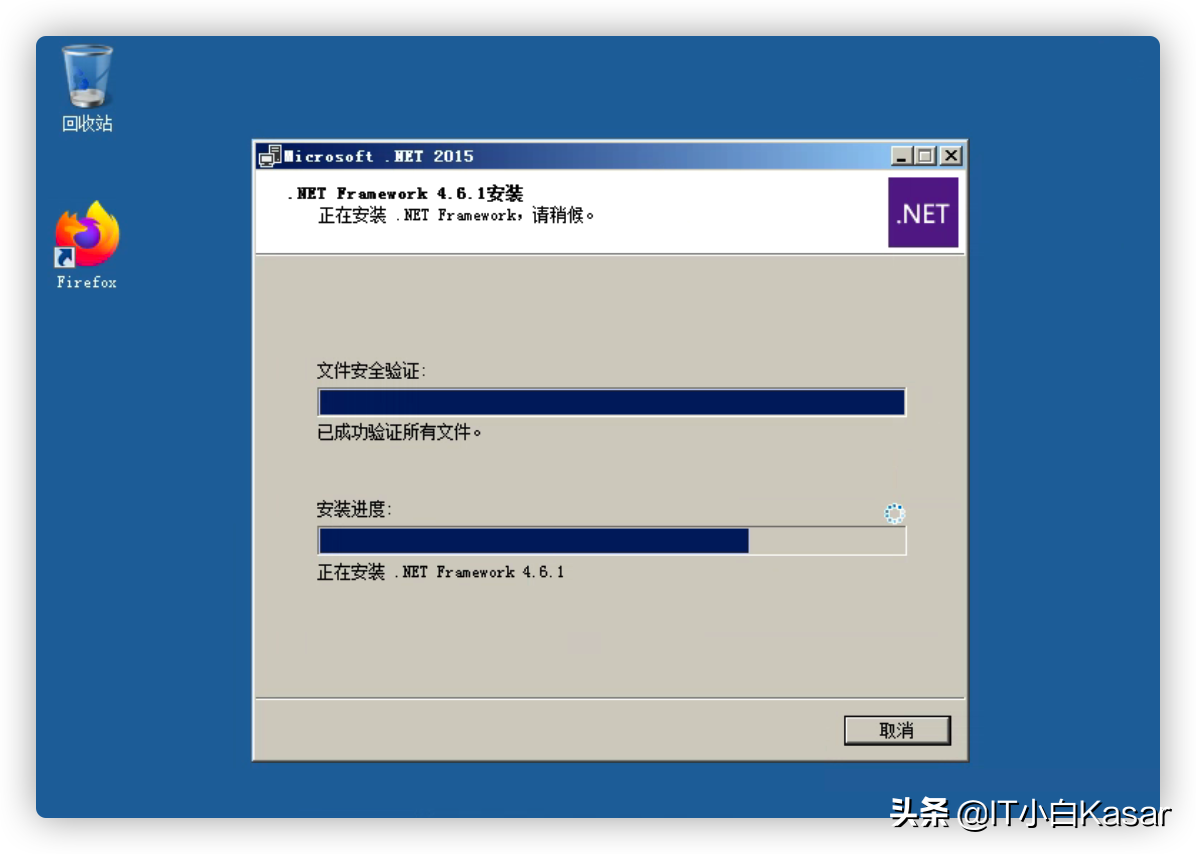
1. Download Framework version 4.5.2 and above. Here I choose 4.6.1 and download it from the Internet by myself. (the following related software will be packaged and put together)
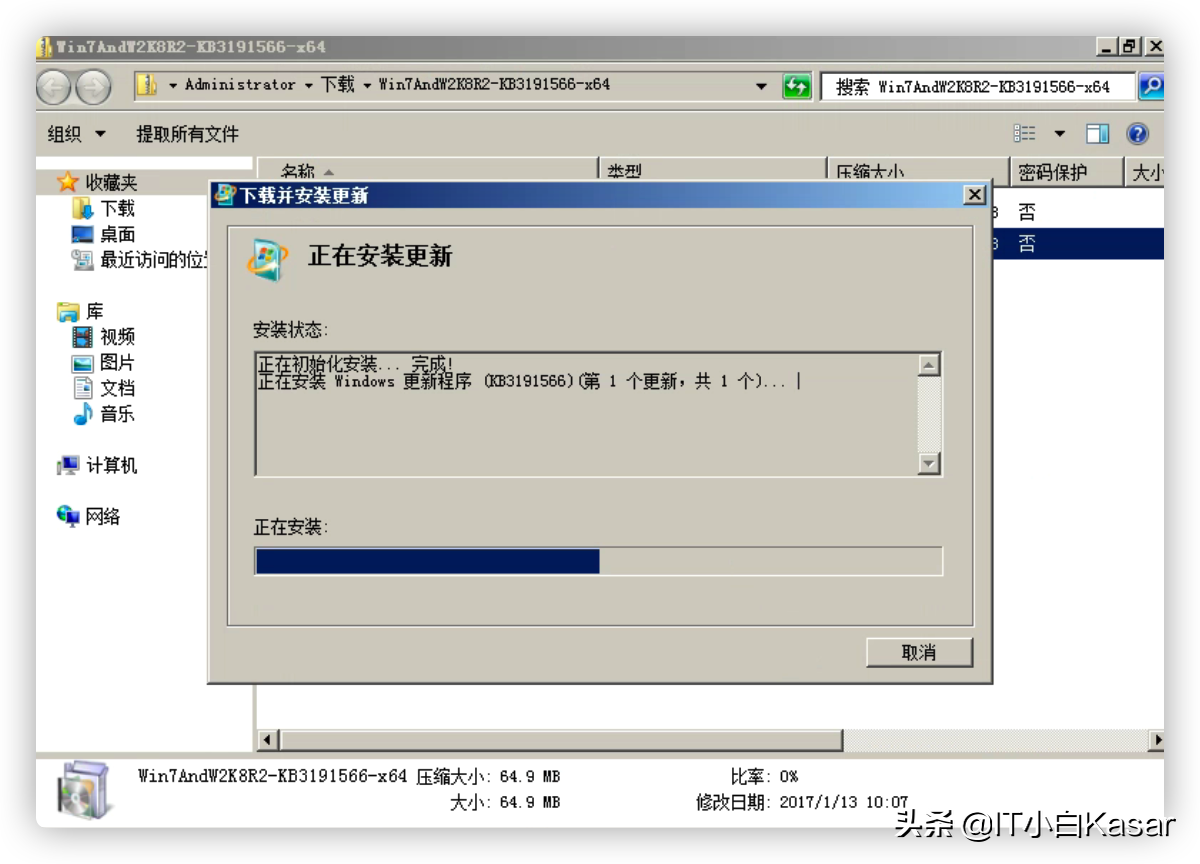
2. Upgrade Powershell currently officially provides WMF version 5.1. You need to restart after installation.
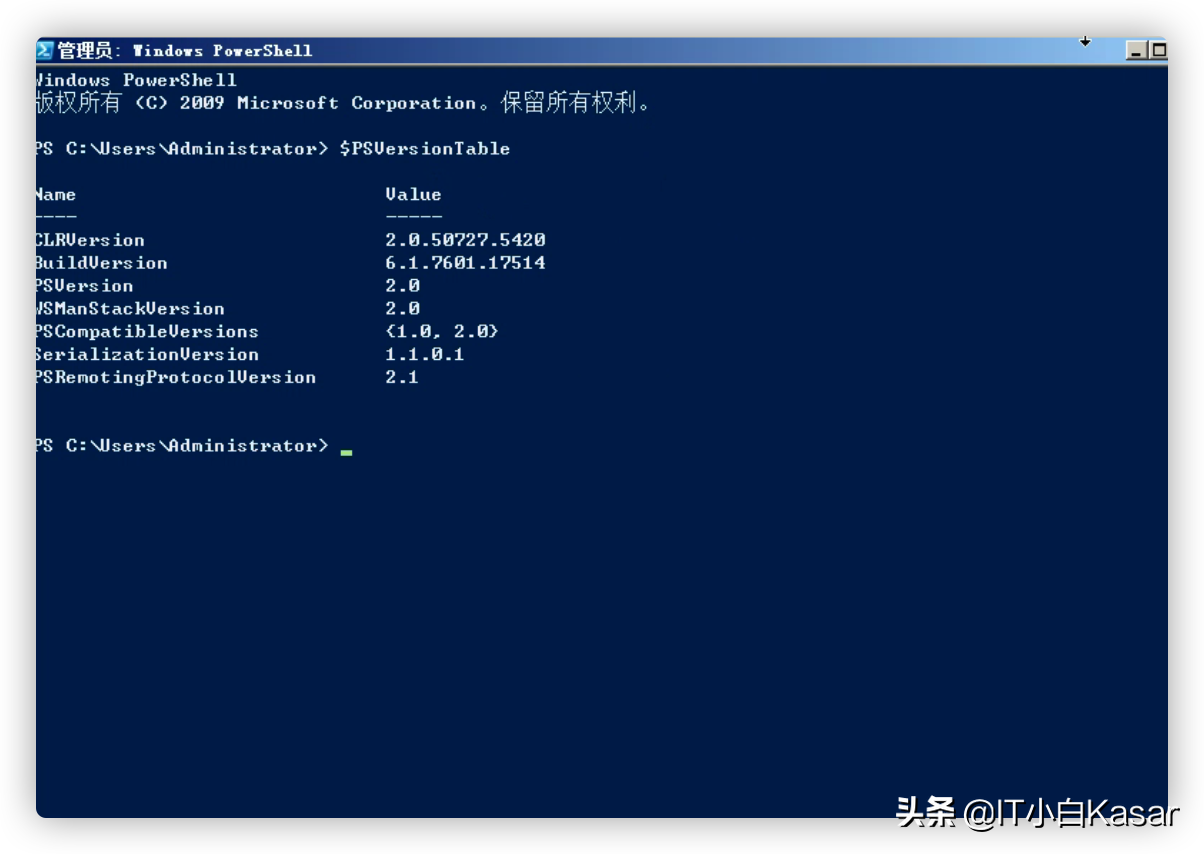
3. View version information
Enable remote function
1. Check the powershell execution policy (run with administrator's permission). The default should be Restricted and need to be changed to remote signed. What's the significance of doing so? If it is not changed to this value, PS script cannot be executed.
2. Start the remote management function, start the remote management service (winrm), and enter y
3. Enable authentication
Ansible connection test
1. Install pywinrm. It is estimated that the problem here is due to the lack of pip tool or other reasons. Search the Internet by yourself
2. Write ansible hosts file
3.ansible ping test
PS script
Paste the following script into ps1 suffix in the file (the file is created by itself)
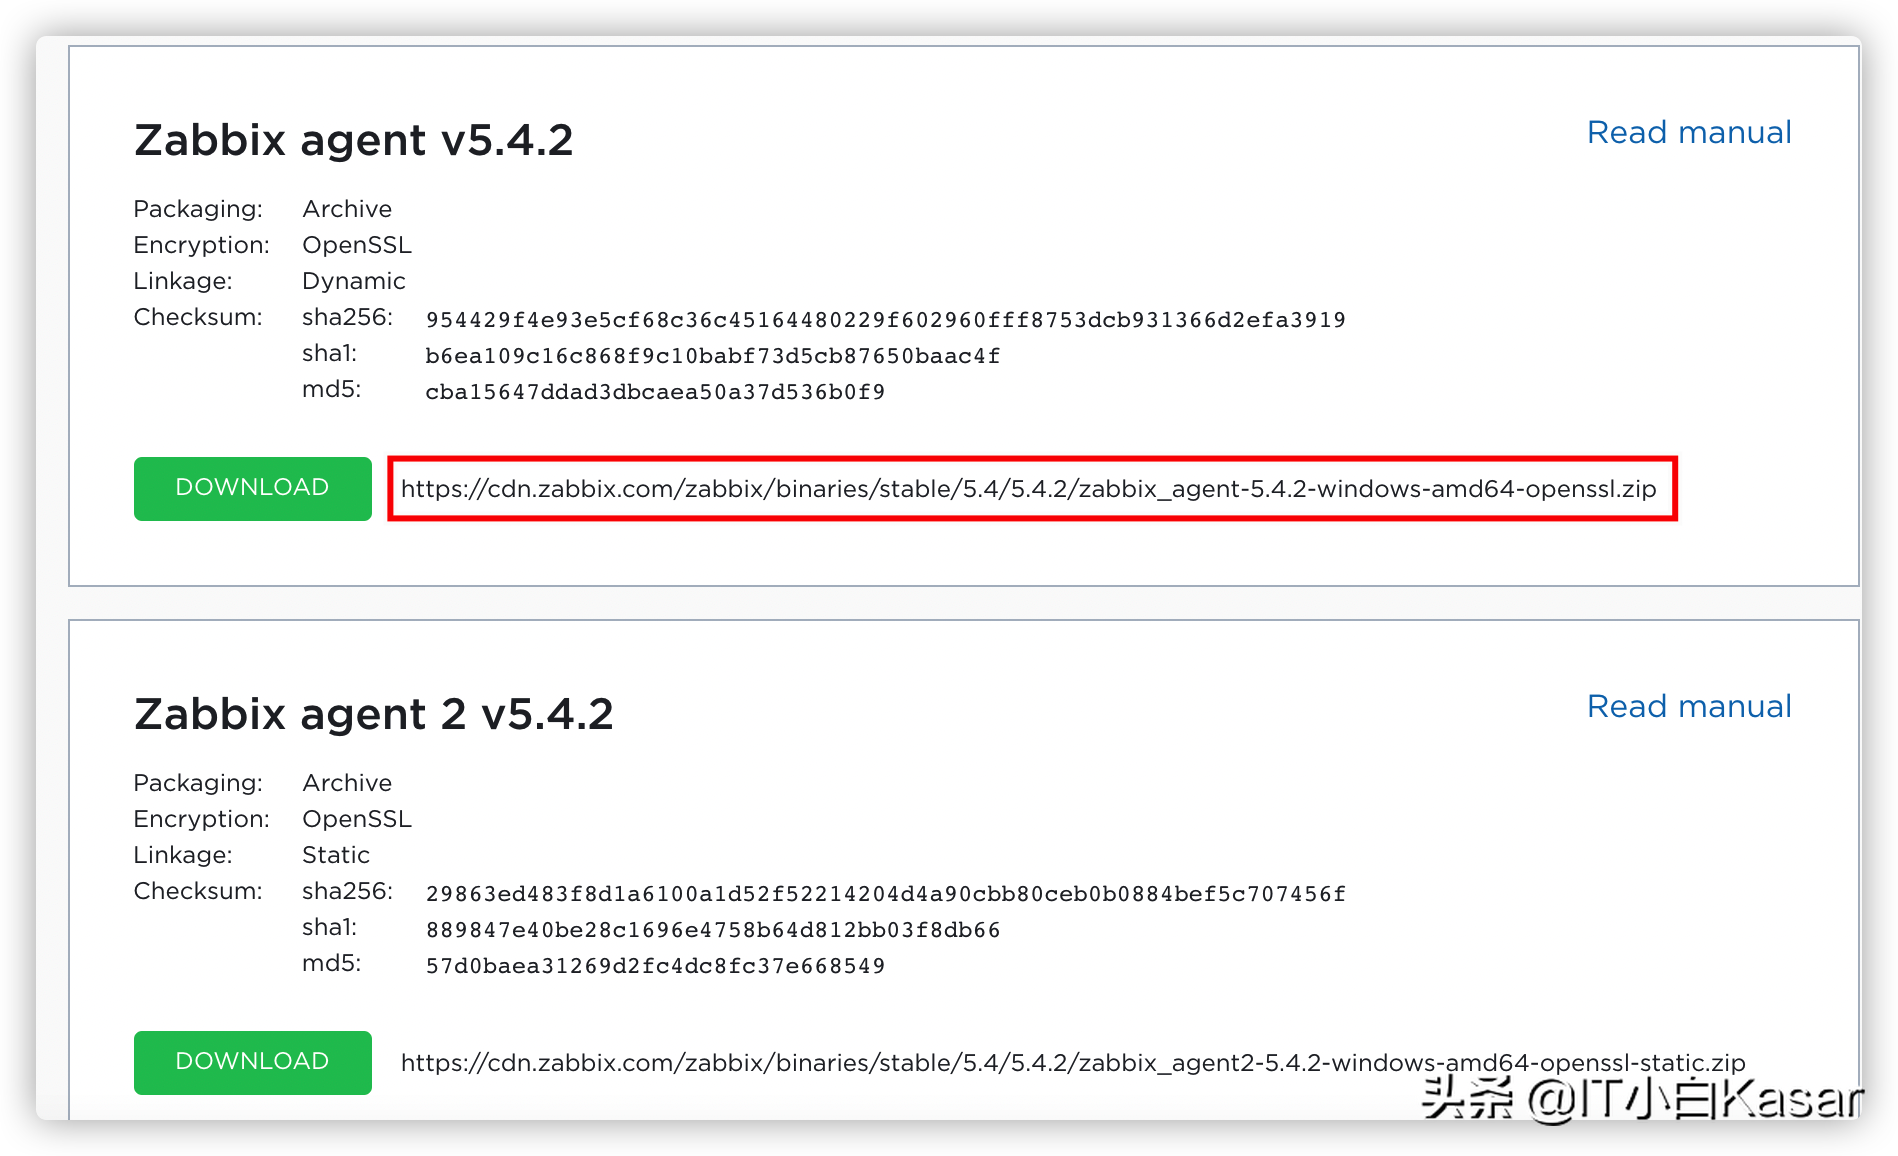
It should be noted here that you should pay attention to the version when obtaining files. I use the agent v2 version of Zabbix 5.4 here. If your version is not a secondary version, you need to check the official website, as shown in Figure 2 and figure 3 below. In addition, agent2 and agent are also different. If lazy friends can ask me for the script corresponding to different versions, otherwise the execution will report an error, I'm sure everyone knows a little about powershell syntax. After all, we are all on the shoulders of giants.
mkdir C:\zabbix
invoke-webrequest -uri https://cdn.zabbix.com/zabbix/binaries/stable/5.4/5.4.2/zabbix_agent2-5.4.2-windows-amd64-openssl-static.zip -outfile C:\zabbix\zabbix-win.zip
$file = "C:\zabbix\zabbix-win.zip"
$shell = New-Object -ComObject shell.application
$zip = $shell.NameSpace($file)
$dest =  $shell.NameSpace((Split-Path $file -Parent))
$dest.CopyHere($zip.Items())


Copy-Item C:\zabbix\bin\*.exe C:\zabbix\
Copy-Item C:\zabbix\conf\*.conf C:\zabbix\
Rename-Item C:\zabbix\zabbix_agent2.conf  zabbix_agentd.conf
Rename-Item C:\zabbix\zabbix_agent2.exe  zabbix_agentd.exe
Remove-Item C:\zabbix\zabbix-win.zip


$conf= Get-Content C:\zabbix\zabbix_agentd.conf -Encoding UTF8
$conf= $conf.Replace("LogFile=c:\zabbix_agentd.log", "LogFile=c:\zabbix\zabbix_agentd.log")
$conf= $conf.Replace("Server=127.0.0.1", "Server=192.168.31.137")
$conf= $conf.Replace("ServerActive=127.0.0.1", "ServerActive=192.168.31.137:10051")
$conf= $conf.Replace("Hostname=Windows host", "Hostname=${Env:COMPUTERNAME}")
#$conf= $conf.Replace("# HostnameItem=system.hostname", "HostnameItem=system.hostname")
$conf= $conf.Replace("# HostMetadata=", "HostMetadata=")


[IO.File]::WriteAllLines("C:\zabbix\zabbix_agentd.conf", $conf)


cd  C:\zabbix\
.\zabbix_agentd.exe -i -c C:\zabbix\zabbix_agentd.conf
.\zabbix_agentd.exe -s -c zabbix_agentd.conf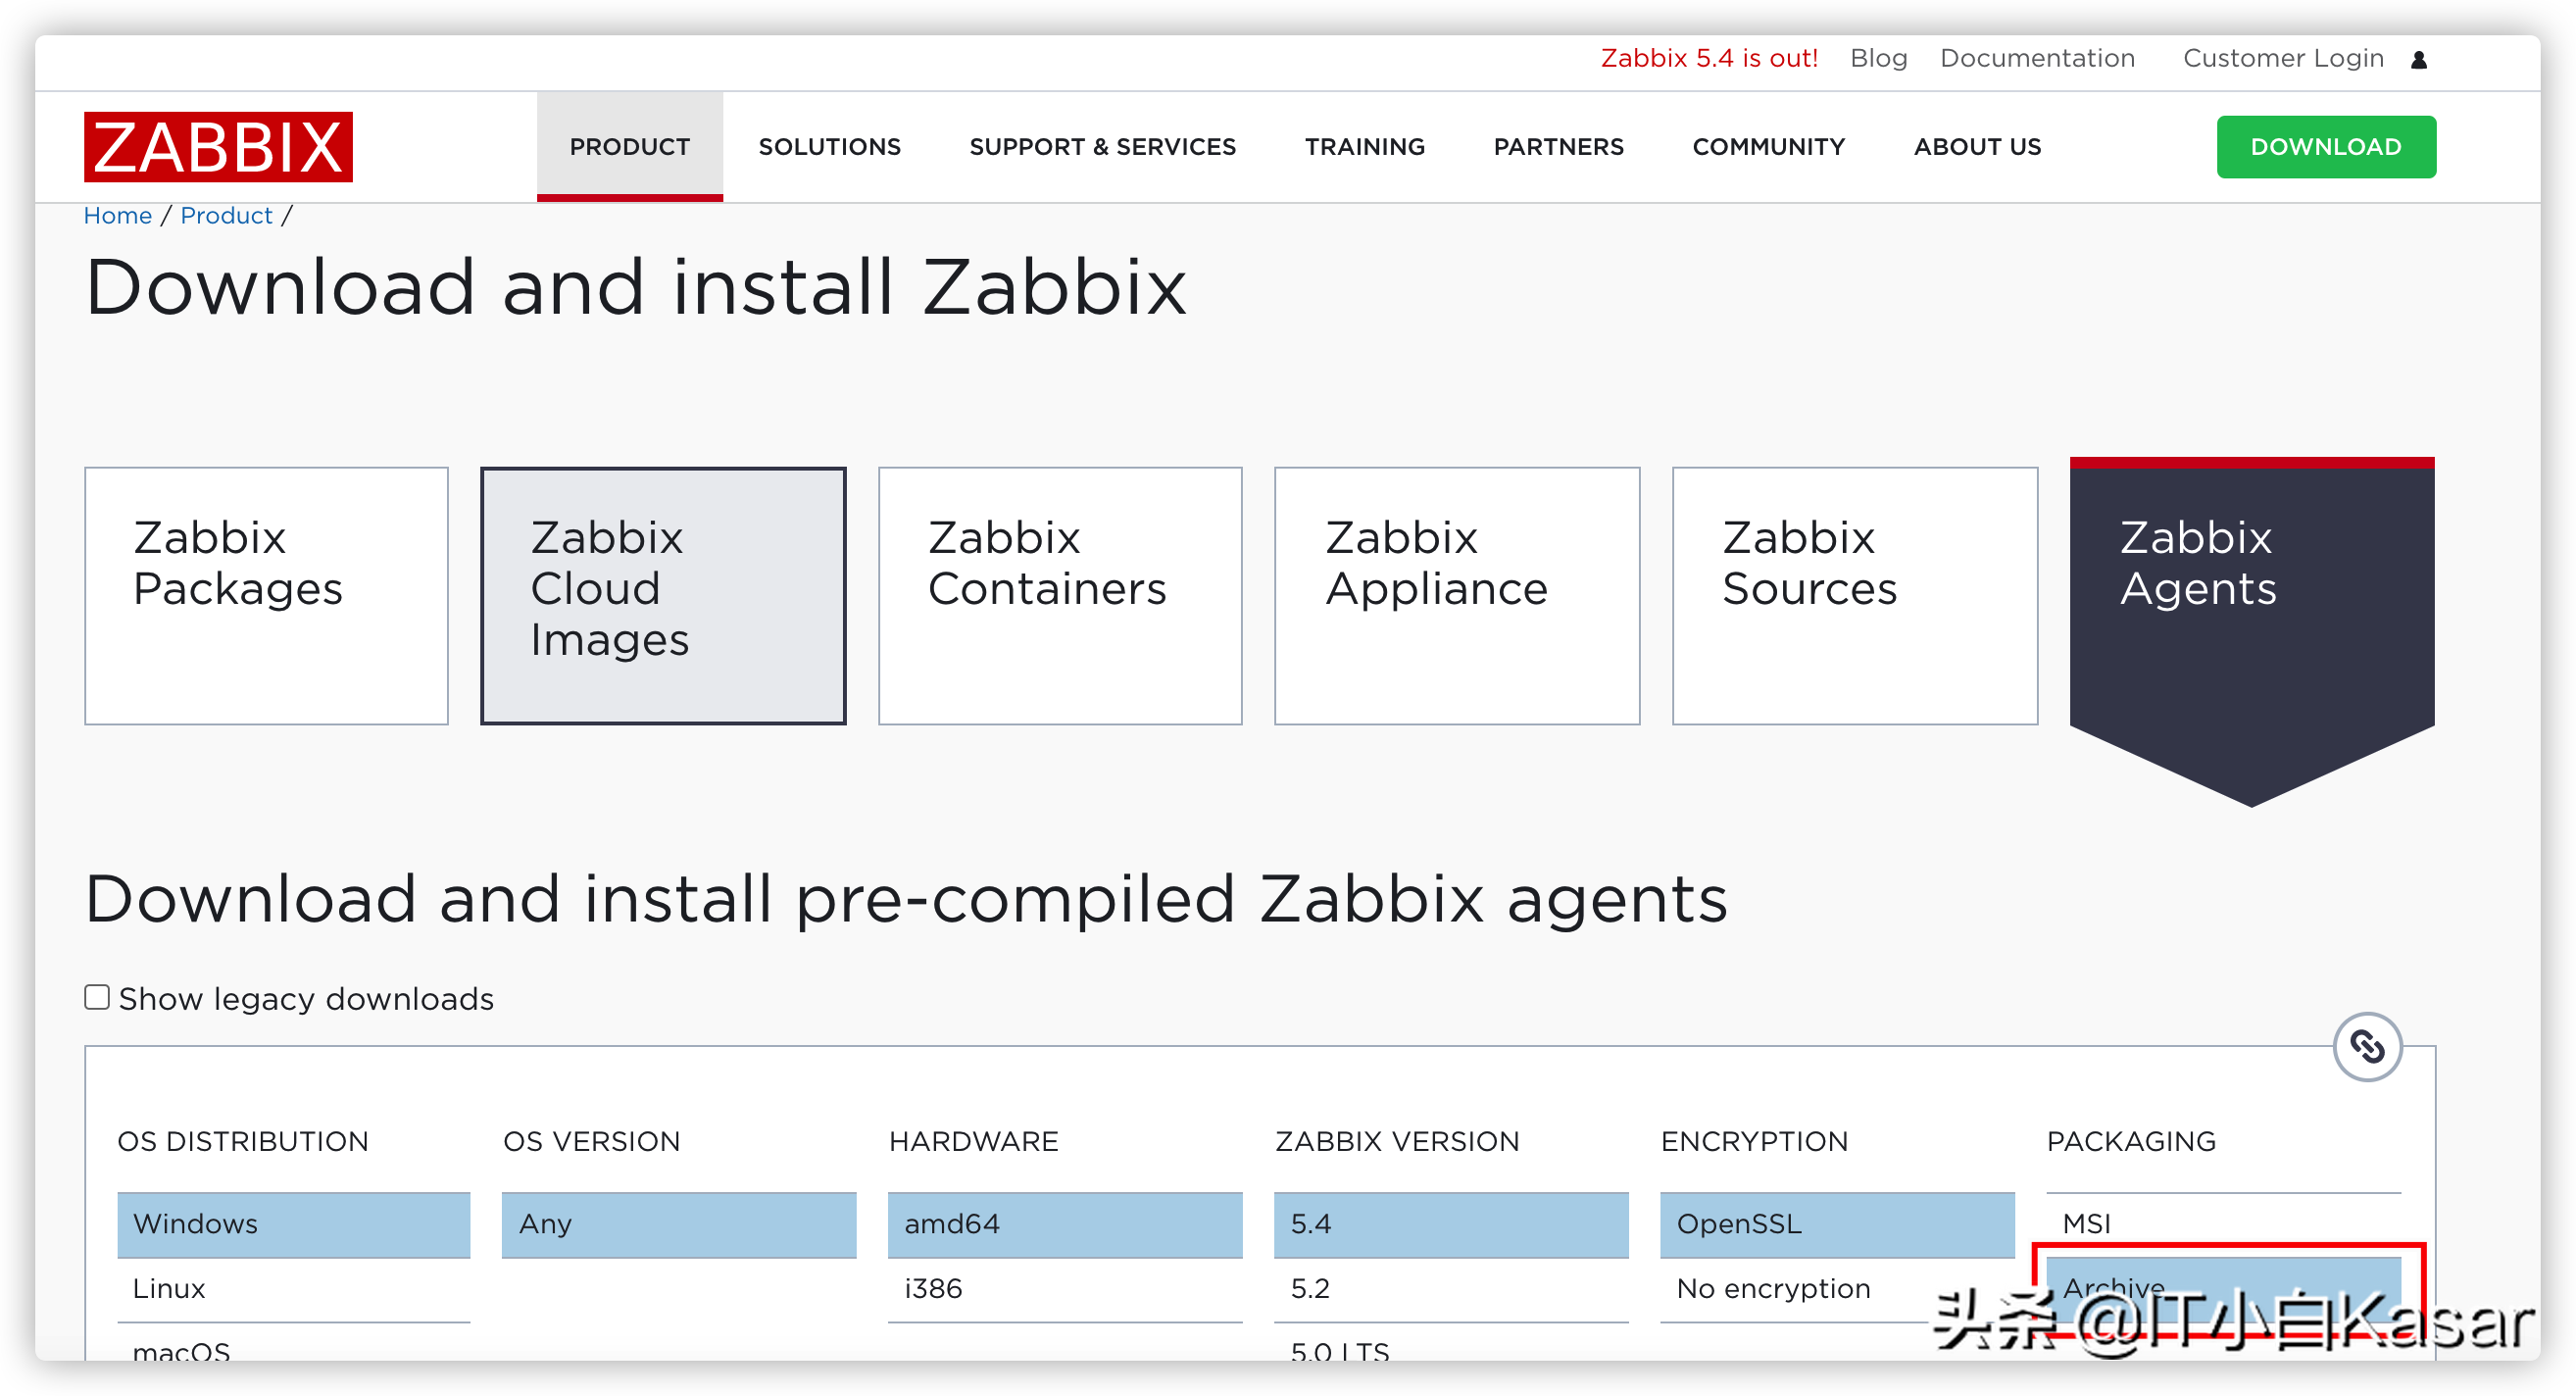
Push script installation
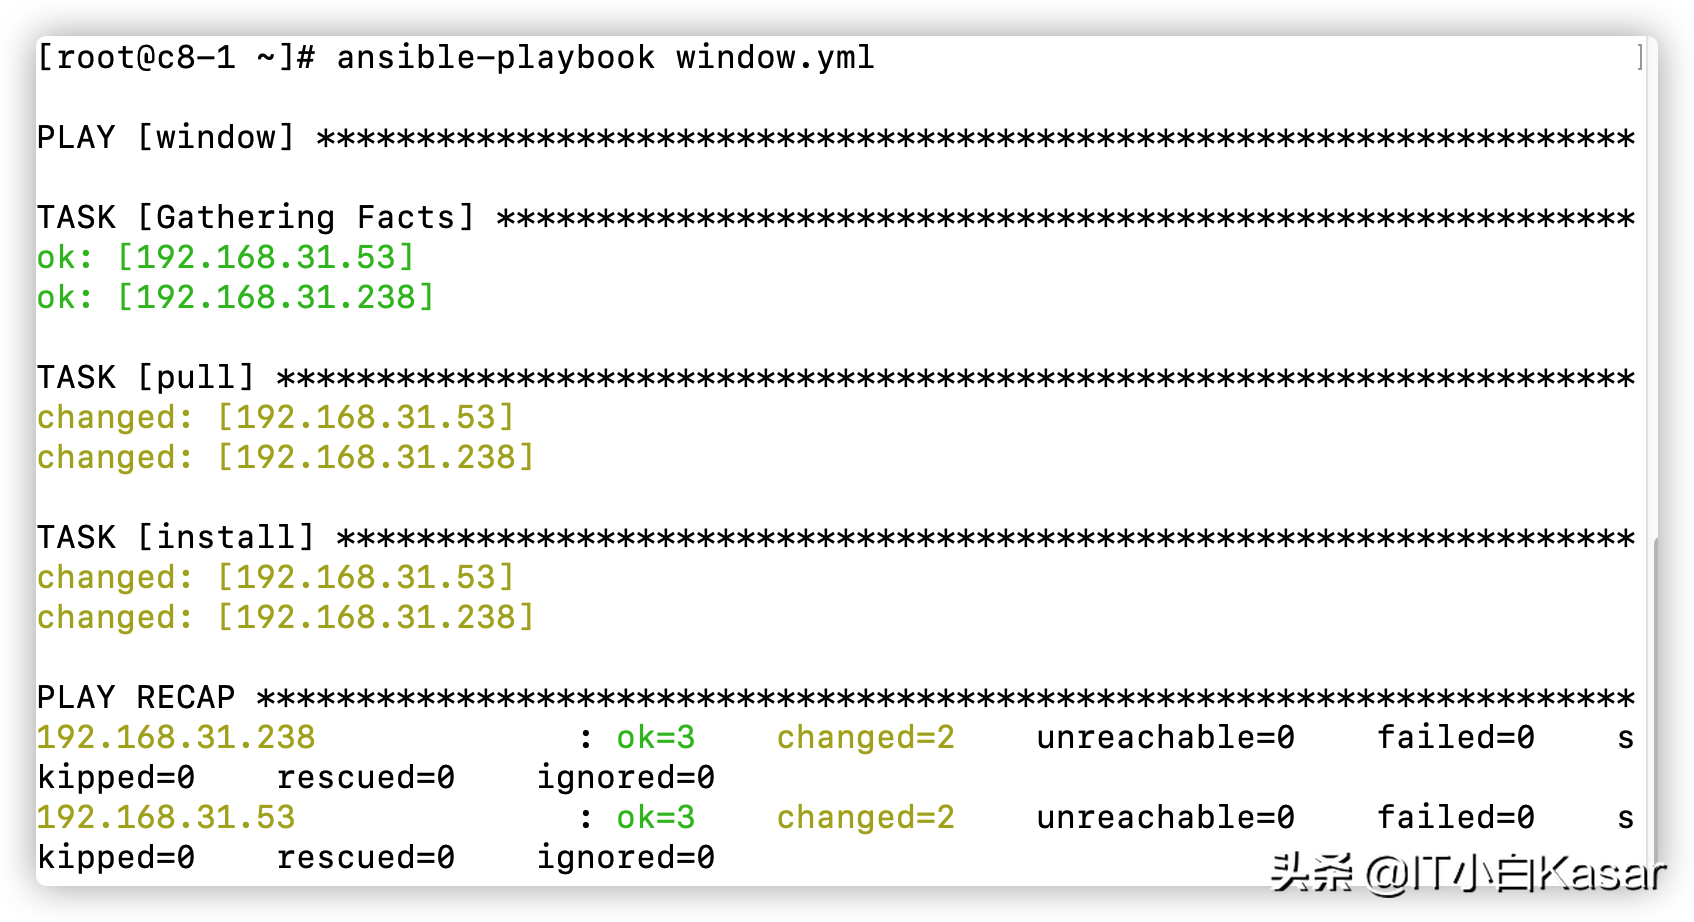
1. Pay attention to the format when writing playbook
2. Execute playbook
Zabbix front end operation
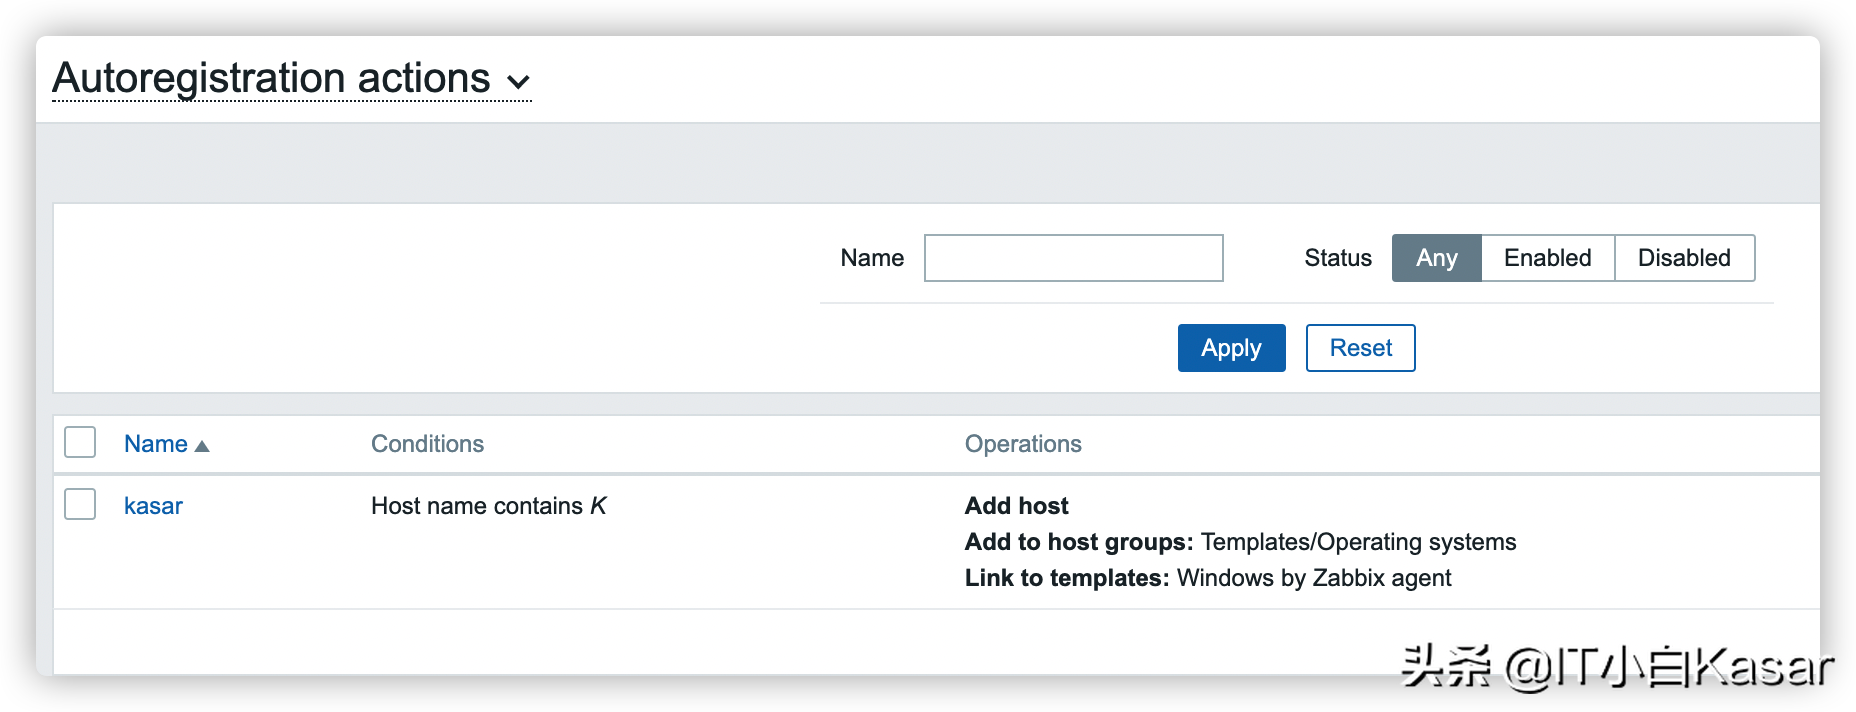
As it has been mentioned in the Linux article before, it will not be discussed in detail here. The following figure represents that the condition is that the host name contains K for automatic registration, and the action is to add a host, add to a host group, and link to a template.
Problems encountered
If you encounter the following problems during the test, it is probably a firewall problem. You need to release the 10050 port in the incoming direction or adopt the active mode. In addition, the version after 2008 can be closed through powershell. I won't demonstrate it here. I will provide it in the attachment.

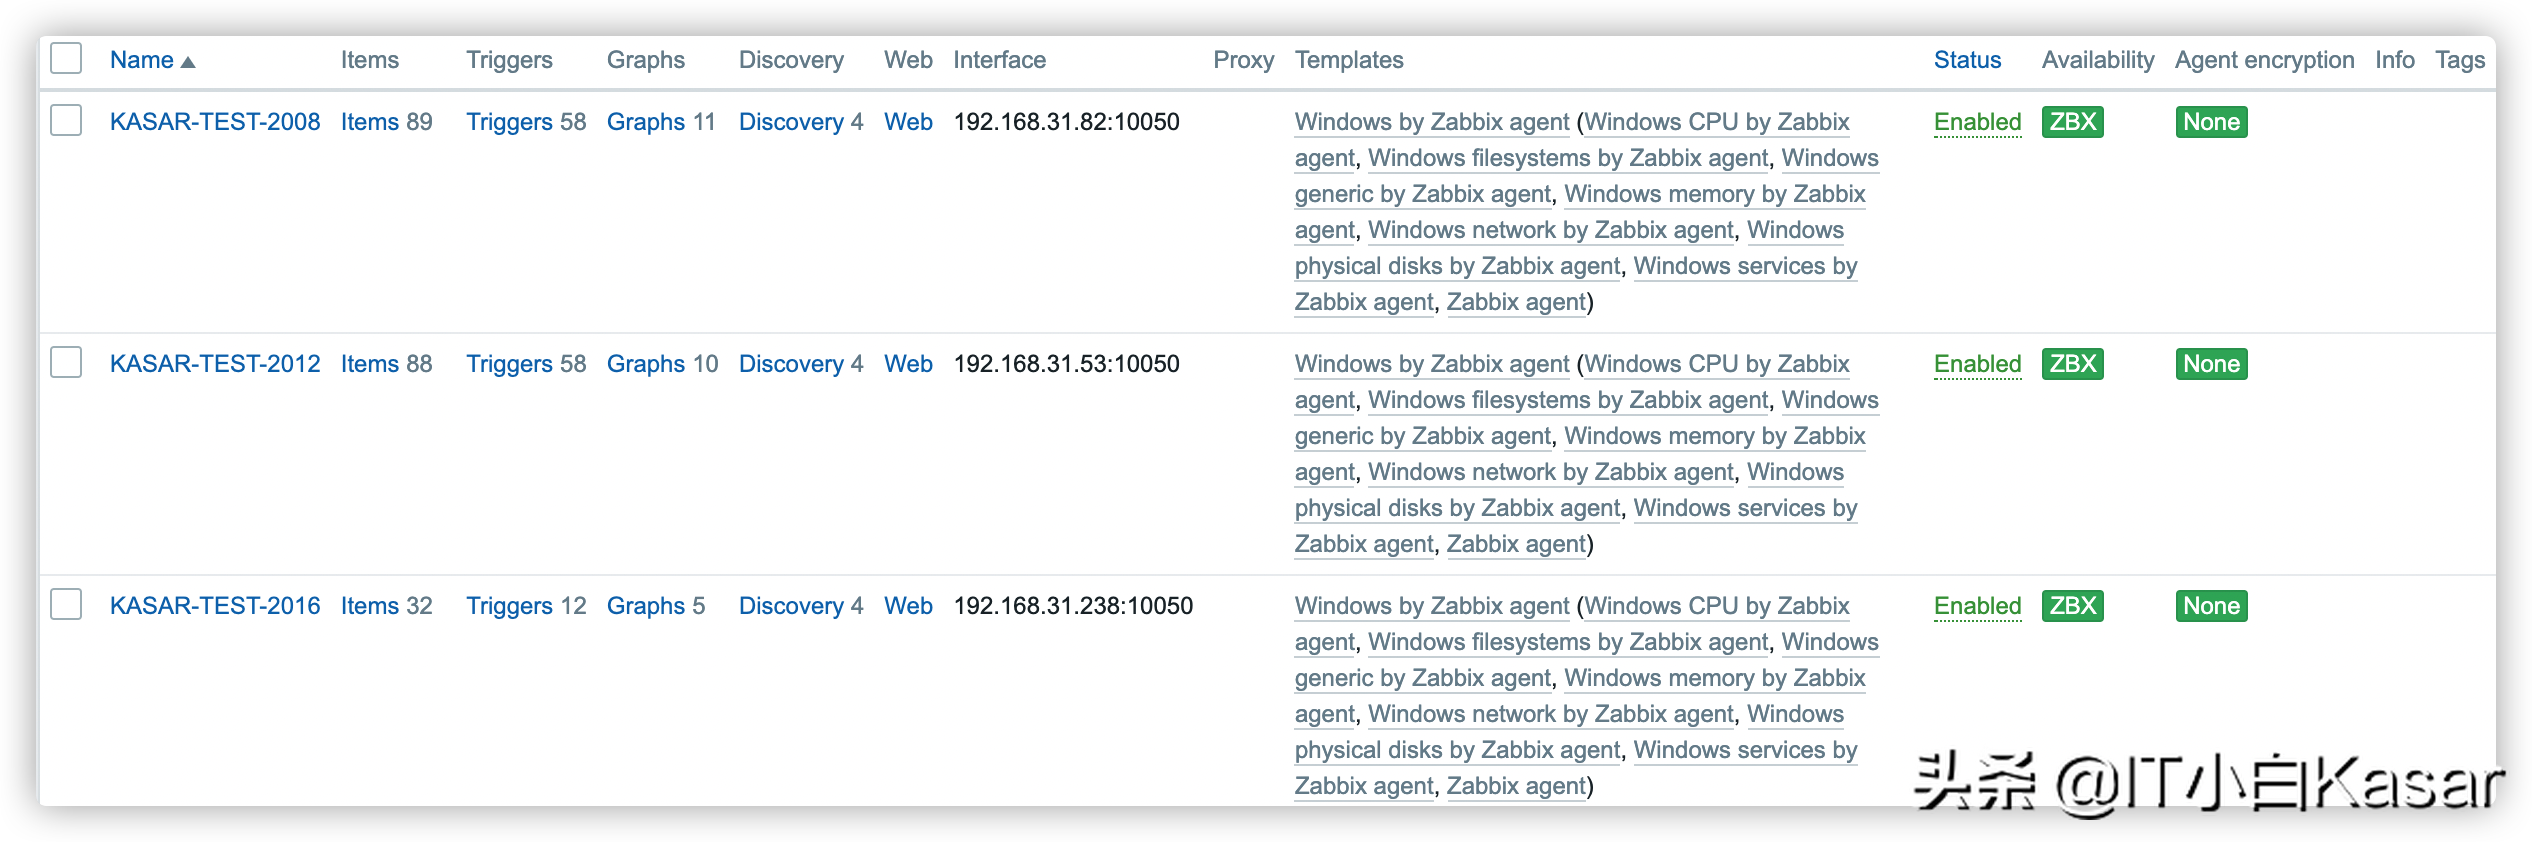
Final effect

Write at the end
In fact, it's easier for me to start the script in batch, but it's better for me to do it manually, Then the automatic registration part should be over here. If you have anything you want to know, please leave a message, and I will try my best to give it all