1. Create docker-compose.yml file
Start by creating a docker-compose.yml file that uses docker-compose to organize containers.
$ mkdri /zabbix  #Create a zabbix file in the root directory
$ cd   /zabbix
$ touch docker-compose.yml  #Create yml container marshalling file
2. Writing the contents of yml documents
$ ll
$ vim docker-compose.yml
version: '2'
services:
zabbix-mysql-service:
image: daocloud.io/library/mysql:8
container_name: zabbix-mysql-service
environment:
- MYSQL_ROOT_PASSWORD=888888
restart: always
zabbix-server-service:
image: monitoringartist/zabbix-xxl:3.2.6
links:
- zabbix-mysql-service:mysqlhost
container_name: zabbix-server-service
restart: always
depends_on:
- zabbix-mysql-service
ports:
- "8888:80"
environment:
- ZS_DBHost=mysqlhost
- ZS_DBUser=root
- ZS_DBPassword=888888
zabbix-agent-a:
image: zabbix/zabbix-agent:ubuntu-3.2.6
links:
- zabbix-server-service:zabbixserverhost
container_name: zabbix-agent-a
restart: always
depends_on:
- zabbix-server-service
environment:
- ZBX_HOSTNAME=zabbix-agent-service-a
- ZBX_SERVER_HOST=zabbixserverhost
zabbix-agent-b:
image: zabbix/zabbix-agent:ubuntu-3.2.6
links:
- zabbix-server-service:zabbixserverhost
container_name: zabbix-agent-b
restart: always
depends_on:
- zabbix-server-service
environment:
- ZBX_HOSTNAME=zabbix-agent-service-b
- ZBX_SERVER_HOST=zabbixserverhostOur docker-compose.yml is as follows:
1. mysql and zabbix server are required. Two additional zabbix agent containers are added, named zabbix-agent-a and zabbix-agent-b. zabbix agent uses the ip information of zabbix server in its configuration. Here, we add the ip information of zabbix server in the host file of the zabbix agent through the links parameter, and the host name is zabbix server rhost.
2. Two environment variables, ZBX_HOSTNAME and ZBX_SERVER_HOST, have been described in the official documentation of the zabbix agent image.
3. ZBX_HOSTNAME is used to express its identity, ZBX_SERVER_HOST is used to indicate the ip information of the zabbix server. Here, the ip of the zabbix server can be found directly through host by using alias in the link parameter.
3. Start docker container
Open the console and execute the command docker-compose up-d in the directory where the docker-compose.yml file is located.
Figure: 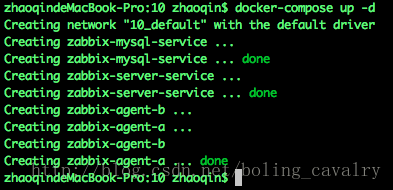
Waiting for zabbix server to initialize Enter the command docker logs-f zabbix-server-service at the command line to view the log output of zabbix server. Here is a screenshot of some of the logs to see the database initialization operation
Figure: 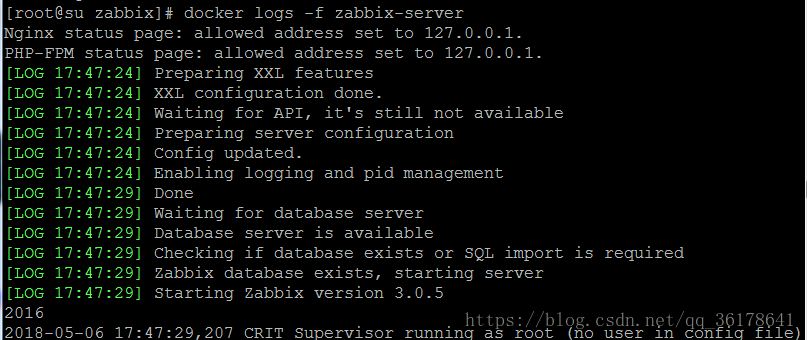
4. Check the log for errors
After waiting for about a minute, the zabbix server log no longer scrolls, indicating that initialization is complete, open the browser and enter http://localhost:8888, you will see the login page for the zabbix management system
Figure: 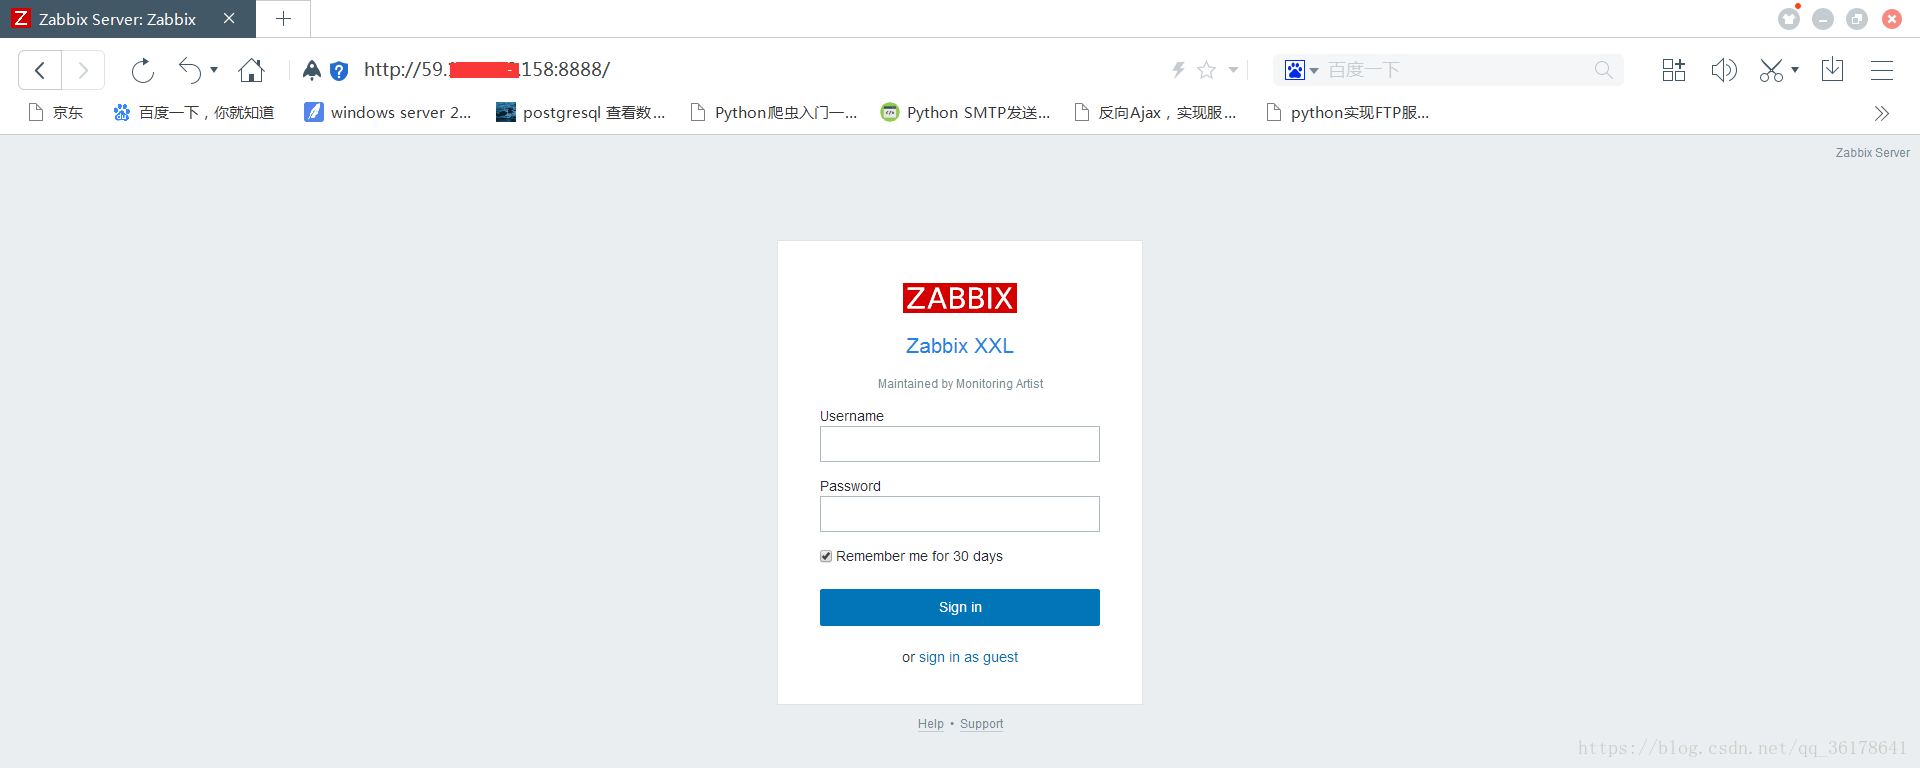
5. Obtain ip of monitoring machine
Following the deployment in the previous deployment description diagram, two machines have the zabbix agent service installed, and then want to join the monitoring. The first step is to determine the ip of the machine. Execute the docker exec-it zabbix-agent-a ip addr command in the console and you can see the following output. The ip of the first machine is 172.31.0.4: Execute the docker exec-it zabbix-agent-b ip addr life in the consoleThus, you can see that the ip of the second machine is 172.31.0.5;
Figure: 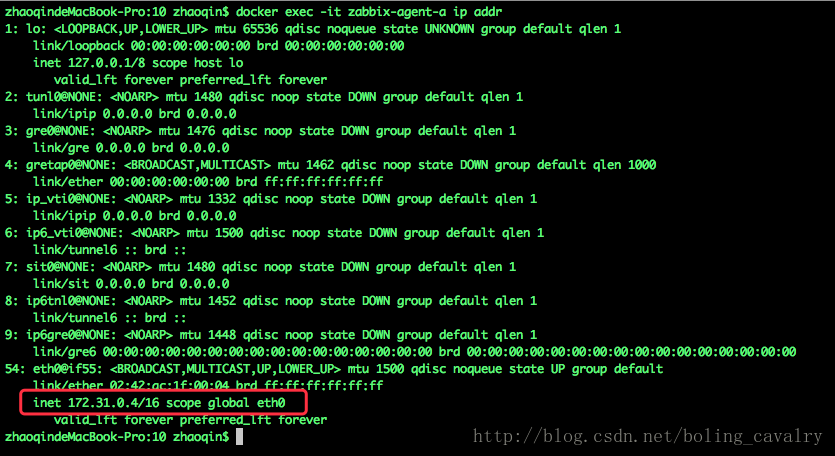
6. Resolve that the docker-compose up-d command cannot run
1. Install extension source: sudo yum-y install epel-release
2. Install python-pip module: sudo yum install python-pip
3,
     [root@fd240 bin]# ./docker-compose
     Cannot open self /usr/local/bin/docker-compose or archive /usr/local/bin/docker-compose.pkg
4. Solutions:
Go to the following website to download the latest version:
https://github.com/docker/compose/releases/tag/1.14.0-rc2Pull the page to the bottom and download:
docker-compose-Linux-x86_64Then upload the file to the / usr/local/bin/folder, rename it docker-compose, modify the permissions on the file, and increase executability:
chmod +x /usr/local/bin/docker-composeThen run
[root@fd240 bin]# docker-compose version
docker-compose version 1.14.0-rc2, build 24dae73
docker-py version: 2.3.0
CPython version: 2.7.13
OpenSSL version: OpenSSL 1.0.1t 3 May 2018
You can see that there are no more problems
5. How to resolve Docker-Compose command failure
Solution steps: https://www.cnblogs.com/YatHo/p/7815400.html
6. docker command
View Running Containers
docker ps
 View all containers
docker ps -a
 Enter Container
 Where the string is the container ID:
docker exec -it d27bd3008ad9 /bin/bash
 Deactivate all running containers:
docker stop $(docker ps -q)
Delete all containers:
docker rm $(docker ps -aq)
A command deactivates and removes the container:
docker stop $(docker ps -q) & docker rm $(docker ps -aq)
Reference: https://blog.csdn.net/boling_cavalry/article/details/77095153>
Reference: https://blog.csdn.net/qq_36178641/article/details/80213387>