catalogue
1, VMware deployment installation
2, Ubuntu18 Deployment and installation of version 04.5
4, Configure ssh password free login
5, Java environment installation
MySQL installation and deployment
HBASE deployment and installation
Hadoop deployment
Deploy components
1, VMware deployment installation
Click here for details of resource installation package and installation steps!
The installation and component deployment of Ubuntu virtual machine can only be carried out after VMware is installed.
2, Ubuntu18 Deployment and installation of version 04.5
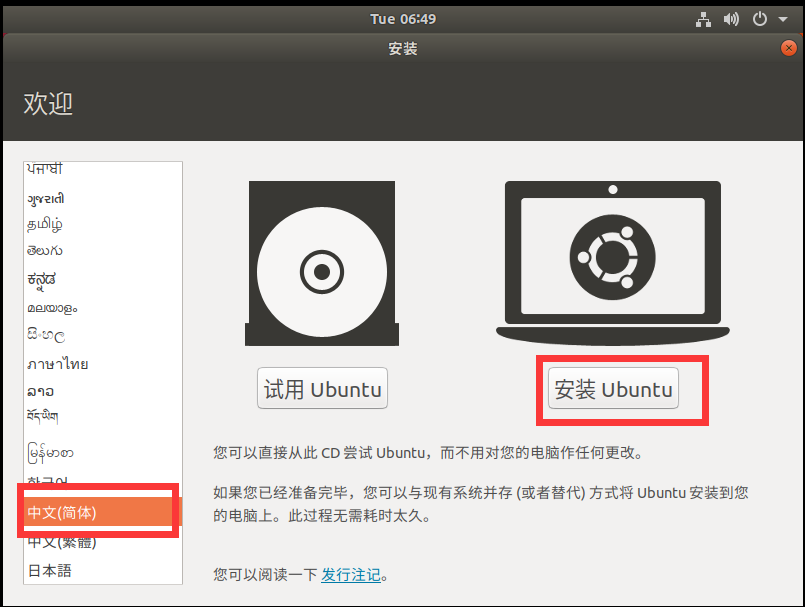
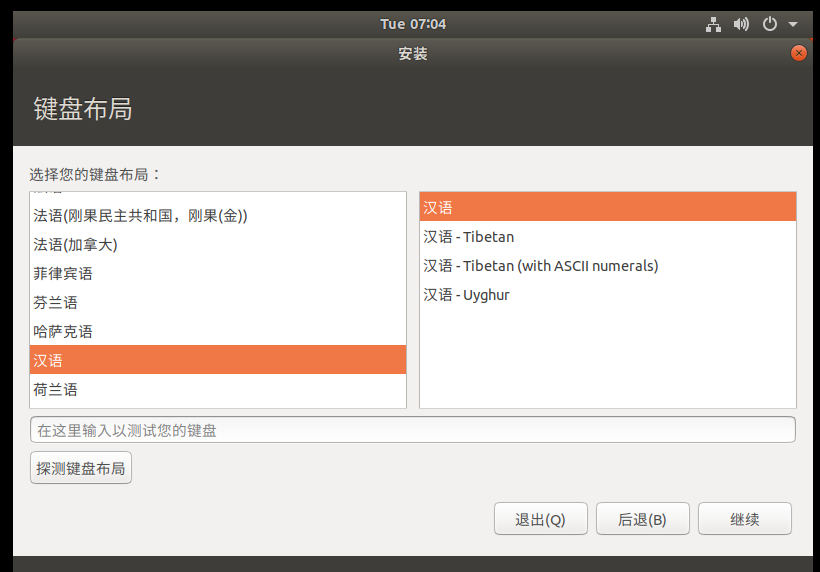
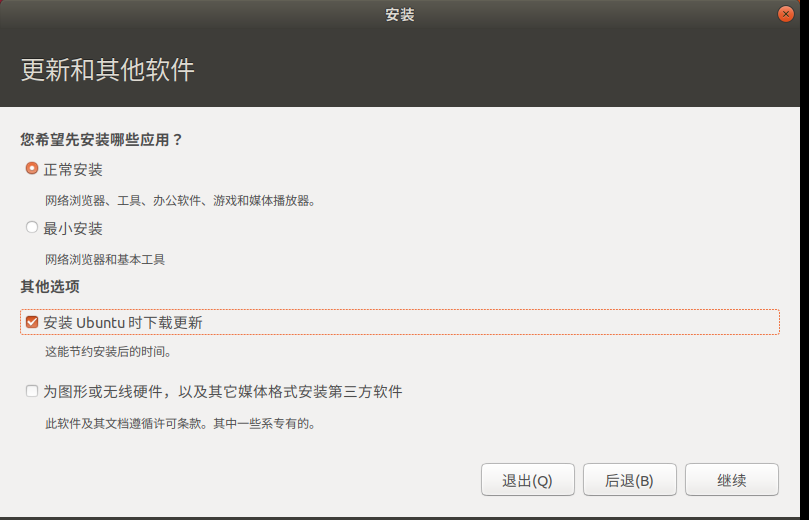
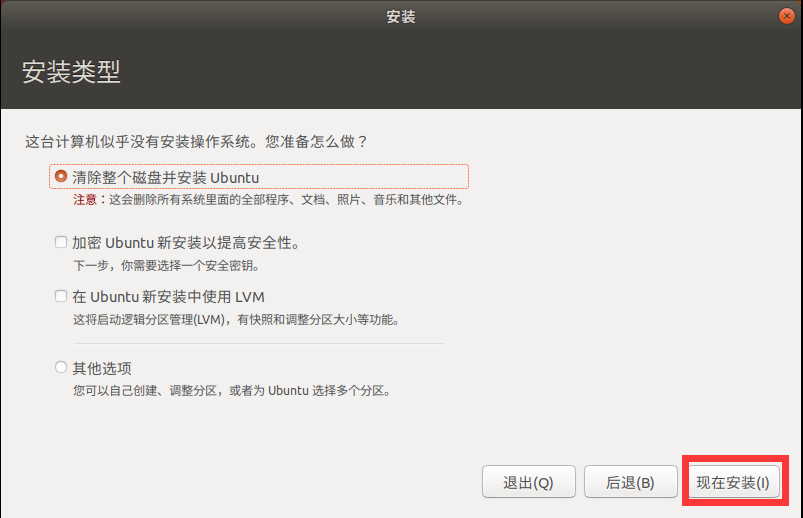
Virtual machine installation steps
The graphic tutorial is as follows
1. Default customization
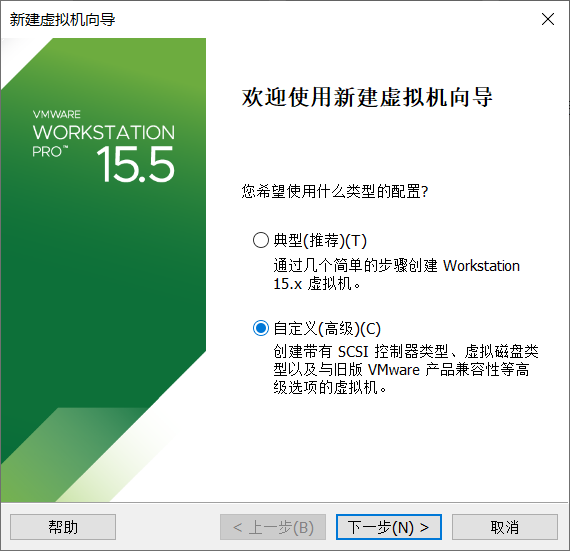
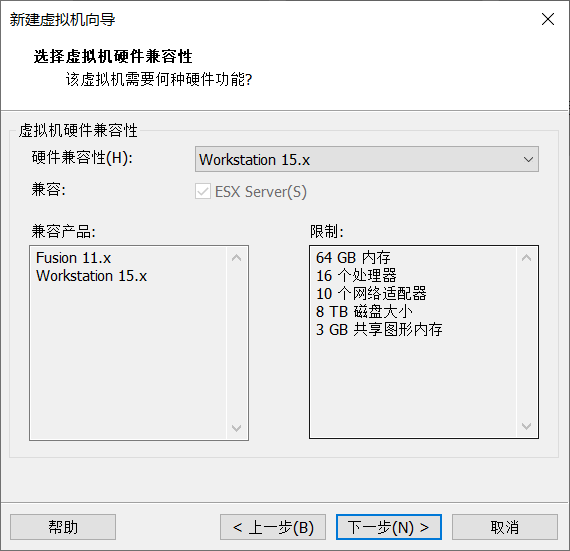
2. Click next
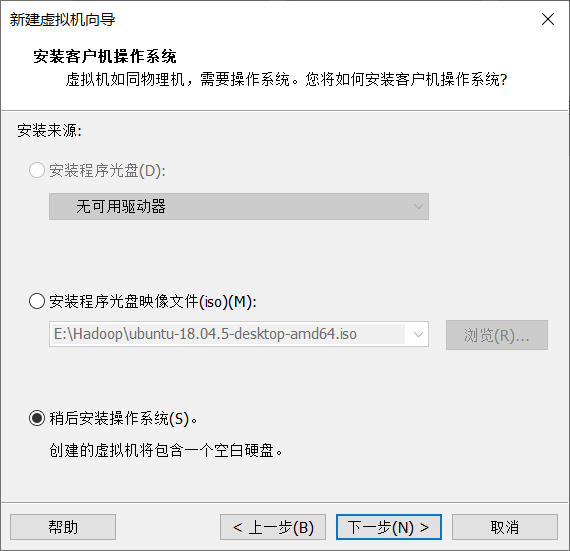
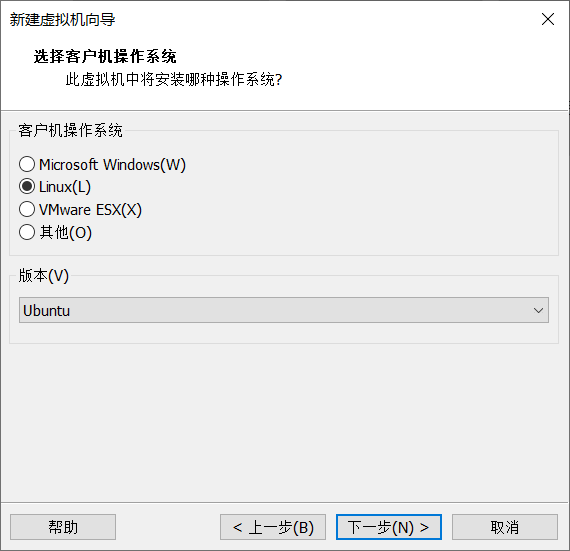
3. Choose to install the operating system later
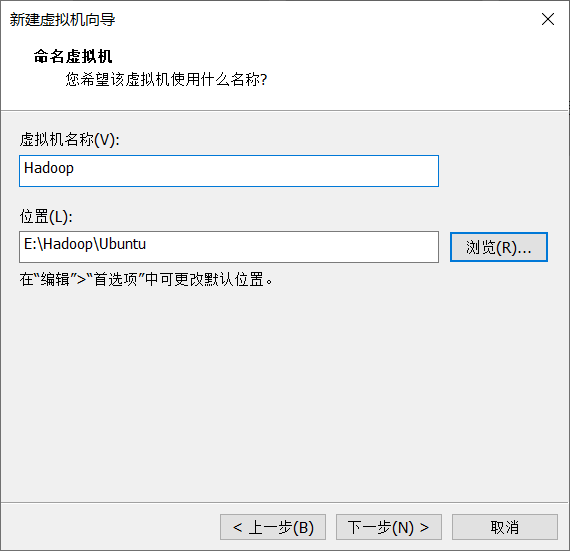
4. Customize the virtual machine name and location (do not store it on Disk C)
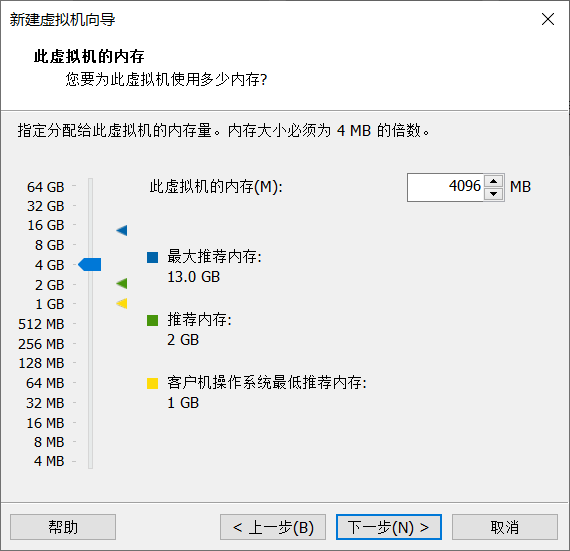
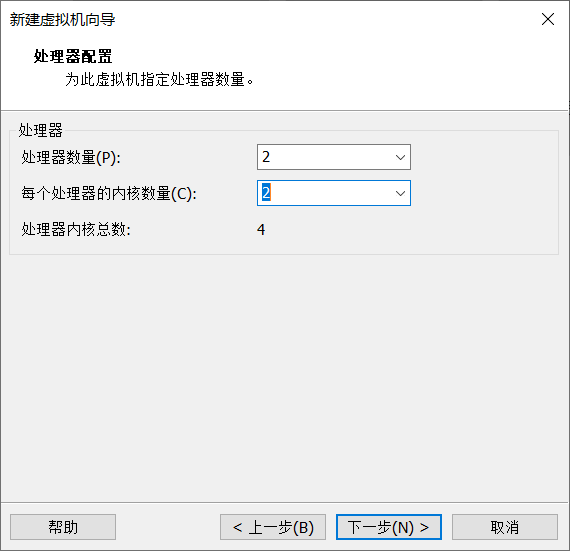
5. Configuration of virtual machine (disk space and memory size, designed according to your computer)
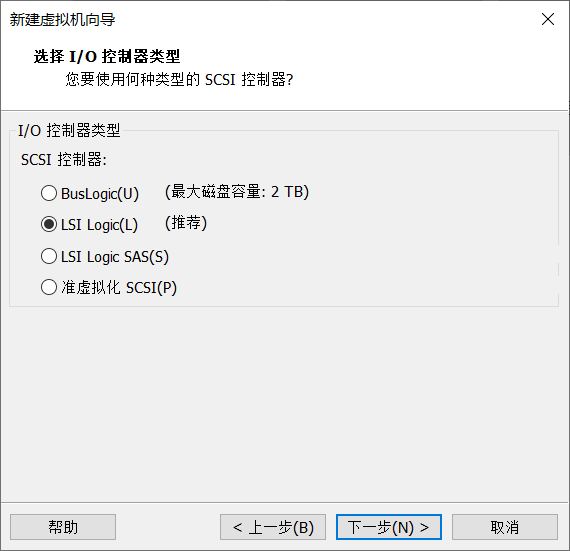
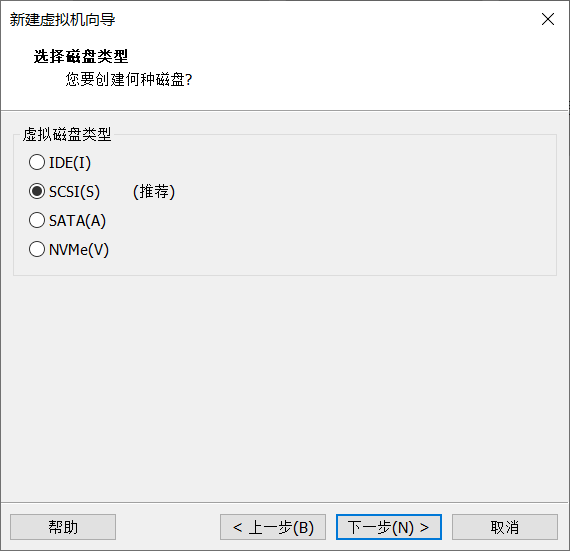
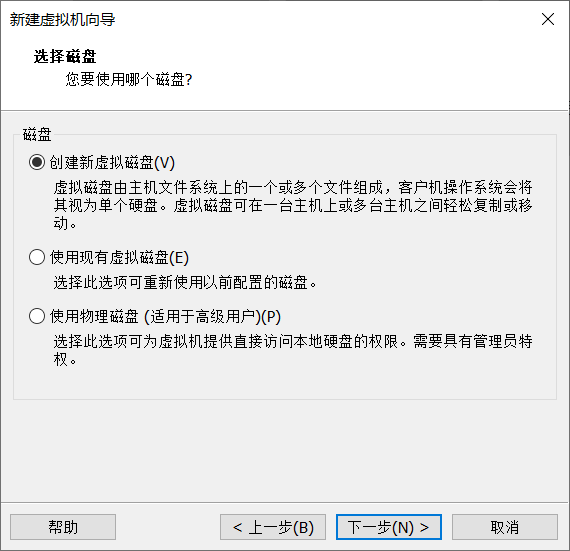
Click Customize hardware

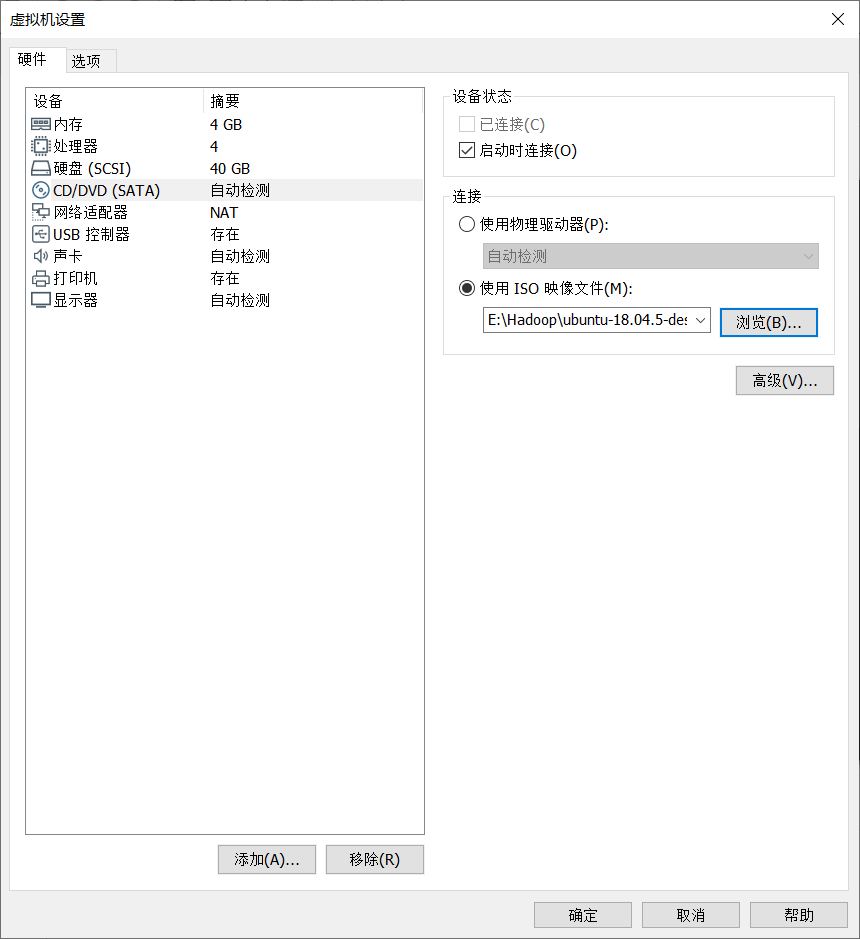
Click open

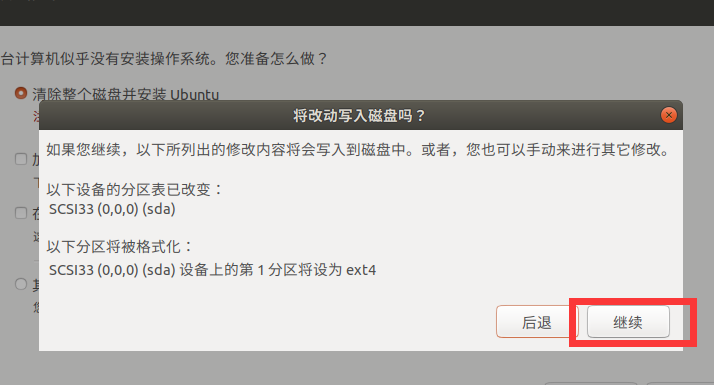
6. Click Start virtual machine
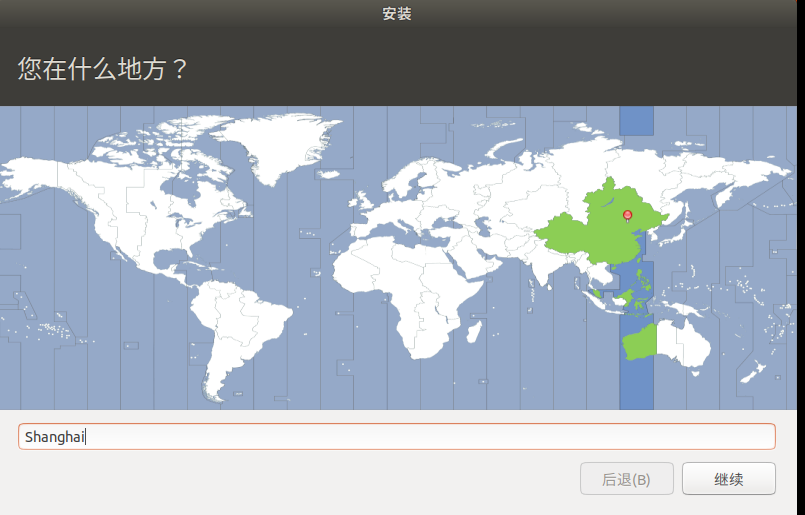
Select Shanghai time zone
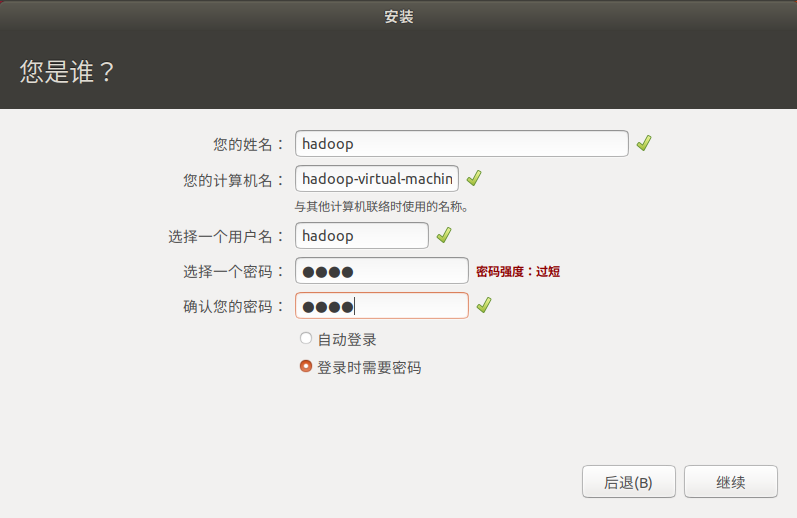
Set your password and login user name
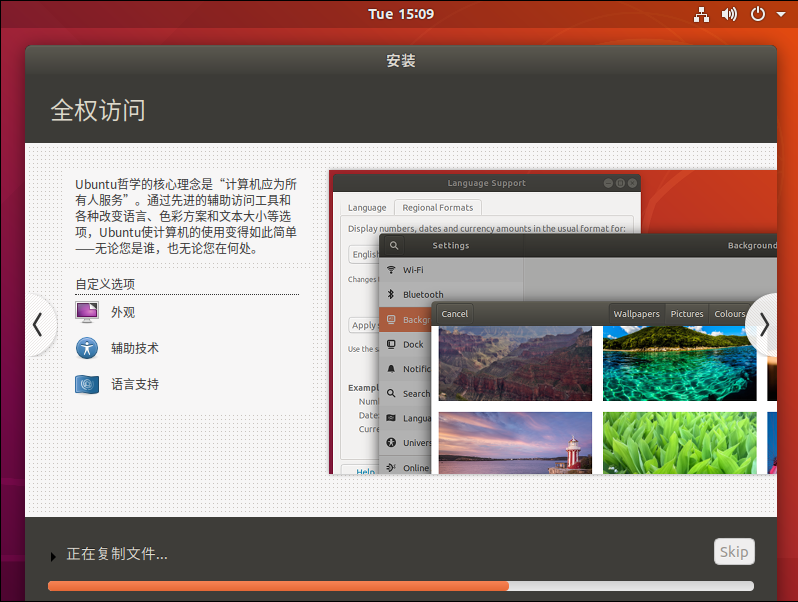
Wait slowly Next, you can have a cup of coffee and let it install slowly
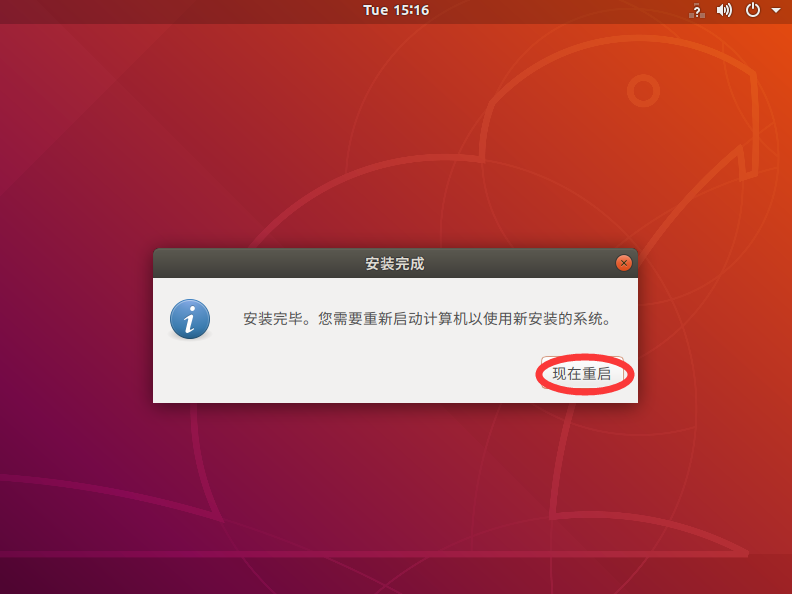
Click restart now

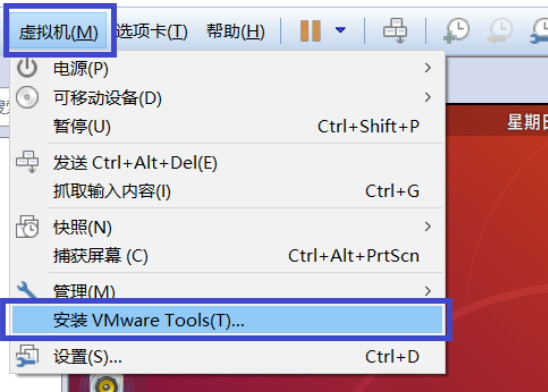
3, Installing VMware Tools
To solve the problem that our Ubuntu desktop cannot display full screen
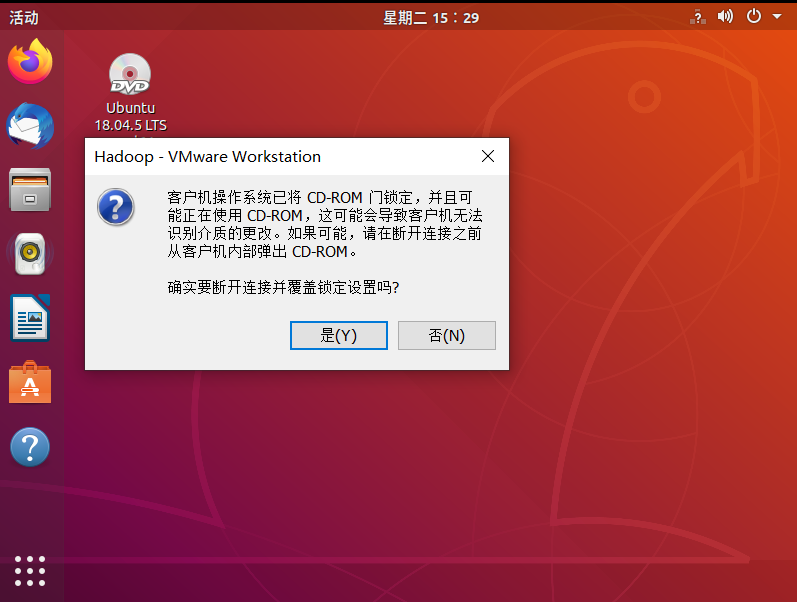
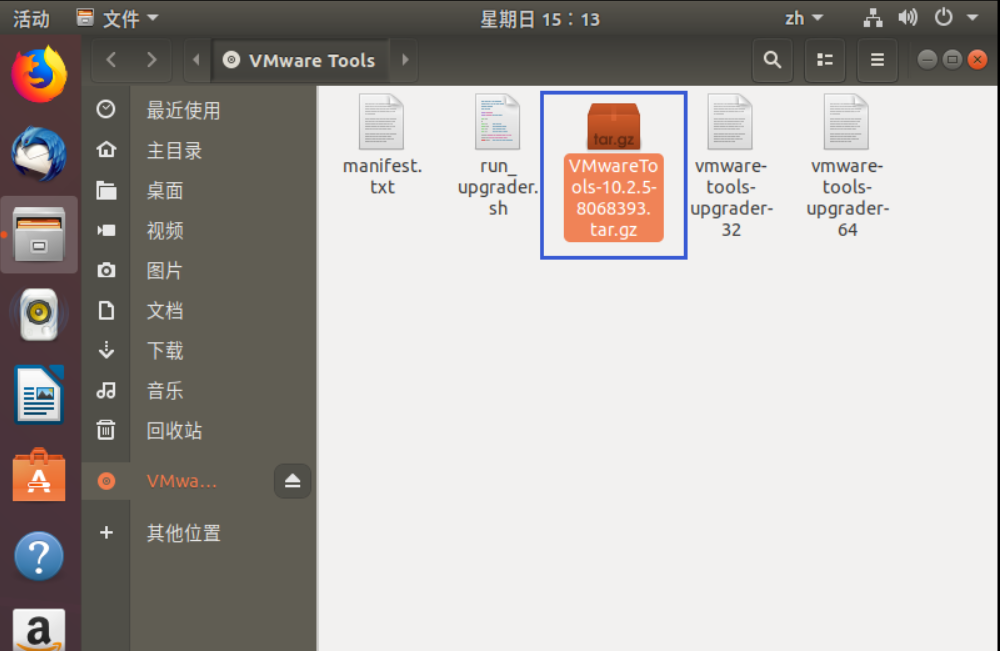
After completion, enter Ubuntu, and the CD of VMware Tools will appear on the desktop. Click to enter it
After entering, you will see a compressed file, VMware tools-10.25-8068393 tar. GZ (different virtual machine versions in the middle array may be different), copy the file to the home directory (i.e. the directory of home personal user name)
Press Ctrl+Alt+enter to call up the terminal: enter the following command:
According to the specific version after you unzip, the specific operations are as follows:
tar -zxvf VMware Tools-10.25-8068393.tar.gz
cd vmware-tools-distrib
sudo ./vmware-install.pl
If yes is encountered, enter yes and press enter

4, Configure ssh password free login
sudo apt update

sudo apt install ssh
If you need to enter [y/n] in the interface, just enter y
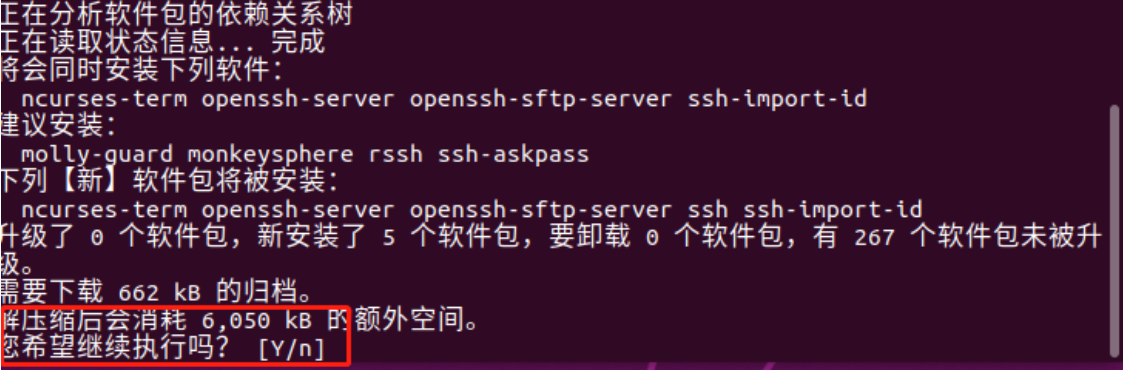
Then wait for the installation to complete
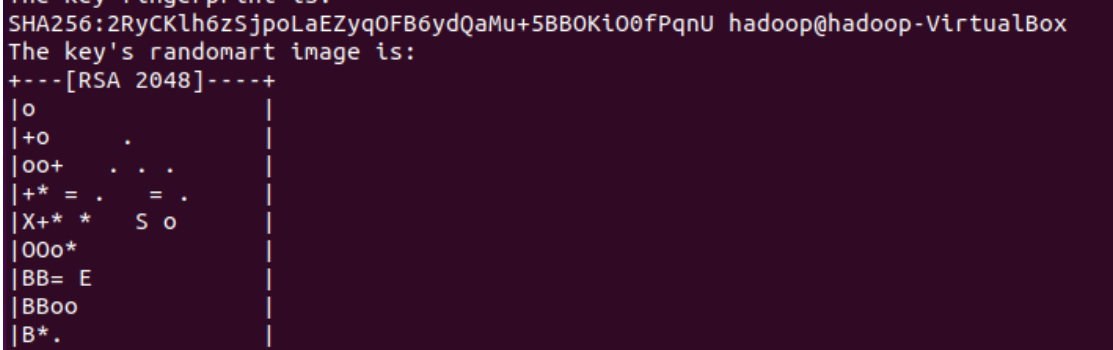
After ssh installation, generate the key and enter the following command
ssh-keygen -t rsa -P '' -f ~/.ssh/id_rsa
The following interface appears, indicating that the command has been executed successfully
Add the generated public key to the trusted file and enter the following command
cat ~/.ssh/id_rsa.pub >> ~/.ssh/authorized_keys
After this command is input, there is no output. Don't think it has not been executed successfully
If the ssh configuration test is not successful, enter the following command
ssh localhost
After entering the command, you need to enter yes/no. you can directly enter yes
Exit the ssh connection and enter the following command
exit
The following similar interface appears, indicating that the ssh connection has been exited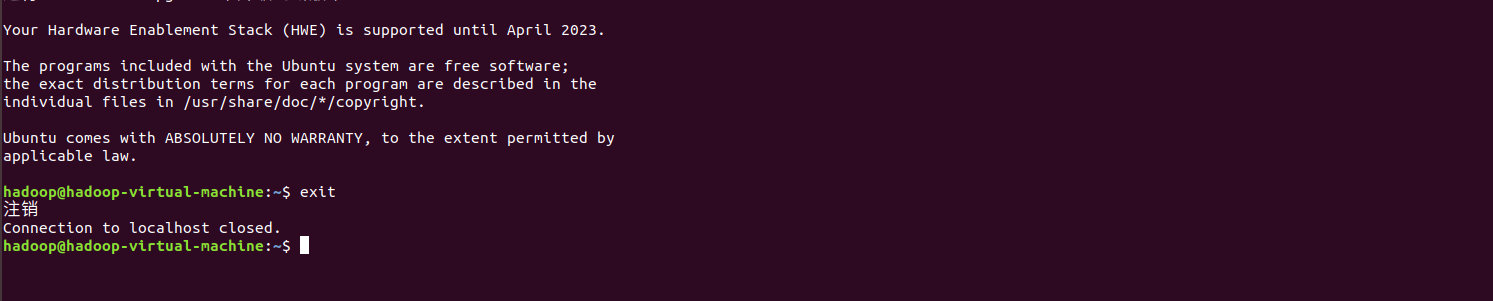
5, Java environment installation
To uninstall the original jdk, enter the following command
sudo apt remove openjdk*
Unzip the jdk package and enter the following command
tar -zxvf jdk-8u162-linux-x64.tar.gz
Move the extracted folder to the / usr/local directory and rename it jdk. Enter the following command
sudo mv jdk1.8.0_162 /usr/local/jdk
If this command is executed successfully, there will be no prompt
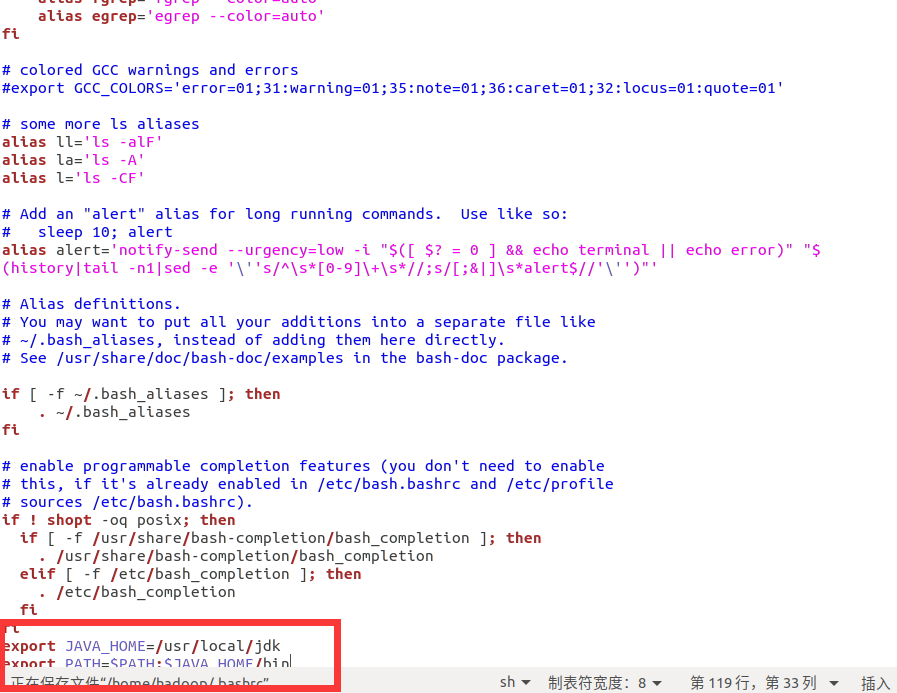
Modify the user environment variable and open it with gedit bashrc file, enter the following command
gedit .bashrc
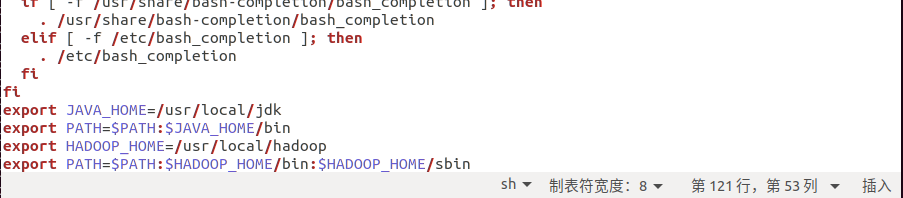
Add the following two lines at the end of the document
export JAVA_HOME=/usr/local/jdk
export PATH=$PATH:$JAVA_HOME/bin
Then input the following command in the terminal to update the environment variable
source .bashrc
java -version
export JAVA_HOME=/home/hadoop/jdk1.8.0_162
export JRE_HOME=${JAVA_HOME}/jre
export HADOOP_HOME=/home/hadoop
export CLASSPATH=.:${JAVA_HOME}/lib:${JRE_HOME}/lib
export PATH=${JAVA_HOME}/bin:${HADOOP_HOME}/bin:$PATH
Hadoop installation
Extract the hadoop file and enter the following command
tar -xvf hadoop-2.7.3.tar.gz
Move the extracted hadoop to the / usr/local directory and rename it hadoop
sudo mv hadoop-2.7.3 /usr/local/hadoop
This command runs successfully without any prompt, otherwise it indicates an error
Modify the environment variable and edit it with gedit bashrc, enter the following command
gedit .bashrc
Two lines of code are added at the end
export HADOOP_HOME=/usr/local/hadoop
export PATH=$PATH:$HADOOP_HOME/bin:$HADOOP_HOME/sbin
Update environment variables
source .bashrc
Enter the Hadoop directory first and enter the command
cd /usr/local/hadoop/etc/hadoop
Edit core site XML file, which is mainly used to set various common configurations. Enter the following command
sudo gedit core-site.xml
Then replace the contents of the current file with the following contents as a whole
<configuration>
<!--- global properties -->
<property>
<name>hadoop.tmp.dir</name>
<value>/opt/hadoop</value>
<description>A base for other temporary directories.</description>
</property>
<!-- file system properties -->
<property>
<name>fs.defaultFS</name>
<value>hdfs://localhost/</value>
<description>The name of the default file system. A URI whose
scheme and authority determine the FileSystem implementation. The
uri's scheme determines the config property (fs.SCHEME.impl) naming
the FileSystem implementation class. The uri's authority is used to
determine the host, port, etc. for a filesystem.</description>
</property>
</configuration>
sudo gedit hdfs-site.xml
<configuration>
<property>
<name>dfs.replication</name>
<value>1</value>
<description>Default block replication.
The actual number of replications can be specified when the file is created.
The default is used if replication is not specified in create time.
</description>
</property>
</configuration>
sudo gedit mapred-site.xml
Paste the following content directly into it
<configuration>
<property>
<name>mapreduce.framework.name</name>
<value>yarn</value>
<description>The runtime framework for executing MapReduce jobs.
Can be one of local, classic or yarn.
</description>
</property>
</configuration>
sudo gedit yarn-site.xml
<configuration>
<property>
<description>The hostname of the RM.</description>
<name>yarn.resourcemanager.hostname</name>
<value>localhost</value>
</property>
<property>
<description>A comma separated list of services where service name should
only
contain a-zA-Z0-9_ and can not start with numbers</description>
<name>yarn.nodemanager.aux-services</name>
<value>mapreduce_shuffle</value>
</property>
</configuration>
sudo gedit hadoop-env.sh
Then use Ctrl+F to call up the search interface and enter JAVA_HOME, what we need to modify is in the red box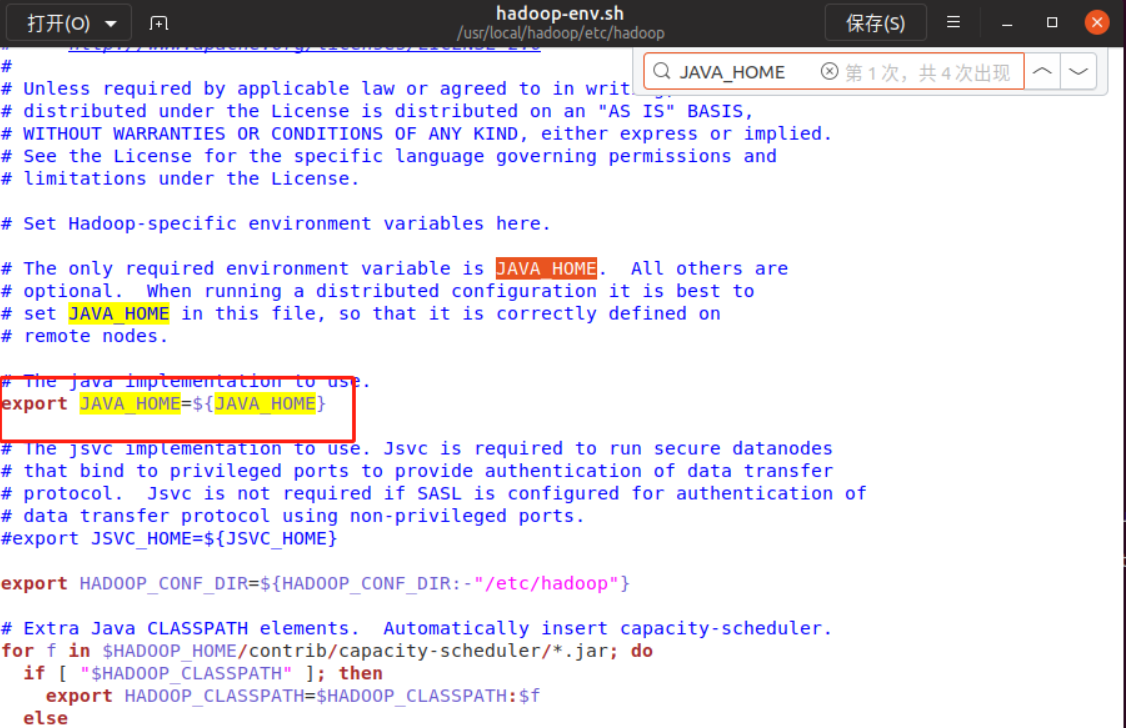
Change ${JAVA_HOME} to / usr/local/jdk, click Ctrl+s to save, and then click the small fork in the upper right corner to close the interface
Create a new / opt/home directory and modify the permissions (execute the following commands in sequence)
sudo mkdir /opt/hadoop
sudo chmod -R a+w /opt/hadoop
Format the file system. You can use hadoop cluster only after formatting. Enter the following command
hdfs namenode -format
The following interface pops up, indicating that the format is successful

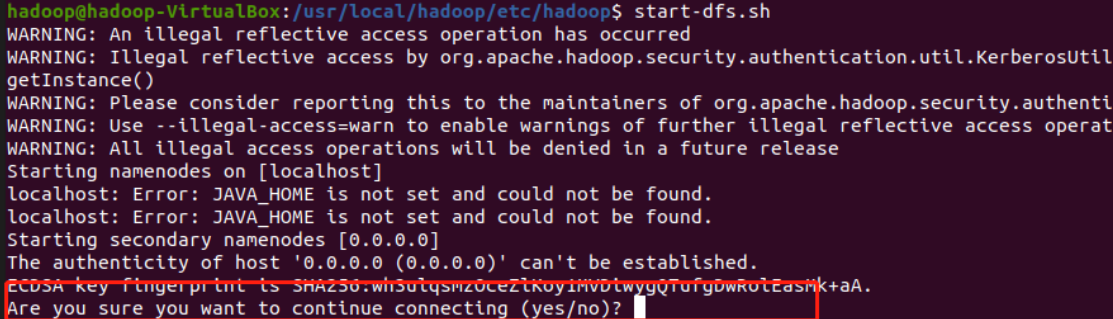
Start hdfs and enter the following command
start-dfs.sh
The first startup will prompt whether to continue the connection. Just enter yes
After successful startup, the following lines of output will appear in the interface

Start yarn and enter the following command
start-yarn.sh

Start the history server and enter the following command
mr-jobhistory-daemon.sh start historyserver
If the startup is successful, the following output will be displayed:
Input: jps
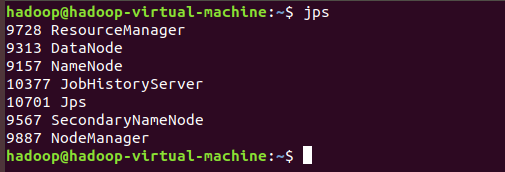
Now Hadoop is installed
MySQL installation and deployment
Note: ensure that it is connected to the network
Then enter the following instructions for installation
sudo apt-get install mysql-server
Initially, the root account does not have a password. At this time, ordinary users cannot log in to the console directly using the mysql command. This is mainly due to mysql In the user table, the value of the plugin field of the root user is auth_socket, changed to mysql_native_password. At the same time, in order to facilitate later use, we will set the password for the root account in the next operation
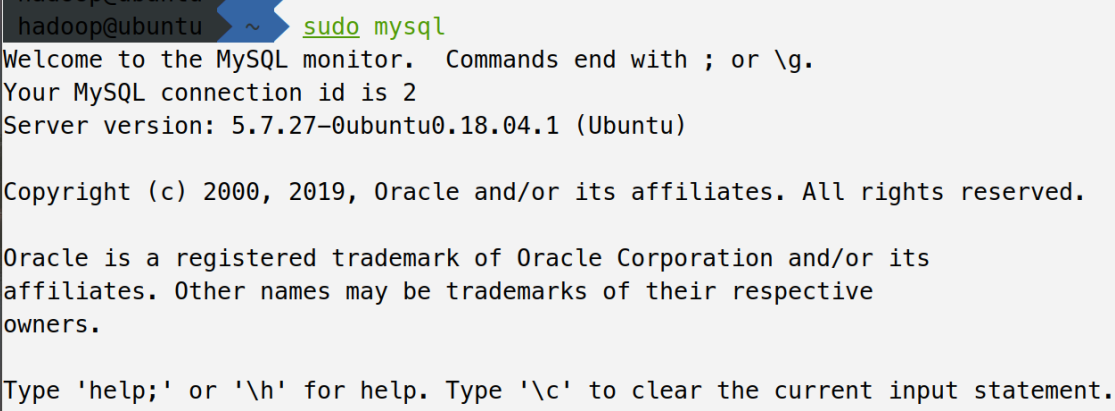
First, use root to connect to the database and enter the following command
sudo mysql
First, use root to connect to the database and enter the following command
use mysql
Then enter the following command, change the authentication path of root user to password, change the password to 2211, and change the host to%, indicating that root can be used for remote login
UPDATE user SET plugin="mysql_native_password",
authentication_string=PASSWORD("2211"), host="%" WHERE user="root";
Then refresh the permissions and enter the following instructions
FLUSH PRIVILEGES;
Then exit mysql
exit;
Update profile
sudo gedit /etc/mysql/mysql.conf.d/mysqld.cnf
Then enter Ctrl+F to search, and enter bind address
If bind address is followed by 127.0.0.1, change it to 0.0.0.0. Exit after saving
First enable the firewall and enter the following command
sudo ufw enable
Allow access to port 3306 (because mysql listens on port 3306 by default)
sudo ufw allow 3306/tcp
To view the status, enter the following command
sudo ufw status
Restart mysql database
sudo service mysql restart
hive installation and deployment
First, put apache-hive-2.3.6-bin tar. Upload GZ to Ubuntu's home directory, and then enter the following instructions to unzip
tar -xvf apache-hive-2.3.5-bin.tar.gz
Move the hive program to the / usr/local directory and rename it hive
sudo mv apache-hive-2.3.5-bin /usr/local/hive
Add the PATH of hive's executable program to the environment variable PATH
gedit .zshrc
export HIVE_HOME=/usr/local/hive
export PATH=$HIVE_HOME/bin:$PATH
source .zshrc
First, enter the following command to create the / user/hive/warehouse directory on hdfs
hdfs dfs -mkdir -p /user/hive/warehouse
hdfs dfs -chmod g+w /tmp
hdfs dfs -chmod g+w /user/hive/warehouse
Hive needs to use mysql database to store metadata, so we have to connect hive and mysql database. To connect the two, we have to use mysql connector
Move the mysql connector to the lib directory of hive
mv mysql-connector-java-5.1.24-bin.jar /usr/local/hive/lib
mysql -u root -p
create database metastore;
grant all on metastore.* to hive@'%'  identified by 'hive';
grant all on metastore.* to hive@'localhost'  identified by 'hive';
flush privileges;
exit;
cd $HIVE_HOME/conf
cp hive-env.sh.template hive-env.sh
cp hive-default.xml.template hive-site.xml
cp hive-log4j2.properties.template hive-log4j2.properties
cp hive-exec-log4j2.properties.template hive-exec-log4j2.properties
sudo gedit hive-site.xml
<?xml version="1.0" encoding="UTF-8" standalone="no"?>
<configuration>
<property>
<name>hive.exec.script.wrapper</name>
<value>/opt/hadoop/hive/tmp</value>
<description/>
</property>
<property>
<name>hive.metastore.warehouse.dir</name>
<value>/opt/hadoop/hive/warehouse</value>
</property>
<property>
<name>hive.querylog.location</name>
<value>/opt/hadoop/hive/log</value>
</property>
<!-- to configure MySQL Database connection information -->
<property>
<name>javax.jdo.option.ConnectionURL</name>
<value>jdbc:mysql://localhost:3306/metastore?createDatabaseIfNotExist=true&characterEncoding=UTF-8&useSSL=false</value>
</property>
<property>
<name>javax.jdo.option.ConnectionDriverName</name>
<value>com.mysql.jdbc.Driver</value>
</property>
<property>
<name>javax.jdo.option.ConnectionUserName</name>
<value>hive</value>
</property>
<property>
<name>javax.jdo.option.ConnectionPassword</name>
<value>hive</value>
</property>
</configuration>schematool -dbType mysql -initSchema hive hive
hive
Sqoop installation
Execute the following command parameters in sequence
sudo tar -zxvf sqoop-1.4.6.bin__hadoop-2.0.4-alpha.tar.gz
sudo mv sqoop-1.4.6.bin__hadoop-2.0.4-alpha /usr/local/sqoop
sudo chown -R hadoop:hadoop /usr/local/sqoop
cd /usr/local/sqoop/conf/
cat sqoop-env-template.sh >> sqoop-env.sh
vi sqoop-env.sh
export HADOOP_COMMON_HOME=/usr/local/hadoop
export HADOOP_MAPRED_HOME=/usr/local/hadoop
export HIVE_HOME=/usr/local/hive
vi ~/.bashrc
export SQOOP_HOME=/usr/local/sqoop
export PATH=$PATH:$SBT_HOME/bin:$SQOOP_HOME/bin
export CLASSPATH=$CLASSPATH:$SQOOP_HOME/lib
source ~/.bashrc
sudo tar -zxvf mysql-connector-java-5.1.24.tar.gz
cp ./mysql-connector-java-5.1.24/mysql-connector-java-5.1.24-bin.jar /usr/local/sqoop/lib
service mysql start
sqoop list-databases --connect jdbc:mysql://localhost:3306/ --username root -P
HBASE deployment and installation
Upload and decompress HBase
First put hbase-2.2.1-bin tar. GZ upload to Ubuntu system (drag the file to the home directory)
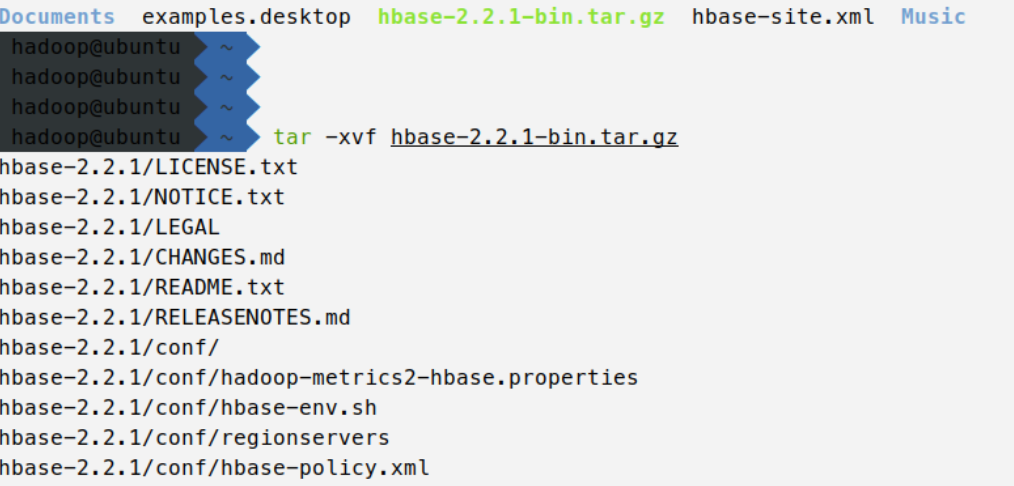
Unzip hbase-2.2.1-bin tar. GZ, enter the following command
tar -xvf hbase-2.2.1-bin.tar.gz
 Move file
Move hbase-2.2.1 to / usr/local directory, rename it HBase, and enter the following command
sudo mv hbase-2.2.1 /usr/local/hbase
Update environment variables
Add the bin directory to the PATH variable
gedit .zshrc
Add the following statement at the end of this file:
export HBASE_HOME=/usr/local/hbase
export PATH=$HBASE_HOME/bin:$PATH
Exit after saving. Then update the environment variable and enter the following command:
source .zshrc
Modify profile
First, enter the configuration file directory of hbase and enter the following command
cd /usr/local/hbase/conf
sudo gedit hbase-env.sh
Press Ctrl+F to enter the search mode, and enter Java in the input box_ Home to quickly find this line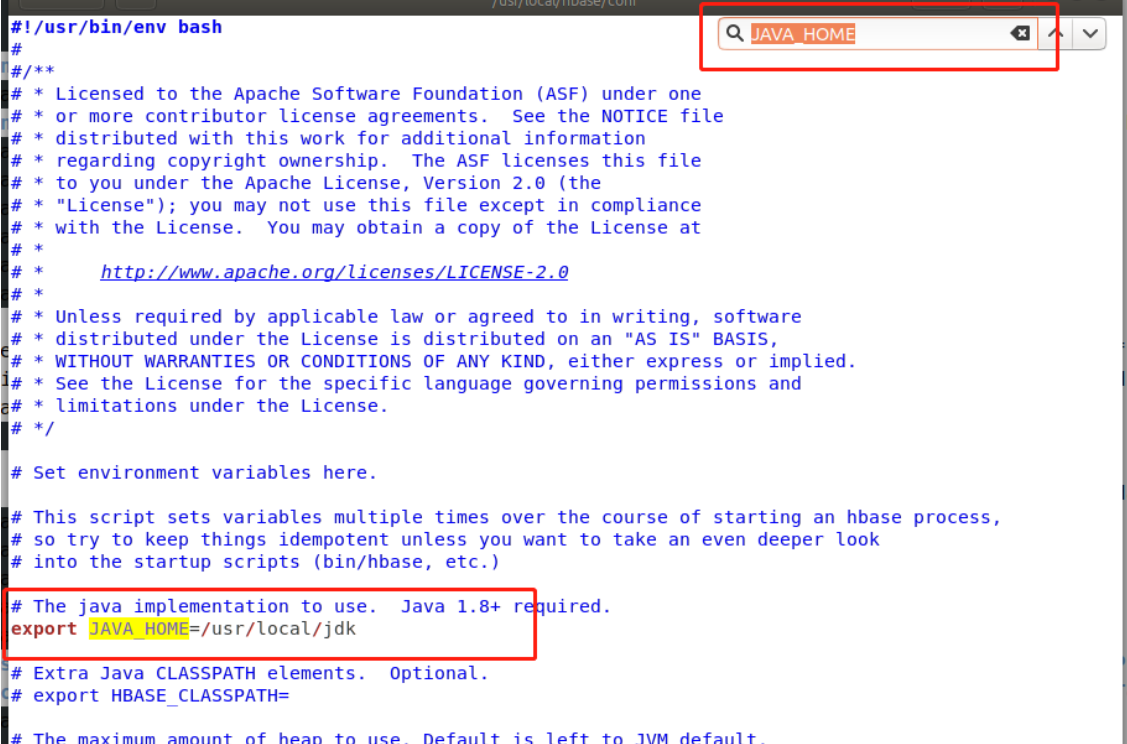 After finding this line, delete the # number before it, and then change it to / usr/local/jdk after the equal sign. Then save and exit
sudo gedit hbase-site.xml
After opening the file, replace the following contents directly with the original contents
<configuration>
<property>
<name>hbase.rootdir</name>
<value>hdfs://localhost/hbase</value>
</property>
<property>
<name>hbase.cluster.distributed</name>
<value>true</value>
</property>
<property>
<name>hbase.zookeeper.quorum</name>
<value>localhost</value>
</property>
<property>
<name>dfs.replication</name>
<value>1</value>
</property>
<property>
<name>hbase.unsafe.stream.capability.enforce</name>
<value>false</value>
</property>
</configuration>
sudo gedit regionservers
If the file contents are as follows (with localhost), you don't need to modify it. If not, add a localhost
Start Hasee
start-hbase.sh
So far, our various components have been installed. OK!
The installation resource package has been uploaded!!!
You can send me a private letter if you need it!!!!
Every word
In order to output, I need to keep learning. After learning knowledge, I will output it immediately and turn it into my own work - effective learning