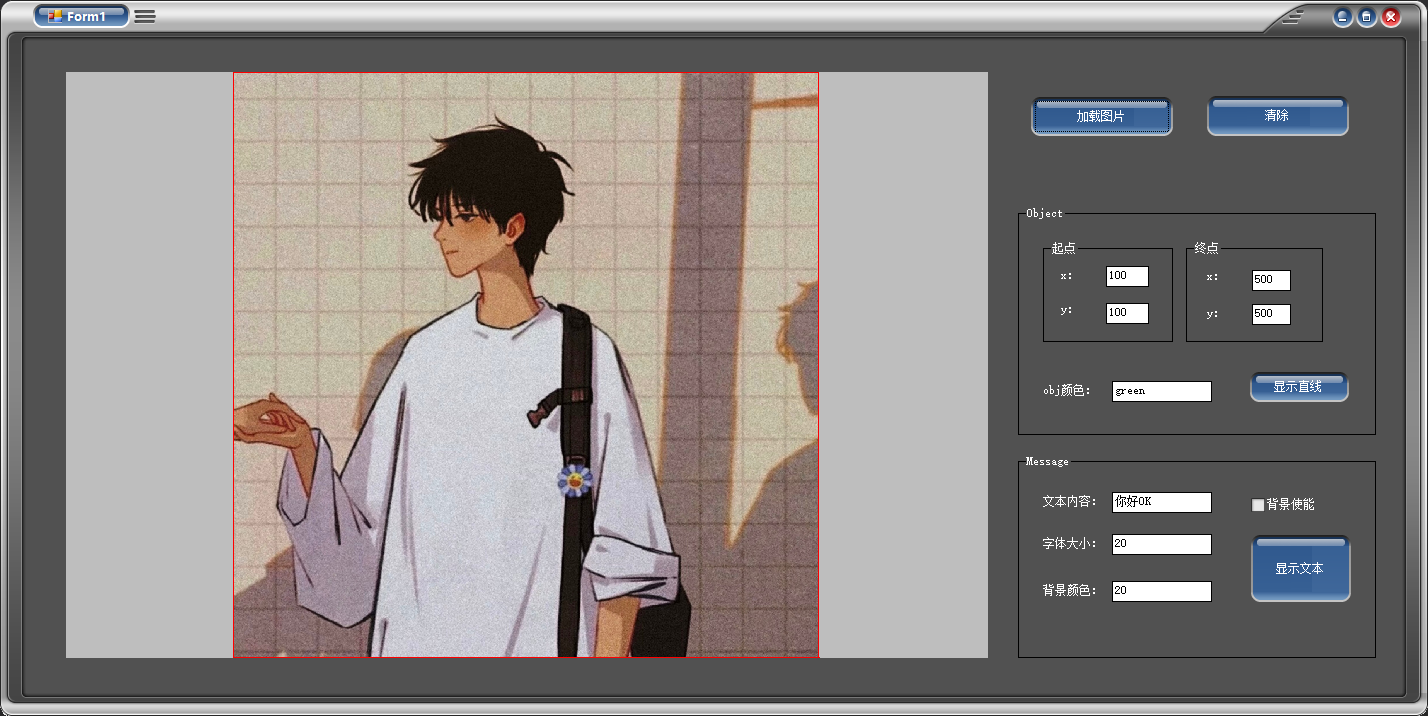
1. Form function
①Displays the image to scale without filling the extrusion
②You can drag the mouse to move the image and zoom the scroll wheel
③Can display image cross auxiliary display
④It can display the coordinates of the mouse on the form and the gray value of the image
⑤You can save the image displayed in the current form
⑥You can take a screenshot of the form
⑦Can insert halcon In the form obj And msg ,And display
2. Use the windows form control library to make the halcon multi-functional form
① Create a new control library project
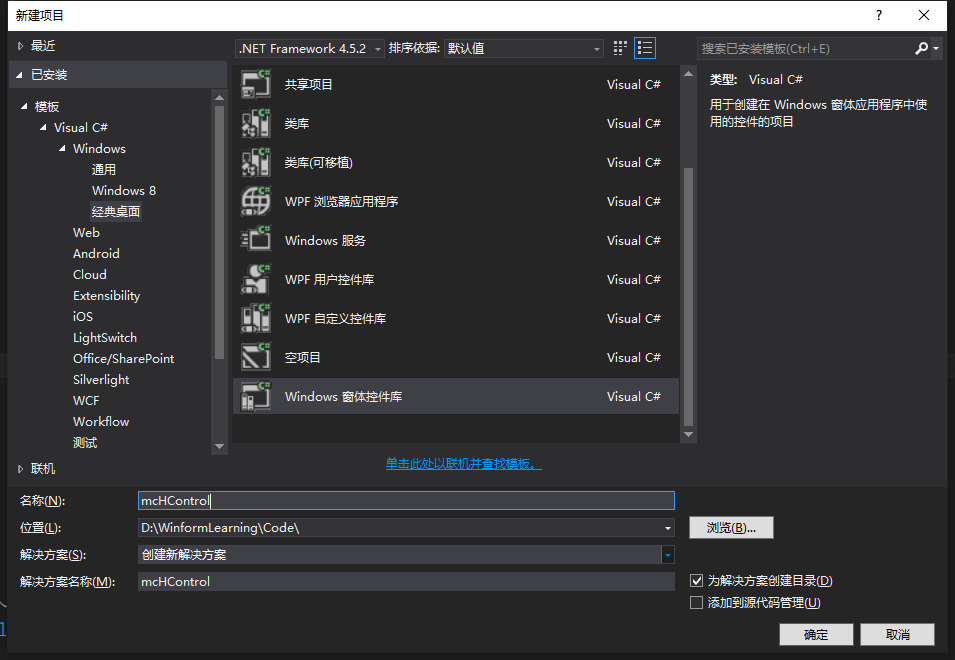
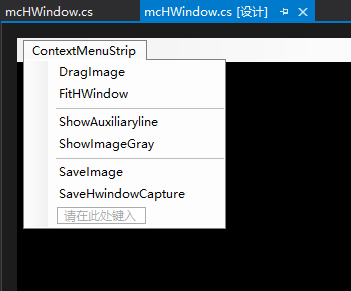
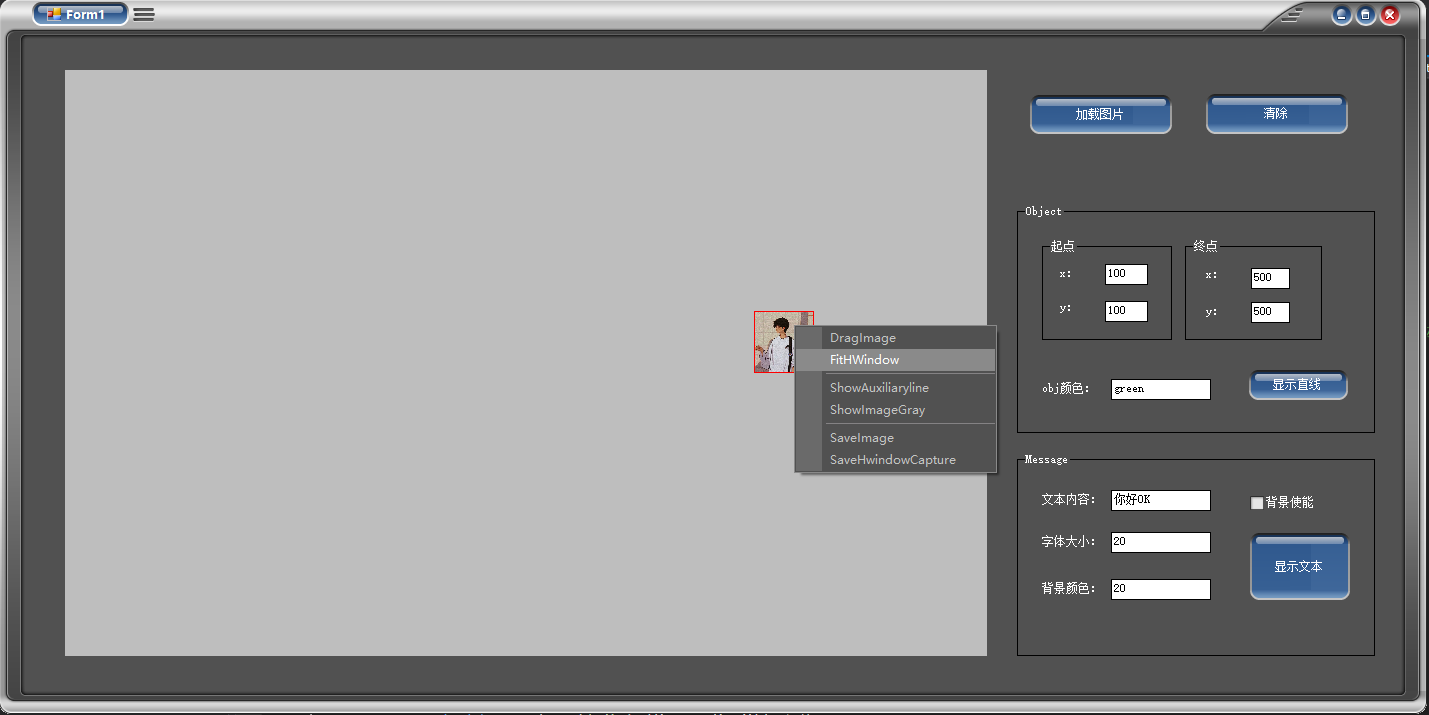
② Add right-click menu
③ Partial code display – too much code will not be fully displayed
There is a library and its test program below. You can download it at your discretion. It is absolutely worth the money and can be directly used in the project
        //Put in the displayed picture
        public void SetImage(HObject ho_Image)
        {
            HOperatorSet.SetWindowParam(this.HalconWindow, "background_color", "gray");
            HOperatorSet.GenEmptyObj(out myImage);
            myImage.Dispose();
            myImage = ho_Image;

            //Secondary image
            HOperatorSet.GenEmptyObj(out extraImage);
            extraImage.Dispose();
            extraImage = ho_Image;

            //mask image
            HOperatorSet.GenEmptyObj(out maskImage);
            maskImage.Dispose();
            maskImage = ho_Image;

            //Clear erase recovery area
            region_removeds = null;

            if (myImage != null)
            {
                HTuple width, height;
                HOperatorSet.GetImageSize(myImage, out width, out height);
                if (width.I != myImageWidth || height.I != myImageHeight)
                {
                    myImageWidth = width;
                    myImageHeight = height;
                    GetWindowExtents();
                }
            }


            //Show guides
            if (ShowAuxiliaryline.Checked)
            {
                HOperatorSet.GenEmptyObj(out region);
                region.Dispose();
                HOperatorSet.GenRectangle1(out region, (HTuple)0, (HTuple)0, myImageHeight, myImageWidth);
                HObject vLine, hLine;
                HOperatorSet.GenContourPolygonXld(out vLine, new HTuple().TupleConcat(0).TupleConcat(myImageHeight.I), new HTuple()
    .TupleConcat((HTuple)((double)myImageWidth.I * 0.5)).TupleConcat((HTuple)((double)myImageWidth.I * 0.5)));

                HOperatorSet.ConcatObj(vLine, region, out region);
                HOperatorSet.GenContourPolygonXld(out hLine, new HTuple().TupleConcat((HTuple)((double)myImageHeight.I * 0.5))
                    .TupleConcat((HTuple)((double)myImageHeight.I * 0.5)), new HTuple().TupleConcat(0).TupleConcat(myImageWidth.I));
                HOperatorSet.ConcatObj(region, hLine, out region);
            }
            else
            {
                HOperatorSet.GenEmptyObj(out region);
                region.Dispose();
                HOperatorSet.GenRectangle1(out region, (HTuple)0, (HTuple)0, myImageHeight, myImageWidth);
            }

            //If the eraser is still on
            if (bEraser || bRecover)
            {
                HObject eraserObj;
                HOperatorSet.GenEmptyObj(out eraserObj);
                eraserObj.Dispose();
                HOperatorSet.GenRectangle1(out eraserObj, windowTop - (eraserSize / 2), windowLeft - (eraserSize / 2)
                    , windowTop + (eraserSize / 2), windowLeft + (eraserSize / 2));

                eraserIndex = AddObj(eraserObj, "red", false);
                eraserObjClearFlag = true;
            }
        }

        private void GetWindowExtents()
        {
            HTuple win_Width, win_Height, win_Col, win_Row, cwin_Width, cwin_Height;
            HOperatorSet.GetWindowExtents(this.HalconWindow, out win_Row, out win_Col, out win_Width, out win_Height);//Get form size specification
            basicWHeight = win_Height;
            basicWWidth = win_Width;
            cwin_Height = 1.0 * win_Height / win_Width * myImageWidth;//Width invariant calculation height
            if (cwin_Height > myImageHeight)//Wide constant high energy accommodation
            {
                cwin_Height = 1.0 * (cwin_Height - myImageHeight) / 2;
                windowTop = -cwin_Height;
                windowLeft = 0;
                windowBottom = cwin_Height + myImageHeight;
                windowRight = myImageWidth;
            }
            else//Height and width can accommodate
            {
                cwin_Width = 1.0 * win_Width / win_Height * myImageHeight;//Height invariant calculated width
                cwin_Width = 1.0 * (cwin_Width - myImageWidth) / 2;

                windowTop = 0;
                windowLeft = -cwin_Width;
                windowBottom = myImageHeight;
                windowRight = cwin_Width + myImageWidth;
            }
        }


        //Add event
        public void AddObject(HObject ho_Object, string ho_Color, bool ho_FillMode = false)
        {
            AddObj(ho_Object, ho_Color, ho_FillMode);
        }

        //Add text
        public void AddMessage(string ho_Content, bool ho_FontInWin, string ho_FontColor, HTuple ho_Size, HTuple ho_Row, HTuple ho_Col, string ho_BackColor = "", bool ho_BackColorEnable = false)
        {
            AddMsg(ho_Content, ho_FontInWin, ho_FontColor, ho_Size, ho_Row, ho_Col, ho_BackColor, ho_BackColorEnable);
        }
3. Effect display - image and operation instructions
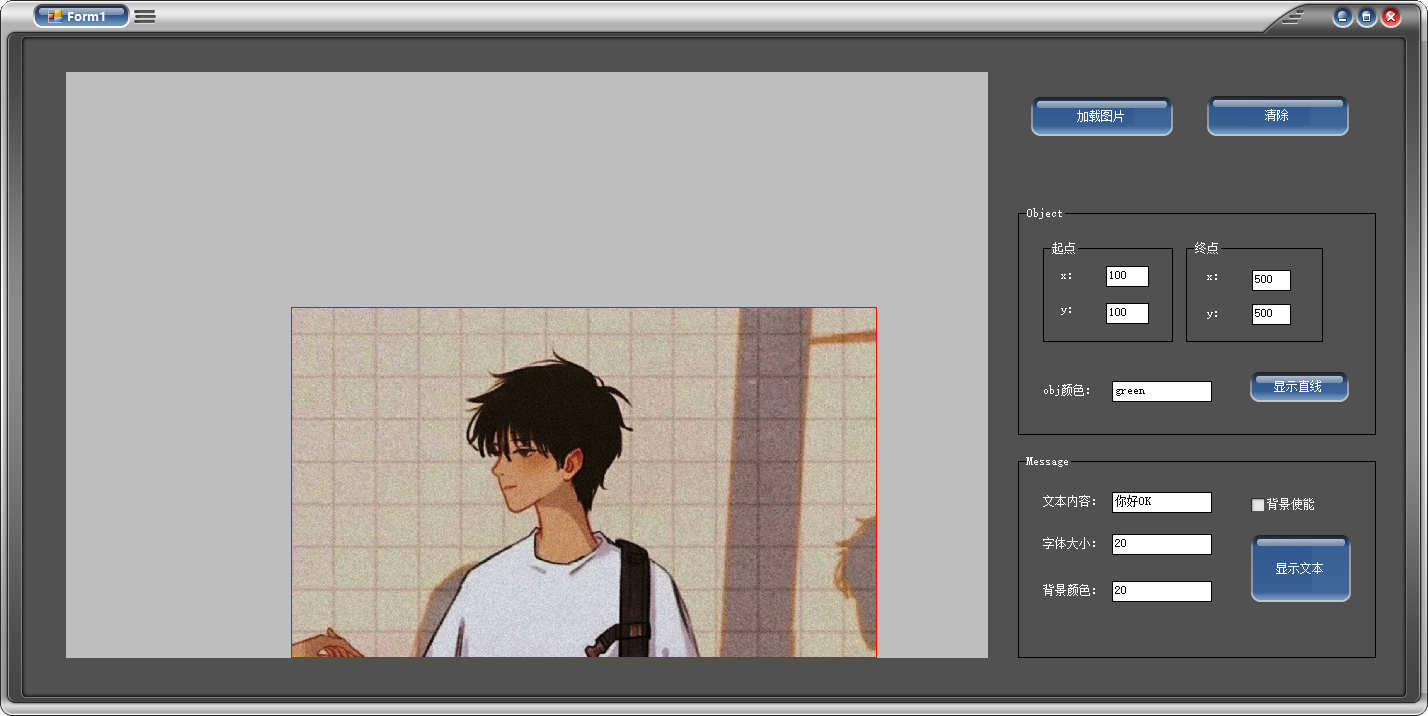
① Click the load image button, and then the self-made multi-function window will load the image
The image display is displayed in proportion and will not be stretched;
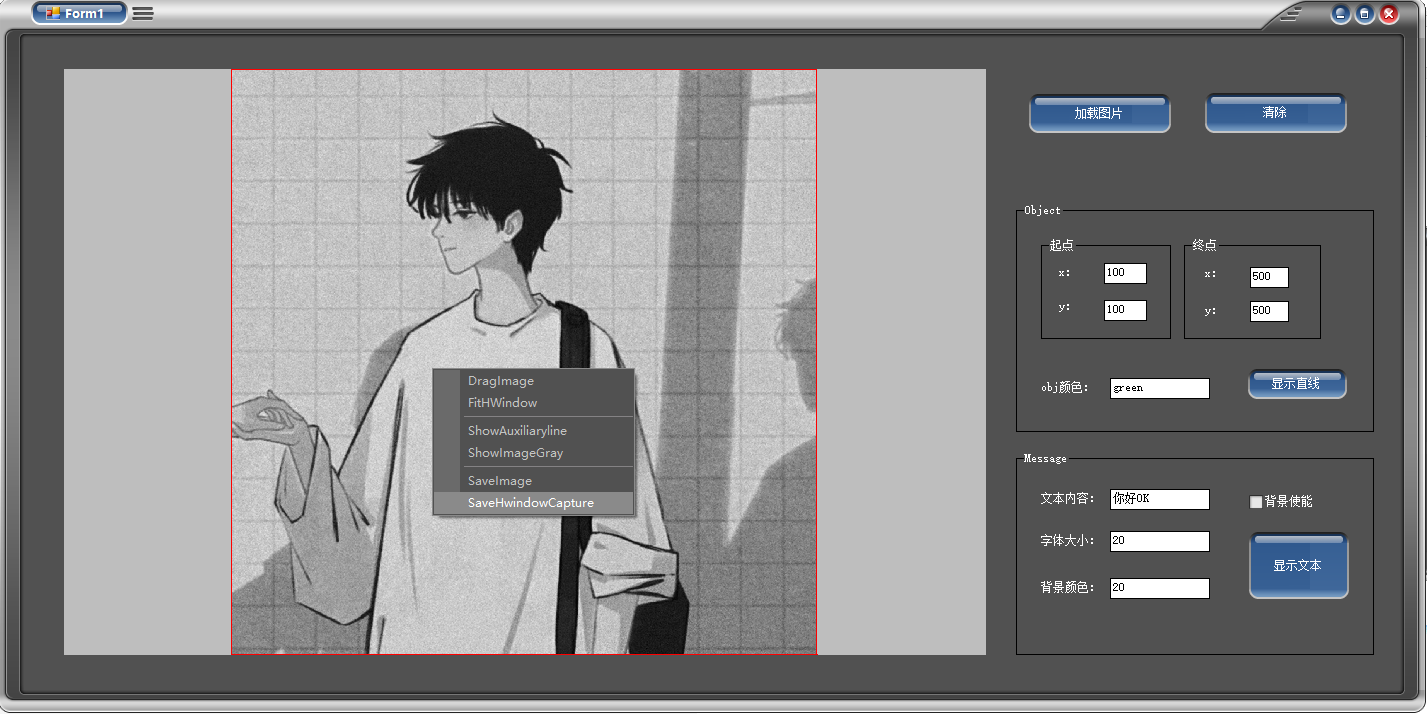
② Drag the image, click the right-click menu, select DragImage, and check it to drag the image,
Uncheck if you don't want to drag;
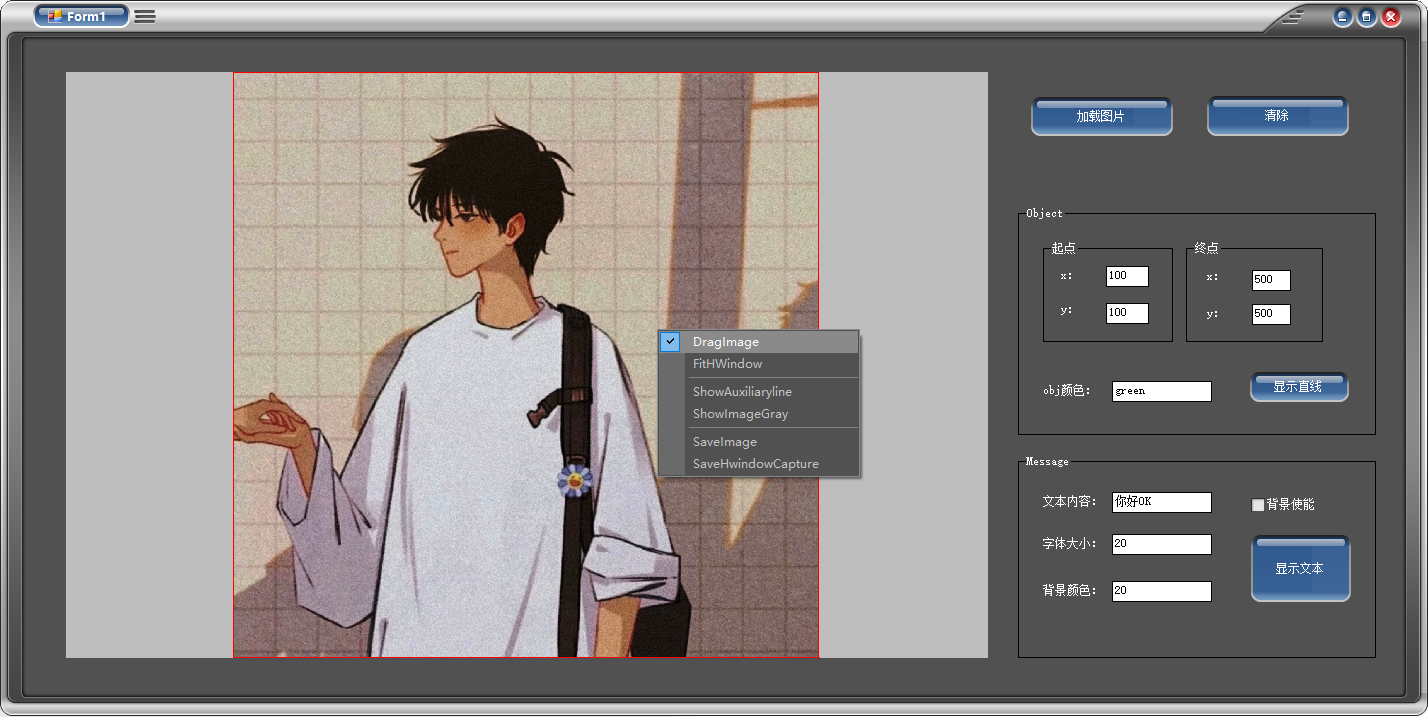
After the image is dragged;
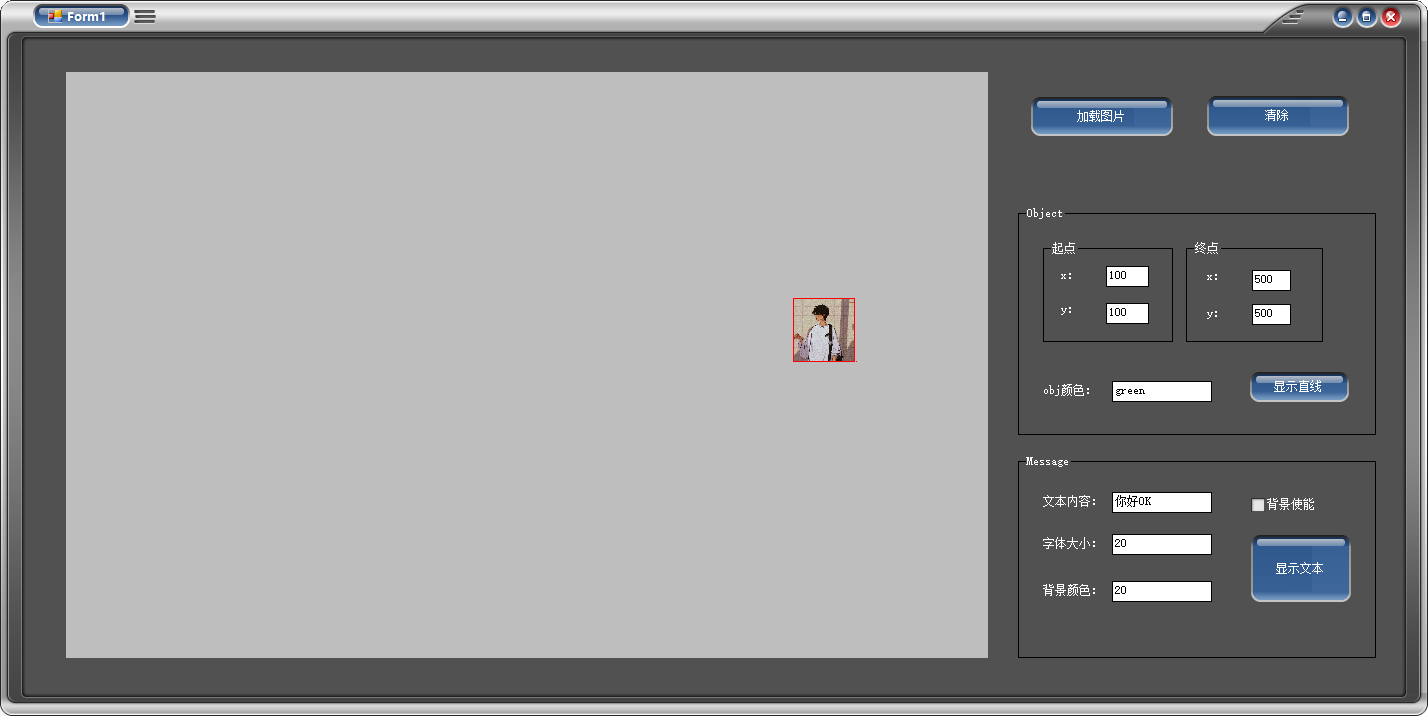
③ Zoom out and enlarge the image. The mouse is in the multi-function window, and you can slide the wheel to zoom up and down;
Enlarge the image;
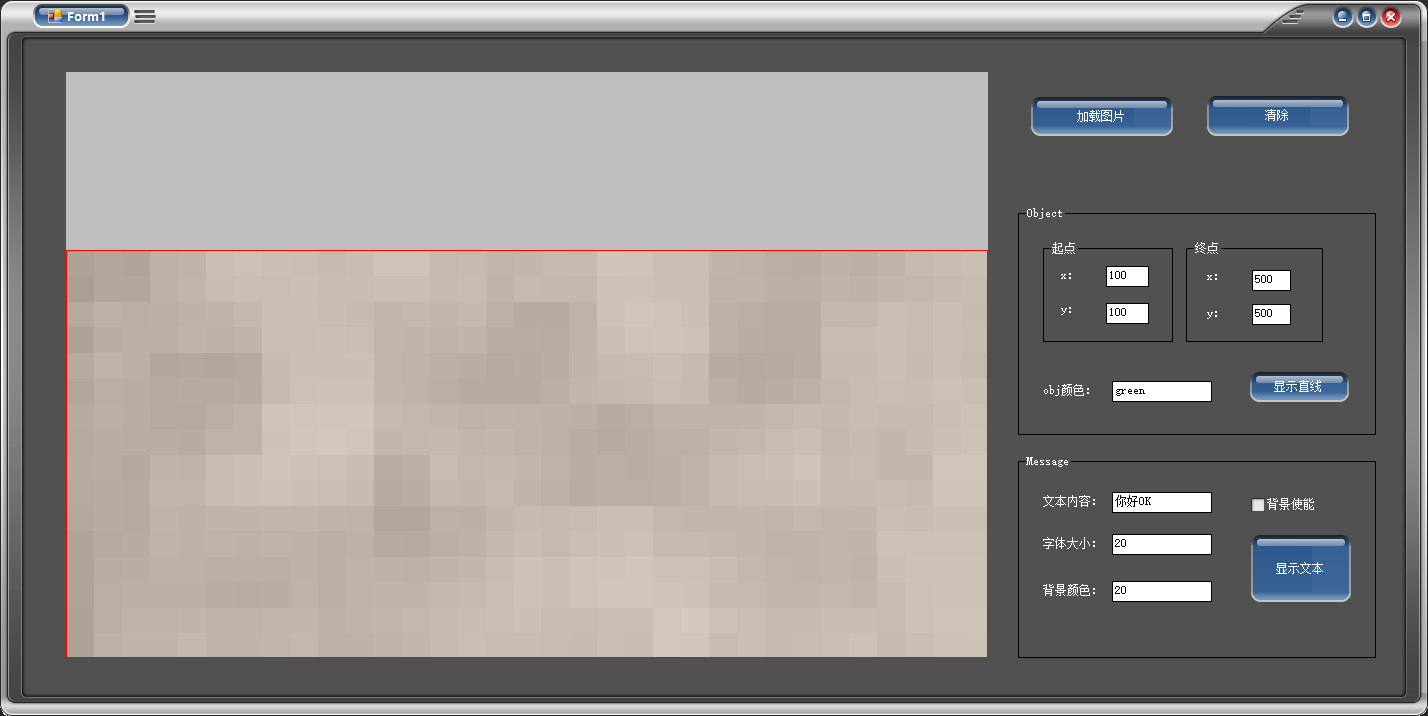
Image reduction;
④ When you drag or zoom in and out the image, so that the image does not know where it is, at this time
Align the window, right-click and select FitWindow to restore the image
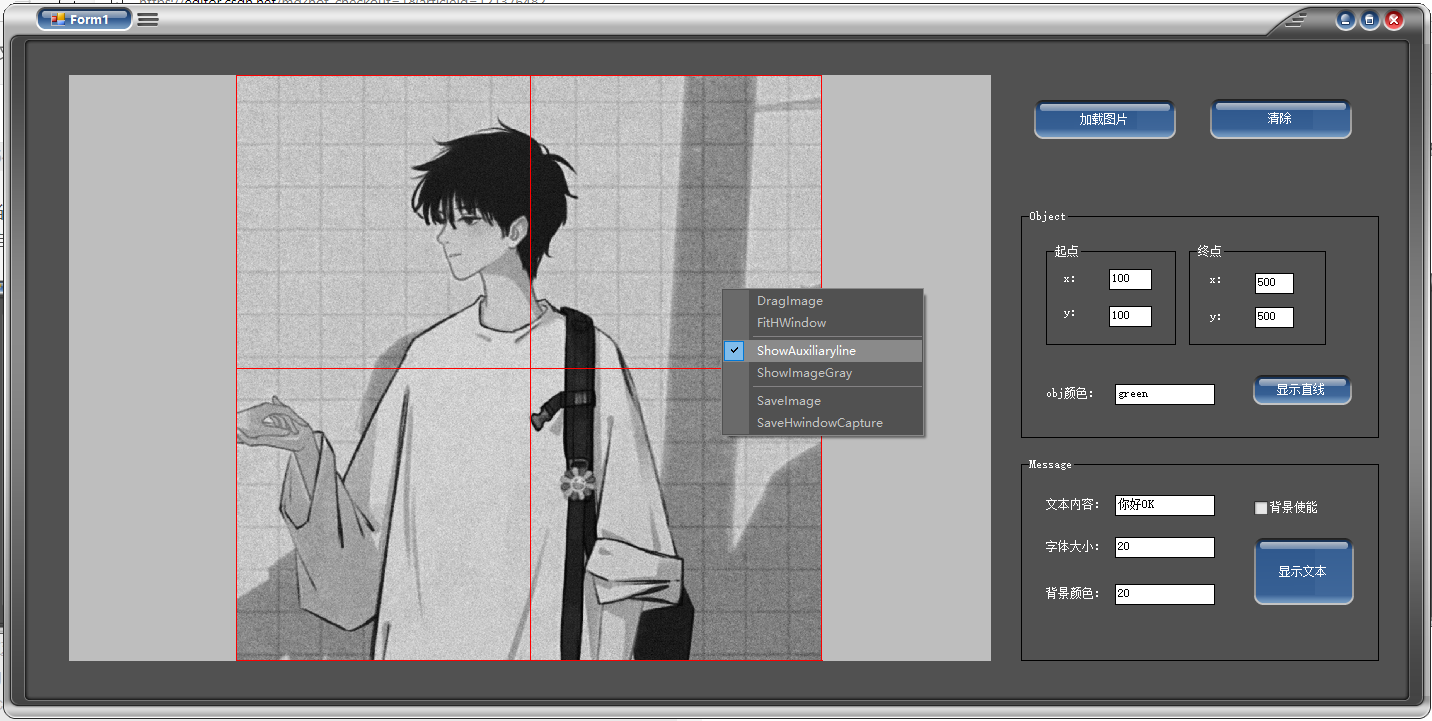
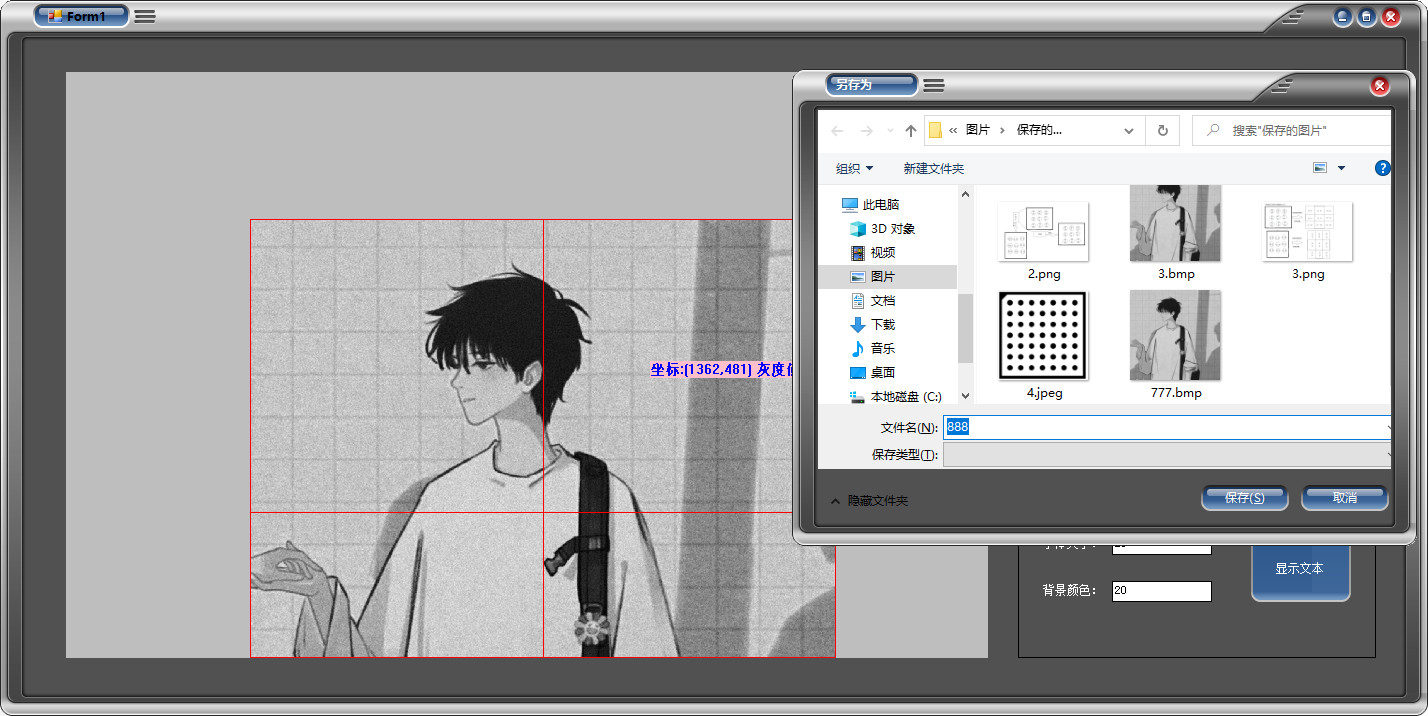
⑤ Display the cross auxiliary line, right-click and select Show auxiliary line, and check it to see the effect
You can click again and uncheck if you don't need it
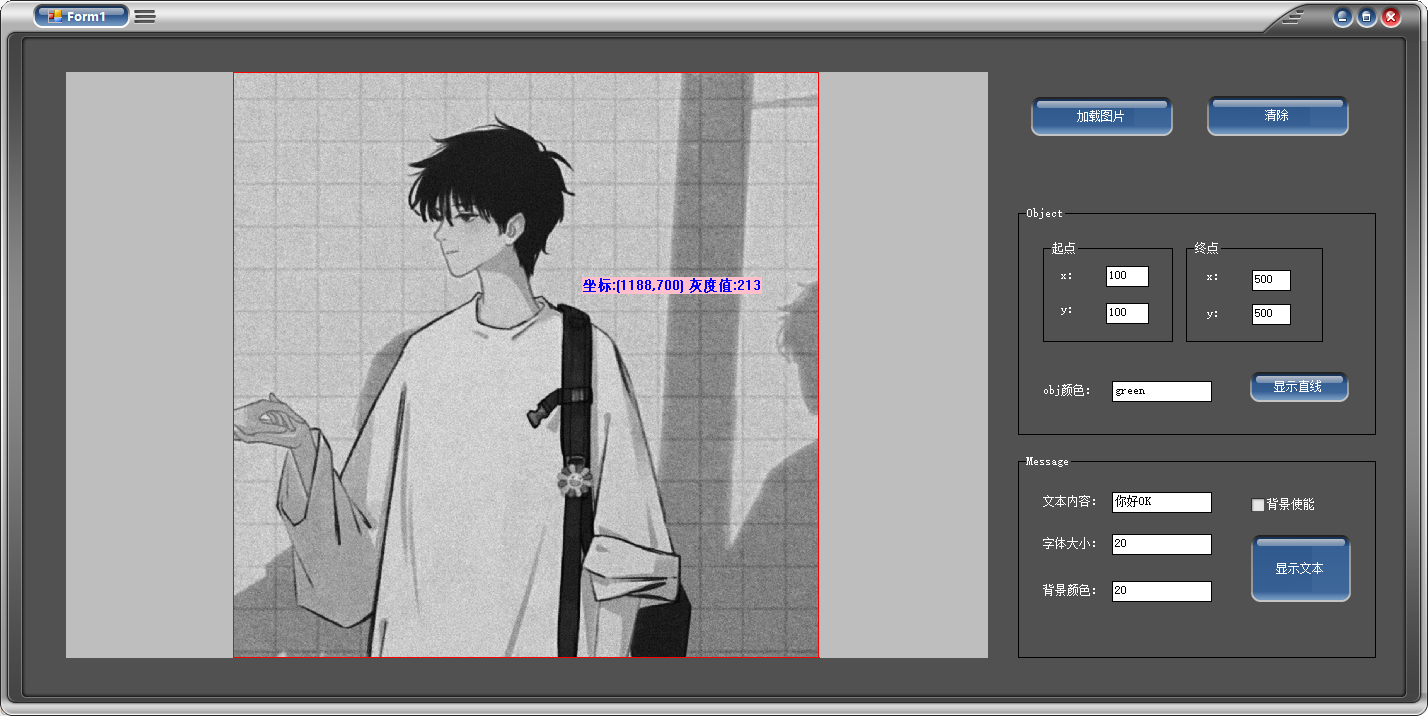
⑥ Display the coordinate position of the mouse on the form and the gray value corresponding to the image at that position
Right click and check ShowImageGray. You don't need to uncheck it
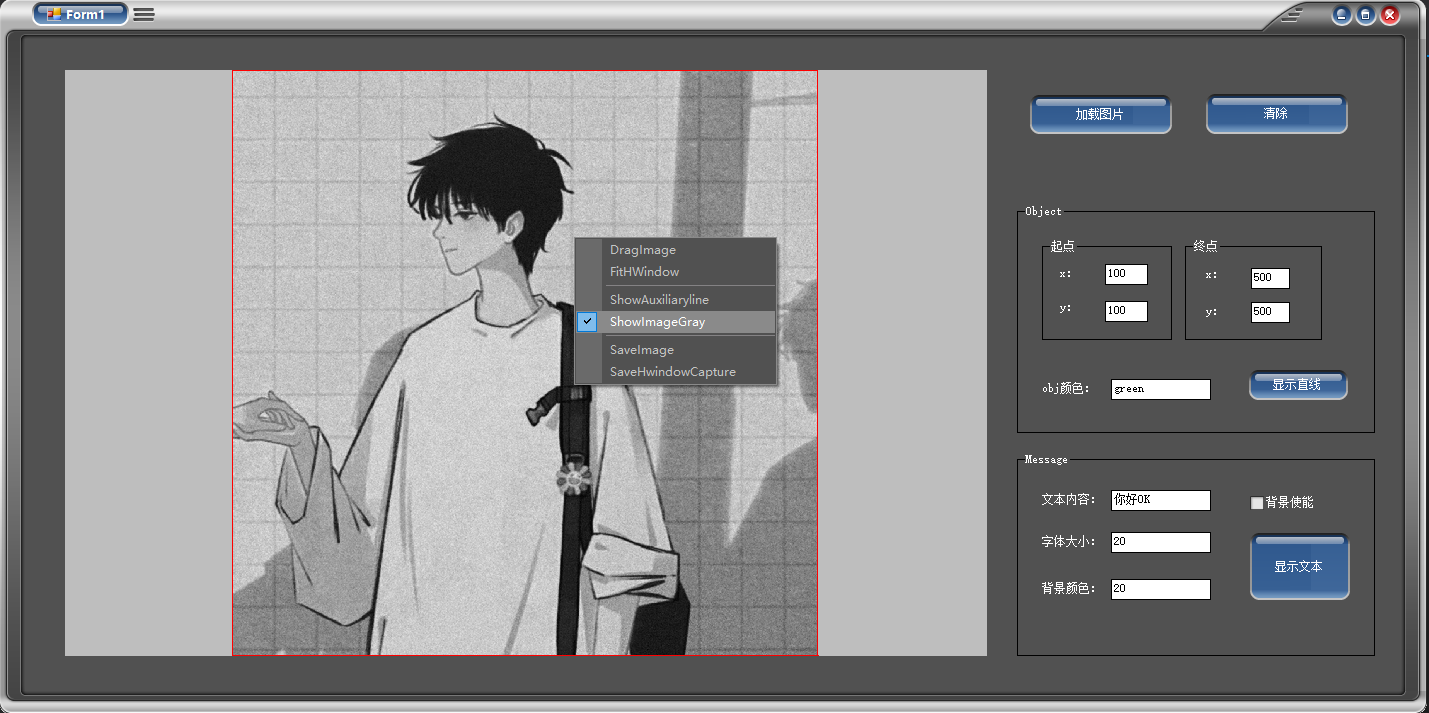
When checked, the display will follow the movement of the mouse
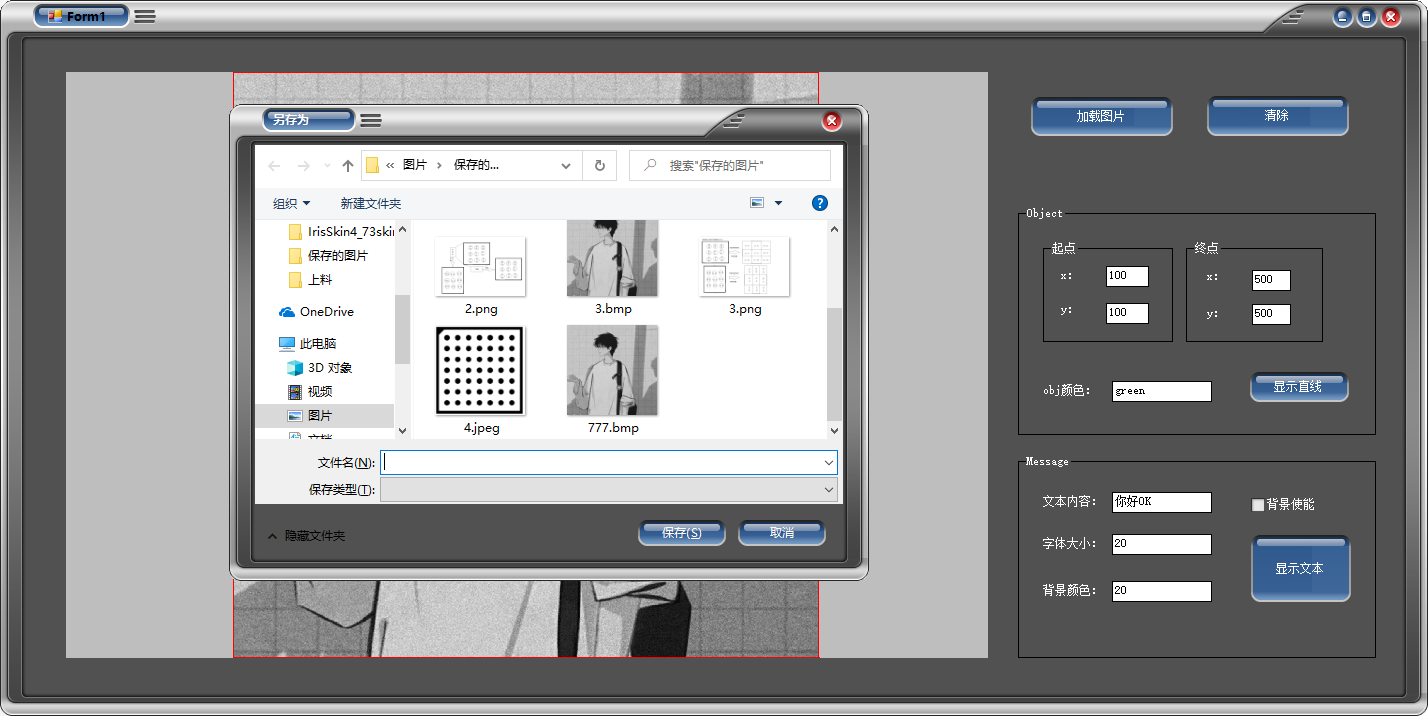
⑦ Image saving – right click SaveImage to save the image in the current form in bmp format
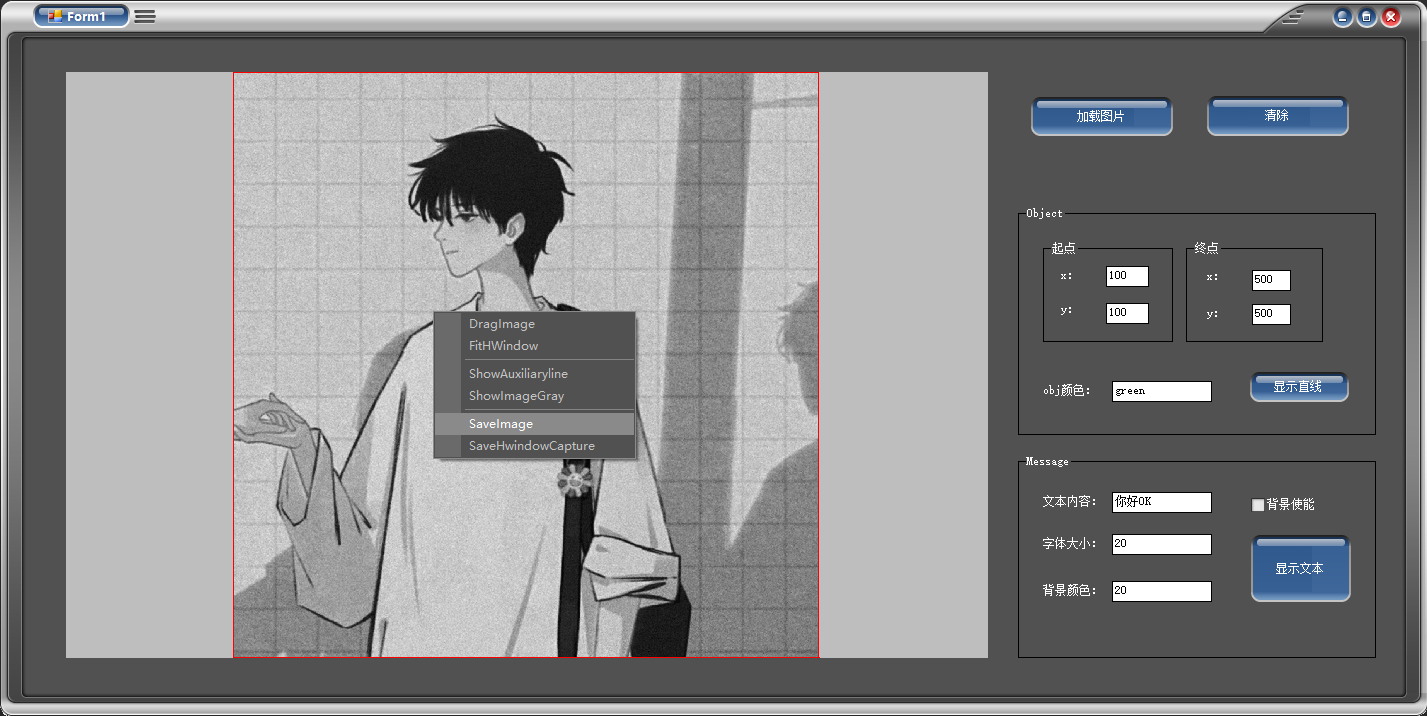
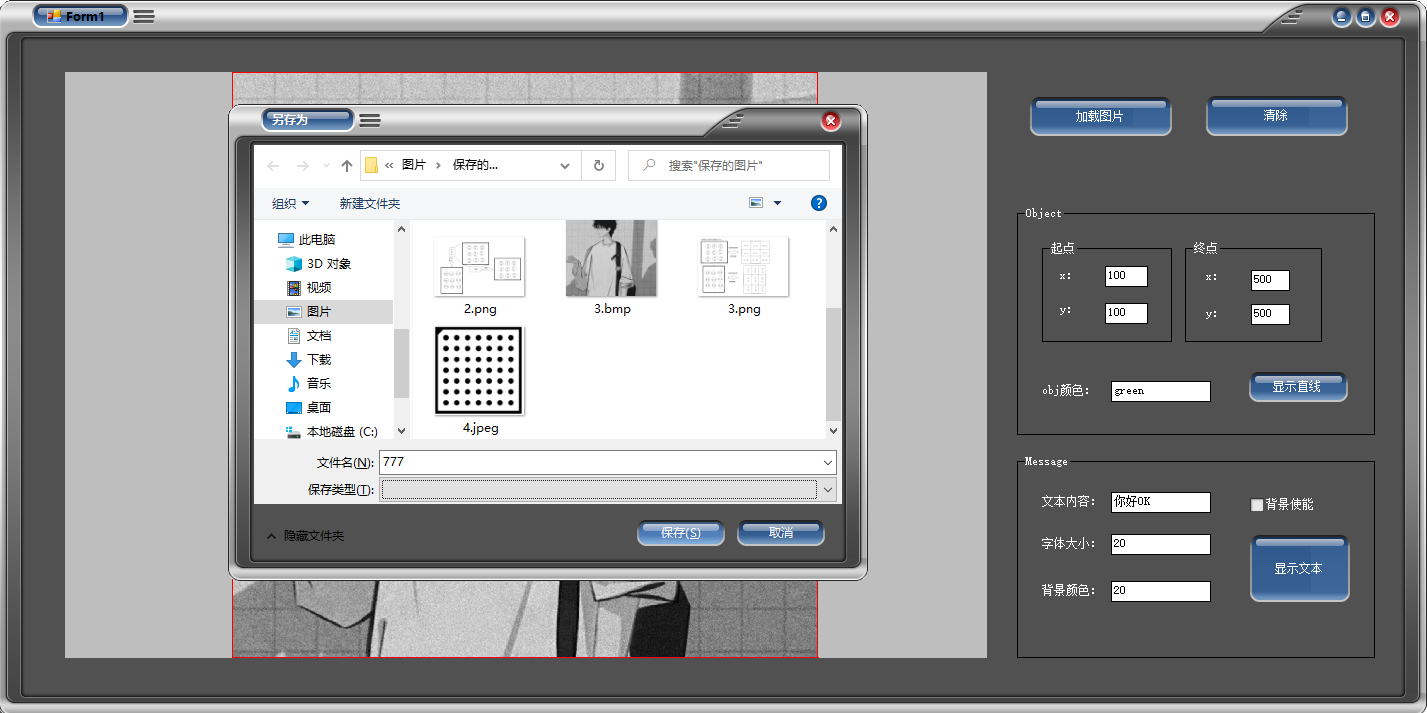
After saving, check that 777.bmp does exist
 ⑧ Save the screenshot, right-click and select MenuItem_SaveCapture,
The screenshot of the current form can be saved, and the image format is bmp
4. How to use self-made halcon multi-function form
Directly drag mcHControl.dll to the toolbox, and the control mcHWindow will appear
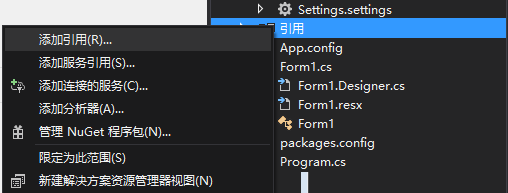
At the same time, put mcHControl.dll under the debug\bin file of the project and add a reference
5. Video display link and test code link
Video link:
https://www.bilibili.com/video/BV1AL4y1z7sF?spm_id_from=333.999.0.0
Code link:
https://download.csdn.net/download/adsd1233123/34650662