Dashboard – horizon installation
This section describes how to install and configure a dashboard on a controller node.
The only core service required for dashboards is identity services. You can use dashboards with other services, such as image services, computing, and networking. You can also use dashboards in environments with stand-alone services, such as object storage.
This section assumes that the Identity service is correctly installed, configured and operated using the Apache HTTP server and the Memcached service.
Installing and configuring components 
The default profile varies from release to release. You may need to add these sections and options instead of modifying existing sections and options. In addition The ellipsis () in the configuration fragment indicates the potential default configuration options that you should keep.
-
Install package:
# yum install openstack-dashboard -y
-
Edit / etc / openstack dashboard / local_ Settings file and complete the following operations:
-
Configure the dashboard to use the OpenStack service on the controller node:
OPENSTACK_HOST = "controller"
-
Allow your host to access the dashboard:
ALLOWED_HOSTS = ['*']
ALLOWED_HOSTS can also be ['*'] to accept all hosts. This may be useful for development work, but it may not be safe and should not be used in production. For more information, see https://docs.djangoproject.com/en/dev/ref/settings/#allowed-hosts.
-
Configure memcached session storage service:
SESSION_ENGINE = 'django.contrib.sessions.backends.file'

CACHES = {
    'default': {
         'BACKEND': 'django.core.cache.backends.memcached.MemcachedCache',
         'LOCATION': 'controller:11211',
    }
}
Comment out any other session storage configurations.
-
Enable identity API version 3:
OPENSTACK_KEYSTONE_URL = "http://%s/identity/v3" % OPENSTACK_HOST
-
Enable support for domains:
OPENSTACK_KEYSTONE_MULTIDOMAIN_SUPPORT = True
-
Configure API version:
OPENSTACK_API_VERSIONS = { "identity": 3, "image": 2, "volume": 3, } -
Configure Default as the Default domain for users you create through the dashboard:
OPENSTACK_KEYSTONE_DEFAULT_DOMAIN = "Default"
-
Configure user as the default role for users you create through the dashboard:
OPENSTACK_KEYSTONE_DEFAULT_ROLE = "user"
-
If you select network option 1, disable support for layer 3 network services:
OPENSTACK_NEUTRON_NETWORK = { 'enable_router': False, 'enable_quotas': False, 'enable_distributed_router': False, 'enable_ha_router': False, 'enable_fip_topology_check': False, } -
(optional) configure time zone: Shanghai
TIME_ZONE = "Asia/Shanghai"
Replace TIME_ZONE is the appropriate time zone identifier. For more information, see Time zone list.
-
-
/etc/httpd/conf.d/openstack-dashboard.conf if not, add the following line.
WSGIApplicationGroup %{GLOBAL}
Important!!!
You must modify the configuration, or horizon will prohibit access
-
/etc/httpd/conf.d/openstack-dashboard.conf will modify the following
#Original code
WSGIScriptAlias /dashboard /usr/share/openstack-dashboard/openstack_dashboard/wsgi/django.wsgi
...
<Directory /usr/share/openstack-dashboard/openstack_dashboard/wsgi>

#Change to
WSGIScriptAlias /dashboard /usr/share/openstack-dashboard/openstack_dashboard/wsgi.py
...
<Directory /usr/share/openstack-dashboard/openstack_dashboard>

-
/etc/openstack-dashboard/local_settings add
WEBROOT='/dashboard/'
If you log in to the dashboard, there will be permission errors and display confusion. You need to establish a soft link of the policy. If it is configured during deployment, it does not need to be configured again
ln -s /etc/openstack-dashboard /usr/share/openstack-dashboard/openstack_dashboard/conf
Complete installation 
-
Restart the Web server and session storage service:
systemctl restart httpd.service memcached.service
After Horizon is installed, you can enter the web address on the virtual machine 172.31.7.120/dashboard/ Log in to openstack,
user name: admin

Password: 123456

Domain: default
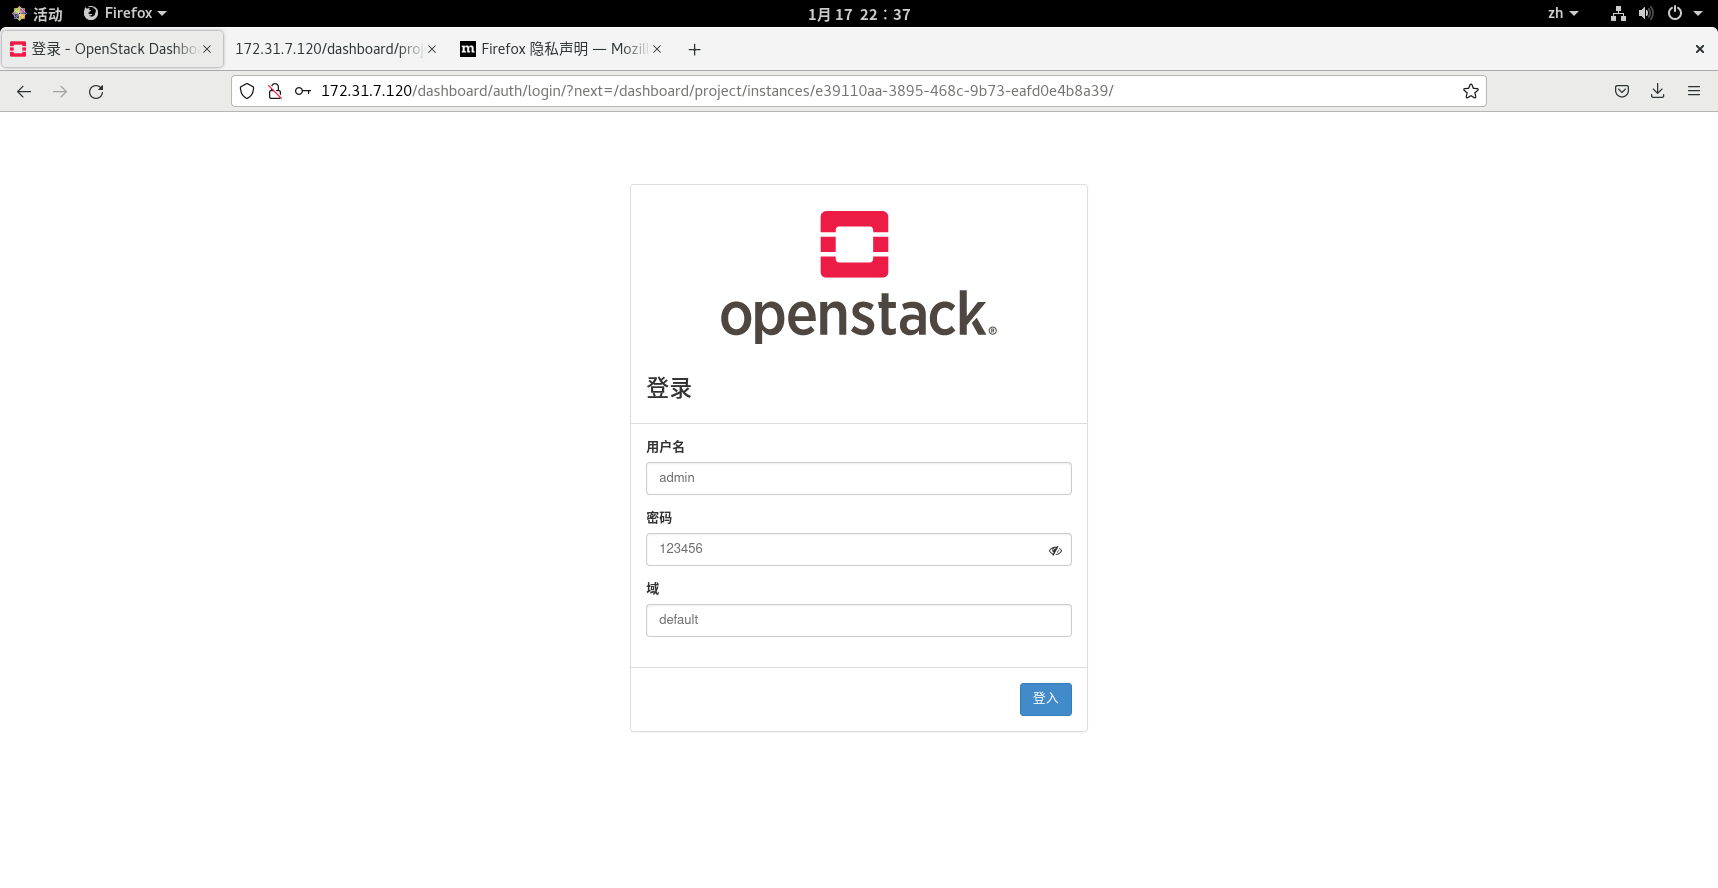
The login interface is
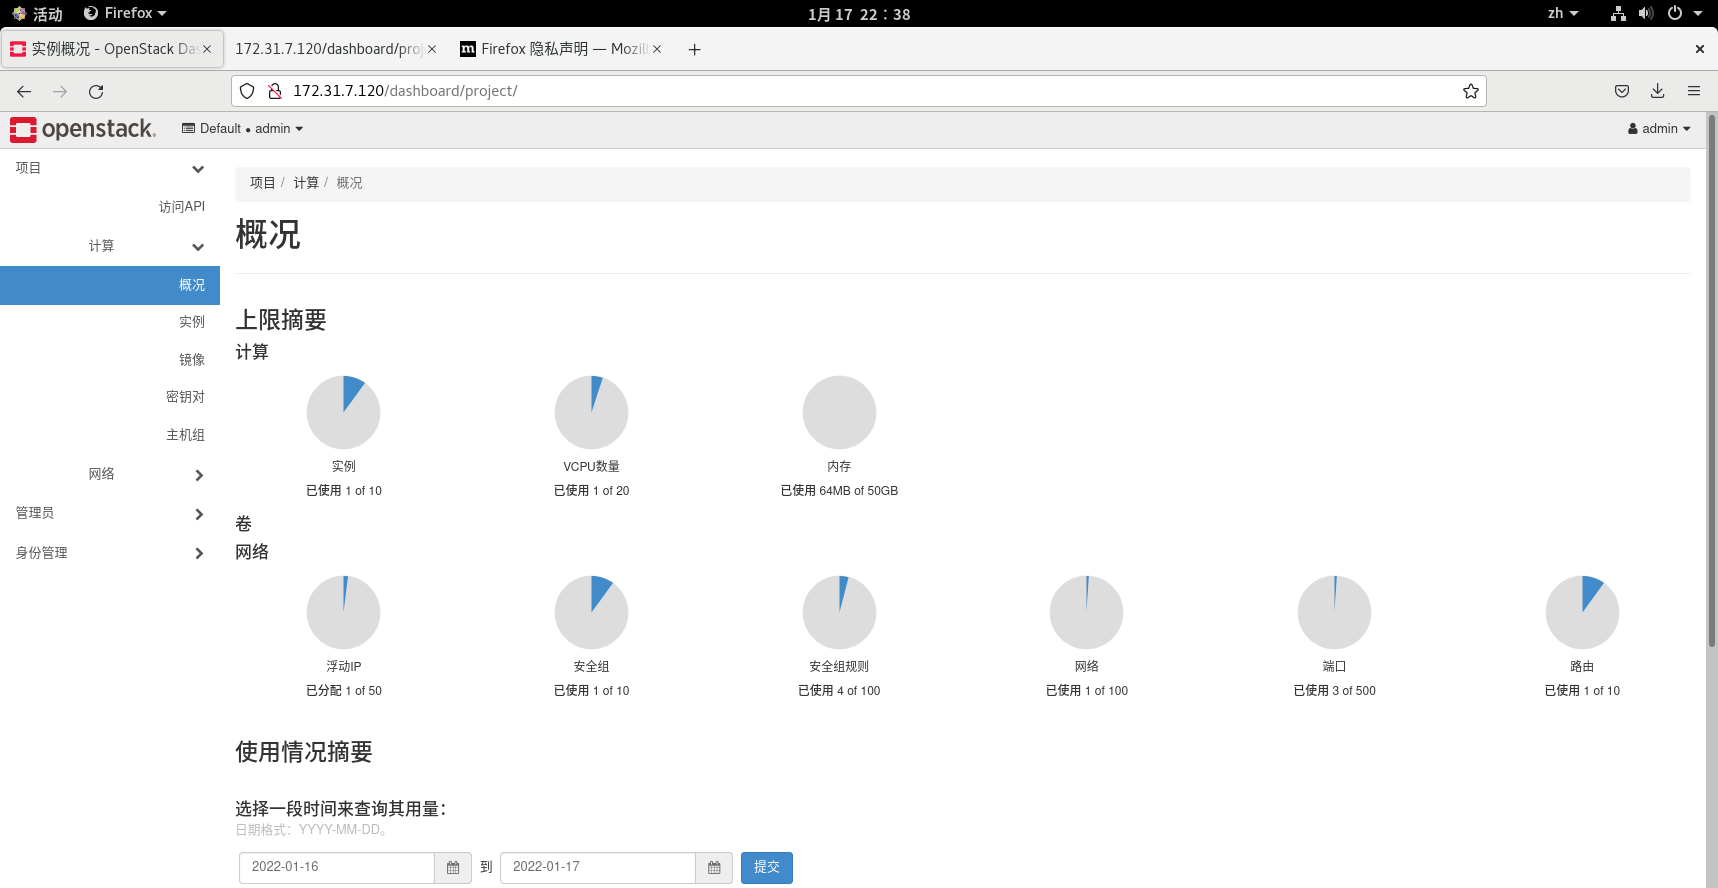
After the basic components are installed, you can refer to Create an instance of horizon Create an instance