If you are Xiaobai, this set of information can help you become a big bull. If you have rich development experience, this set of information can help you break through the bottleneck
2022web full set of video tutorial front-end architecture H5 vue node applet Video + data + code + interview questions.
① Purchase Tencent cloud (essential)
1. If you are under the age of 25: you can buy it at a student price of tens of yuan click here
(usually choose ordinary liunx or centOS system based on linux, etc.)
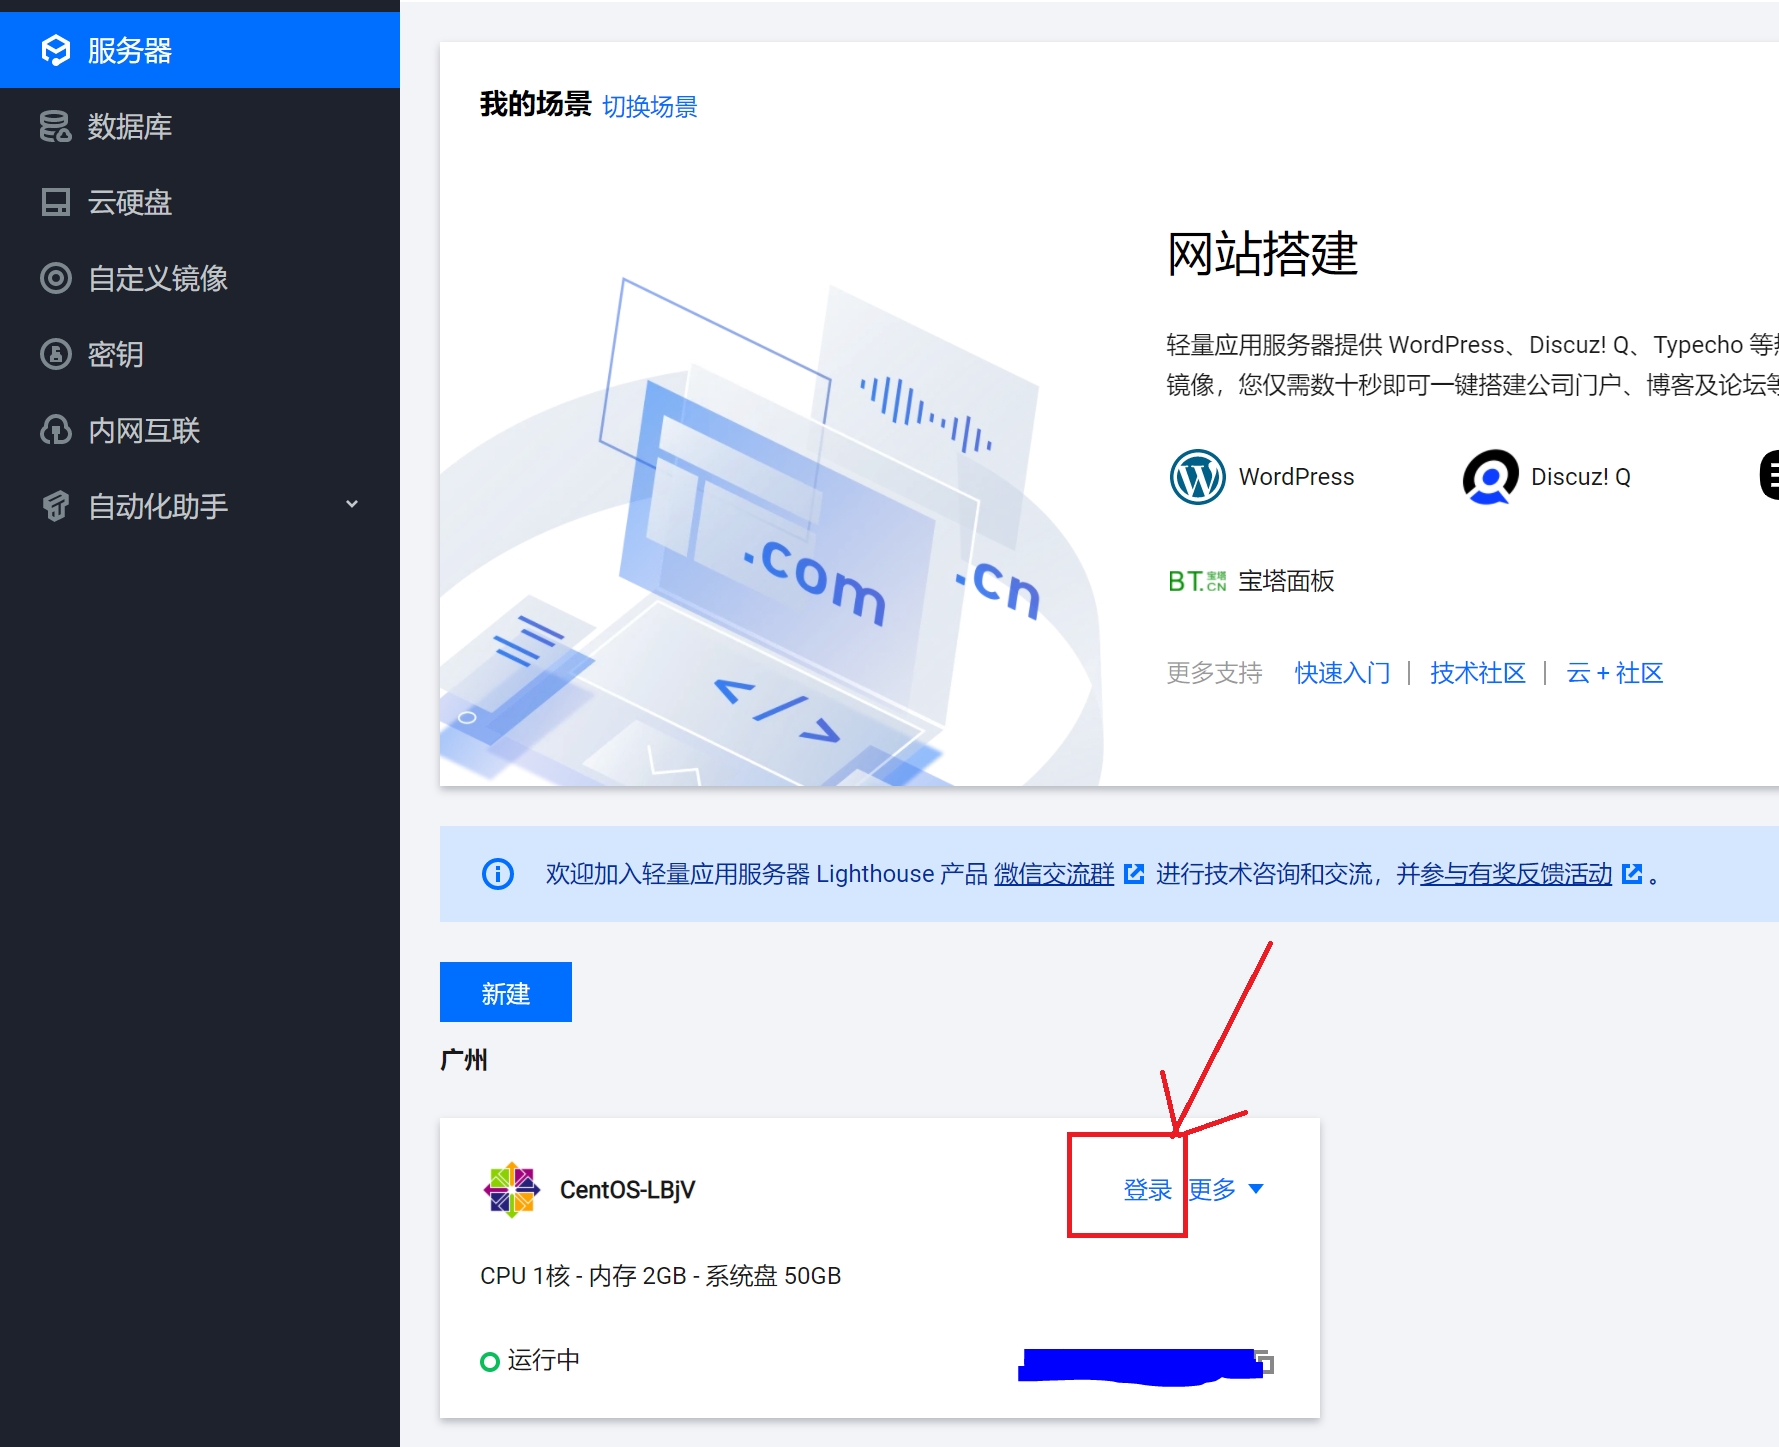
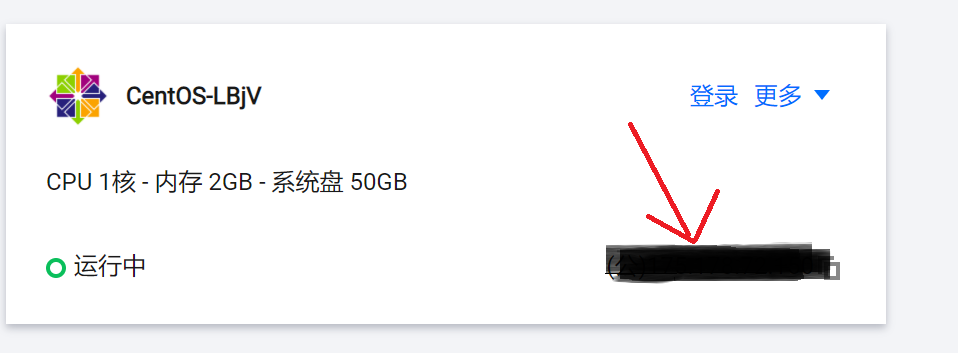
2. If the purchase is completed, we go to the personal page - > find the server we purchased
3. Click login - > as shown in the figure: ------- >
① Installing nodeJs
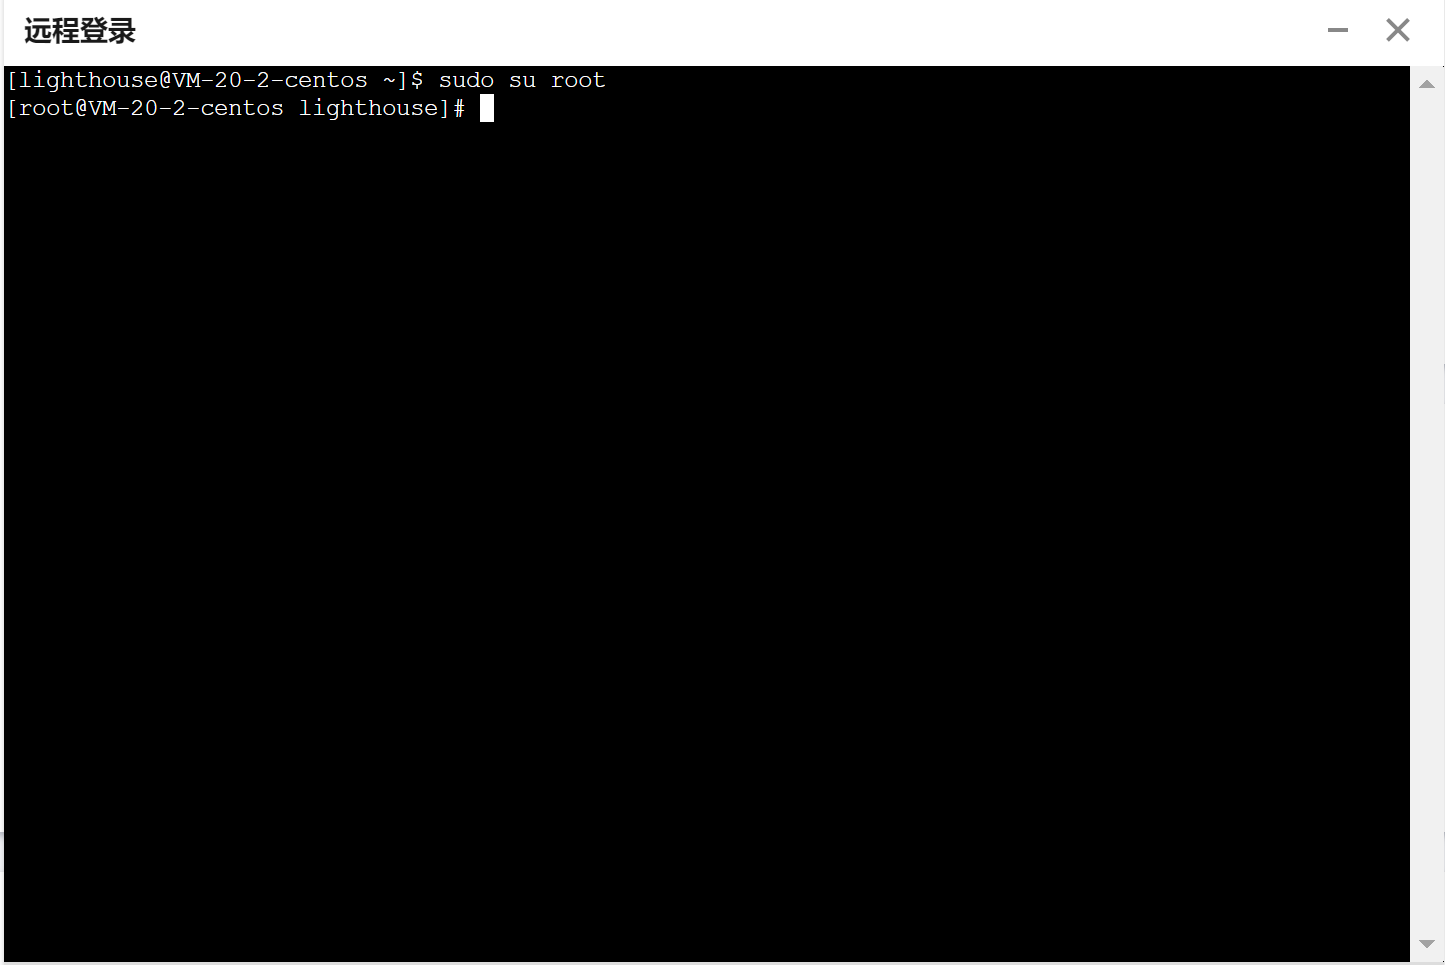
1. Click login and enter the command (switch to root to prevent insufficient permissions)
sudo su root
2. We enter the user's local directory and install nodeJs here
I. enter the directory
cd /usr/local/
II. Download nodeJs compressed package
wget https://nodejs.org/dist/v16.0.0/node-v16.0.0-linux-x64.tar.xz
III. decompress nodeJs
tar xvf node-v16.0.0-linux-x64.tar.xz
IV. folder name – > modified to nodejs for easy identification
mv node-v16.0.0-linux-x64 nodejs
V. configure environment variables
cd  /
vim /etc/profile
Vi. edit the file
export PATH=/usr/local/nodejs/bin:$PATH
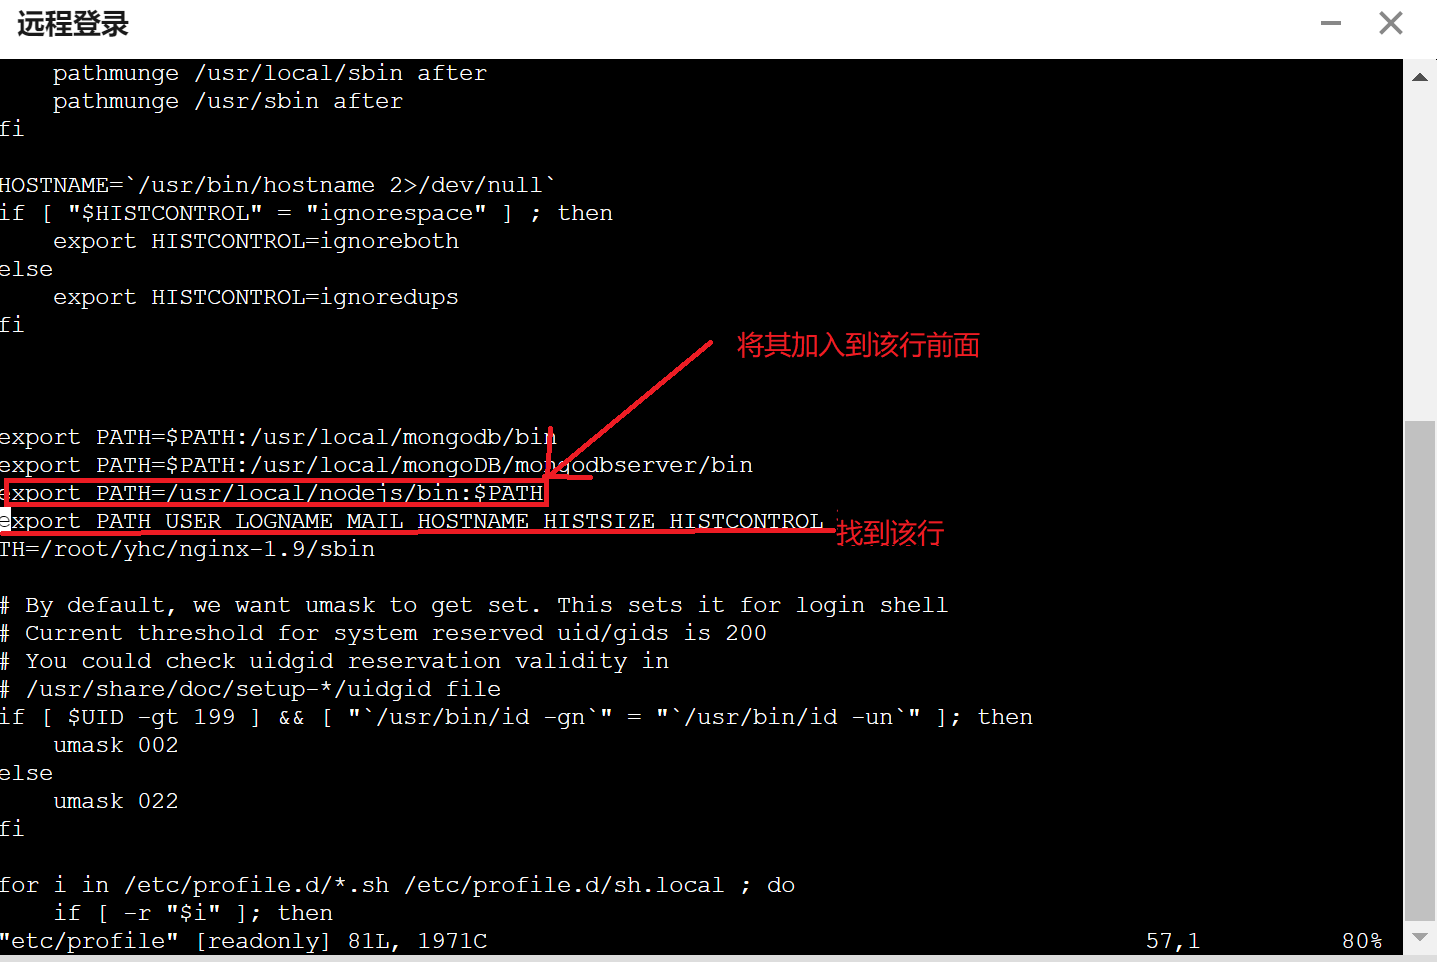
Press ESC -- > colon - > WQ - > Enter to save
VII. Then restart
source /etc/profile
VII. Test whether the installation is successful (if the node version number appears, the installation is successful)
node -v
② You can deploy vue after installing nginx
I. the habit is still in the / usr/local / directory
cd /usr/local/
II. Download nginx compressed package
wget http://nginx.org/download/nginx-1.18.0.tar.gz
III. unzip nginx
tar -zxvf nginx-1.18.0.tar.gz
Ⅳ. Enter nginx-1.18.0 and set the installation path for installation
cd  nginx-1.18.0
./configure --prefix=/usr/local/nginx/
make
make install
V. check whether the installation is successful (check whether there is a successful prompt)
cd  ..
./nginx/sbin/nginx -t
Vi. configure nginx conf
vim nginx/conf/nginx.conf
The figure can be replaced by the following configuration (not detailed here)
user  root;
#user  nobody;
worker_processes  1;

#error_log  logs/error.log;
#error_log  logs/error.log  notice;
#error_log  logs/error.log  info;

#pid        logs/nginx.pid;


events {
    worker_connections  1024;
}


http {
    include       mime.types;
    default_type  application/octet-stream;
    sendfile        on;
    keepalive_timeout  65;


  server {
        listen       80;
        server_name  localhost;

        root   /root/yhc/nginx/html;
        index  index.html index.htm;
        try_files $uri $uri/ /index.html;

        location /api {
           proxy_pass http://127.0.0.1:7001/api;
           proxy_set_header Host $proxy_host;
           proxy_set_header  X-Real-IP  $remote_addr;
           proxy_set_header  X-Forwarded-For $proxy_add_x_forwarded_for;
           proxy_set_header X-NginX-Proxy true;
        }

        error_page   500 502 503 504  /50x.html;
        location =  /50x.html {
            root   html;
        }
    }
}
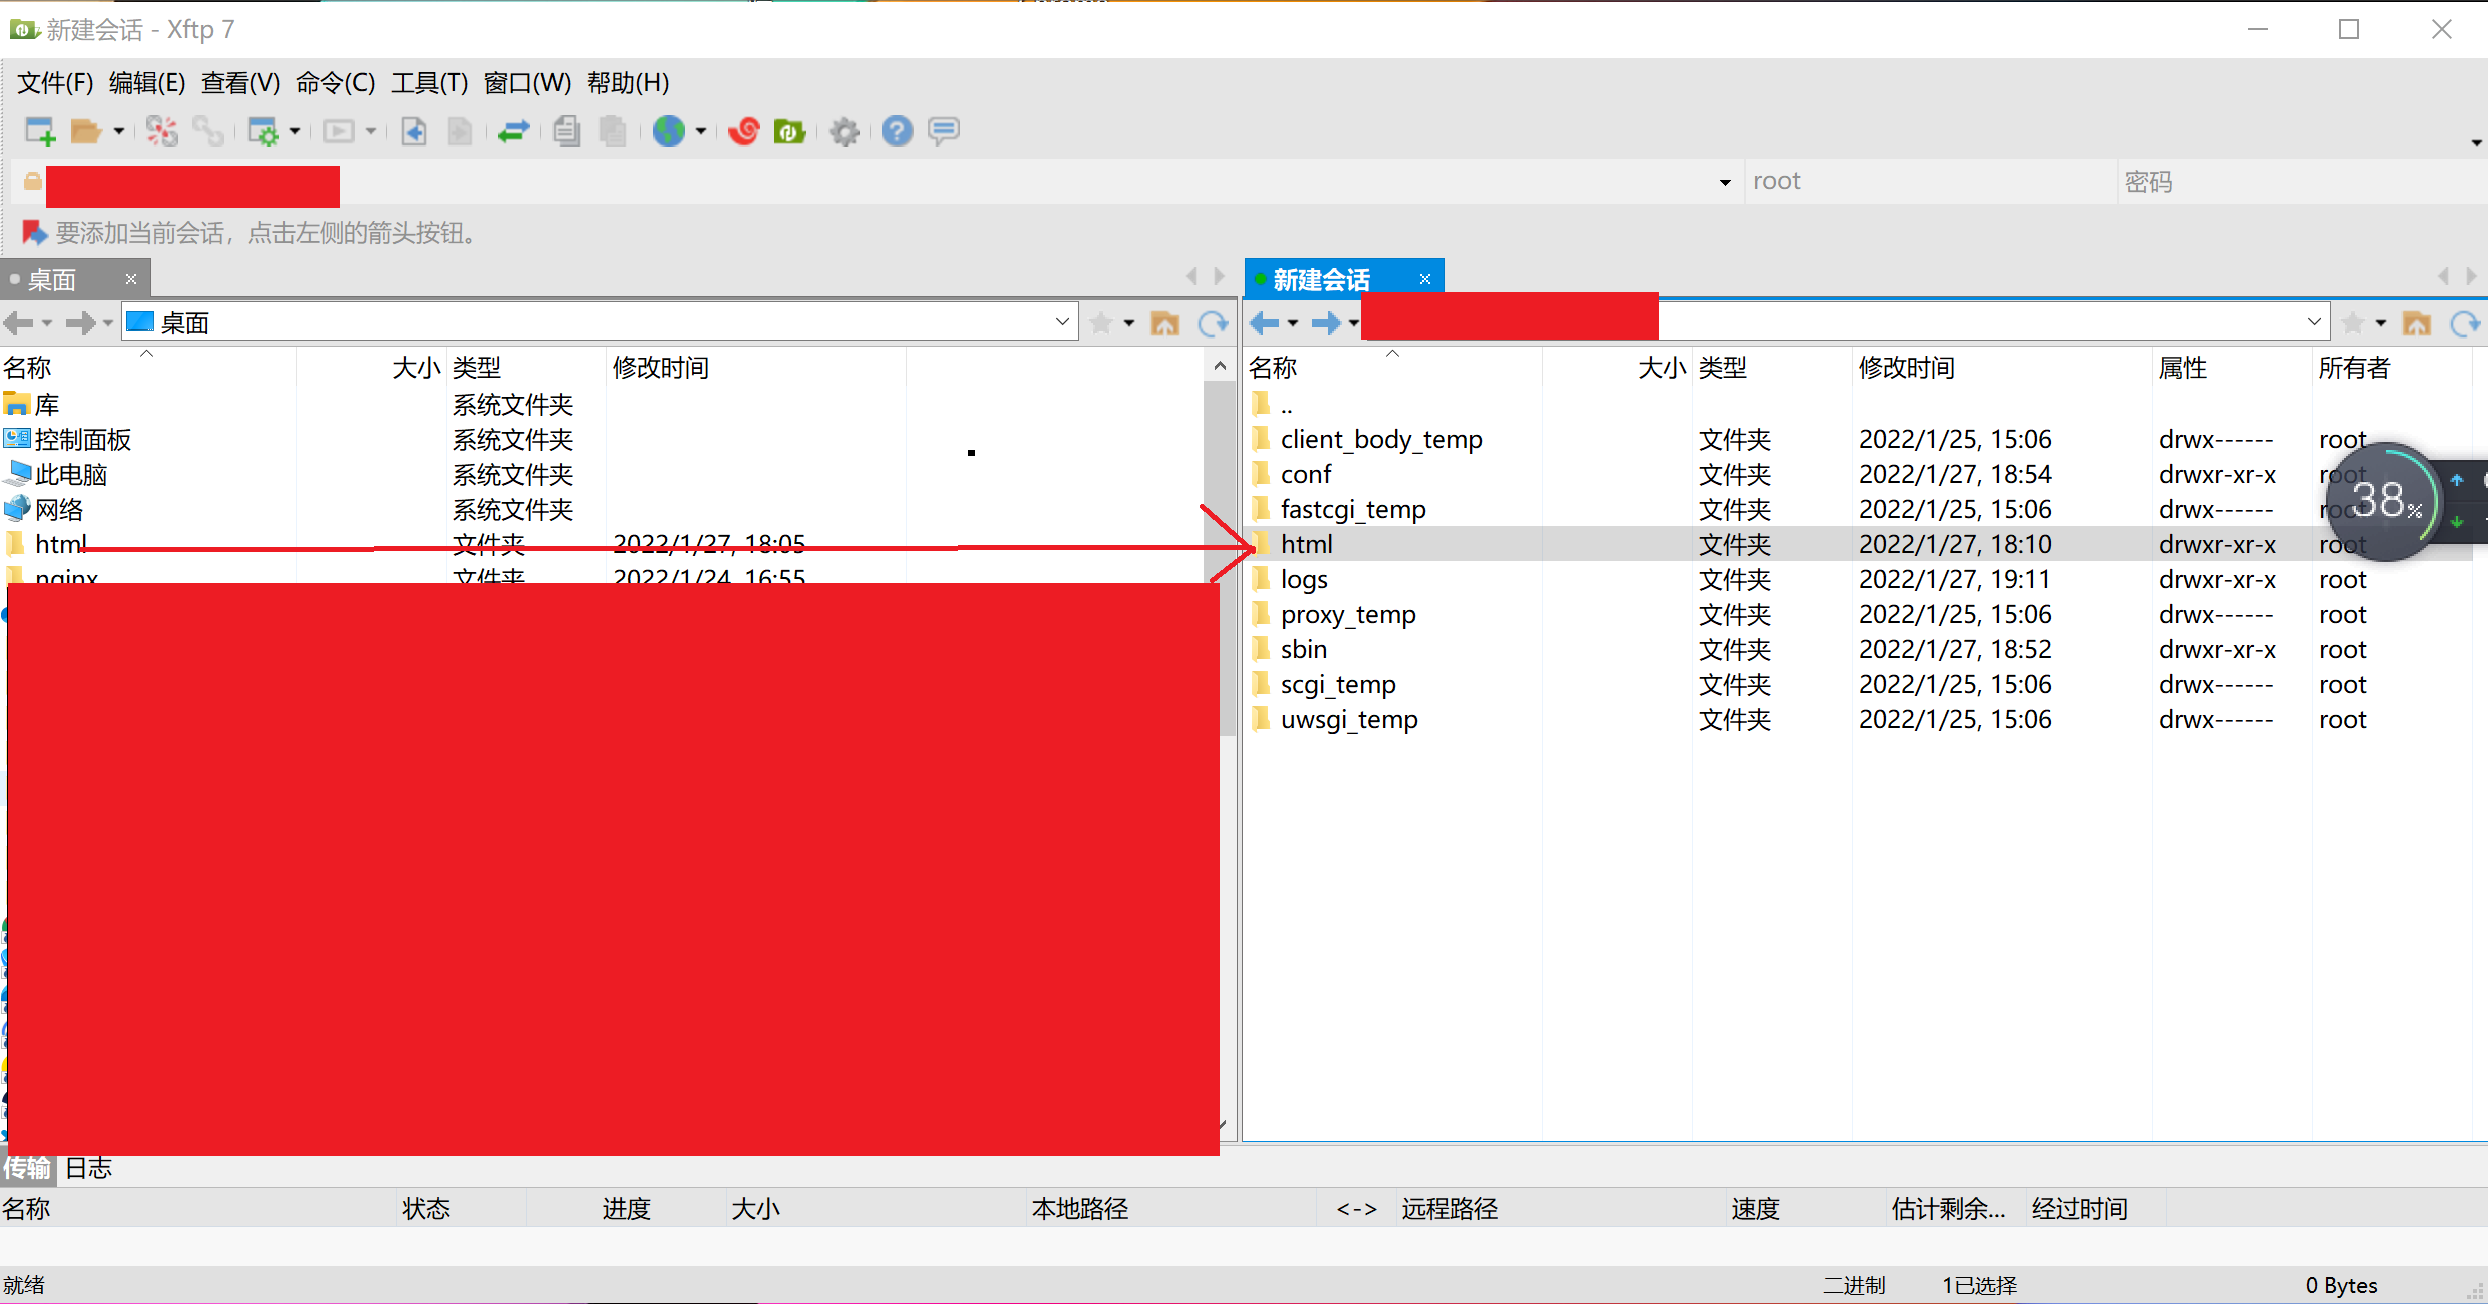
ⅶ. Then we change the folder -- > packed by npm run build to html
----->Replace the html folder under nginx /
In order to facilitate the operation, you can drag and drop files between yourself and the server through xftp
download Click jump If the mobile phone number is filled in correctly and others are filled in blindly, you can download it for free
VIII. Finally, we start nginx
/nginx/sbin/nginx
Stop: / nginx/sbin/nginx -s stop
Restart: / nginx/sbin/nginx -s reload
Finally, you can access the deployed project by accessing the ip address
How to deploy the back-end code will be discussed later