Start Camunda management platform to provide Web management interface. The main functions of the management interface include:
- Cockpit -Manage process and process instances
- Tasklist -Manage specific tasks in the process (navigate to specific tasks, provide form input, repair process instances, etc.)
- Admin -Manage users, organization group s, authorization
And the management platform and subsequent process application need to rely on the same RMDB,
There are two ways to start Camunda management platform:
- Independent startup package - 1 Install Camunda Platform Community Edition, Camunda Modeler
- Embedded in springboot application startup - 2 Springboot integrates Camunda Platform Webapps
Next, we will focus on these two startup methods.
In addition to the management platform, this paper also records the installation of the modeler officially provided by Camunda:
- Modeler -Independently installed modeler ([windows, linux, mac]
1. Install Camunda Platform Community Edition and Camunda Modeler
See: https://docs.camunda.org/get-started/quick-start/install/
Note: jdk1 is required 8+
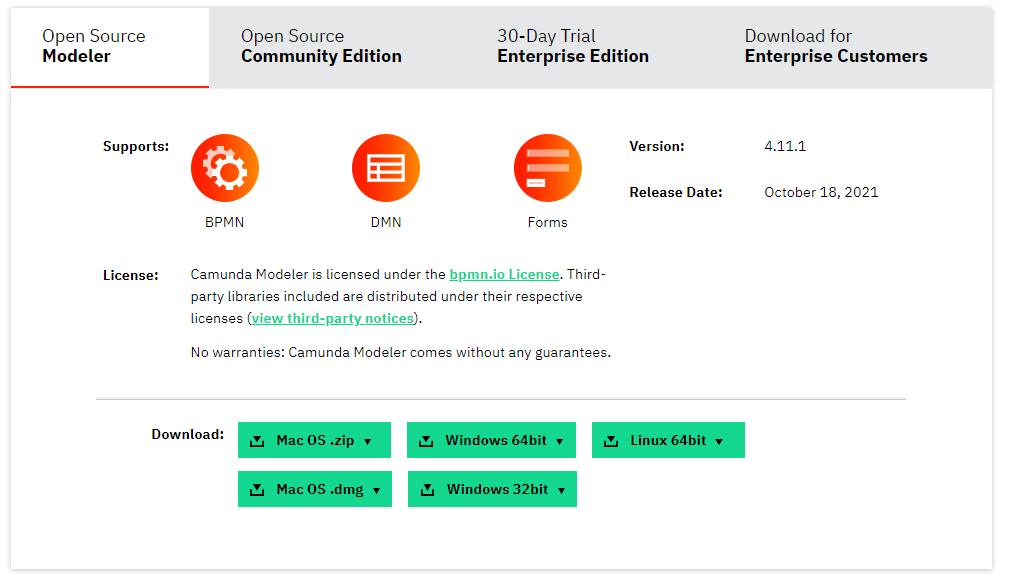
(1) Download Camunda Platform Community Edition, Camunda Modeler
Download Interface: https://camunda.com/download
Note:
The Camunda Platform mentioned here is the previously mentioned collection of Web Applications,
Camunda Modeler corresponds to the Modeler mentioned earlier.
It is preferred to download Camunda Platform Run community version, as shown in the figure below, and select ZIP format,
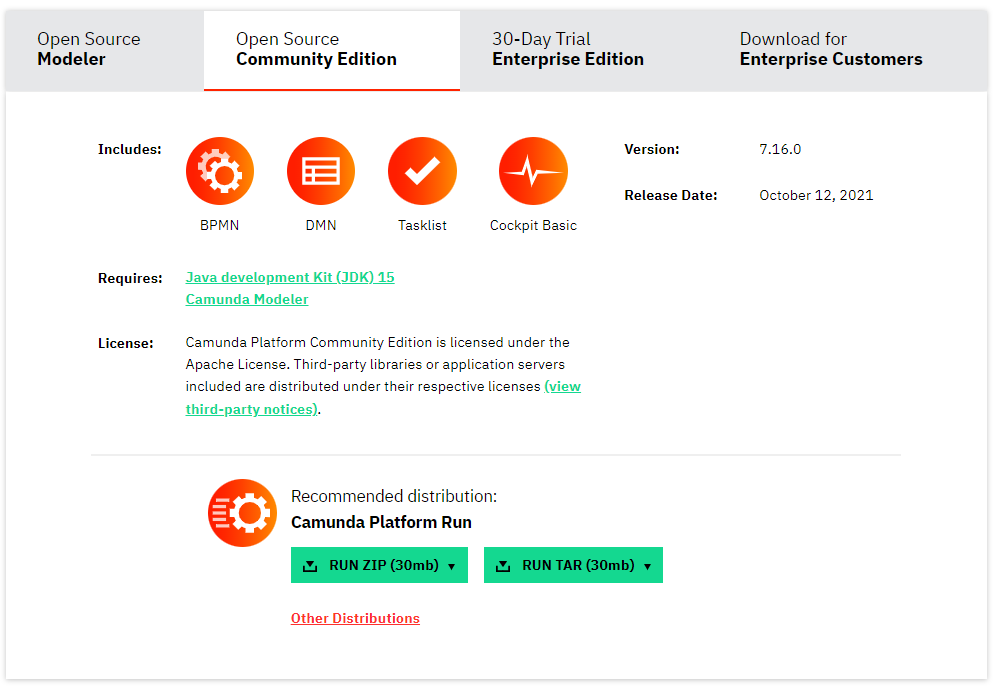
Modeler can be selected according to the corresponding operating system. For example, select the Windows 64bit version under Win10.
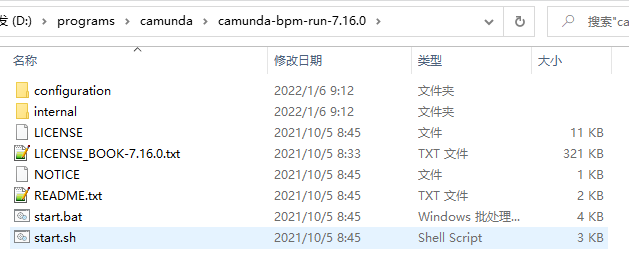
After downloading, the ZIP file is as follows:

(2) Launch Camunda Platform Community Edition
Unzip camunda-bpm-run-7.16.0 zip
Execute the following startup command:
# Unix Environment
start.sh

# Windows Environment
start.bat
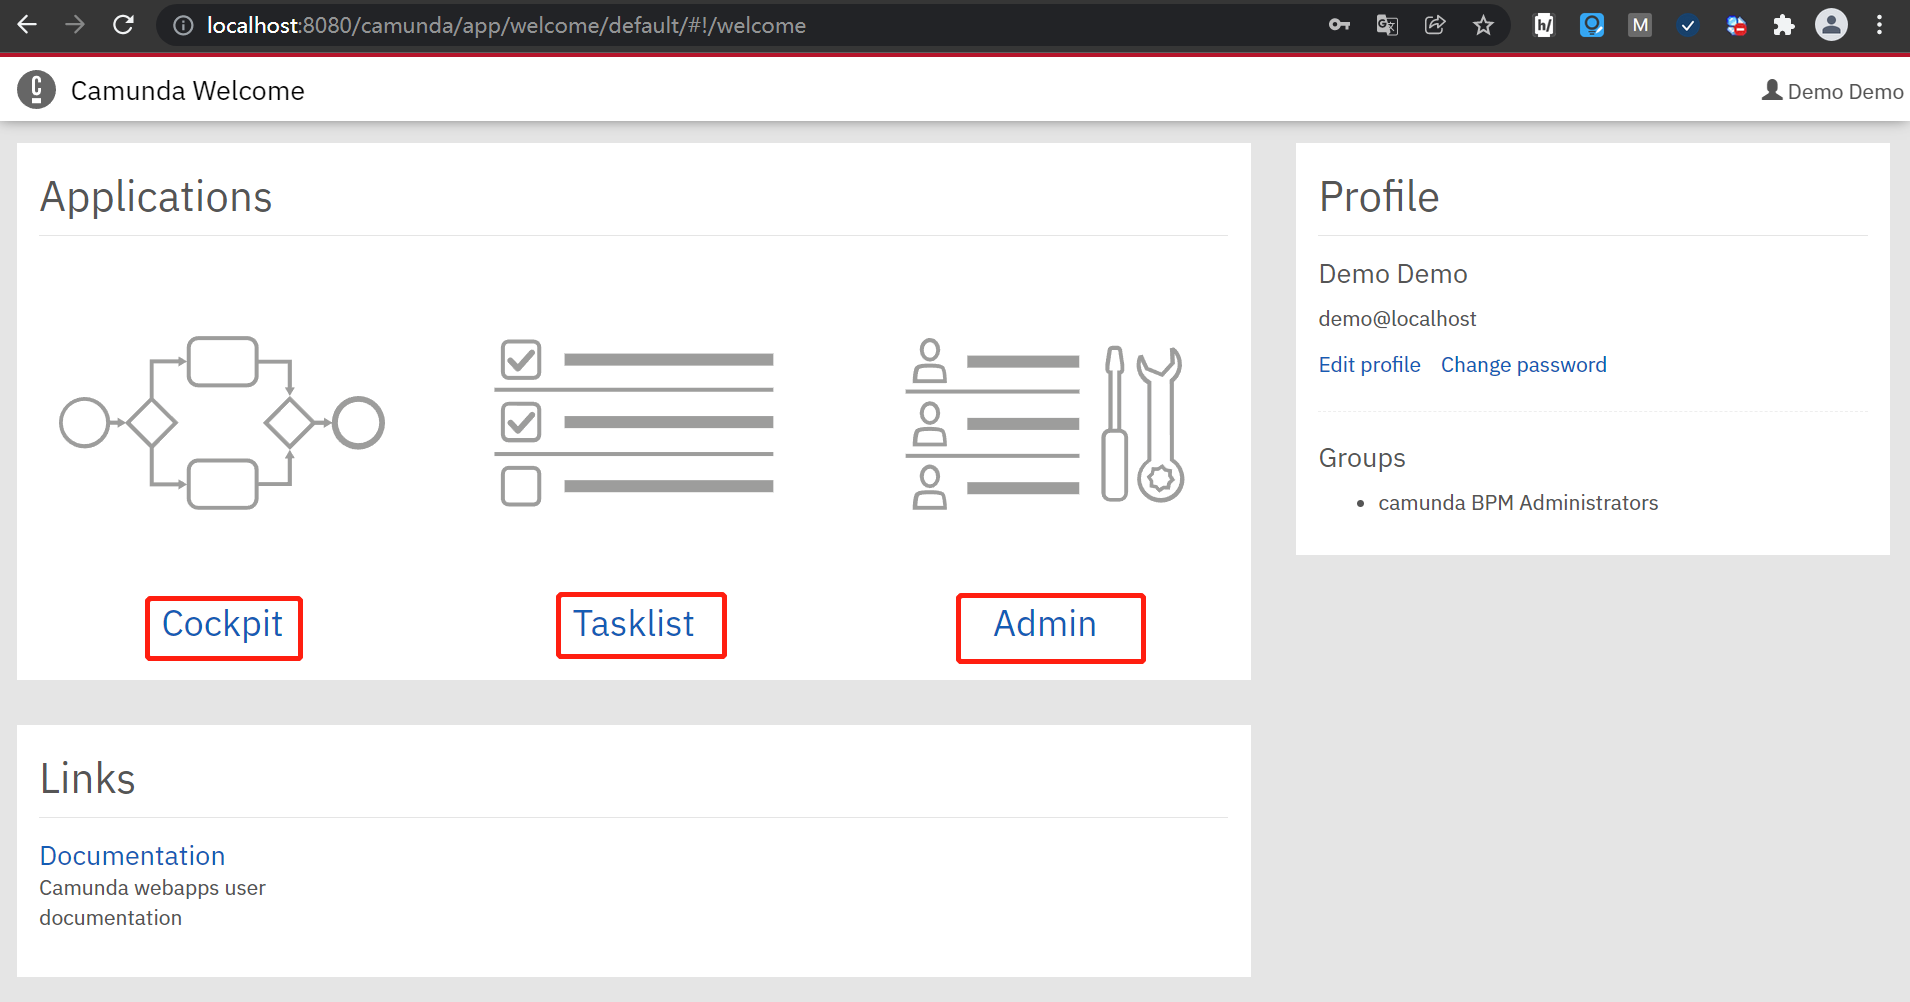
Default access page after successful startup:
http://localhost:8080/
Account / password: demo/demo (can be modified after successful login)
After successful login, you can access the corresponding management interface mentioned earlier:
- Cockpit -Manage process and process instances
- Tasklist -Manage specific tasks in the process (navigate to specific tasks, provide form input, repair process instances, etc.)
- Admin -Manage users, organization group s, authorization
Note:
Since Camunda starts the preset H2 database by default,
If you want to use Mysql database instead, see: Camunda Platform Community Edition - how to configure and use mysql database [reprint]
(3) Start Camunda Modeler
Unzip camunda-modeler-4.11.1-win-x64 zip
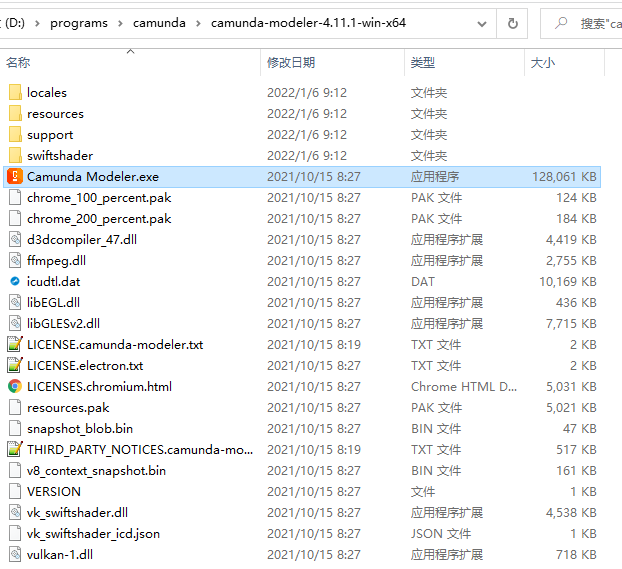
Double click to execute camunda modeler exe.
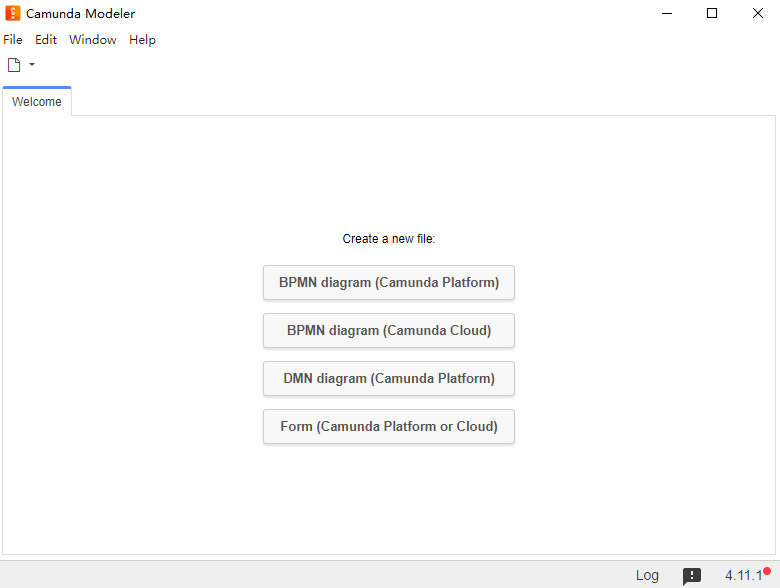
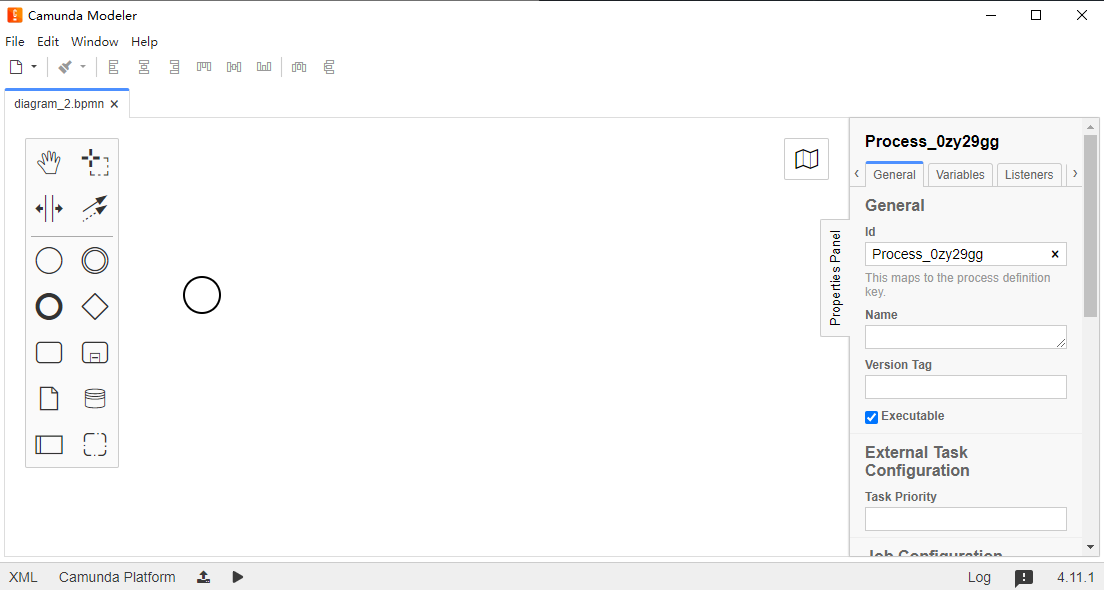
BPMN design interface
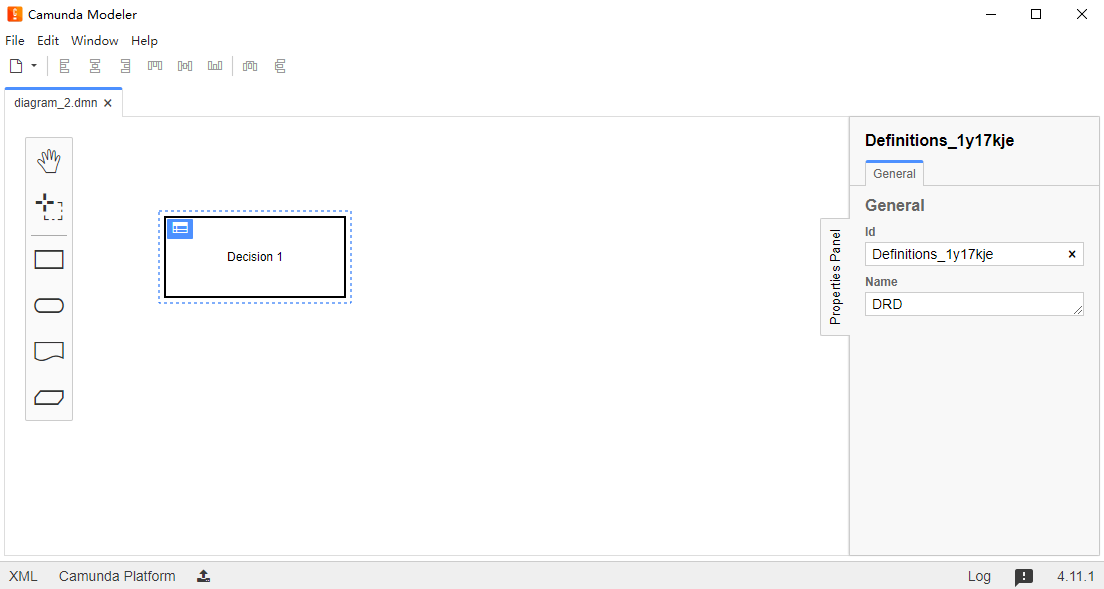
DMN design interface
Form design interface

2. SpringBoot integrates Camunda Platform Webapps
For the detailed process of starting Camunda Platform through SpringBoot integration, see:
Get Started/SpringBoot/Get started with Camunda and the Spring Boot
Official SpringBoot project download link: camunda-get-started-spring-boot-Step-3.zip
Also available through Camunda official Camunda Platform Initializr - https://start.camunda.com/ To create the Camunda startup project.
You can initially create a Camunda Webapp (embedded tomcat container and H2 database) launcher by setting the Camunda Platform Intializr as shown in the figure below.
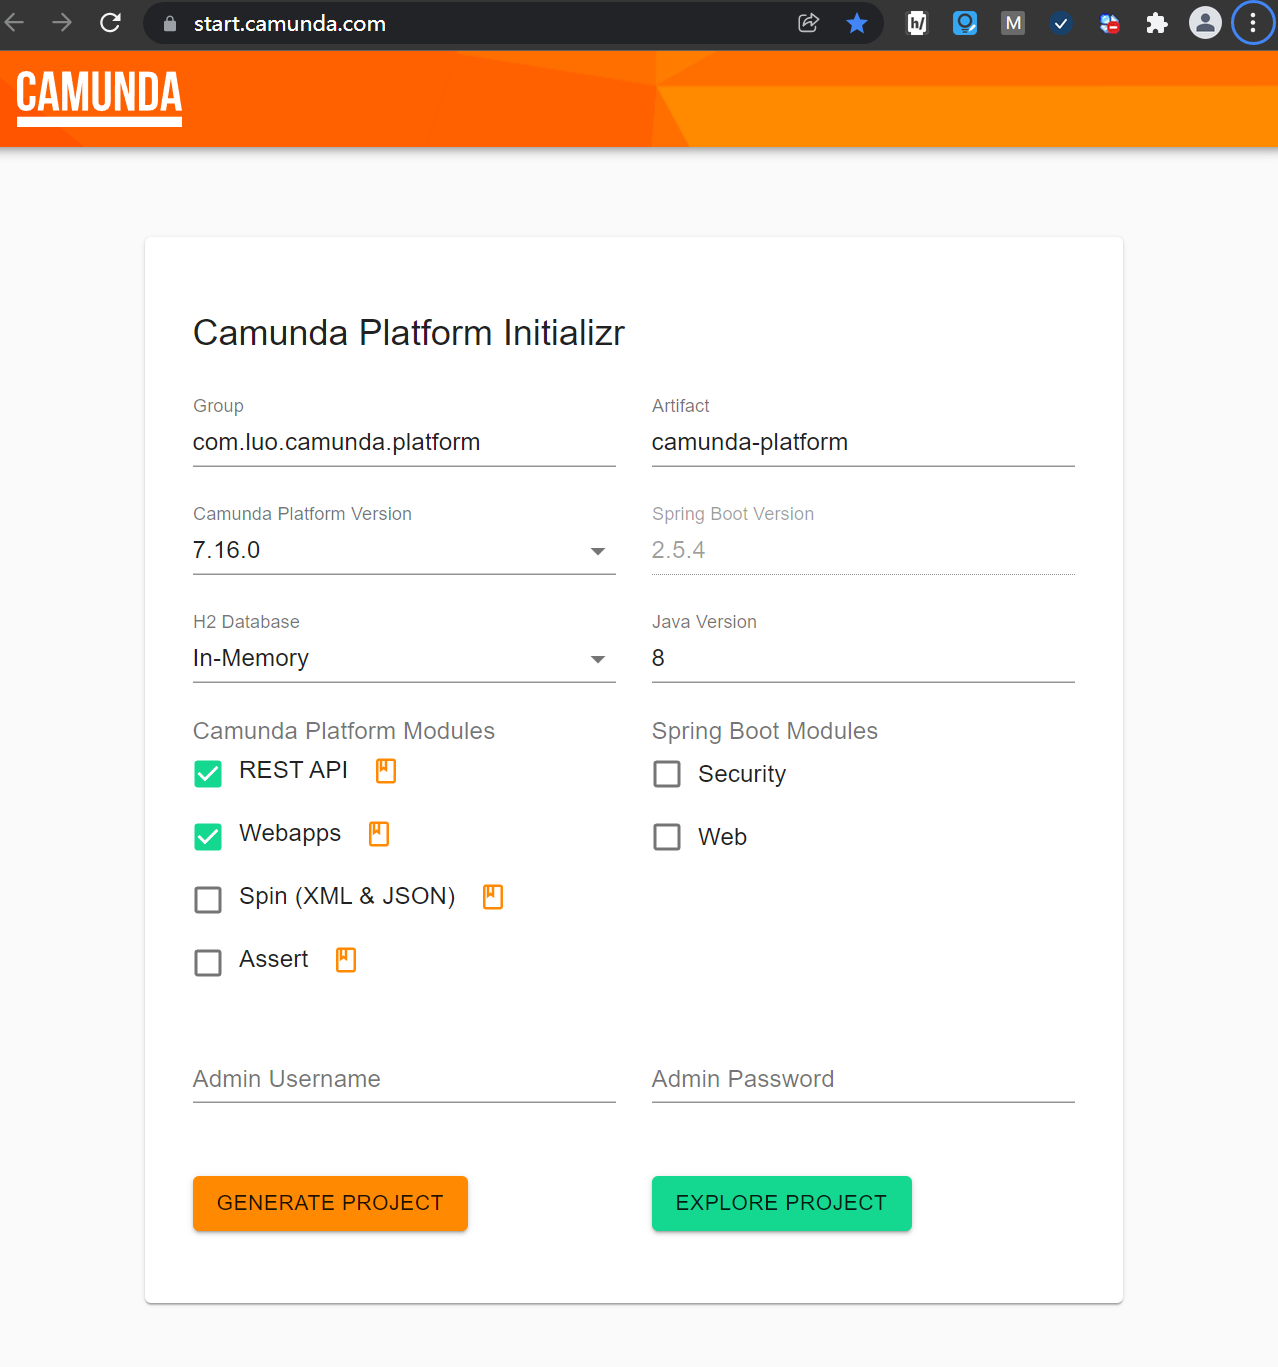
Click GENERATE PROJECT to generate the project as shown below:
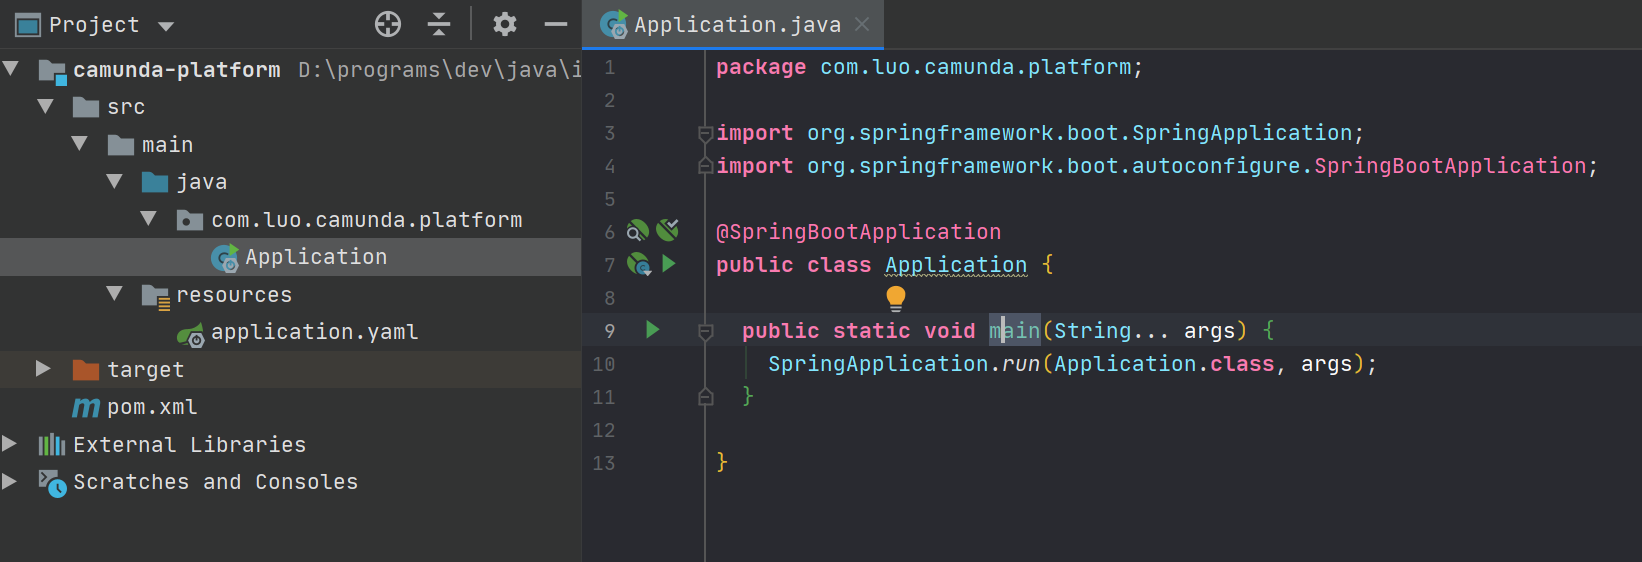
The above projects can be run directly. Camunda platform runs on port 8080 by default and uses built-in H2 memory database,
Directly accessible http://localhost:8080 Access.
2.1 integrating Mysql
reference resources:
https://docs.camunda.org/manual/latest/user-guide/process-engine/database/
https://docs.camunda.org/manual/latest/user-guide/process-engine/database/database-schema/
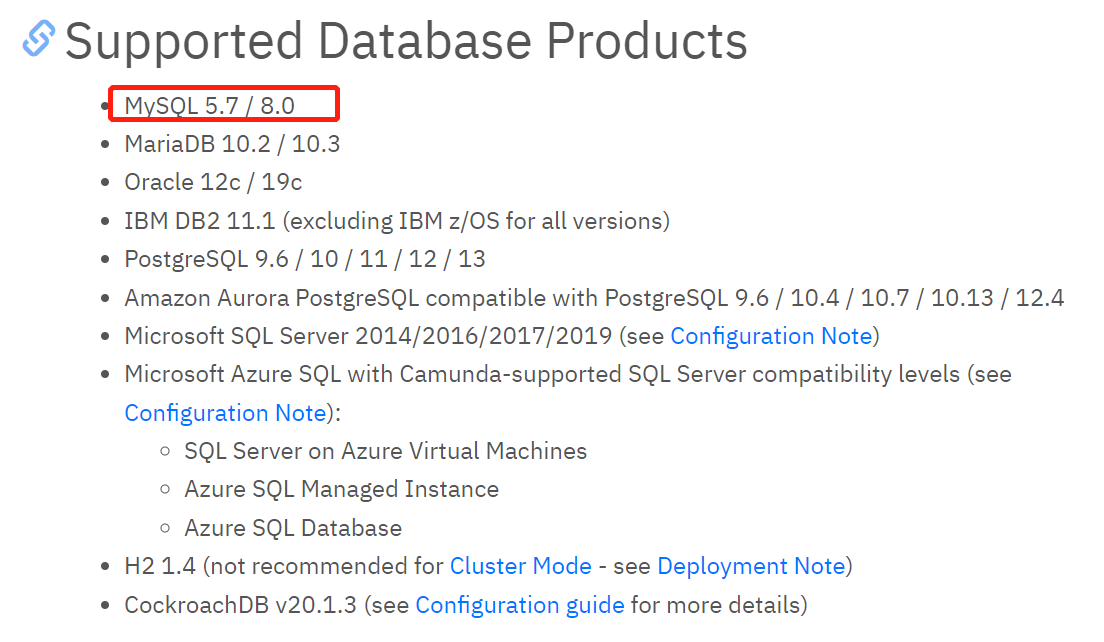
Camunda starts the preset H2 database by default, and can also integrate more Mysql databases we usually use,
at present The official website displays the supported RMDB As shown in the figure below, Mysql supports version 5.7 / 8.0, and Mysql version 5.7.27 is used in the actual test.
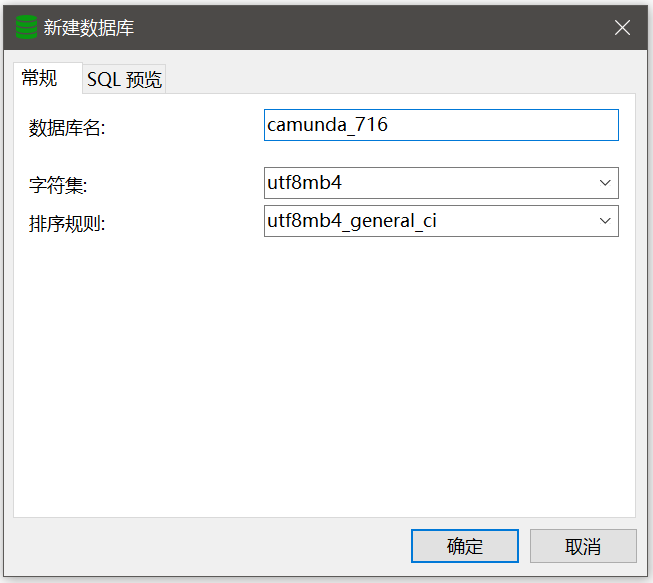
(1) Create a new Msyql database (empty database)
(2) Add maven dependency
<!-- Delete original com.h2database:h2 Dependency, and then add the following dependency -->
<!-- support Spring Jdbc -->
<dependency>
  <groupId>org.springframework.boot</groupId>
  <artifactId>spring-boot-starter-jdbc</artifactId>
</dependency>

<!-- mysql -->
<dependency>
  <groupId>mysql</groupId>
  <artifactId>mysql-connector-java</artifactId>
</dependency>
The complete maven pom file is as follows:
<project xmlns="http://maven.apache.org/POM/4.0.0"
         xmlns:xsi="http://www.w3.org/2001/XMLSchema-instance"
         xsi:schemaLocation="http://maven.apache.org/POM/4.0.0 http://maven.apache.org/xsd/maven-4.0.0.xsd">

  <modelVersion>4.0.0</modelVersion>

  <groupId>com.luo.camunda.platform</groupId>
  <artifactId>camunda-platform</artifactId>
  <version>1.0.0-SNAPSHOT</version>

  <properties>
    <project.build.sourceEncoding>UTF-8</project.build.sourceEncoding>
    <maven.compiler.source>8</maven.compiler.source>
    <maven.compiler.target>8</maven.compiler.target>
  </properties>

  <dependencyManagement>
    <dependencies>
      <dependency>
        <groupId>org.springframework.boot</groupId>
        <artifactId>spring-boot-dependencies</artifactId>
        <version>2.5.4</version>
        <type>pom</type>
        <scope>import</scope>
      </dependency>

      <dependency>
        <groupId>org.camunda.bpm</groupId>
        <artifactId>camunda-bom</artifactId>
        <version>7.16.0</version>
        <scope>import</scope>
        <type>pom</type>
      </dependency>
    </dependencies>
  </dependencyManagement>

  <dependencies>
    <dependency>
      <groupId>org.camunda.bpm.springboot</groupId>
      <artifactId>camunda-bpm-spring-boot-starter-rest</artifactId>
    </dependency>

    <dependency>
      <groupId>org.camunda.bpm.springboot</groupId>
      <artifactId>camunda-bpm-spring-boot-starter-webapp</artifactId>
    </dependency>

<!--    <dependency>-->
<!--      <groupId>com.h2database</groupId>-->
<!--      <artifactId>h2</artifactId>-->
<!--    </dependency>-->

    <!-- support Spring Jdbc -->
    <dependency>
      <groupId>org.springframework.boot</groupId>
      <artifactId>spring-boot-starter-jdbc</artifactId>
    </dependency>

    <!-- mysql -->
    <dependency>
      <groupId>mysql</groupId>
      <artifactId>mysql-connector-java</artifactId>
    </dependency>

  </dependencies>

  <build>
    <plugins>
      <plugin>
        <groupId>org.springframework.boot</groupId>
        <artifactId>spring-boot-maven-plugin</artifactId>
        <version>2.5.4</version>
      </plugin>
    </plugins>
  </build>

</project>
(3) Modify application Yaml configuration (add spring.datasource mysql configuration additionally, which can be adjusted as needed)
# ====================================================
# ================Camunda configuration========================
# ====================================================
# Camunda boot port can be set here
server.port: 8888
camunda.bpm:
  admin-user:
    id: luo
    password: 123456
  filter:
    create: All tasks
  database:
    schema-update: true
# ====================================================
# ================Camunda Mysql database configuration=============
# ====================================================
spring:
  # Database configuration
  datasource:
    type: com.zaxxer.hikari.HikariDataSource
    driverClassName: com.mysql.cj.jdbc.Driver
    url: jdbc:mysql://localhost:3306/camunda_716?useUnicode=true&characterEncoding=utf-8&useSSL=false
    username: root
    password: 123456
    # Hikari connection pool configuration
    hikari:
      # Minimum number of free connections
      minimum-idle: 5
      # Maximum idle connection lifetime, 600000 (10 minutes) by default
      idle-timeout: 180000
      # The maximum number of connections in the connection pool is 10 by default
      maximum-pool-size: 10
      # This property controls the default auto submit behavior of connections returned from the pool. The default value is true
      auto-commit: true
      # Connection pool name
      pool-name: Camunda-HK-CP
      # This attribute controls the longest life cycle of a connection in the pool. A value of 0 indicates an infinite life cycle. The default is 1800000, or 30 minutes
      max-lifetime: 1800000
      # The database connection timeout is 30 seconds by default, i.e. 30000
      connection-timeout: 30000
      connection-test-query: SELECT 1
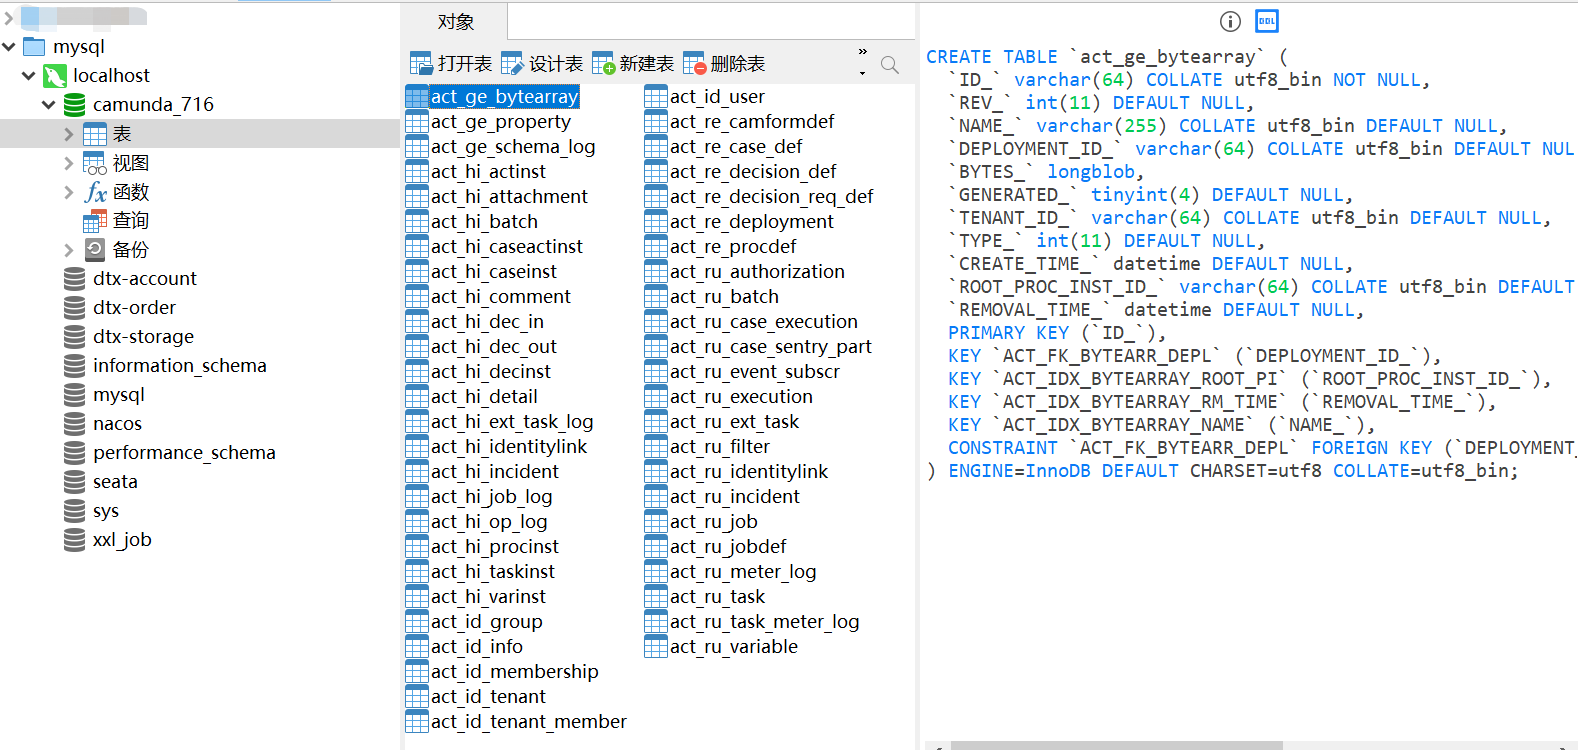
(4) Start Camunda and automatically initialize the Mysql database
Start application Java, you can http://localhost:8888 visit,
At the same time, check the corresponding database to find that the tables related to Camunda have been initialized and created.
reference resources:
https://docs.camunda.org/manual/latest/
https://docs.camunda.org/get-started/
https://docs.camunda.org/manual/latest/introduction/architecture/