Personal data, for learning purposes only
Modification time - January 28, 2022 06:36:26
Course of study: OpenCV4 C + + quick start video 30 lectures
Video Teacher: Jia Zhigang
Case 30: face detection
opencv knowledge points:
- Create and operate integrated artificial neural network - dnn::Net class
- Read the network model stored in TensorFlow framework format - readNetFromTensorflow
- Create 4-D blob from image - blobfromimage
- Set new input value for network - Net::setInput
- Run forward pass to calculate the output of the specified layer - Net::forward
Problems solved in this lesson:
- How to run the face inspection model provided by opencv4
1.OpenCV 4
The content of this lesson is mainly based on opencv4. Let's start with opencv4.
OpenCV4. Since the release of X, it relies on good interface code, system level optimization, more general and easy to learn function calls, integrates OpenVINO, tensorflow, caffe and other models, accelerates inference, and realizes the complete expansion of the roadmap from traditional image processing to visual processing based on deep learning.
OpenCV4 is undoubtedly an important milestone in the development history of OpenCV.
Official slogan OpenCV4 is more than OpenCV
It also fully shows that OpenCV4 is a new generation of computer vision development framework integrating deep learning!
This lesson will introduce a model for face detection that comes with opencv4
2. Download face detection model and
For convenience, we don't use video, so we just download the course source code zip
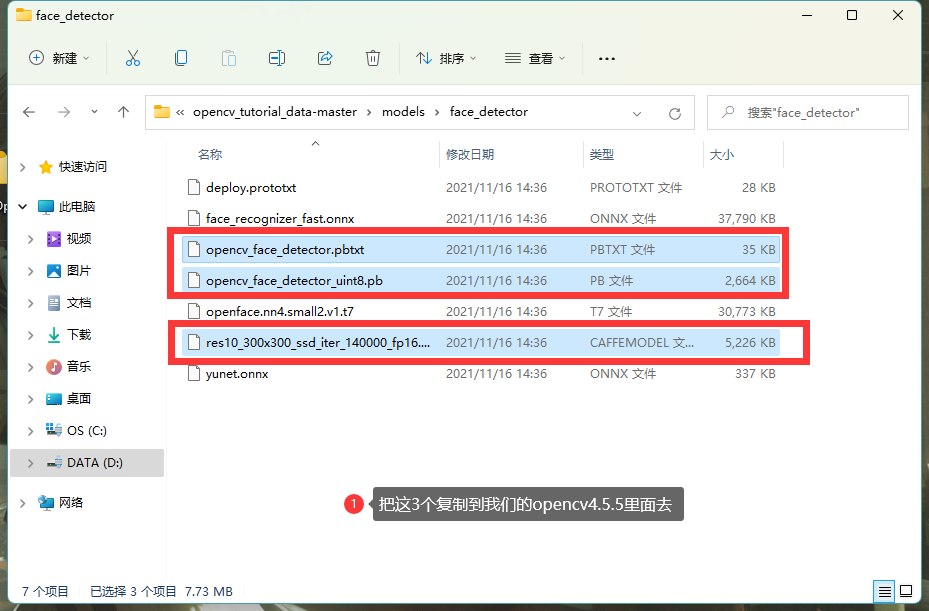
Download address: OpenCV school / OpenCV course materials
After downloading, go to the directory in the figure: opencv_tutorial_data-master → models → face_detector
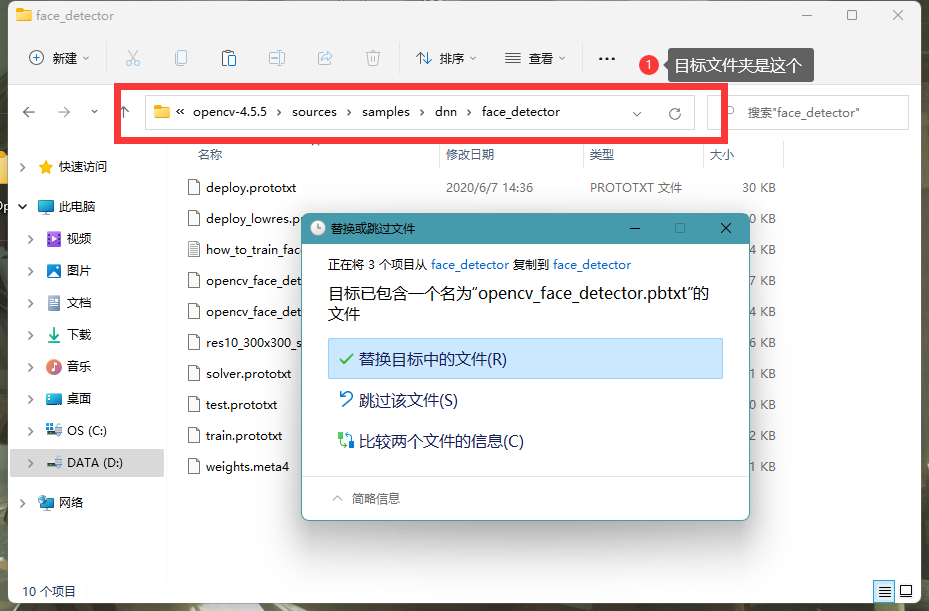
Target folder: install sources → samples → dnn → face in opencv directory_ detector
3. Face detection model demonstration
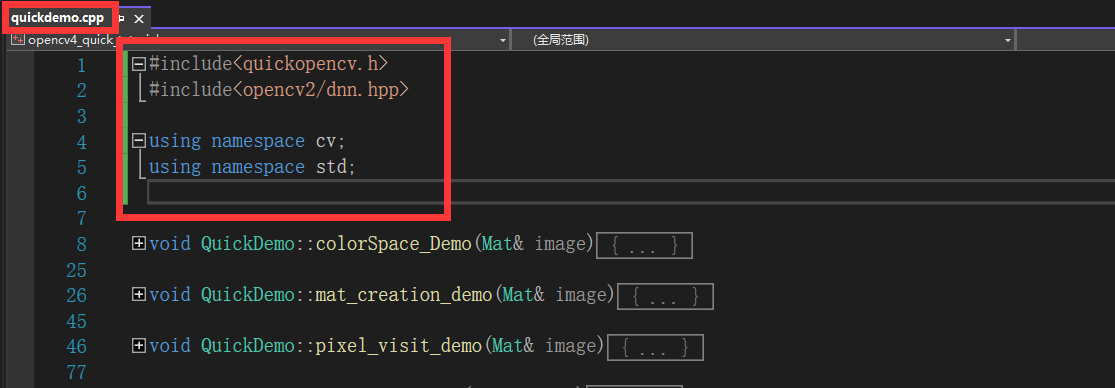
Before we start, we can fill in the header file and namespace
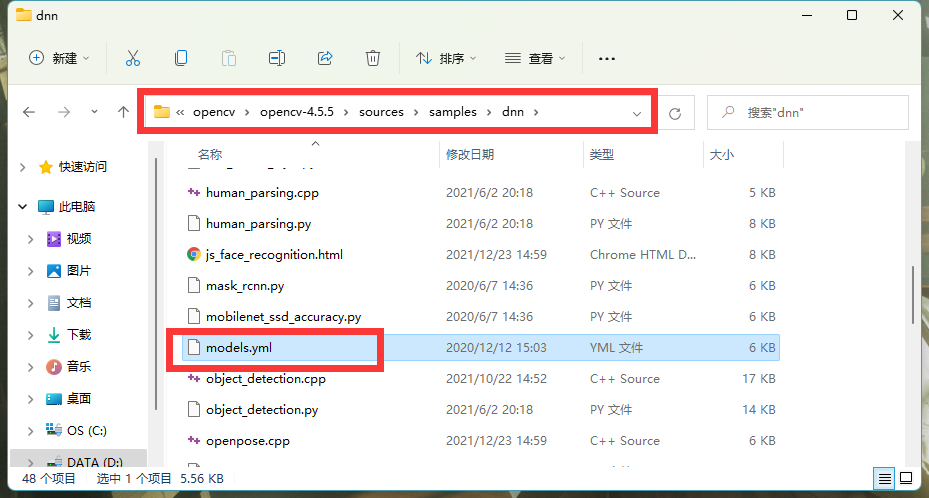
It is mentioned here that when we import a model using Net, various parameters about the model can be viewed from this document
Before running this face detection model, we need to understand several API s
- dnn::Net class
- readNetFromTensorflow
- blobFromImage
- Net::setInput method
- Net::forward method
- Mat::ptr
The details are as follows
dnn::Net class
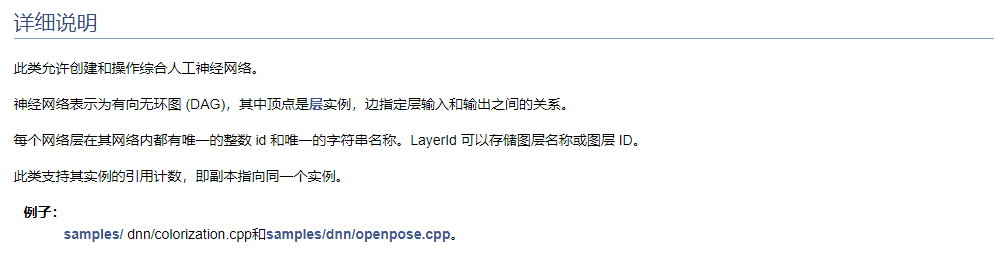
dnn::Net class
	Creating and operating integrated artificial neural networks

		The neural network is represented as a directed acyclic graph (DAG),Where vertices are layer instances and edges specify the relationship between layer inputs and outputs.

		Each network layer has a unique integer within its network id And a unique string name. LayerId You can store layer names or layers ID.

		This class supports the reference count of its instance, that is, the copy points to the same instance.
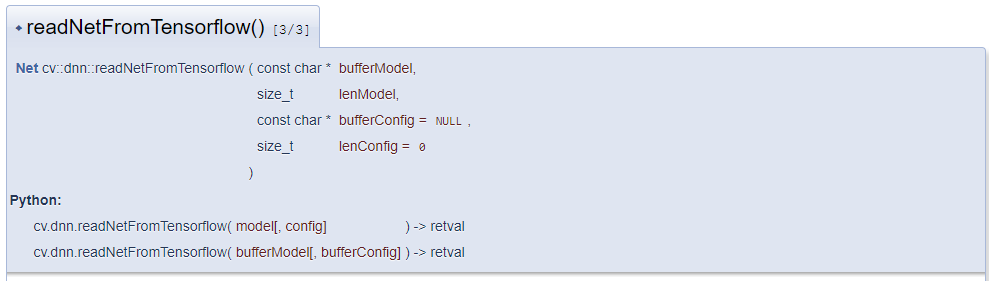
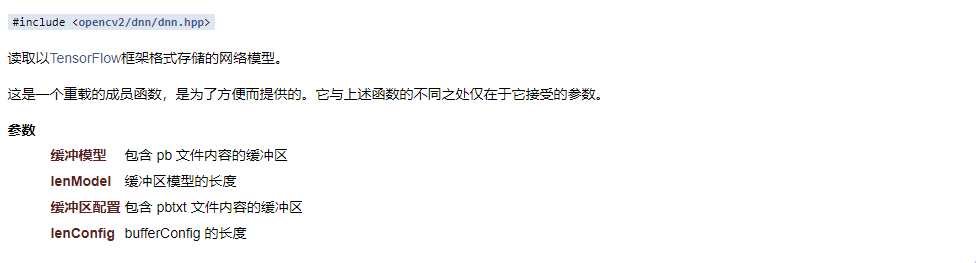
readNetFromTensorflow
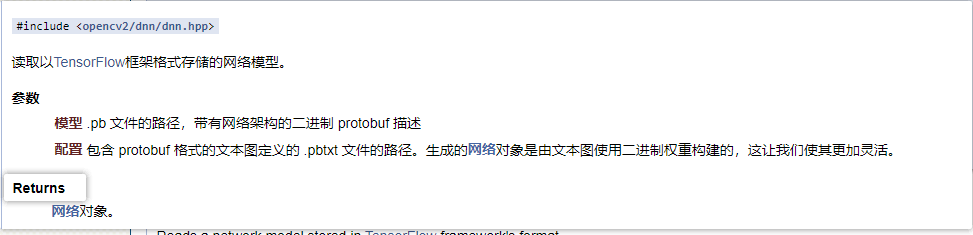
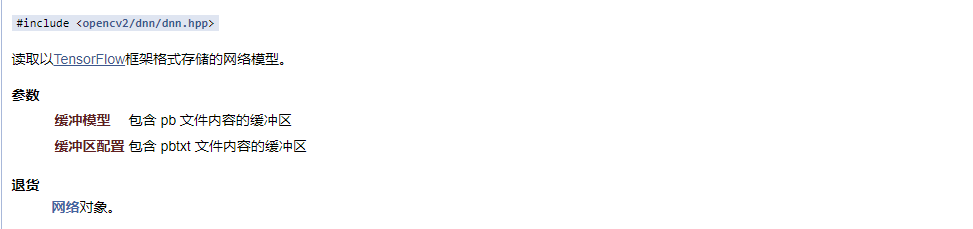
readNetFromTensorflow
	Read to TensorFlow Network model of frame format storage
		2 parameters in total
			First parameter pb File path
			Second parameter pbtxt File path
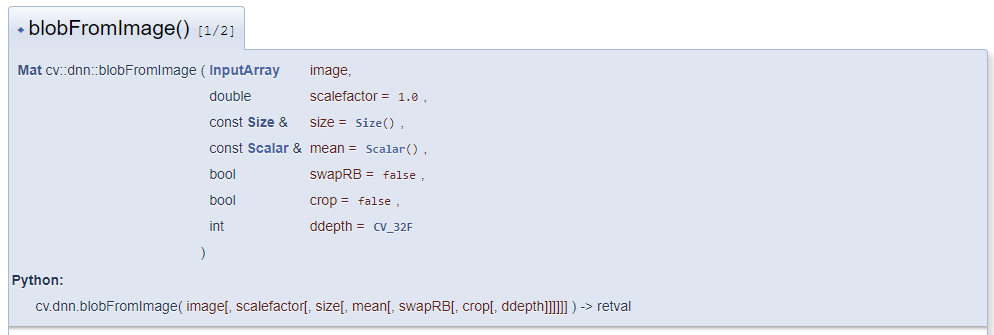
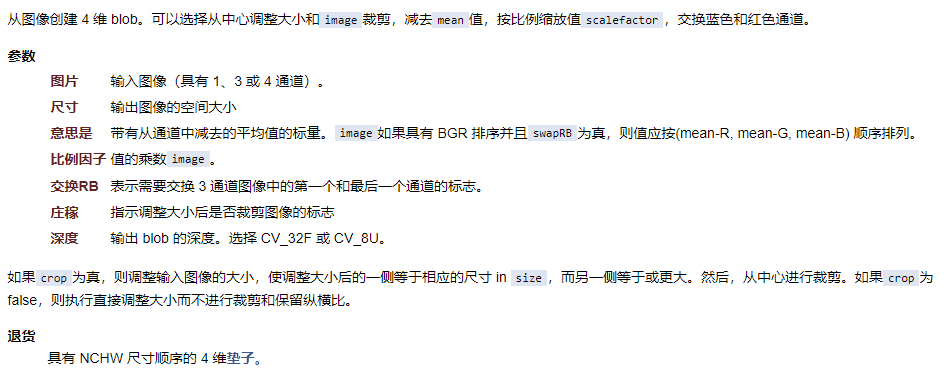
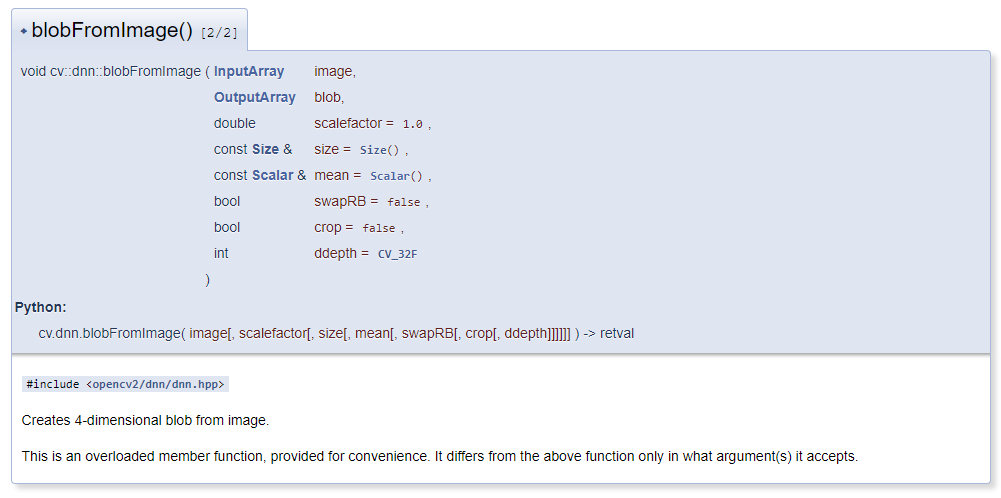
blobFromImage
blobFromImage
	Create 4D from image blob(Spot, deep learning (relevant knowledge)
		7 parameters in total
			1st parameter input
			Second parameter image space size (default 1).0,That is, the image remains at 0~255 Color space)
			3rd parameter size
			Mean value of the fourth parameter
			Whether the fifth parameter is exchanged RB Channel (default) false)
			Parameter 6: whether to cut the image after resizing (default) false)
			Output of the 7th parameter blob Depth (default) CV_32F)

	returns
		according to NCHW(Quantity, channel, height, width)4 dimensions of order Mat,blob This is the four-dimensional Mat
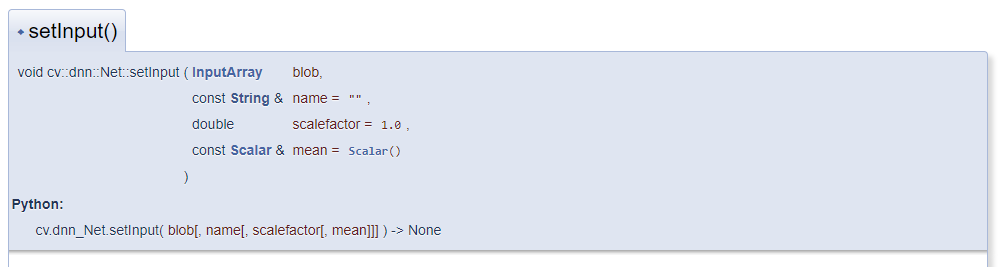
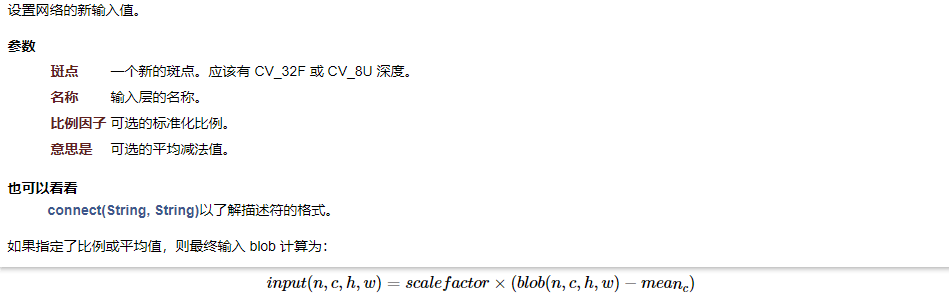
Net::setInput method
setInput
	Set the new input value for the network
		There are 4 parameters in total
			1st parameter input spot
			Enter the layer name for the second parameter (empty by default)
			The third parameter is the optional standardized ratio column
			The fourth parameter is an optional average
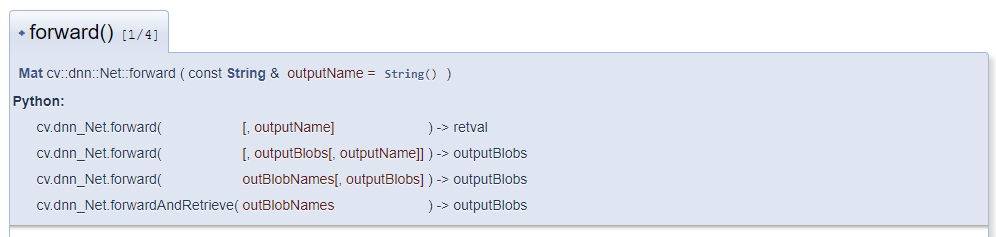
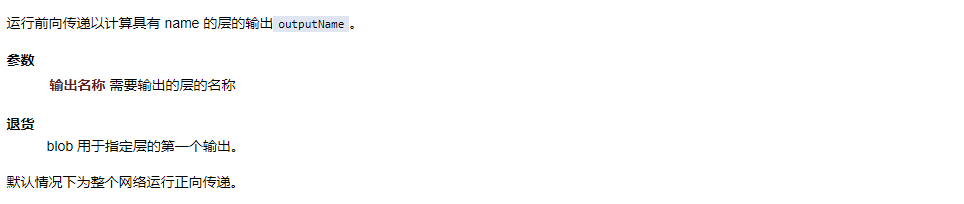
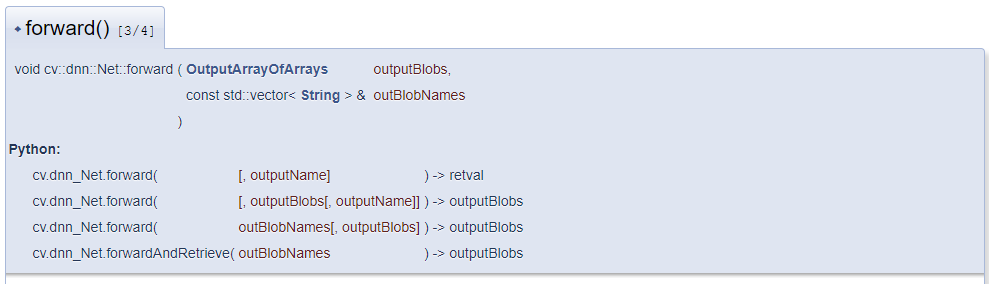
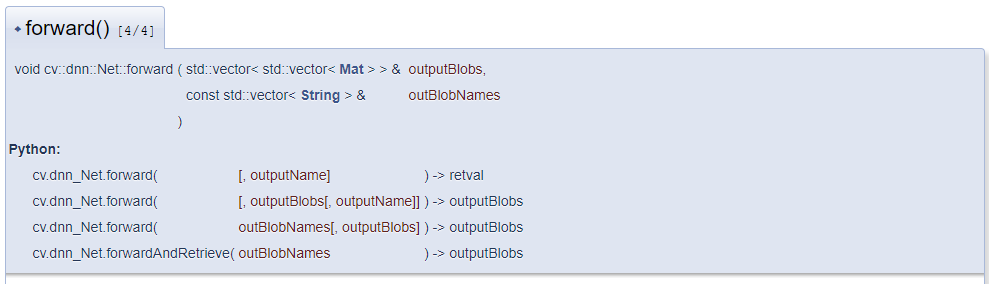
Net::forward method
forward
	Run forward pass to calculate the name outputName The output of the layer.
		1 parameter in total
			The first parameter is the name of the layer to be output
	returns
		The return also has four values
			The first dimension indicates how many images there are, and each image has a number. imageId
			Batch of the second dimension image. batchId
			How many boxes (rows) does the third dimension have
			The fourth dimension has 7 values (columns) for each box
							The first two values indicate the type + index
							Score of the third value (the higher the score, the more likely it is to be a face)
							The last four values are the coordinates of the upper left and lower right corners of the rectangle
Mat::ptr
Two dimensional single channel elements can be used MAT::at(i,j),i It's the line number, j Is the column number

But for multichannel non uchar For type matrix, the above method is not applicable
 Can use Mat::ptr()To obtain a pointer to a line element, and calculate the pointer of the corresponding point through the number of lines and channels
The demonstration is as follows
//Function definition
void face_detection_demo();

//Function implementation
void QuickDemo::face_detection_demo() {

	//Folder path
	string root_dir = "D:/meta/opencv/opencv-4.5.5/sources/samples/dnn/face_detector/";

	//Read the network model stored in TensorFlow framework format
	dnn::Net net = dnn::readNetFromTensorflow(root_dir + "opencv_face_detector_uint8.pb", root_dir + "opencv_face_detector.pbtxt");

	//Face detection for camera
	VideoCapture cap(0);
	Mat frame;
	while (true) {

		cap.read(frame);//Frame is the output, and read is the incoming frame of the captured video frame by frame

		if (frame.empty()) {
			break;
		}

		flip(frame, frame, 1);//Flip left and right

		//Prepare the data needed for the deep learning model (blob speckle)
		Mat blob = dnn::blobFromImage(frame, 1.0, Size(300, 300), Scalar(104, 177, 123), false, false);
		net.setInput(blob);

		//Complete reasoning
		Mat probs = net.forward();

		Mat detectionMat(probs.size[2], probs.size[3], CV_32F, probs.ptr<float>());

		//Analytical results
		for (int i = 0; i < detectionMat.rows; i++) {

			float confidence = detectionMat.at<float>(i, 2);//Third value score

			if (confidence > 0.5) {

				//Because the predicted value is in the range of [0,1], we also need to * the width and length of the original image
				int x1 = static_cast<int>(detectionMat.at<float>(i, 3) * frame.cols);
				int y1 = static_cast<int>(detectionMat.at<float>(i, 4) * frame.rows);
				int x2 = static_cast<int>(detectionMat.at<float>(i, 5) * frame.cols);
				int y2 = static_cast<int>(detectionMat.at<float>(i, 6) * frame.rows);

				Rect rect(x1, y1, x2 - x1, y2 - y1);
				rectangle(frame, rect, Scalar(0, 0, 255), 2, 8, 0);

			}
		}

		imshow("Face detection",frame);

		int c = waitKey(1);
		if (c == 27) {
			break;
		}
	}
	cap.release();

}
API used in this lesson
1.dnn::Net
2.dnn::readNetFromTensorflow


3.dnn::blobFromImage
4.Net::setInput
5.Net::forward