This problem occurred the last time pyminitouch was used:
AssertionError: minitouch did not work.
After that, I began to work hard to solve this problem and searched the Internet for the use of minitouch. In the last article, I have pushed minitouch to my mobile phone.
Articles on minitouch tools: minitouch tool of STF framework · tester home , it has been introduced in great detail.
-
Minitouch: provide a socket interface for multi touch and gesture on Android devices. It can support devices with API more than 10 and does not need to pass through root, but different minitouch needs to be used according to the ABI of different CPUs.
use:
-
Determine ABI of device CPU:
adb shell getprop ro.product.cpu.abi armeabi-v7a

- ADB pushes the corresponding minitouch file to the device
adb push libs/$ABI/minitouch /data/local/tmp/
libs/$ABI is the path of minitouch in your computer, and mine is C:\Users\auus\minitouch

-
In the past, push ing files needed permission when they needed to be executed. In the last article, I failed. I found that it was because I was careless and didn't give permission to them.
You need to use the adb shell to grant permissions. Then this problem occurred:
/system/bin/sh: su: inaccessible or not found
After querying relevant data, if the prefix contains the dollar sign $, it means that it is not running as root when entering the adb shell. If the prefix is #, it runs as root.
The problem now is that I want to enter su to switch back to root, but I find that I can't execute T, and shed tears of no technology.
In fact, it's not that the su command can't be found, but because you don't have root permission, you can't execute the su command. This is simply a dead end.
Solution for virtual machine: open Android Studio and change the default Google play to Google APIS.
The solution to the real machine: you need to open the root of your mobile phone. I use Xiaomi's mobile phone. To open the root permission, you need to open the developer option first, and then enter the Bootloader mode.
My mobile phone is the stable version of MIUI13, so it's a bit of a fuss to change to the development version. Moreover, minitouch itself does not need root permission. It needs root permission to execute things in the file. Then I took the following method: open the pre installed Android Studio
Refer to the following for specific steps: https://github.com/DeviceFarmer/STFService.apk#building
-
Install stfservice apk
git clone https://github.com/DeviceFarmer/STFService.apk.git

- Follow the instructions
gradlew assembleDebug
This error will appear:

Solution:
Find build. In your project Gradle, open and add in the first line:
task assemble
{

}
As shown in the figure:
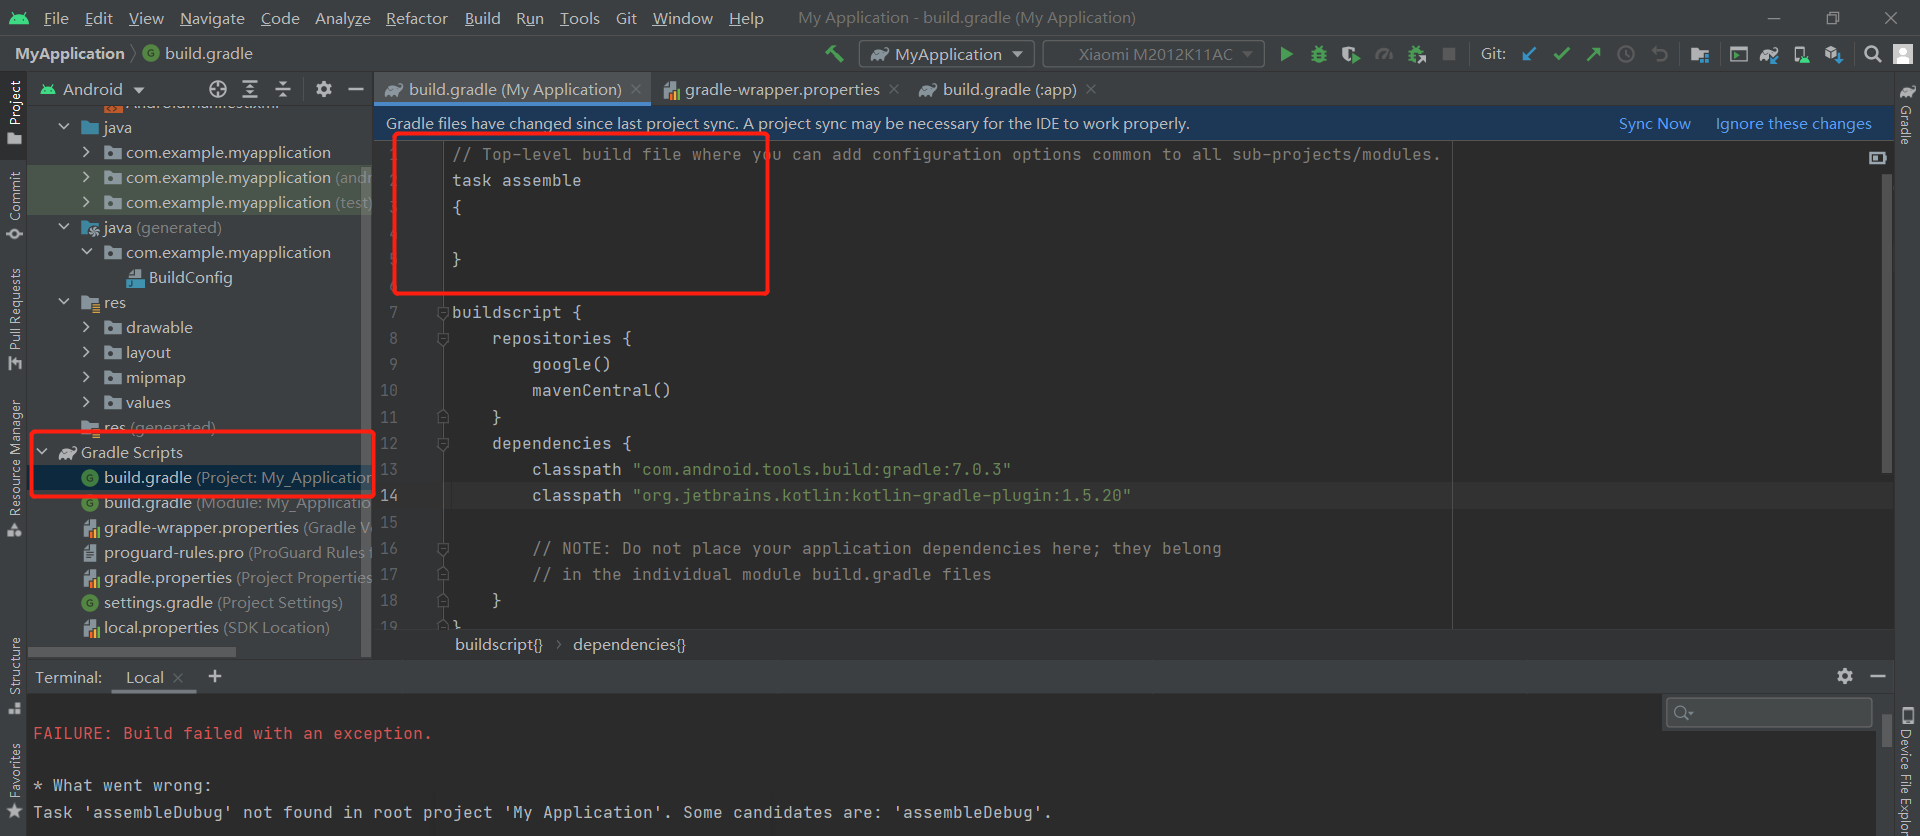
Then run gradlew assemblydebug once to succeed:

- Continue running
gradlew installDebug
Confirm the download on your phone:
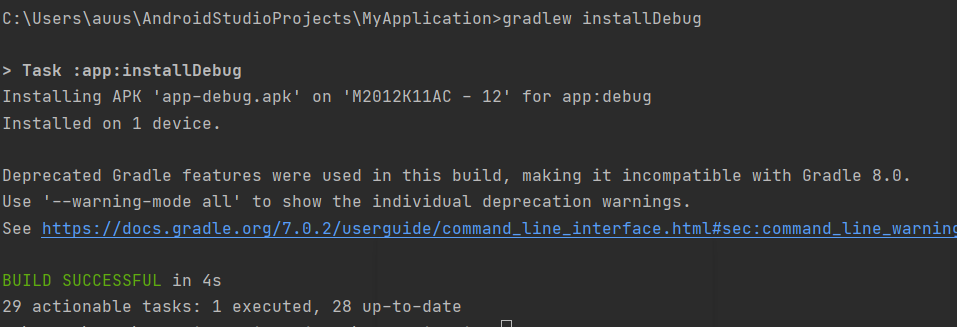
Now app debug Apk installed successfully.
-
Start two service s:
adb shell am startservice --user 0 -a jp.co.cyberagent.stf.ACTION_START -n jp.co.cyberagent.stf/.Service
-
New problems have emerged:
Starting service: Intent { act=jp.co.cyberagent.stf.ACTION_START cmp=jp.co.cyberagent.stf/.Service } Error: Not found; no service started.
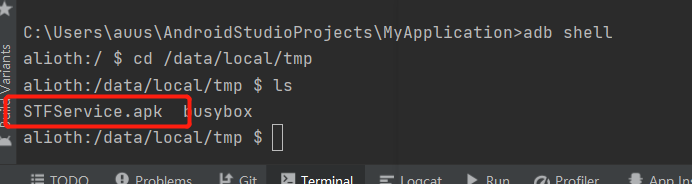
Because I don't think stfservice is on my phone Apk, so I use adb push to download stfservice Apk to mobile phone:
adb push C:\Users\auus\AndroidStudioProjects\MyApplication\STFService.apk /data/local/tmp
Use the command to check whether the load is successful:
adb shell
cd /data/local/tmp
ls
In fact, it's better to use root instead of root??
The above method to solve the problem is limited to root permission, and the STF minitouch framework is used. It's really too difficult. Start over. I've learned a lot in this process. This is suffering from poor learning skills!!
fine
restart:
-
pyminitouch is limited to phones with Android version less than 11. Now the basic version of the real machine is more than 11. Now we can only get an Android virtual machine to use.
-
Creating virtual machines using Android Studio
-
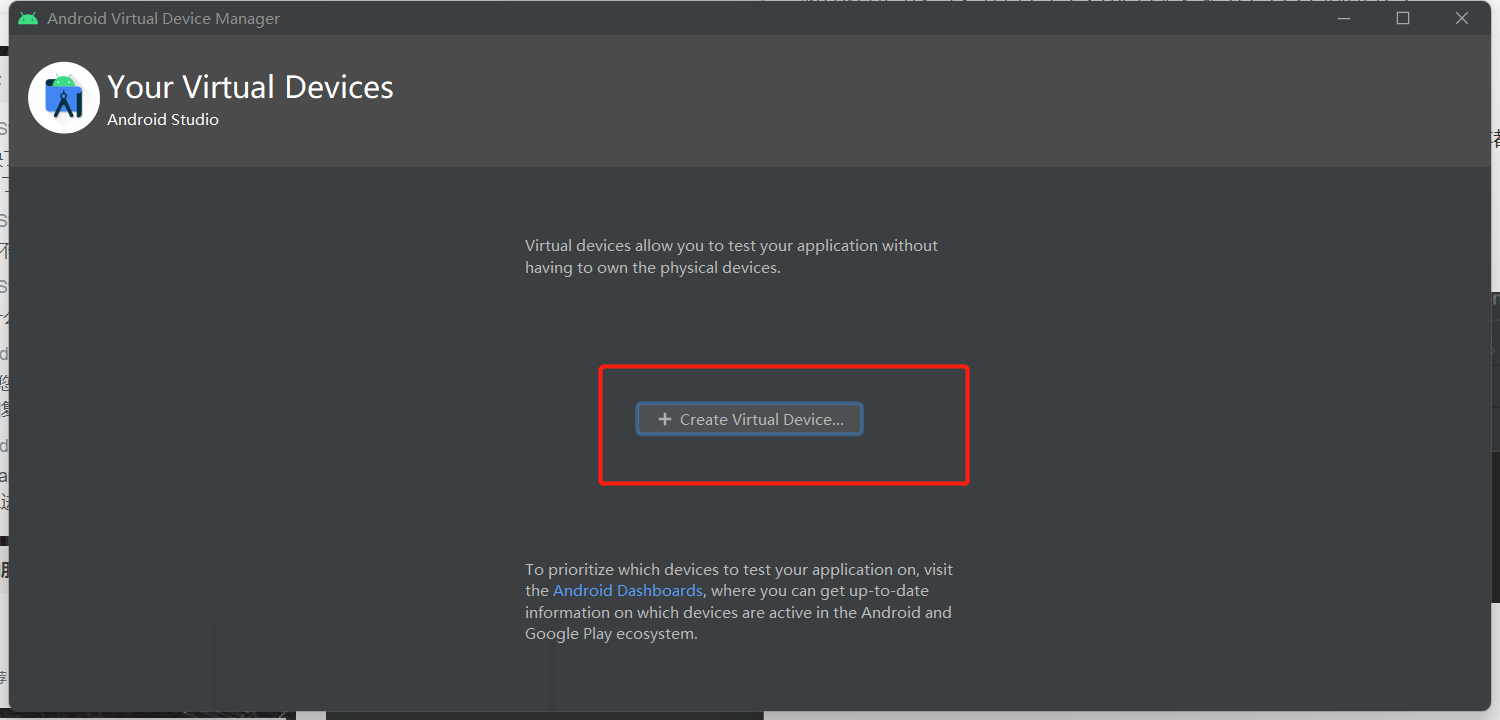
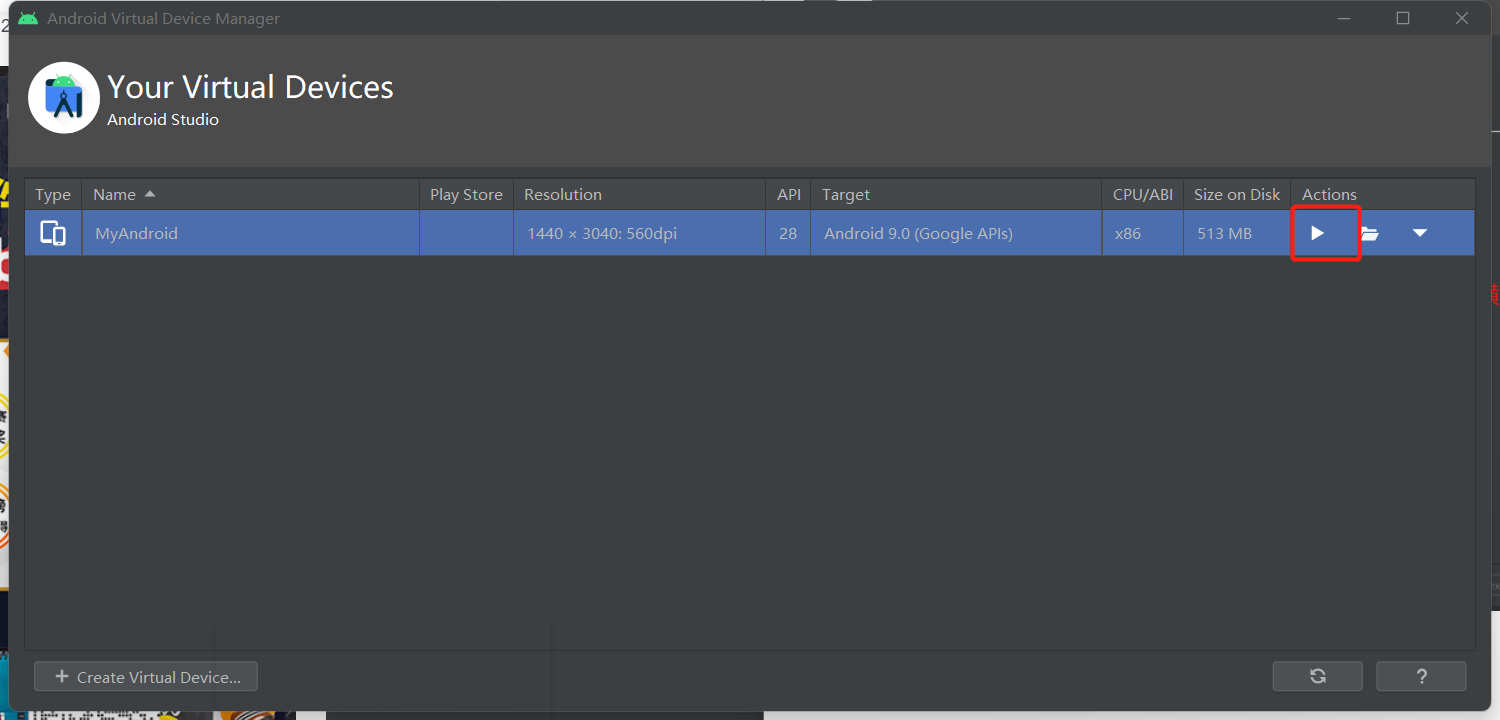
Open AVD Mangement
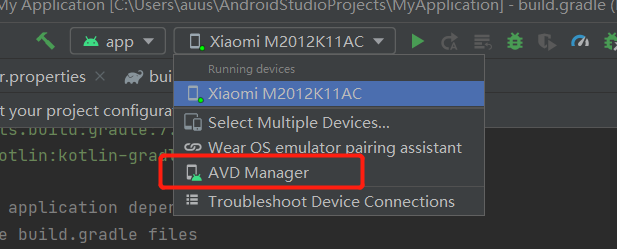
- Create Virtual Device
-
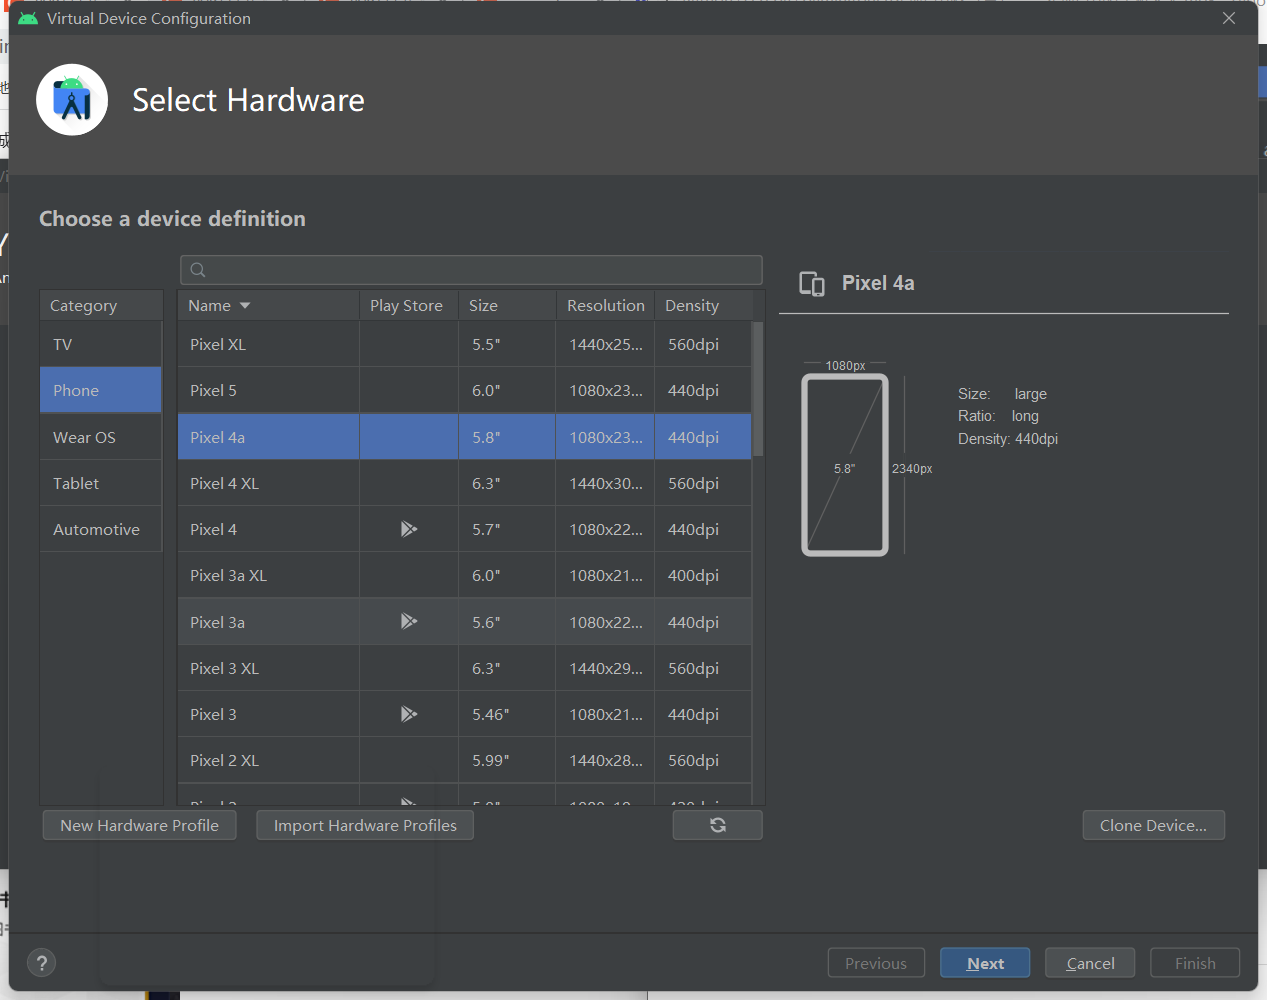
Select an appropriate model and click next
-
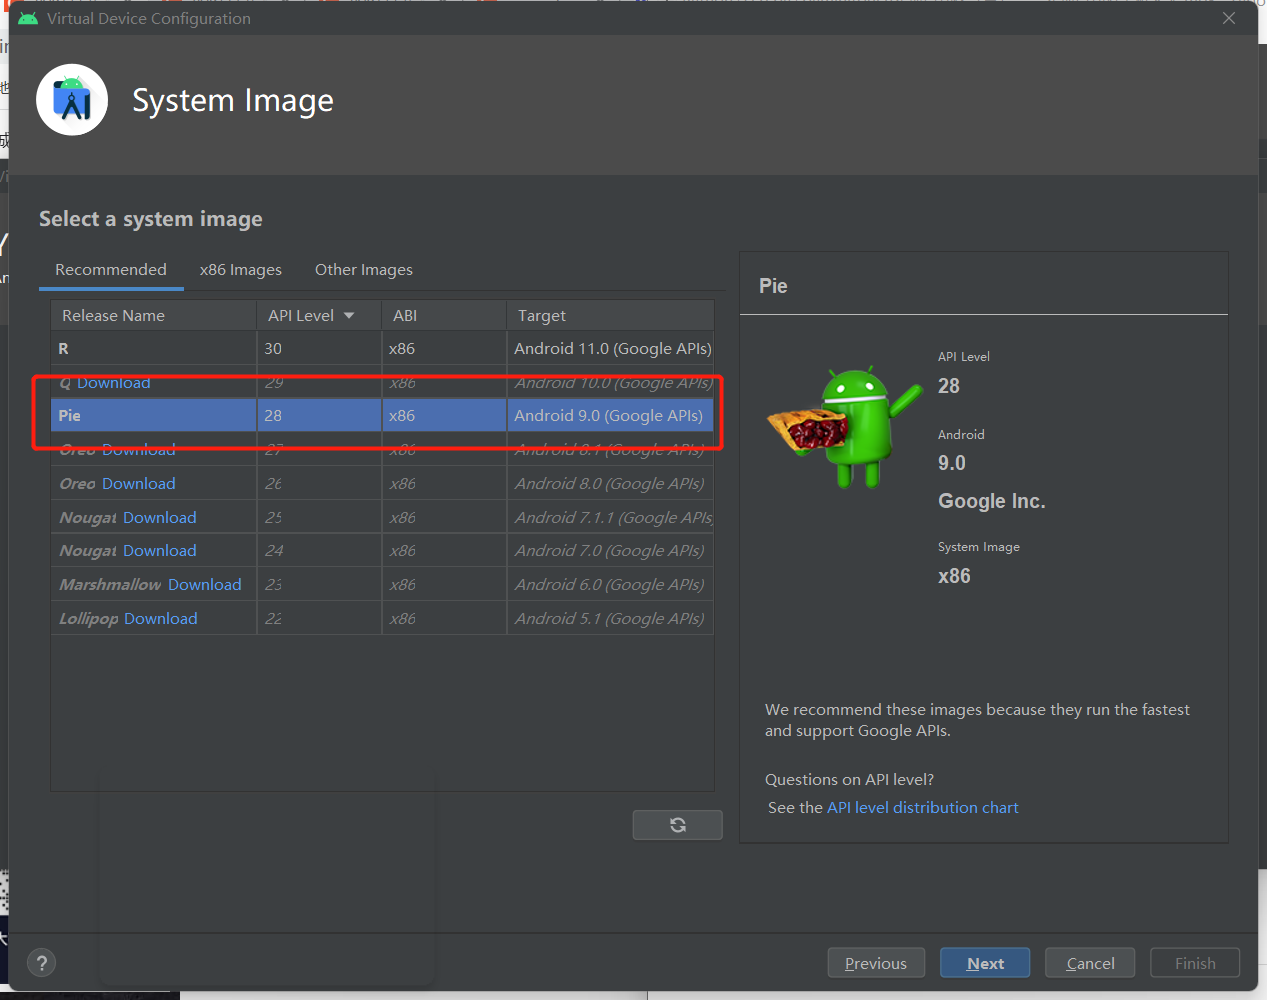
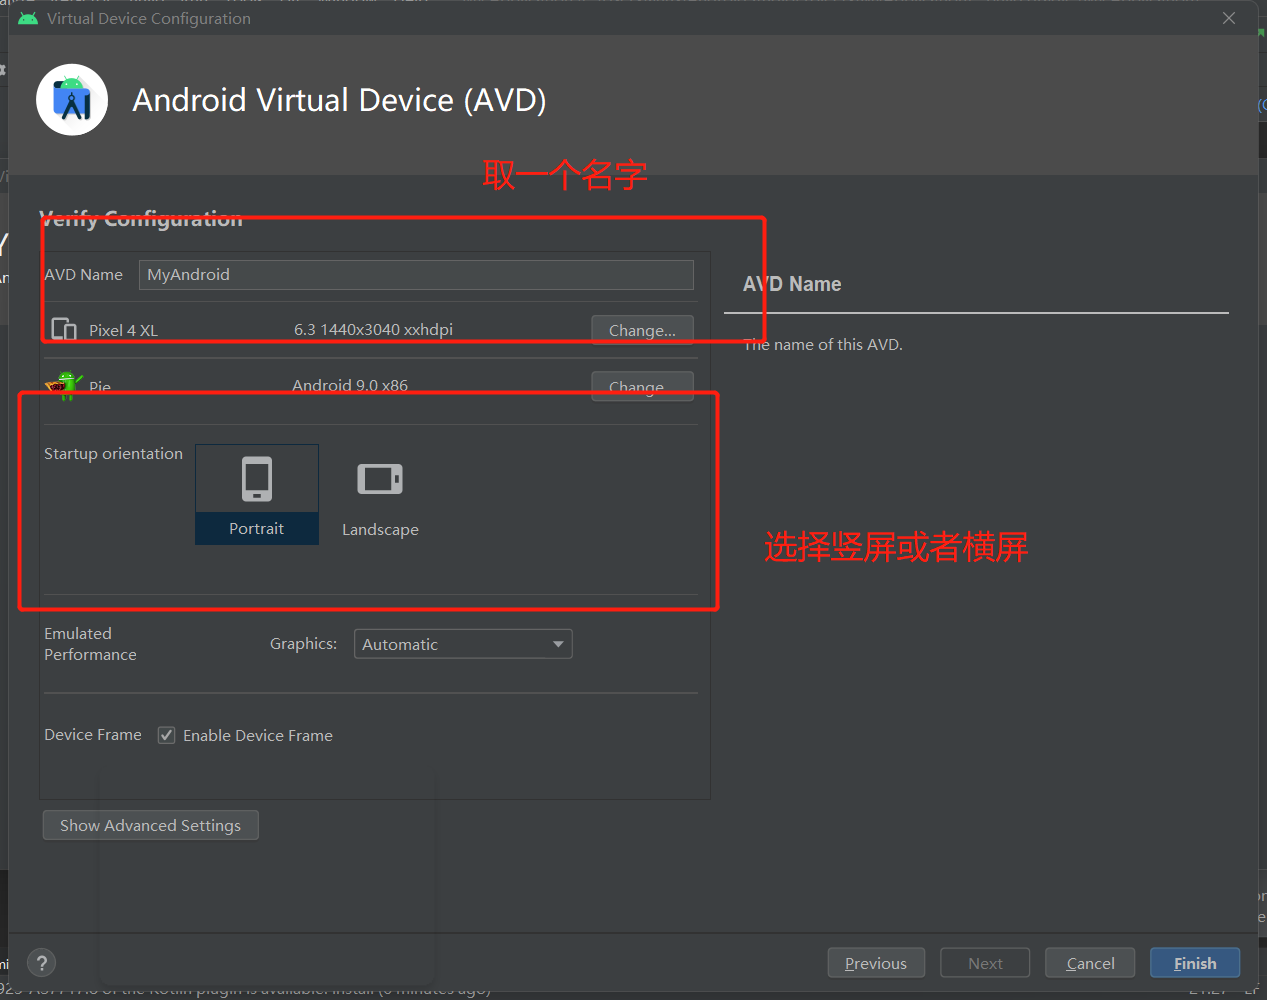
to configure
be careful!! Learn from the previous experience and choose the version of Google APIS and Android 11 Version below 0.
-
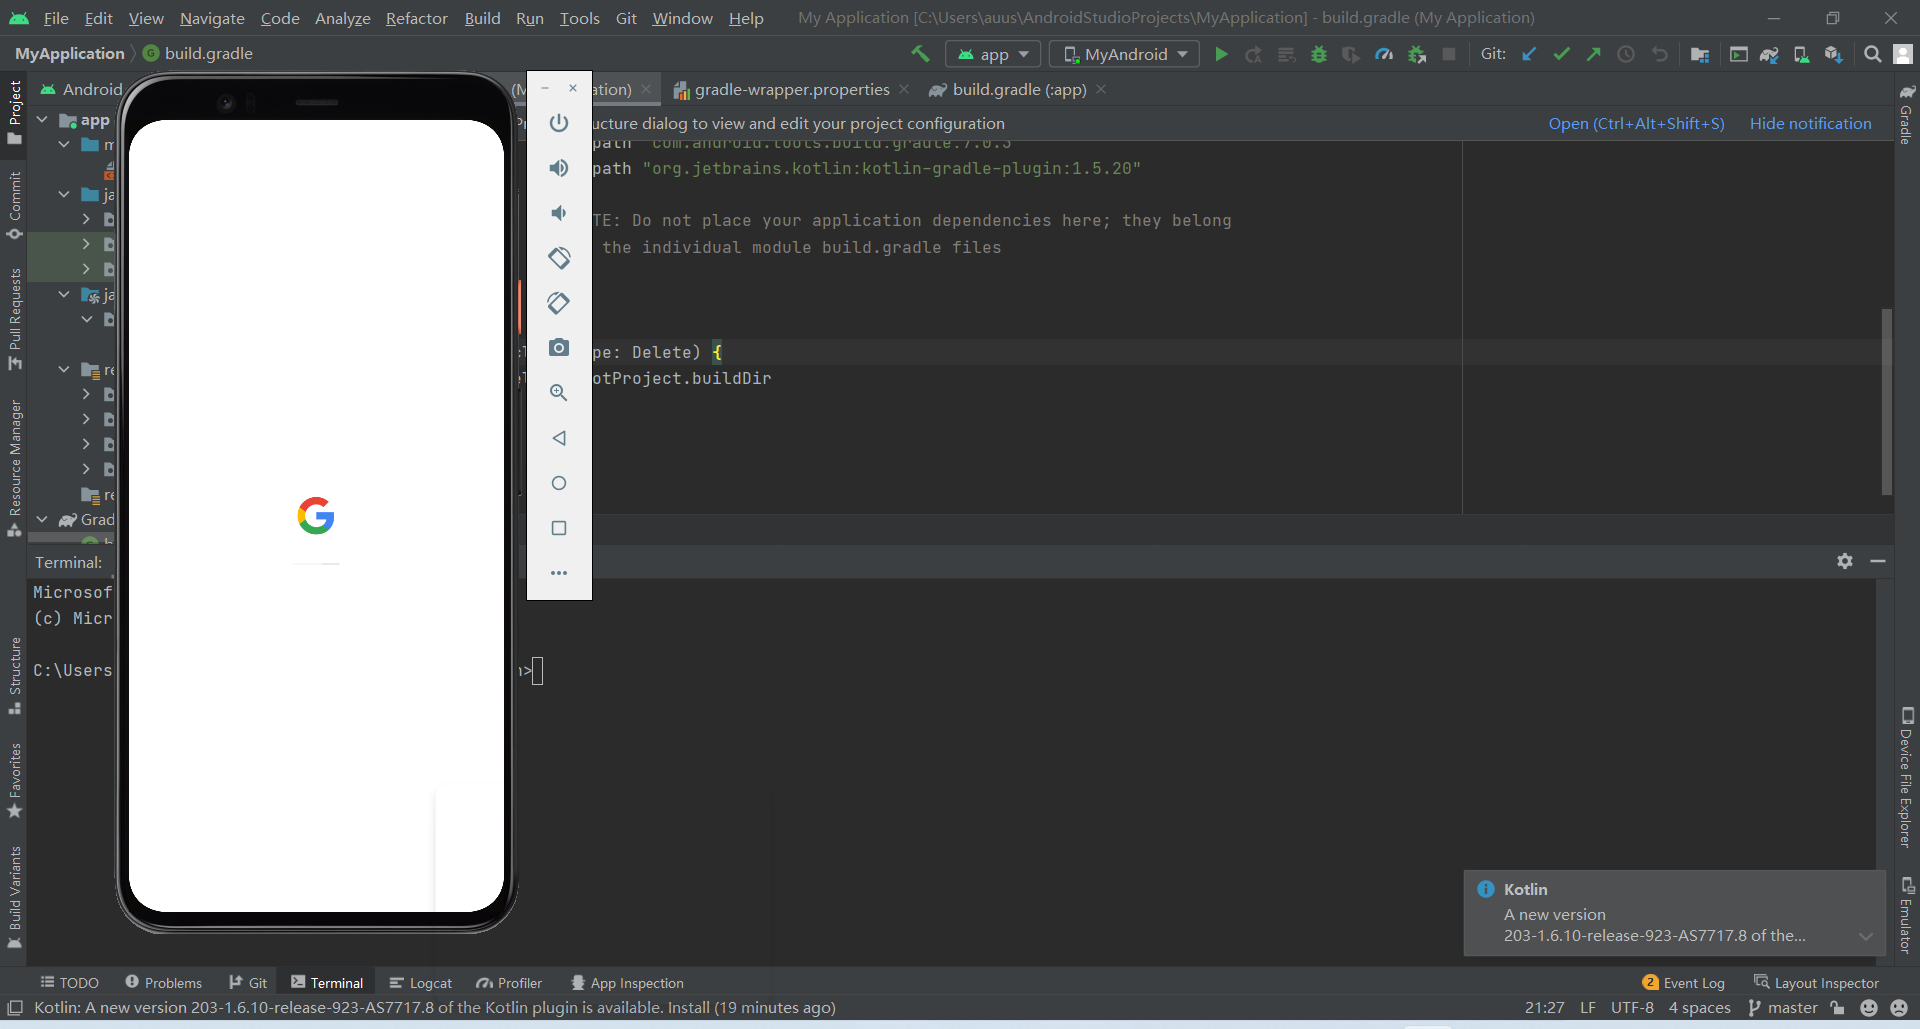
After configuration, open the virtual machine
Follow the previous steps again:
-
Get device name
adb devices
-
Get administrator privileges
adb shell

From $to #, it is finally realized.
-
Determine equipment platform
adb shell getprop ro.product.cpu.abi

-
Push minitouch to the device (the acquisition of minitouch was in the previous article)
adb push C:/Users/auus/minitouch /data/local/tmp

-
Viewing with adb shell
adb shell
/data/local/tmp
ls

-
Using chmod to elevate permissions
C:\Users\auus\AndroidStudioProjects\MyApplication>adb shell
generic_x86_arm:/ $ su
generic_x86_arm:/ # /data/local/tmp/minitouch
/system/bin/sh: /data/local/tmp/minitouch: can't execute: Is a directory
126|generic_x86_arm:/ # cd /data/local/tmp
generic_x86_arm:/data/local/tmp # chmod 777 minitouch
1|generic_x86_arm:/data/local/tmp # ls -l
total 4
drwxrwxrwx 6 shell shell 4096 2022-03-10 08:47 minitouch
About chmod: it is used to modify the permissions of files and directories.
Syntax: chmod [operation on whom] [operator] [permission granted] file name
Operation object:
u -- user represents the owner of the file or directory.
g --group represents the user group to which the file or directory belongs
o --other users
a --all users
Operator:
+Add permissions
-Reduce permissions
=Give a permission directly
jurisdiction
r ,w ,x
100,010,001
chmod a=rwx 1.txt = chmod 777 1.txt
-
Local port forwarding
adb forward tcp:1111 localabstract:minitouch
-
Start minitouch
adb shell /data/local/tmp/minitouch
Problems:
/system/bin/sh: /data/local/tmp/minitouch: can't execute: Is a directory
After this problem appeared, I didn't deliberately solve it. I see that many people on the Internet can't solve this problem. It should be the problem of mobile phone root permission. That's the end of the research on STF minitouch.
-
Finally, how to use minitouch:
Usage: /data/local/tmp/minitouch [-h] [-d <device>] [-n <name>] [-v] [-i] [-f <file>]
  -d <device>: Use the given touch device. Otherwise autodetect.
  -n <name>:   Change the name of of the abtract unix domain socket. (minitouch)
  -v:          Verbose output.
  -i:          Uses STDIN and doesn't start socket.
  -f <file>:   Runs a file with a list of commands, doesn't start socket.
  -h:          Show help.
Back to pyminitouch:
The experience of using minitouch is really poor. There are many small problems that shouldn't be, few solutions, and poor readability of editing, so I went back to pyminitouch again.
Note: pyminitouch only supports Android 11 and below!!
pyminitouch = python + minitouch. Simplify the process of using minitouch. Summarize the process of using minitouch:
-
Check device CPU type
-
Download the specified version of minitouch
-
push to the mobile phone, authorize (this is the most difficult) and run
-
Create a socket and connect it
-
Connect it through socket, and it returns information to you. d 0 10 10 50 is still like this, with low readability
Well, use pyminitouch back.
Using virtual machine + pycharm:
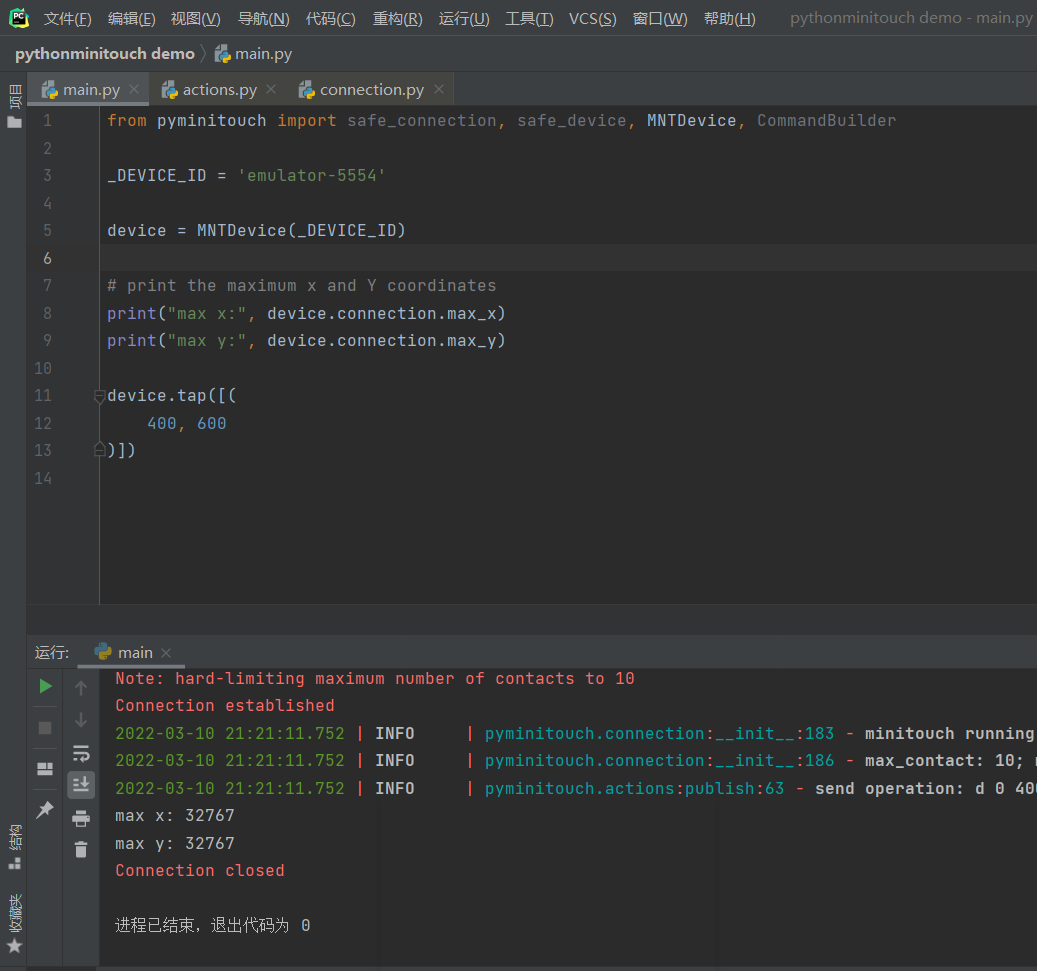
from pyminitouch import safe_connection, safe_device, MNTDevice, CommandBuilder

#Using virtual machine adb devices to get
_DEVICE_ID = 'emulator-5554'

device = MNTDevice(_DEVICE_ID)

# print the maximum x and Y coordinates
print("max x:", device.connection.max_x)
print("max y:", device.connection.max_y)
Virtual machines used:

Problems:
Note: device /dev/input/mouse0 is not supported by libevdev
Note: device /dev/input/mice is not supported by libevdev
Type B touch device qwerty2 (32767x32767 with 11 contacts) detected on /dev/input/event1 (score 43762)
Note: hard-limiting maximum number of contacts to 10
binding socket: Address already in use
Unable to start server on minitouch
The problem is that the server is occupied!! Execute the following command in Android Studio:
adb kill-server
Trigger complete!!! Click the screen successfully!!