This article is more detailed. It's about the beginning of react project, from the foundation to the actual project. I hope the industry leaders don't laugh at it. How about myself! If there are any mistakes in my study, I can point them out. I can learn from them and correct them. I hope to make progress together! If there is Xin to help you, I will be very happy! Articles will be updated in real time
Download a react project
Benefits of React: improve development efficiency, code maintainability and readability-
npm and node need to be detected in advance because I have configured them, so I will not demonstrate and explain them
 NPM install - G create react app download scaffold tool
 Create react app my app download project directory

CD my app to the current folder
 npm start start project
Project directory explanation
One yarn.lock The file mainly refers to some version number restrictions made by the installation package of the project, which are invalid
Two README.md This file is the description file of the project. You can write some descriptions of the project by yourself through markdown syntax
Three package.json Package file belonging to node, about configuration, package, instruction call
4. When git ignore uploads the management package file with git, make some package files that you don't want to upload, and then define them here
5.node_ Configuration files of modules environment package files of third party nodes
6.public
(1) favicon.ico Open file, file icon at the top left of web browser
(2)ndex.html HTML template of homepage manifest title title title of web browser noscript this is a fault-tolerant tag to increase robustness
(3) manifest.json
PWA serviceworker is used together to define and match it
Define shortcut icon, URL, theme color
7.src places the source code of all projects
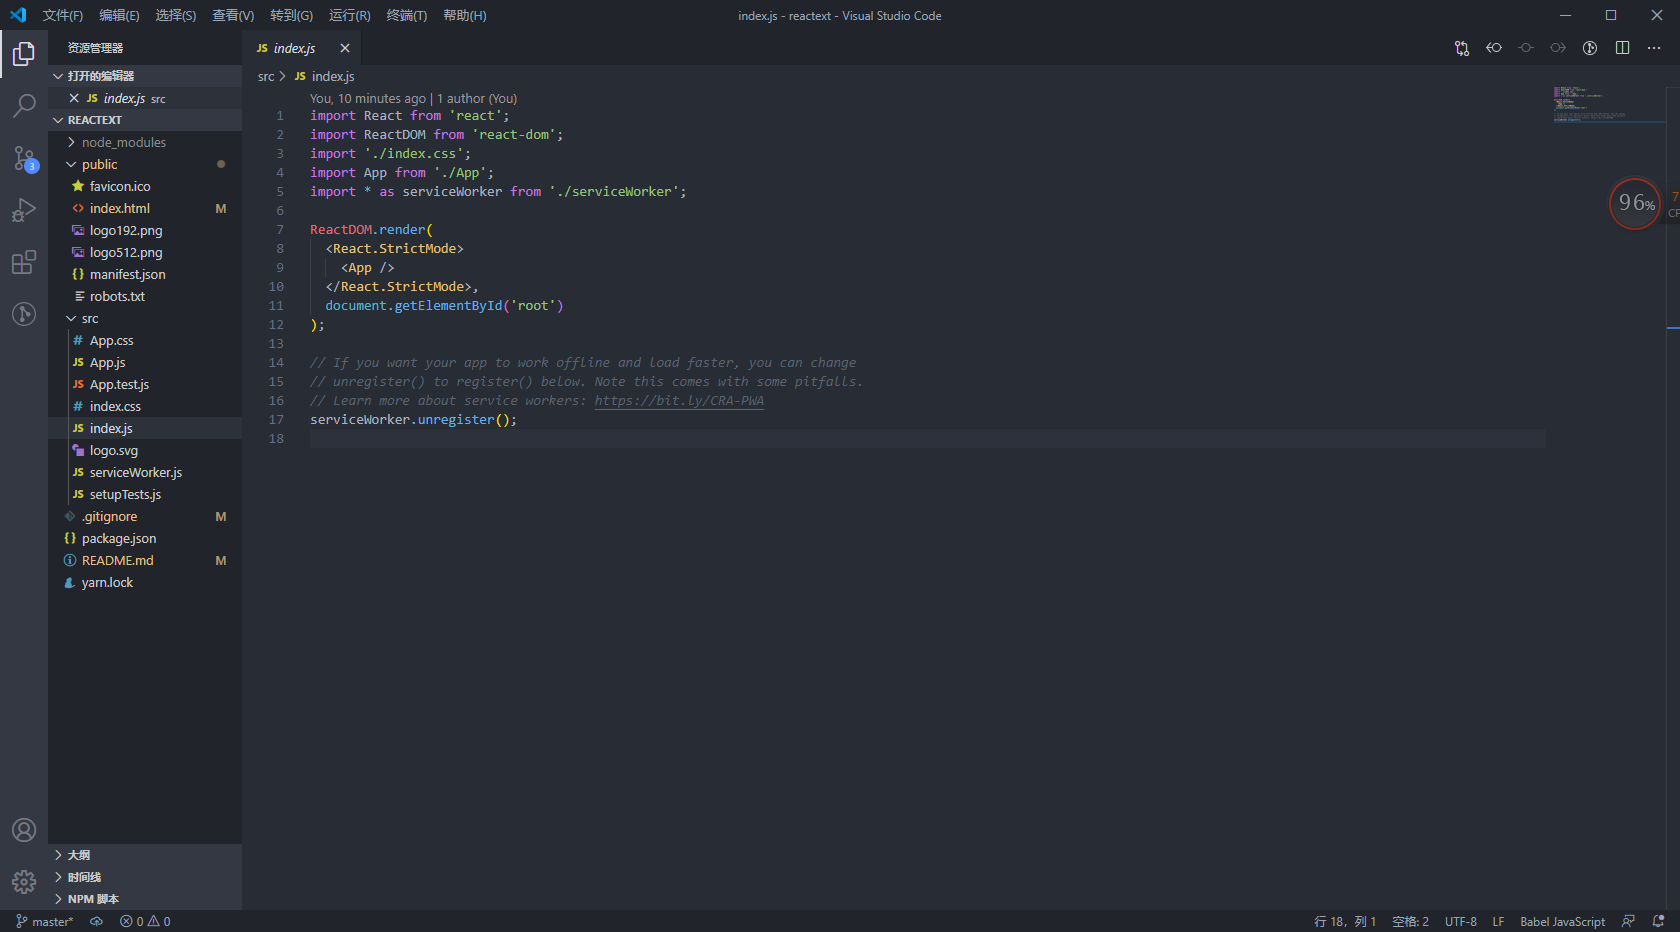
(1)index.js The entry file of the source code of the whole program
import * as serviceWorker from './serviceWorker'
serviceWorker uses the form of writing web pages to do some mobile app applications
//The effect is: for example, if you go online to a server with https protocol, you must be connected to the Internet for the first time, but once the page you visit is disconnected. When the data is accessed for the second time, it will be loaded to the time when the data is accessed for the first time
(2)App.text.js Automated test documentation
(3)App.js Compilation of content
react component
1. Look at the comparison chart to understand the component Division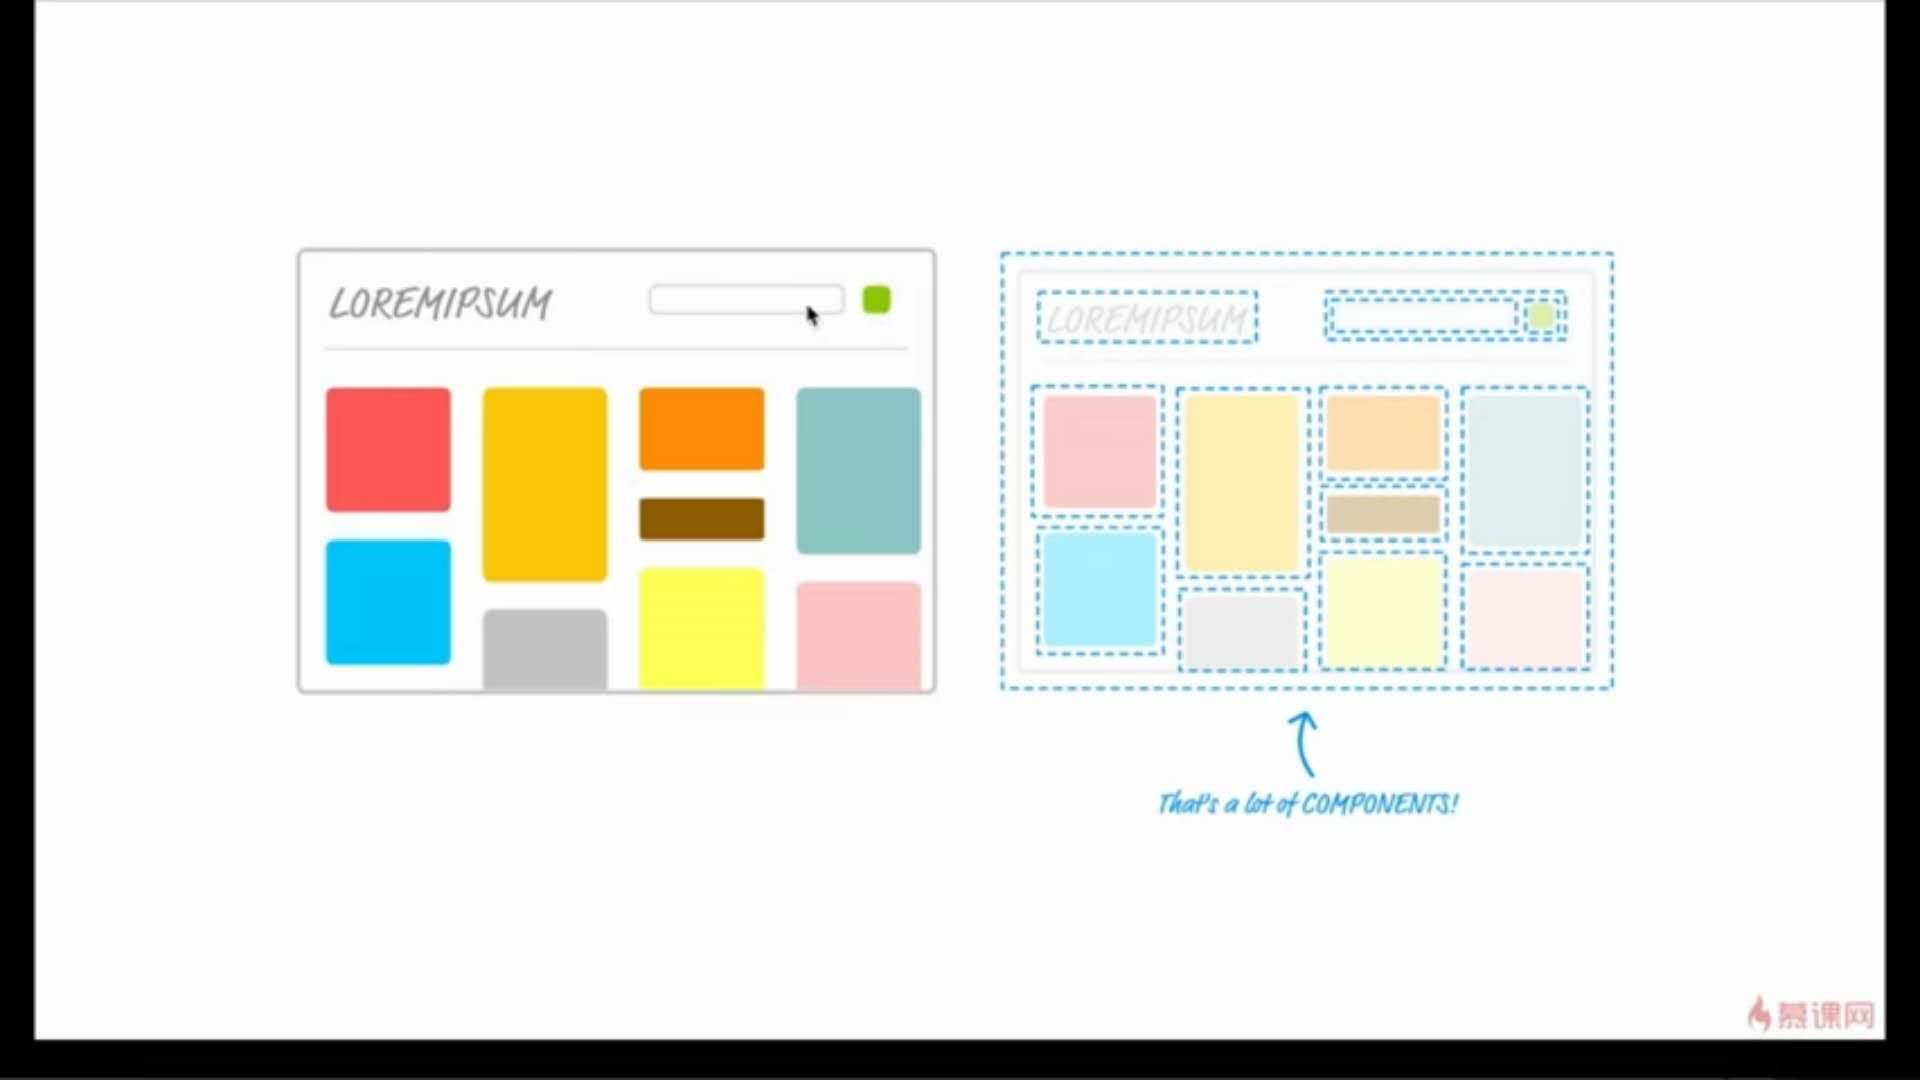
1.index.js
ReactDOM.render(
//jsx
  <App />,
  // App attached to index.html Under the node whose ID is root in the main file index.html Display component content in div of
  document.getElementById('root')
);
2. App. JS component
// Because it is a component, it is necessary to introduce react content
 //Using jsx will parse the current code
import React,{ Component,Fragment } from 'react';
// es6
// import { Component } from 'react'
// Equivalent to
// const Component = React.Component
class App extends Component {
  render(){
  //jsx
    return (
    <Fragment>
    	 <div className="App">hello</div>
    	 <p>hello</p>
    </Fragment>

    );
  }
}
export default App; //export
The most basic jsx syntax
- In JSX syntax, if we want to use the components created by ourselves directly in the form of tags (additional explanation is similar to vue)
- In JSX syntax, use your own components. Component names must start with uppercase letters and lowercase letters. Generally, they are original tags
- You need to replace div with a Fragment placeholder for the largest div wrap element within the component content
- Writing comments in JSX requires wrapping with curly braces
- dangerouslySetInnerHTML={{__ Escape of HTML: item}} tag content
- Key = {index} on the label when cycling
- import ‘./ style.css ’class name is defined by referencing className of CSS
- The for of the label area spotlight is the reference of htmlFor input in react, so the ID of input is the name of htmlFor
- Event is on and capitalized
The most basic part of the project has been completed
Next, we can do a simple case of TodoList
import React, { Component, Fragment } from 'react'
import './style.css'
// Fragment replace div placeholder
class TodoList extends Component {
  // constructor's priority function
  constructor (props) {
    super(props)
    // this.state   Status of components
    this.state = {
      inputValue: '',
      list: []
    }
  }

  render () {
    return (
      <Fragment>
        <div>
          {/* label Focus on react in a certain range, for is htmlFor, event is on, and then capitalize */}
          <label htmlFor='inserAea'>
            //Input content
          </label>
          <input
            id='inserAea'
            className='input'
            value={this.state.inputValue}
            onChange={this.handleInputChange.bind(this)} />
          <button onClick={this.handleBtnClick.bind(this)}>
            //Submit
          </button>
        </div>
        <ul>
          {/* dangerouslySetInnerHTML The label in the input box is not displayed. The possible first curly bracket means that the curly bracket must be followed by the expression of js. The second curly bracket means the object of js */}
          {this.state.list.map((item, index) => {
             return (
               <li key={index} onClick={this.handleItemDelete.bind(this, index)} dangerouslySetInnerHTML={{__html: item}}>
               </li>
             )
           })}
        </ul>
      </Fragment>
    )
  }

  handleInputChange (e) {
    // To get the value in state, you need to use setState to get it
    // this problem can be changed by bind
    this.setState({
      inputValue: e.target.value
    })
  }

  handleBtnClick () {
    // ... this.state.list   The expand operator expands the contents of the previous data to produce a new array
    this.setState({
      list: [...this.state.list, this.state.inputValue],
      // And clear inputValue
      inputValue: ''
    })
  }

  handleItemDelete (index) {
    // state does not allow any content to be modified directly. It can be copied to modify the attached value
    const list = [...this.state.list]
    list.splice(index, 1)
    this.setState({
      list: list
    })
  }
}

export default TodoList
Split TodoList
- Value passing from parent component to child component is in the form of attribute, which can not only pass data, but also pass methods such as content = {item} deleteitem={ this.handleItemDelete.bind (this)} bind (changes the direction of this)
- Subcomponent accept pass this.props (passed value) to receive a binding when this of the parent component method is to be changed
Parent component TodoList
  import React, { Component, Fragment } from 'react'
import TodoItem from './TodoItem'
import './style.css'
class TodoList extends Component {
  constructor (props) {
    super(props)
    this.state = {
      inputValue: '',
      list: []
    }
  }

  render () {
    return (
      <Fragment>
        <div>
          <label htmlFor='inserAea'>
            //Input content
          </label>
          <input
            id='inserAea'
            className='input'
            value={this.state.inputValue}
            onChange={this.handleInputChange.bind(this)} />
          <button onClick={this.handleBtnClick.bind(this)}>
            //Submit
          </button>
        </div>
        <ul>
          {this.state.list.map((item, index) => {
             return (
               <div>
                 <TodoItem content={item} index={index} deleteItem={this.handleItemDelete.bind(this)} />
               </div>
             )
           })
          }
        </ul>
      </Fragment>
    )
  };

  handleInputChange (e) {
    this.setState({
      inputValue: e.target.value
    })
  };

  handleBtnClick () {
    this.setState({
      list: [...this.state.list, this.state.inputValue],
      inputValue: ''
    })
  };

  handleItemDelete(index){
    const list=[...this.state.list];
    list.splice(index,1);
    this.setState({
      list:list
    })
  }

}

export default TodoList
The child component receives the value TodoItem from the parent component
import React , { Component } from 'react'
class TodoItem extends Component {

  constructor(props){
      super(props);
      this.handleClick=this.handleClick.bind(this);
  }

  render () {
    return (
      <div onClick={this.handleClick}>
        {this.props.content}
      </div>
    )
  }
  handleClick () {
      this.props.deleteItem(this.props.index)
  }
}
export default TodoItem
Optimize code
Parent component
 import React, { Component, Fragment } from 'react'
import TodoItem from './TodoItem'
import './style.css'
class TodoList extends Component {
  constructor (props) {
    super(props)
    this.state = {
      inputValue: '',
      list: []
    }
    // The point of this can be placed on the top
    this.handleInputChange = this.handleInputChange.bind(this)
    this.handleBtnClick = this.handleBtnClick.bind(this)
    this.handleItemDelete = this.handleItemDelete.bind(this)
  }

  render () {
    return (
      <Fragment>
        <div>
          <label htmlFor='inserAea'>
            //Input content
          </label>
          <input
            id='inserAea'
            className='input'
            value={this.state.inputValue}
            onChange={this.handleInputChange} />
          <button onClick={this.handleBtnClick}>
            //Submit
          </button>
        </div>
        <ul>
          {this.getTodoItem()}
        </ul>
      </Fragment>
    )
  }

  // Concise coding
  getTodoItem () {
    return this.state.list.map((item, index) => {
      return (
        <div key={index}>
          <TodoItem content={item} index={index} deleteItem={this.handleItemDelete} />
        </div>
      )
    })
  }

  handleInputChange (e) {
    // Use functions to form asynchrony, and save the value value
    const value = e.target.value
    this.setState(() => ({
      inputValue: value
    }))
  }

  handleBtnClick () {
    // prevState is equivalent to the original data received before
    this.setState((prevState) => ({
     list: [...prevState.list,prevState.inputValue],
      inputValue: ''
    }))
  // this.setState({
  //   list: [...this.state.list, this.state.inputValue],
  //   inputValue: ''
  // })
  }

  handleItemDelete (index) {
    // It can form a function body and make changes in the function body
    this.setState((prevState) => {
      const list = [...prevState.list]
      list.splice(index, 1)
      return {list}
    })
  // this.setState({
  //   list: list
  // })
  }
}

export default TodoList
Subcomponent
import React , { Component } from 'react'
class TodoItem extends Component {

  constructor (props) {
    super(props)
    this.handleClick = this.handleClick.bind(this)
  }

  render () {
    const { content } = this.props
    return (
      <div onClick={this.handleClick}>
        {content}
        {/* {this.props.content} */}
      </div>
    )
  }
  handleClick () {
    const { deleteItem, index } = this.props
    deleteItem(index)
  // this.props.deleteItem(this.props.index)
  }
}
export default TodoItem
Reflections on react
- Declarative development reduces code
- Can coexist with other frameworks
- Componentization
- The single data flow parent component can transfer data to the child component, but the child component can never change the data of the parent component
- When the view layer framework is a large project, we need to introduce the redux data layer framework
- Functional programming
Install React development debugging tool
1. Open browser
2. Three dots on the right side of the browser
3. Click more tools
4. Click on the extension program
5. Click the extension program in the upper left corner
6. Click the bottom Chrome online app store
7. Need to open the wall climbing software
8. Search react and find React Developer Tools. Click Install
PropTypes and DefaultProps
You can also view the document for understanding
Need to introduce propTypes
import PropTypes from 'prop-types'
// This means that the inspection of a property of TodoItem, a component, on the value passed from the parent component, isRequired means that the value passed from the parent component to the child component must also be passed
TodoItem.propTypes = {
  test: PropTypes.string.isRequired,
// It can be a string type or a number type
// Multiple validation PropTypes.arrayOf ( PropTypes.string , PropTypes.number )Represents the composition or how of an array
  // oneOfType represents one of the following types PropTypes.arrayOf [[ PropTypes.string , PropTypes.number )
  content:PropTypes.string,
  deleteItem: PropTypes.func,
  index: PropTypes.number
}

const { content,test } = this.props
// Default values defined within components
TodoItem.defaultProps = {
  test: 'hello world'
}
The relationship between Props,state and render function
//When the state or props of a component change, the render function will execute again
 //1. When the render function of the parent component is run, the render function of its child components will be run again
 //2. The props reception of subcomponents has also changed
What is virtual DOM?
Diff algorithm in virtual DOM
Use of ref in React
Before using e.target to get DOM elements, you can use ref to get them
 ref={(input)=>{ this.input=input }}Add on the label that needs to get the value

example:
<ul ref={(ul) => { this.ul = ul}}>
          {this.getTodoItem()}
   </ul>

 handleBtnClick () {
    / / this.setState It is asynchronous, but it provides a second argument within the function
    this.setState((prevState) => ({
      list: [...prevState.list, prevState.inputValue],
      inputValue: ''
    }), () => {
      //querySelectorAll('div ') finds all div elements
      console.log(this.ul.querySelectorAll('div').length)
    })
  }
The life cycle function of realc
- Life cycle function refers to the function that the component will call automatically at a certain time
- render
- The constructor is not unique to react. It is an es6 accessory that is not categorized into the react life cycle
 // Automatically execute when the component is about to mount to the page
  componentWillMount () {
    console.log('componentWillMount')
  }

  // After the component is mounted to the page, it is automatically executed
  componentDidMount () {
    console.log('componentDidMount')
  }
  // Before the component is updated, it is required to return a Boolean value of true or false
  shouldComponentUpdate () {
    console.log('shouldComponentUpdate')
    return true
  }
  //  It will execute automatically before the component is updated, but it will execute after shouldComponentUpdate
  // If shouldComponentUpdate returns true, it will not be executed if it returns false
  componentWillUpdate () {
    console.log('componentWillUpdate')
  }
  // It will be executed only when props parameter is available
  // A component accepts parameters from its parent
  // If this component exists in the parent component for the first time, it will not execute
  // If this component already exists in the parent component, it will execute
  componentWillReceiveProps () {
    console.log('componentWillReceiveProps')
  }
  // When this component is about to be removed from the page, it will be executed
  componentWillUnmount () {
    console.log('componentWillUnmount')
  }
Use scenario of React life cycle function
Optimization of value performance only changes when data is submitted
shouldComponentUpdate (nextProps, nextState) {
    if (nextProps.content !== this.props.content) {
      return true
    }else {
      return false
    }
  }

//The axios component can be downloaded by calling the interface
npm install axios
componentDidMount(){
    axios.get('/api/todolist').then(()=>{
      alert('12')
    }).catch(()=>{
      alert('235')
    })
  }