Shiny is an R package that makes it easy to build interactive Web applications directly from R. This course will get you started.
If the Shiny package has not been installed, open the R session window, ensure the networking status, and then run
install.packages("shiny")
The Shiny package has 11 built-in examples, each of which demonstrates how Shiny works. And each is a separate Shiny application.
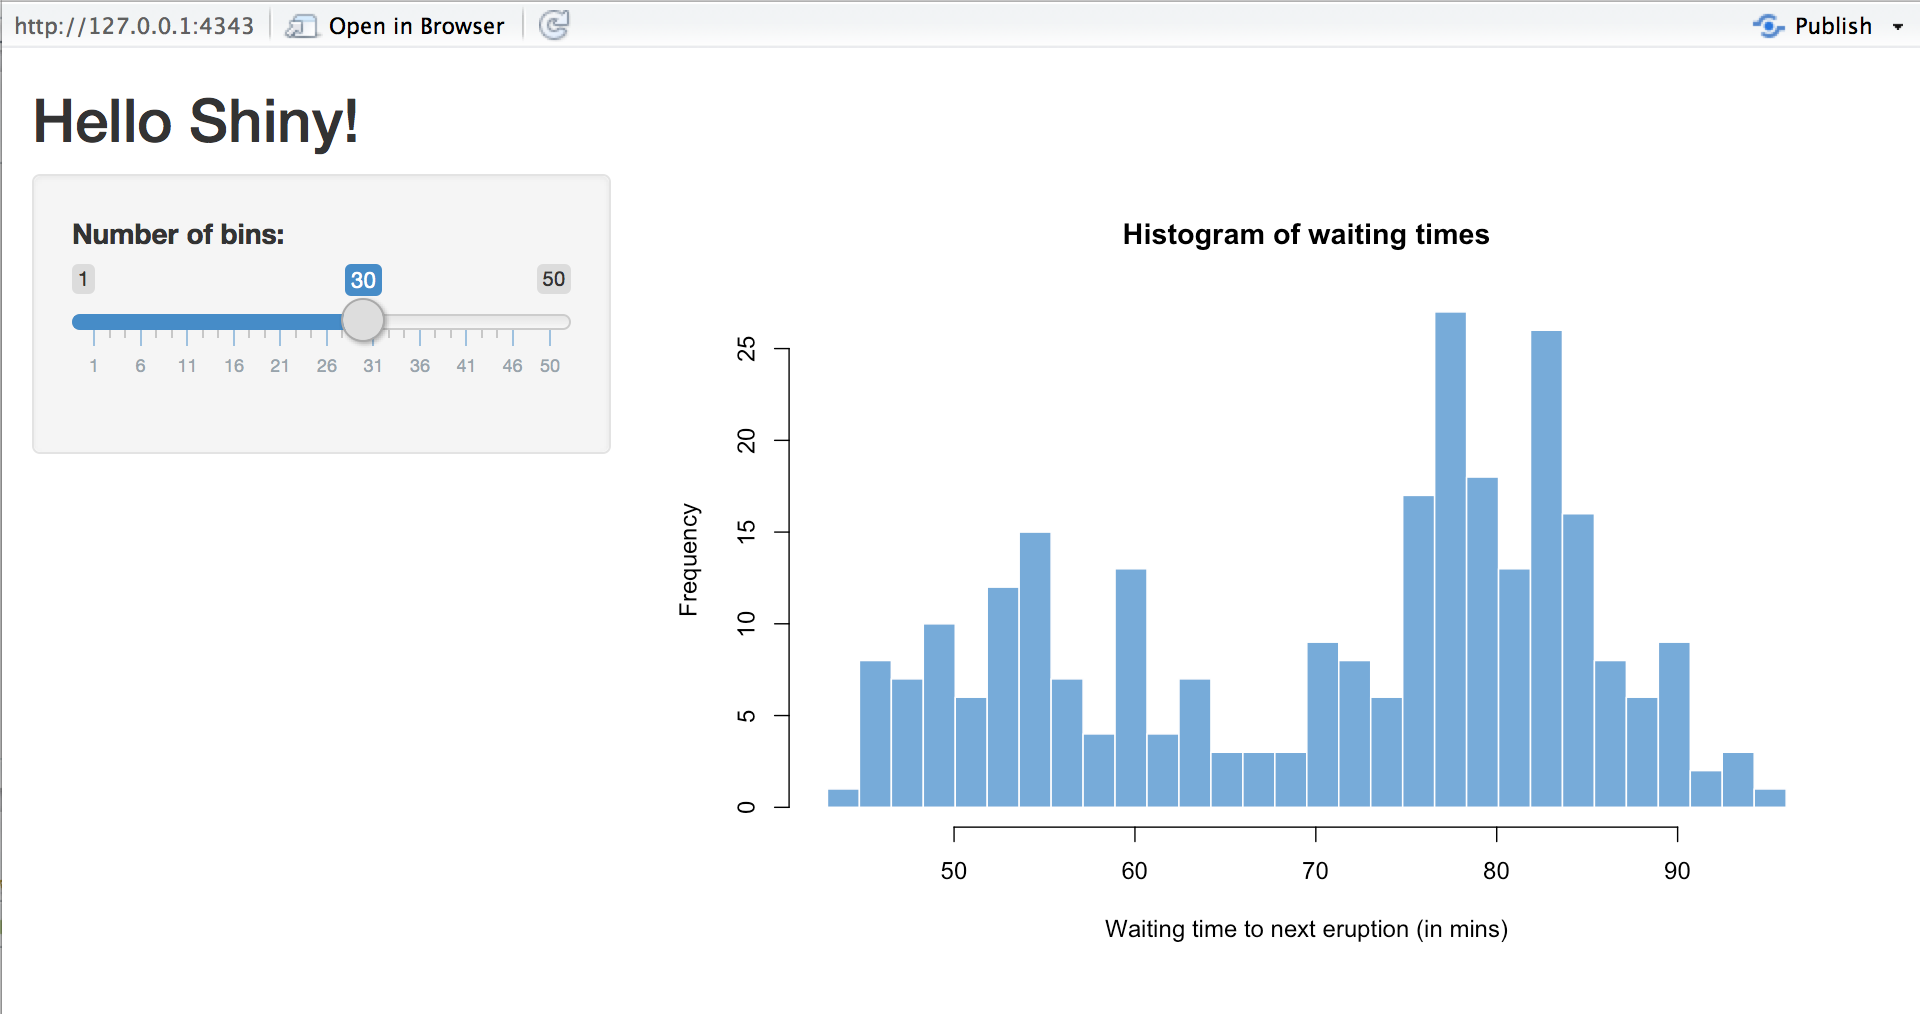
The "Hello Shiny" example draws a histogram of R's faithful dataset with a configurable number of bins. Users can use the slider to change the number of bins, and the application will immediately respond to their input. You will use Hello Shiny to explore the structure of the Shiny application and create your first application.
To run "Hello Shiny", enter:
library(shiny)
runExample("01_hello")
Structure of Shiny application
shiny's application is contained in an app In the script of R. Script app R is located in a directory (for example, newdir /), and the application can be run using runApp("newdir").
app.R has three components:
- User interface object
- Server function
- Call shinyApp function
User interface (ui) objects control the layout and appearance of the application. The server function contains the instructions required by the computer to build the application. Finally, the shinyApp function creates shinyApp application objects based on explicit UI/server pairs.
Note: before version 0.10.2, shiny does not support single file applications, and ui objects and server functions need to be included in ui R and server In a separate script for R. Shiny still supports this feature, but this tutorial and many supporting documents focus on single file applications.
A good feature of single file applications is that you can copy and paste the entire application into the R console, which makes it easy to quickly share code for others to experiment with. For example, if you copy and paste the above code into the R command line, it will launch the Shiny application.
ui
This is the ui object for the Hello Shiny example.
library(shiny)

# Define UI for app that draws a histogram ----
ui <- fluidPage(

  # App title ----
  titlePanel("Hello Shiny!"),

  # Sidebar layout with input and output definitions ----
  sidebarLayout(

    # Sidebar panel for inputs ----
    sidebarPanel(

      # Input: Slider for the number of bins ----
      sliderInput(inputId = "bins",
                  label = "Number of bins:",
                  min = 1,
                  max = 50,
                  value = 30)

    ),

    # Main panel for displaying outputs ----
    mainPanel(

      # Output: Histogram ----
      plotOutput(outputId = "distPlot")

    )
  )
)
server
This is the server function of the Hello Shiny example.
# Define server logic required to draw a histogram ----
server <- function(input, output) {

  # Histogram of the Old Faithful Geyser Data ----
  # with requested number of bins
  # This expression that generates a histogram is wrapped in a call
  # to renderPlot to indicate that:
  #
  # 1. It is "reactive" and therefore should be automatically
  #    re-executed when inputs (input$bins) change
  # 2. Its output type is a plot
  output$distPlot <- renderPlot({

    x    <- faithful$waiting
    bins <- seq(min(x), max(x), length.out = input$bins + 1)

    hist(x, breaks = bins, col = "#75AADB", border = "white",
         xlab = "Waiting time to next eruption (in mins)",
         main = "Histogram of waiting times")

    })

}
On the one hand, the function of Hello Shiny server is very simple. The script does some calculations and then draws a histogram with the required bins.
However, you will also notice that most scripts are included in the call to renderPlot. The comments above the function explain this, but don't worry if you're confused. We will introduce this concept in detail later.
Use the Hello Shiny application and view the source code. Try to understand how the application works. But before doing this, please note that in your app R file, you need to start from loading Shiny package and end with calling ShinyApp:
library(shiny)

# See above for the definitions of ui and server
ui <- ...

server <- ...

shinyApp(ui = ui, server = server)
When the Hello Shiny application is active, your r session will be busy, so you will not be able to run any r commands. R is monitoring the application and executing the response of the application. To resume the R session, press Escape or click the stop flag icon (located in the upper right corner of the RStudio console panel).
Run an application
Every Shiny application has the same structure: an app with ui and server R file. You can create a new directory and save an app in it R file to create the Shiny application. It is recommended that each application be located in its own unique directory.
You can run the Shiny application by passing its directory name to the parameter function runApp. For example, if your Shiny application is located in a location called my_ In the directory of app, run it with the following code:
library(shiny)
runApp("my_app")
Note: runApp and read in R csv,read.table is similar to many other functions. The first parameter of runApp is the file path from the working directory to the application directory. The above code assumes that the app directory is in your working directory. In this case, the file path is just the name of the directory.
(if you want to know, the files of the Hello Shiny application will be saved in a special system directory called "01_hello". This directory is intended to be used with runExample("01_hello") calls.)
Small trial ox knife
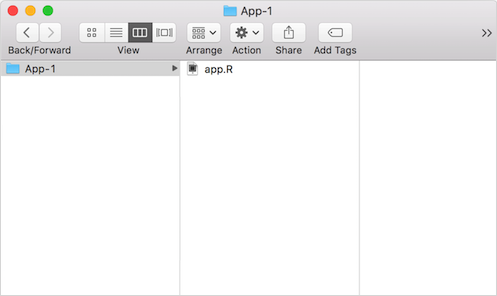
Create a new directory called App-1 in your working directory. Then add the above app Copy and paste the R script into your directory (the script in Hello Shiny). After completion, the directory should be as follows:
Start your application by running runApp("App-1"). Then click escape and make some changes to your application:
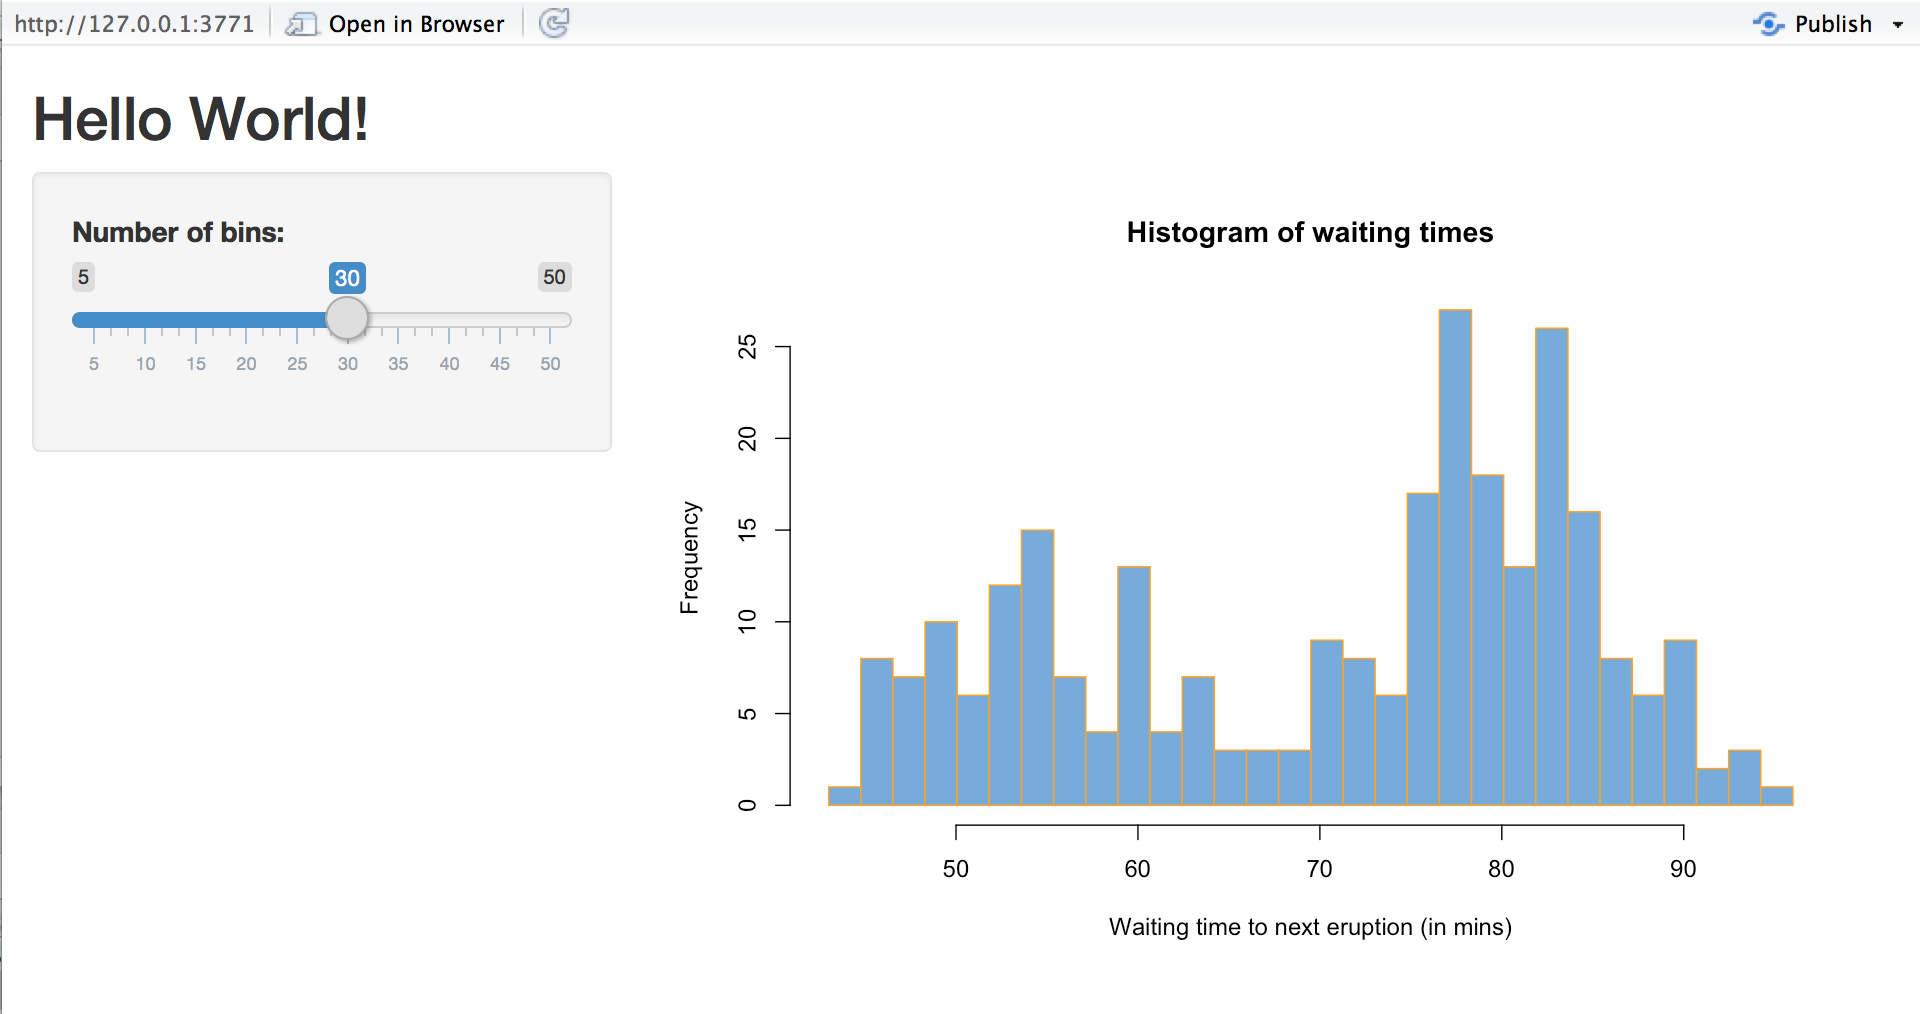
- Change the title from "Hello Shiny!" Change to go to "Hello World!".
- Set the minimum value of the slide bar to 5.
- Change the histogram border color from "white" to "orange".
When you are ready, start your application again. Your new app should match the figure below. If not, or if you want to check the code, please press the model answer button to show us how to complete these tasks.
By default, the Shiny application is displayed in "normal" mode, as shown in the above figure. Hello Shiny and other built-in examples are displayed in "showcase mode", which is similar to app Another mode displayed with the R script.
If you want your app to be displayed in display mode, you can run runApp("App-1", display.mode = "showcase").
Restart the app
To restart your Shiny application:
- Run runApp("App-1"), or
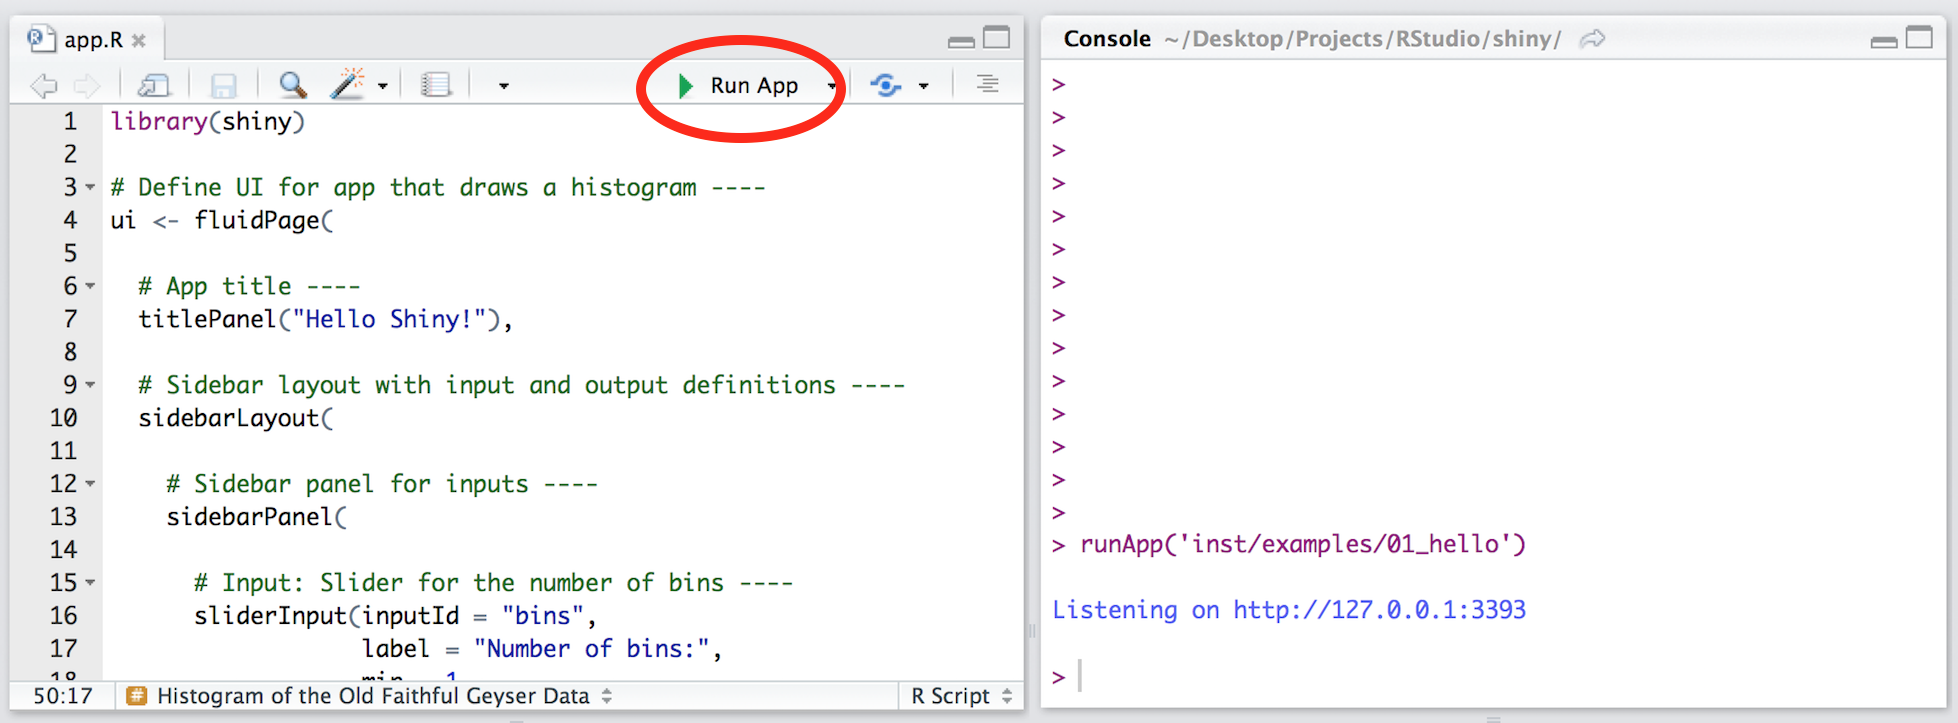
- Open the app in the RStudio editor R script. RStudio will recognize the Shiny script and provide a Run App button (at the top of the editor). Click this button to launch your application, or use the keyboard shortcut: Command + Shift + Enter (Control + Shift + Enter on Windows).
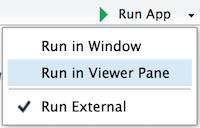
RStudio launches the application in a new window by default, but you can also choose to launch the application in a dedicated viewer window or an external Web browser. Select by clicking the icon next to Run App.
review
To create your own Shiny application:
- Create a directory named myapp / for your application.
- Put your app The R script is saved in this directory.
- Use the keyboard shortcut of runApp or RStudio to start the application.
- Click escape to exit the Shiny application.
go further
You can create Shiny applications by copying and modifying existing Shiny applications. The following eleven pre built examples are provided by Shiny.
runExample("01_hello")      # a histogram
runExample("02_text")       # tables and data frames
runExample("03_reactivity") # a reactive expression
runExample("04_mpg")        # global variables
runExample("05_sliders")    # slider bars
runExample("06_tabsets")    # tabbed panels
runExample("07_widgets")    # help text and submit buttons
runExample("08_html")       # Shiny app built from HTML
runExample("09_upload")     # file upload wizard
runExample("10_download")   # file download wizard
runExample("11_timer")      # an automated timer
Each shows the functionality of the Shiny application. All "Shiny" sample applications are opened in "showcase" mode (app.R script is displayed in the display).
But why restrict yourself from copying other applications? The next few lessons will show you how to build your own Shiny application from scratch. You will learn about each part of the Shiny application and complete it by deploying your own Shiny application online.
When you're ready, continue to the next section, where you'll learn how to build the layout and appearance of the Shiny application.