Step 1: download the source code package from github
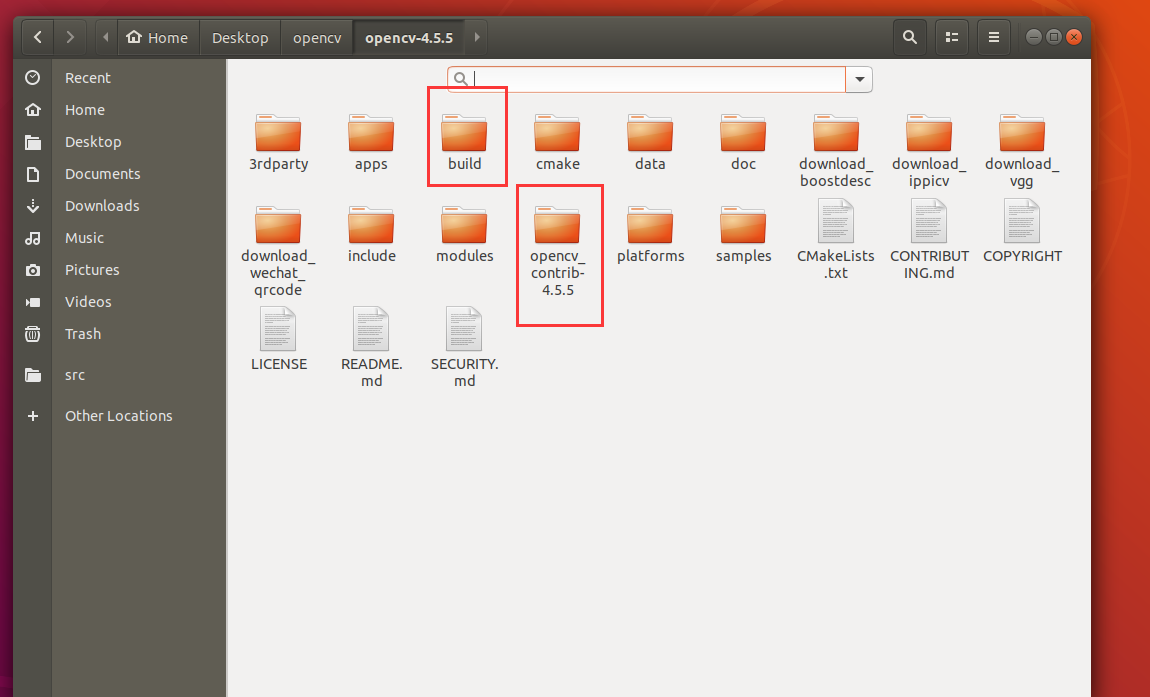
And put opencv and opencv contrib in the same directory
At the same time, create a new build folder in this directory
mkdir build
Step 2: install dependency
#Installation tools
sudo apt-get install cmake cmake-qt-gui git unzip
#Installation dependency
sudo apt-get install build-essential
sudo apt-get install libgtk2.0-dev pkg-config libavcodec-dev libavformat-dev libswscale-dev
sudo apt-get install python-dev python-numpy libtbb2 libtbb-dev libjpeg-dev libpng-dev libtiff5-dev libjasper-dev libdc1394-22-dev #Packages required to process images
#The following packages are not specified in the official linux Installation Tutorial of opencv. In case of later use, they are installed here (not big anyway)
sudo apt-get install libv4l-dev liblapacke-dev #Video related packages
sudo apt-get install libxvidcore-dev libx264-dev #Packages required to process video
sudo apt-get install libatlas-base-dev gfortran #Package for optimizing opencv function
sudo apt-get install ffmpeg #Streaming media conversion / playback Kit
sudo apt-get install libgtk-3-dev #ubuntu16.04 be careful with the installation, which may cause the conflict between gtk2 and gtk3
sudo apt-get install libopenblas-dev #High performance multi-core matrix operation Library Basic Linear Algebra Subprograms
Bug: an error is reported when installing libjasper dev: the software package libjasper dev cannot be located
Solution:
sudo add-apt-repository "deb http://security.ubuntu.com/ubuntu xenial-security main"
sudo apt-get update
sudo apt-get install libjasper1 libjasper-dev
Step 3: execute cmake
Enter the build folder
cd build
Execute the following command to pop up the Cmake graphical interface [Baidu download without Cmake]
cmake-gui
Confirm that the source path and build path are correct, and click configure

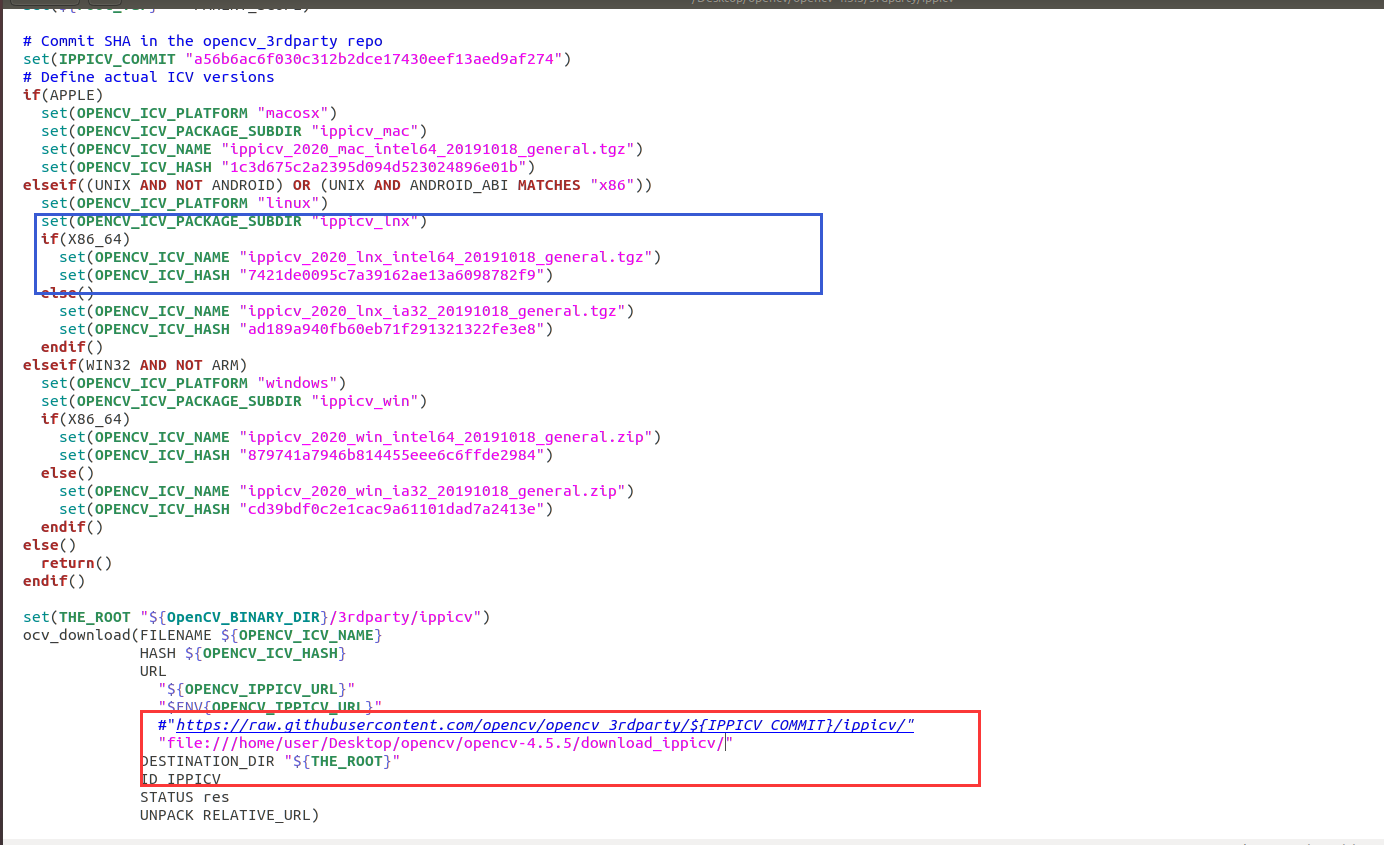
Generally speaking, picv is missing. [if no error is reported, skip this step]
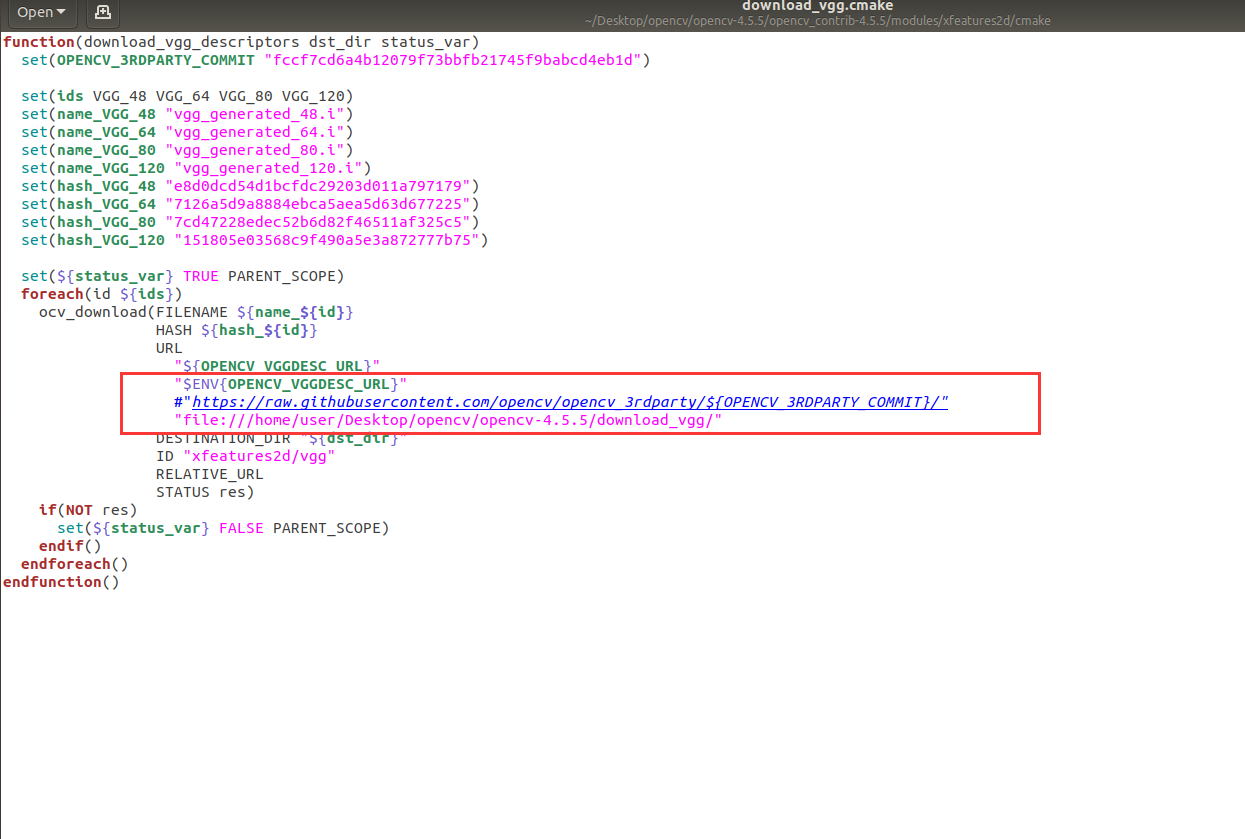
Download by yourself, pay attention to the version number [the version number is in the blue box], and then change the download path [shown in the red box]
In the cmake interface, find and set the following two items in turn, as shown in the figure:
CMAKE_BUILD_TYPE: Release;
OPENCV_EXTRA_MODULES_PATH: opencv_contrib-3.4.8/modules;
(Pay attention to the second item MODULES_PATH Must be specified to contrib Lower modules)
Continue to configure and report errors.
The common problem is that the download of dependencies required by the two sub modules of bootdesc and vgg of xfeatures2d module in contrib module fails
Enter cmakedownloadlog.com under build Txt view the error content
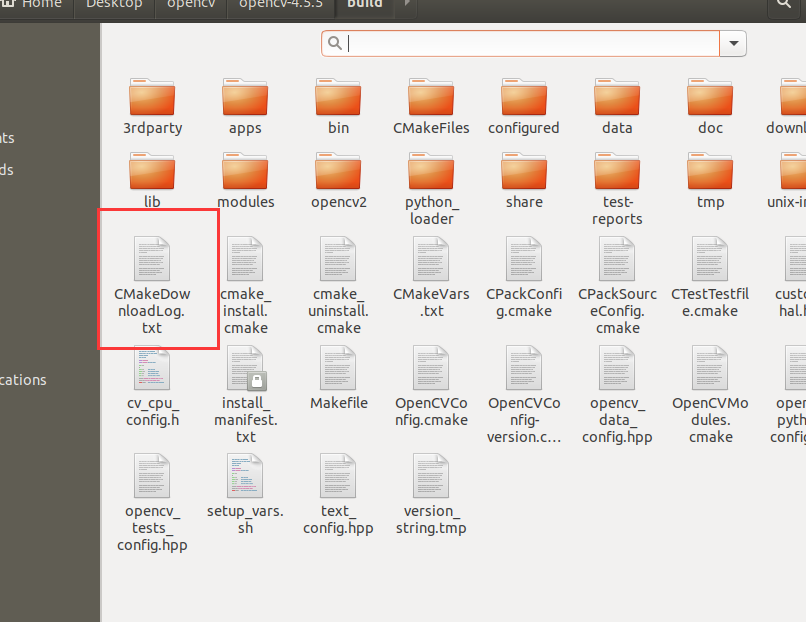
Find the following files according to the error content
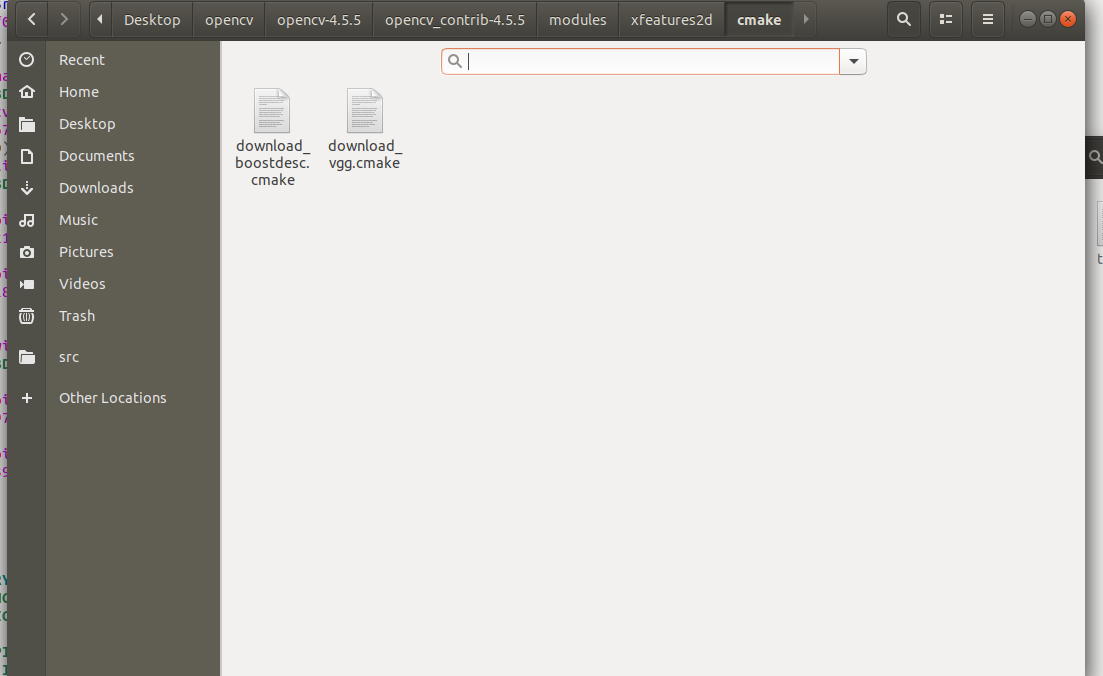
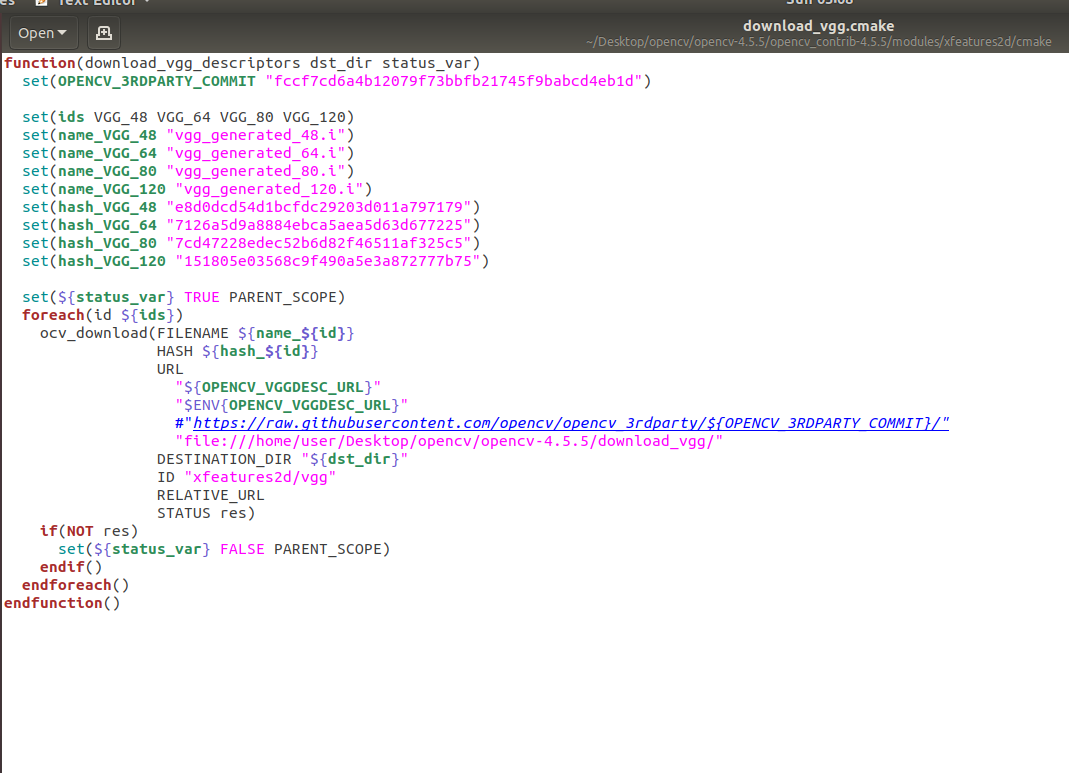
Start downloading the specified content under the folder.
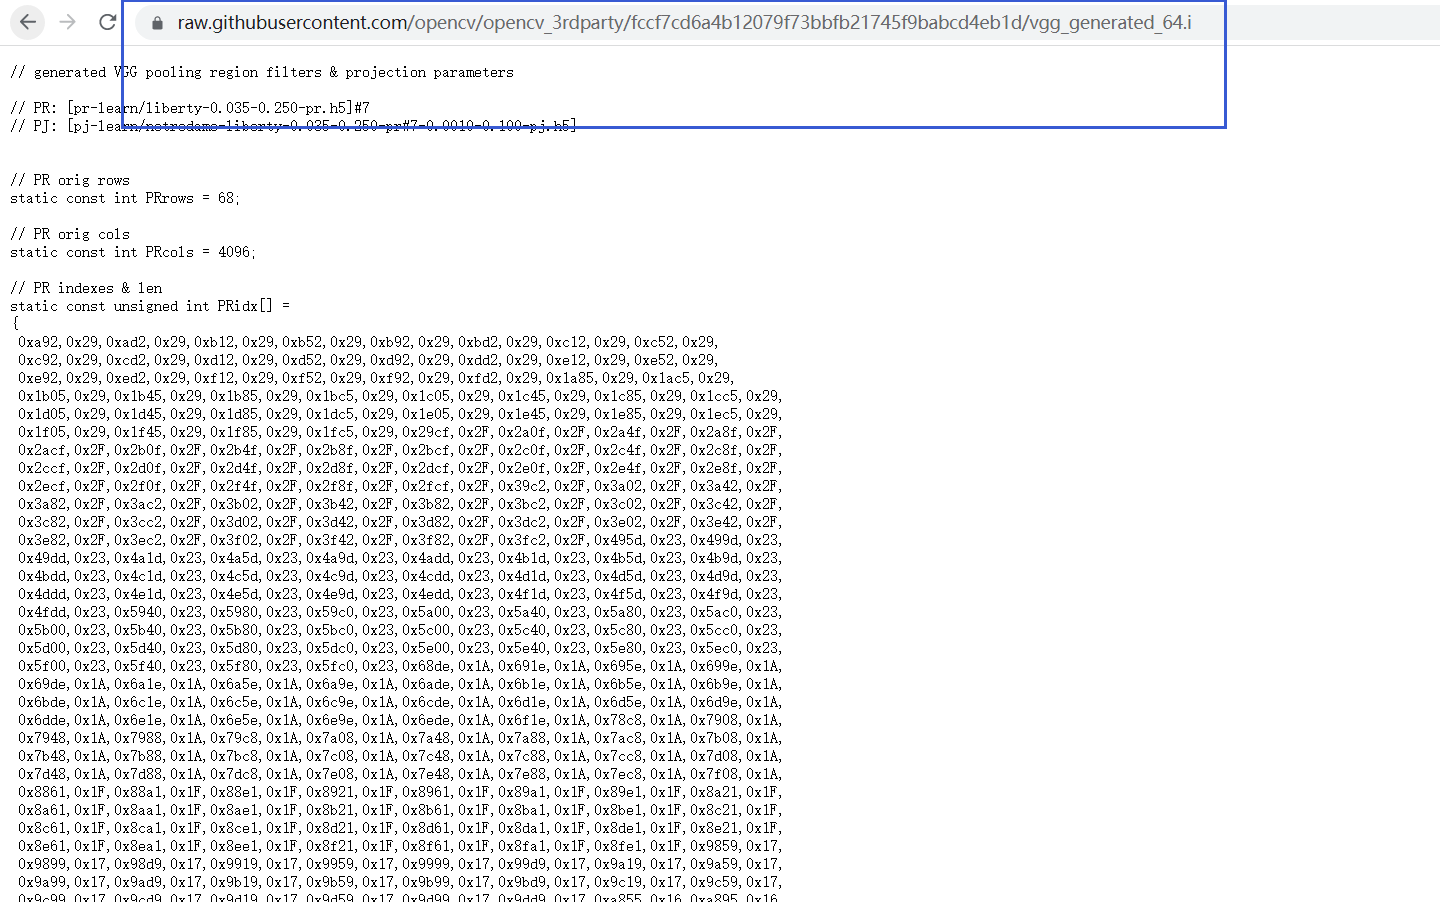
These websites are pieced together according to the contents of the folder. We only need to change the suffix [you must download the specified version, otherwise the hash value will not match]
https://raw.githubusercontent.com/opencv/opencv_3rdparty/fccf7cd6a4b12079f73bbfb21745f9babcd4eb1d/vgg_generated_64.i
Put the downloaded files in any folder
For example
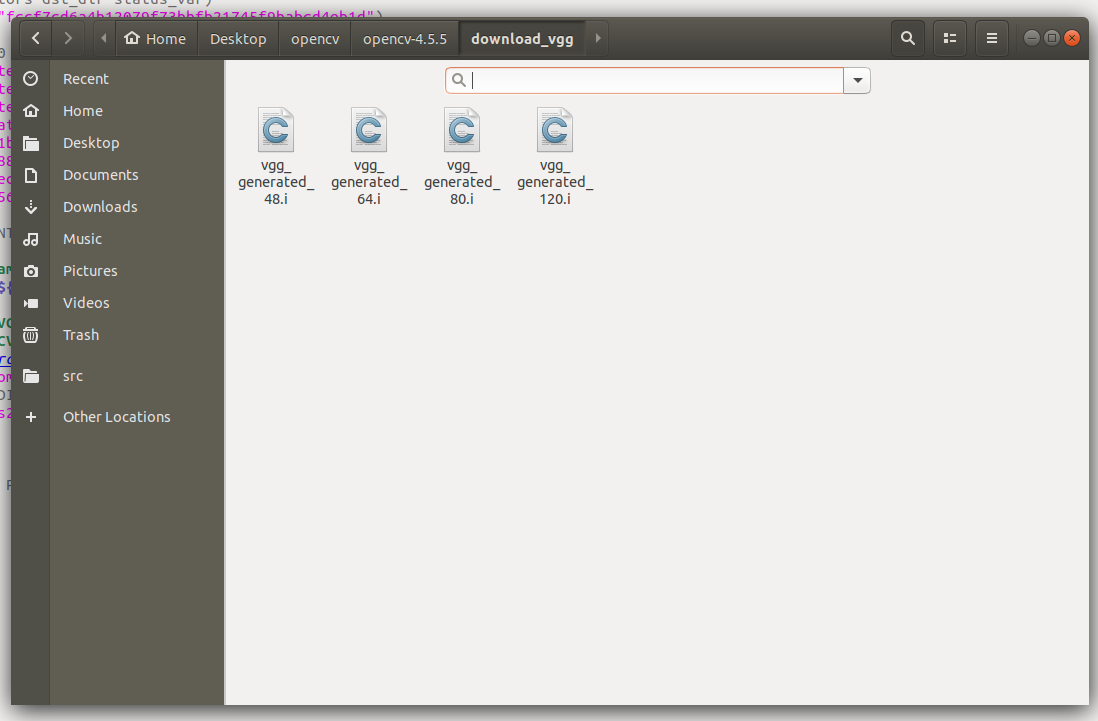
Then change the reference
Use the same method to solve other error reports

Reminder: before ending this step, be sure to check the configure output list to ensure that there are no red errors, otherwise the errors will be reflected in the make process in step 4. Theoretically, the cmake process should download all dependencies, and the make process only needs to read the local file. If the make process reports an error, missing xx or downloading XX fails, the reason is that the cmake process does not download XX well.
Step 4: Cmake
make
[wait patiently, a little long...]
Pay attention to make plus. Sometimes make -j4 will report an error
c++: internal compiler error: Killed (program cc1plus)
make succeeded!!!
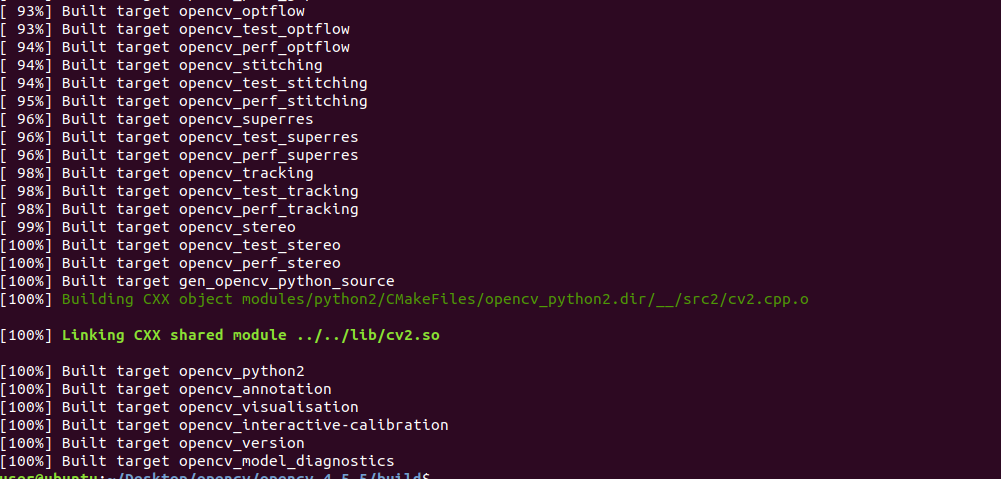
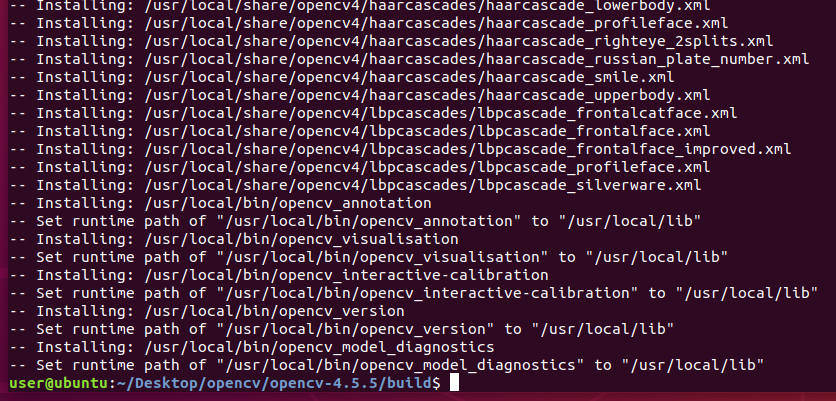
Step 5: install Library
sudo make install
Step 6: configure system environment variables
Open file
sudo gedit /etc/ld.so.conf.d/opencv.conf
Add to document
/usr/local/lib
configuration database
sudo ldconfig
change environment variable
sudo gedit /etc/bash.bashrc
Add at the end of the file
export PKG_CONFIG_PATH=/usr/local/opencv/lib/pkgconfig
export LD_LIBRARY_PATH=/usr/local/opencv/lib
Step 7: Test
Just create a folder
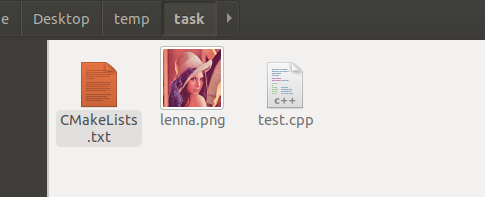
test.cpp
#include <fstream>
#include <string>
#include<iostream>
#include "opencv2/opencv_modules.hpp"
#include <opencv2/core/utility.hpp>
#include "opencv2/imgcodecs.hpp"
#include "opencv2/highgui.hpp"
#include "opencv2/stitching/detail/autocalib.hpp"
#include "opencv2/stitching/detail/blenders.hpp"
#include "opencv2/stitching/detail/timelapsers.hpp"
#include "opencv2/stitching/detail/camera.hpp"
#include "opencv2/stitching/detail/exposure_compensate.hpp"
#include "opencv2/stitching/detail/matchers.hpp"
#include "opencv2/stitching/detail/motion_estimators.hpp"
#include "opencv2/stitching/detail/seam_finders.hpp"
#include "opencv2/stitching/detail/warpers.hpp"
#include "opencv2/stitching/warpers.hpp"
// #include <opencv2/nofree/nofree.hpp>
#include<opencv2/xfeatures2d.hpp>


//#include <ceres/ceres.h>
#include "ctime"
#include <iostream>

using namespace std;
using namespace cv;
using namespace cv::detail;

string ba_refine_mask = "xxxxx";
int main(int argc, char** argv) {
	Mat img=imread("/home/user/Desktop/temp/task/lenna.jpg");
	imshow("success",img);
	return 0;
}
CMakeLists.txt
cmake_minimum_required( VERSION 2.8 )
project( taskk)
find_package( OpenCV REQUIRED )
add_executable( taskk test.cpp )
target_link_libraries(taskk  ${OpenCV_LIBS} )
cmake .
make
./tassk
If you encounter this problem

Just add this sentence
sudo apt-get install libcanberra-gtk-module
Finish, sprinkle flowers ★, °: ☆( ̄▽ ̄)/$:. °★ .
Reference blog, Thanksgiving
https://www.i4k.xyz/article/Kenny_GuanHua/107023525
https://www.cnblogs.com/phyger/p/14069437.html