1. Download Android Studio
Download address: Android Developers | Android Developers
2. Download android SDK
Download address: Native developer support
3. Unzip Android SDK - > View release MD file - > check whether the current HBuilderX is the same as the specified packaging version - > update HBuilderX to the corresponding version
3.1 unzip the android SDK file as follows
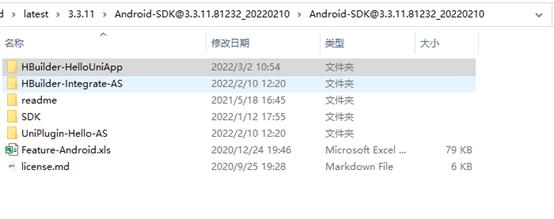
3.2. Check release Version in MD
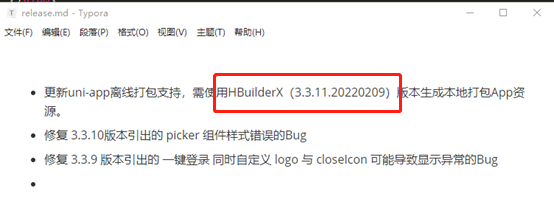
3.3. Check the version of HBuilderX (if not, please update or find a way to HBulderX to the corresponding version)

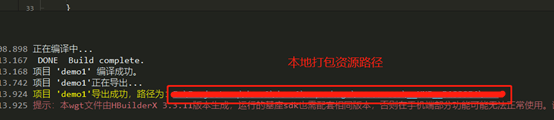
4. After ensuring the consistency of versions, open your own project in HbuilderX: release - > native app - local packaging (L) - > generate local packaging app resources (R)
5. Android Studio opens the first file in the extracted android SDK file: offline packaging demonstration application
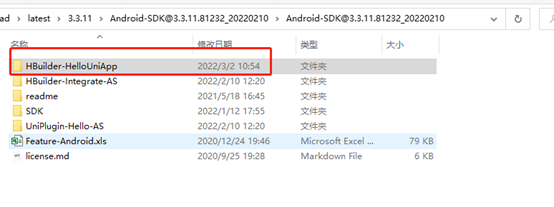
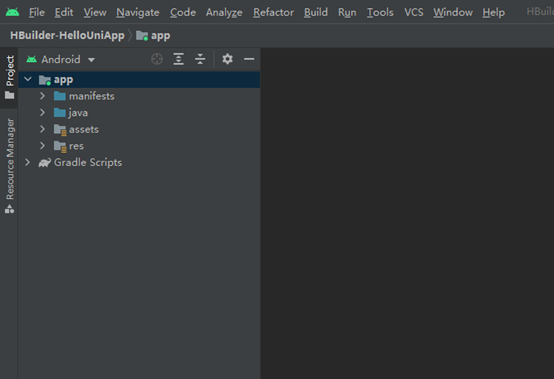
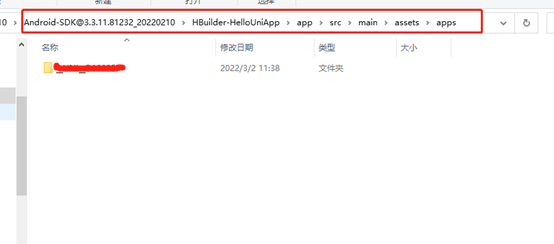
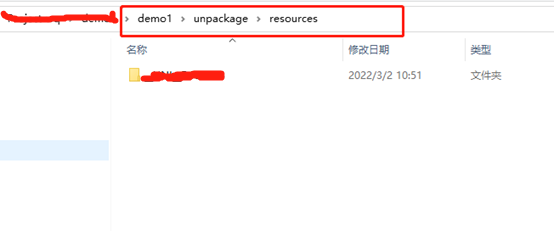
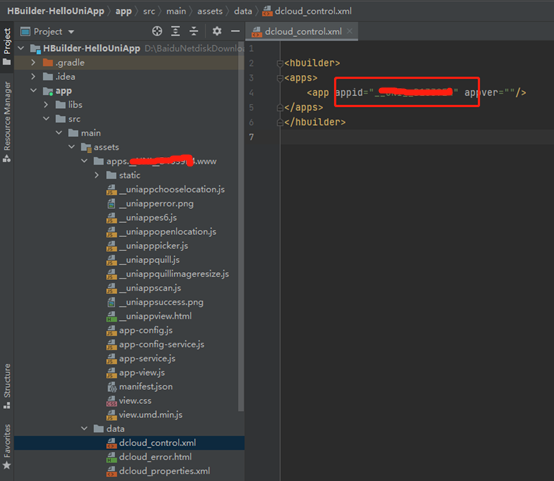
6. Replace the offline packaging demo application: replace the folder under hbuilder helloniapp - > app - > SRC - > main - > assets - > apps directory with the folder named after your appid under - > unpackage - > resources under your own uniapp project
7. Ensure that the appid s of the following files are consistent (those marked with red lines should be the same)
Ⅰ:

Ⅱ:
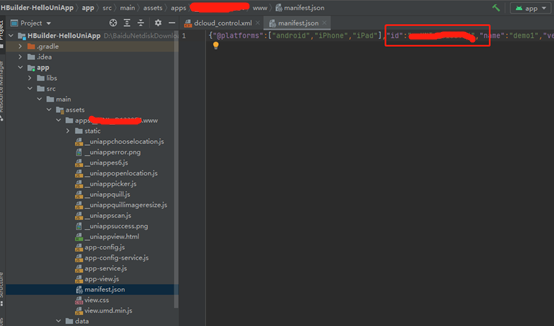
Ⅲ:
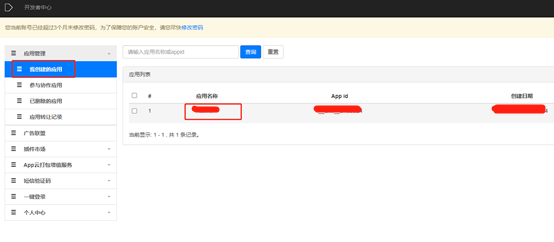
8. Log in to the developer center: log in - > application I created - > click the corresponding application name
Login link: DAccount Service
8.1 offline packaging key management: configure corresponding information
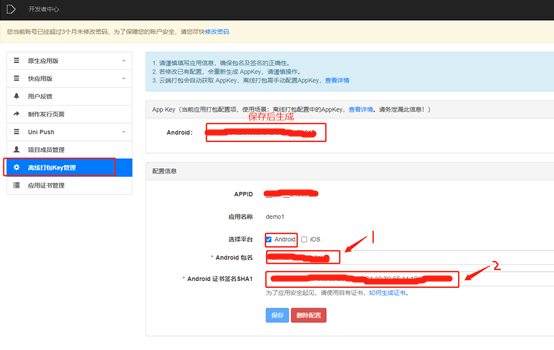
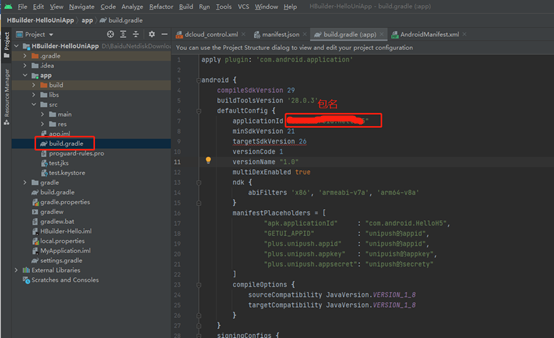
8.2 android configuration: Android package name: the package name generated in the project (the applicationId of app - > SRC - > build.gradle under the open android studio project)
8.3 android configuration: Android certificate signature SHA1: generate SHA1 through the following operations
Android platform signature certificate generation guide link: Android platform signing certificate (. keystore) generation Guide - DCloud Q & A
(Note: the whole 8.3 step is the same as the above generation guide, which can be ignored:)
cmd opens a command prompt window
Install JRE environment (C:\Program Files\Java\jdk1.8.0_221\bin is my own JRE installation directory)
Input: d:
Input: set PATH=%PATH%;"C:\Program Files\Java\jdk1.8.0_221\bin"
- First line: switch working directory to D: Path
- Line 2: add the jre command to the temporary environment variable
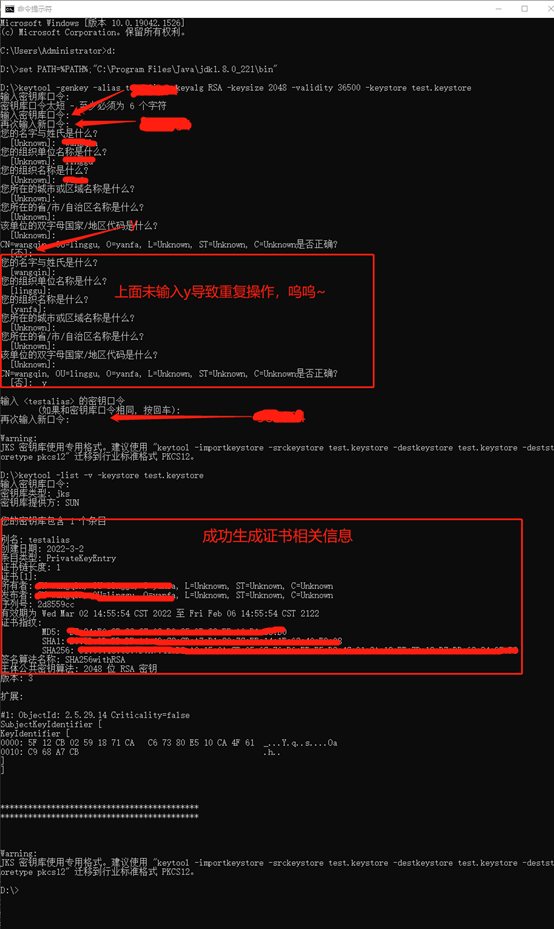
Generate signing certificate
Use the keytool -genkey command to generate a certificate:
keytool -genkey -alias testalias -keyalg RSA -keysize 2048 -validity 36500 -keystore test.keystore
- testalias is a certificate alias, which can be modified to the characters you want to set. It is recommended to use English letters and numbers
- test.keystore is the name of the certificate file, which can be modified to the file name you want to set, or you can specify the full file path
- 36500 is the validity period of the certificate, which means the validity period of 100 years, in days. It is recommended to set the time longer to avoid the expiration of the certificate
After entering, you will be prompted:
Enter keystore password:  //Enter the password of the certificate file and press enter after entering
Re-enter new password:   //Enter the certificate file password again, and press enter after entering
What is your first and last name?
  [Unknown]:  //Enter first name and last name, and press enter after entering
What is the name of your organizational unit?
  [Unknown]:  //Enter the name of the organization unit and press enter after entering
What is the name of your organization?
  [Unknown]:  //Enter the organization name and press enter after entering
What is the name of your City or Locality?
  [Unknown]:  //Enter the name of the city or region and press enter after entering
What is the name of your State or Province?
  [Unknown]:  //Enter the name of the province / city / autonomous region and press enter after entering
What is the two-letter country code for this unit?
  [Unknown]:  //Enter the country / region code (two letters), China is CN, enter and press enter
Is CN=XX, OU=XX, O=XX, L=XX, ST=XX, C=XX correct?
  [no]:  //Confirm whether the above input is correct, enter y and enter

Enter key password for <testalias>
        (RETURN if same as keystore password):  //Confirm that the certificate password is the same as the certificate file password (HBuilder|HBuilderX requires the two passwords to be consistent), and enter directly
After the above command is run, the certificate will be generated, and the path is "D:\test.keystore".
View certificate information
You can use the following command to view:
keytool -list -v -keystore test.keystore
Enter keystore password: //Enter the password
The following format information will be output:
Keystore type: PKCS12
Keystore provider: SUN

Your keystore contains 1 entry

Alias name: test
Creation date: 2019-10-28
Entry type: PrivateKeyEntry
Certificate chain length: 1
Certificate[1]:
Owner: CN=Tester, OU=Test, O=Test, L=HD, ST=BJ, C=CN
Issuer: CN=Tester, OU=Test, O=Test, L=HD, ST=BJ, C=CN
Serial number: 7dd12840
Valid from: Fri Jul 26 20:52:56 CST 2019 until: Sun Jul 02 20:52:56 CST 2119
Certificate fingerprints:
         MD5:  F9:F6:C8:1F:DB:AB:50:14:7D:6F:2C:4F:CE:E6:0A:A5
         SHA1: BB:AC:E2:2F:97:3B:18:02:E7:D6:69:A3:7A:28:EF:D2:3F:A3:68:E7
         SHA256: 24:11:7D:E7:36:12:BC:FE:AF:2A:6A:24:BD:04:4F:2E:33:E5:2D:41:96:5F:50:4D:74:17:7F:4F:E2:55:EB:26
Signature algorithm name: SHA256withRSA
Subject Public Key Algorithm: 2048-bit RSA key
Version: 3
Among them, Certificate fingerprints:
- MD5
MD5 fingerprint information of certificate (security code MD5) - SHA1
SHA1 fingerprint information of certificate (security code SHA1) - SHA256
SHA256 fingerprint information of certificate (security code SHA245)
The results of my above operations are as follows:
8.4 android configuration: after filling in the package name and SHA1, save and generate android appkey
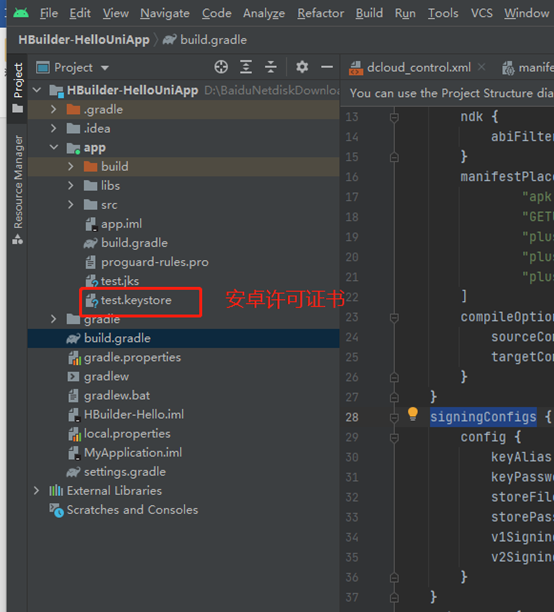
9. Test the Android license certificate (* * *. Keystore) The keystore is placed in the root directory of the app
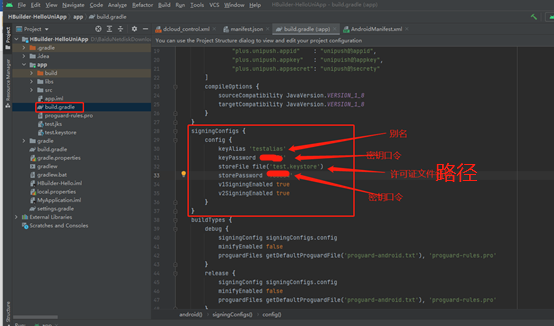
10. Modify build.com under android studio project app signingConfigs in gradle
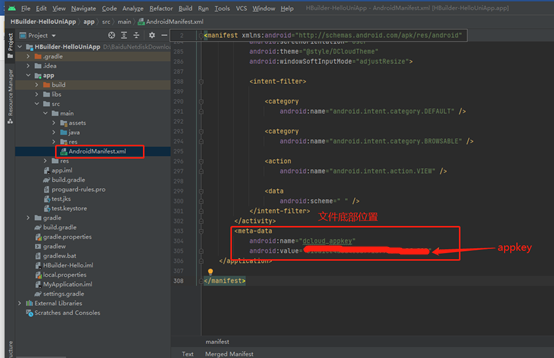
11. Modify androidmanifest. In App - > SRC - > main under android studio project The appkey of the XML file is generated above
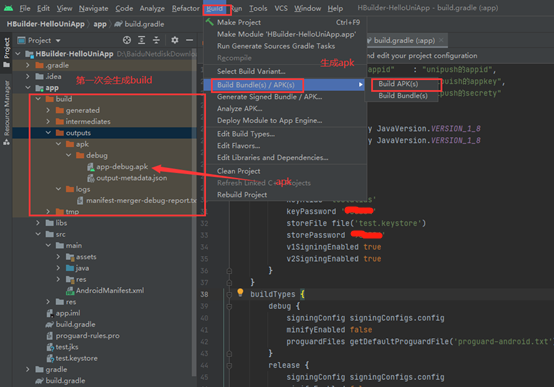
12. Package apk
Reference learning link: Hand to hand implementation of uni app Android local packaging_ Leo Tang's blog - CSDN blog_ uniapp local packaging and cloud packaging
Reference learning link: Unconfigured appkey or incorrect configuration of uniapp Android offline packaging_ Good night blog - CSDN blog_ Appkey is not configured or configured incorrectly
Rookies try to write learning records for the first time. If there are mistakes, I hope the boss will forgive me and give me advice. O(∩ ∩) O thank you