Plane introduction
For the gray-scale image, each pixel value of the gray-scale image is 0-255, which exactly corresponds to the eight bit binary. For example, the binary representation of 255 is 11111111. The 0-bit plane refers to a binary graph composed of the first binary bit of all pixel values, and the first bit plane refers to a binary graph composed of the second binary bit of all pixel values.
Potential plane decomposition
After understanding the bit plane, you can know that the bit plane decomposition can be carried out to decompose all eight bit planes of the gray image, and the higher the bit has a greater impact on the original image (the value of the later bit is greater and has a greater impact on the color). Therefore, if you want to embed information in the bit plane without being easily found, the best bit plane is bit plane 0. Of course, bit plane 1 is also possible.
problem analysis
This time, a digital image processing operation is realized, in which your last name is embedded in the 0th bit plane of the gray image and your first name is embedded in the 1st bit plane of the gray image.
Overall steps:
1. Embedding process: replace the 0-th bit plane of the gray image with the image information of the last name, and then replace the first bit plane with the image information of the first name. (the last name and first name here can only be a binary graph, so there should be no explanation.)
2. Extraction process: extract the 0th bit plane and the 1st bit plane of the embedded gray image to obtain the information of last name and first name respectively.
There is a problem here, that is, this is a lossy embedding and extraction of the original graph, because I have not saved the information of bit 0 and bit 1 of the original graph, so there is room for optimization
Detailed process
To embed, first change the values of bit 0 and bit 1 of the original gray image to 0, that is, the value of the upper 6 bits remains unchanged, and only the values of bit 0 and bit 1 are changed. Then embed the information. If you want to change the bit value of the gray image to 0, it is actually very simple. You only need to use bitwise and operation reasonably, while embedding information only needs bitwise OR operation.

In this way, the embedding of the 0th bit plane is completed, and then the first bit plane can be embedded, but there is a slight difference between the embedding of the first bit plane and the 0th bit plane:

experimental result
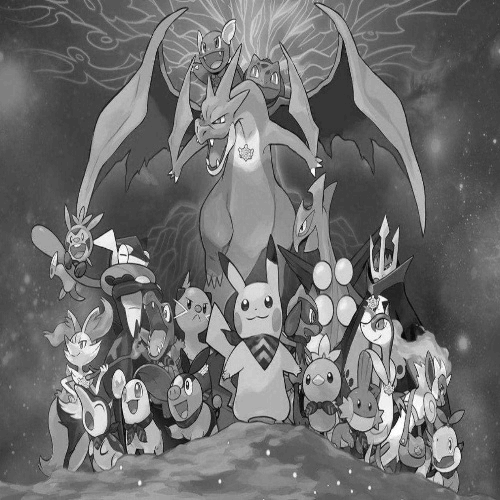
Original grayscale image and last name and first name image to be embedded


What I input here are RGB original images. The operations of converting gray image and binary image are in the code, so I don't need to consider the input image type.
Result diagram:
View the planes separately:

I won't write here. The principle is the same. We only need to obtain bit plane 0 and bit plane 1, and then change their 1 values to 255 to display the original image.
code implementation
import cv2
import numpy as np

img = cv2.imread("img1.jpg", 0) #Read in by grayscale image
r, c = img.shape

Img1 = cv2.resize(cv2.imread("img8.png",0),(c,r)) #Read in the drawing to be embedded to ensure that it is as large as the original drawing
Img2 = cv2.resize(cv2.imread("img9.png",0),(c,r))

img1_gray = Img1 / 255
img2_gray = Img2 / 255
img_gray_h,img_gray_w = img1_gray.shape
for i in range(img_gray_h):           #To binary graph
    for j in range(img_gray_w):
        if (img1_gray[i][j] <= 0.5):
            img1_gray[i][j] = 0
        else:
            img1_gray[i][j] = 1

        if (img2_gray[i][j] <= 0.5):
            img2_gray[i][j] = 0
        else:
            img2_gray[i][j] = 1

img1_gray = img1_gray.astype(np.uint8) #Type conversion (bitwise operation cannot be performed for different types)
img2_gray = img2_gray.astype(np.uint8)

for i in range(img_gray_h):   #Shift left one bit
    for j in range(img_gray_w):
        if (img2_gray[i][j] == 1):
            img2_gray[i][j] = img2_gray[i][j] << 1


#The generated elements are arrays of 252
img252=np.ones((c,r),dtype=np.uint8)*252

imgH7=cv2.bitwise_and(img252,img) #The upper 6 bits remain unchanged

#Just embed the watermark
water_img=cv2.bitwise_or(imgH7,img1_gray)  #Embed the last name in the 0th bit plane
water_img=cv2.bitwise_or(water_img,img2_gray) #Embed name in 1st bit plane

cv2.imwrite('result.png',water_img) #preservation
cv2.waitKey()
cv2.destroyAllWindows()
Here is another code for splitting the bit plane diagram to observe the effect.
import cv2
import numpy as np
img2=cv2.imread("result.png")
h,w,c=img2.shape
x=np.zeros((h,w,c,8),dtype=np.uint8)
for i in range(8):
    x[:,:,:,i]=2**i
r=np.zeros((h,w,c,8),dtype=np.uint8)
cv2.imshow("img2",img2)
for i in range(8):
    r[:,:,:,i]=cv2.bitwise_and(img2,x[:,:,:,i])
    mask=r[:,:,:,i]>0
    r[mask]=255
    cv2.imshow(str(i),r[:,:,:,i])
cv2.waitKey()
OK!