preface:
In the process of successfully calling Gaode map api, I really encountered many problems. I feel that I have encountered all kinds of problems, such as importing jar package and For example, I found many conflicts between the two versions of grad.sok, but I did not try to resolve the conflicts between the two versions of grad.sok when I ran the file. Note In part of the content of Gradle, Android: hardwareaccessed = "true" is added for hardware acceleration, but this problem is not solved.
In order to solve this problem, I went through all the processes again. Finally, I found that the white screen on my side may be caused by two problems: when downloading the map SDK, I chose the former, which may not be in line with my version. Later, I chose the map SDK. After downloading the old version, there was no file conflict. I think the old version may be stable; Secondly, when I first built jniLibs, it was at the same level as libs. The correct one should be built under src/main /. Now I'll share my successful steps, hoping to help friends in need~
I Search Gaode open platform, register and log in, enter your own console, open my application under application management, and click to create a new application.
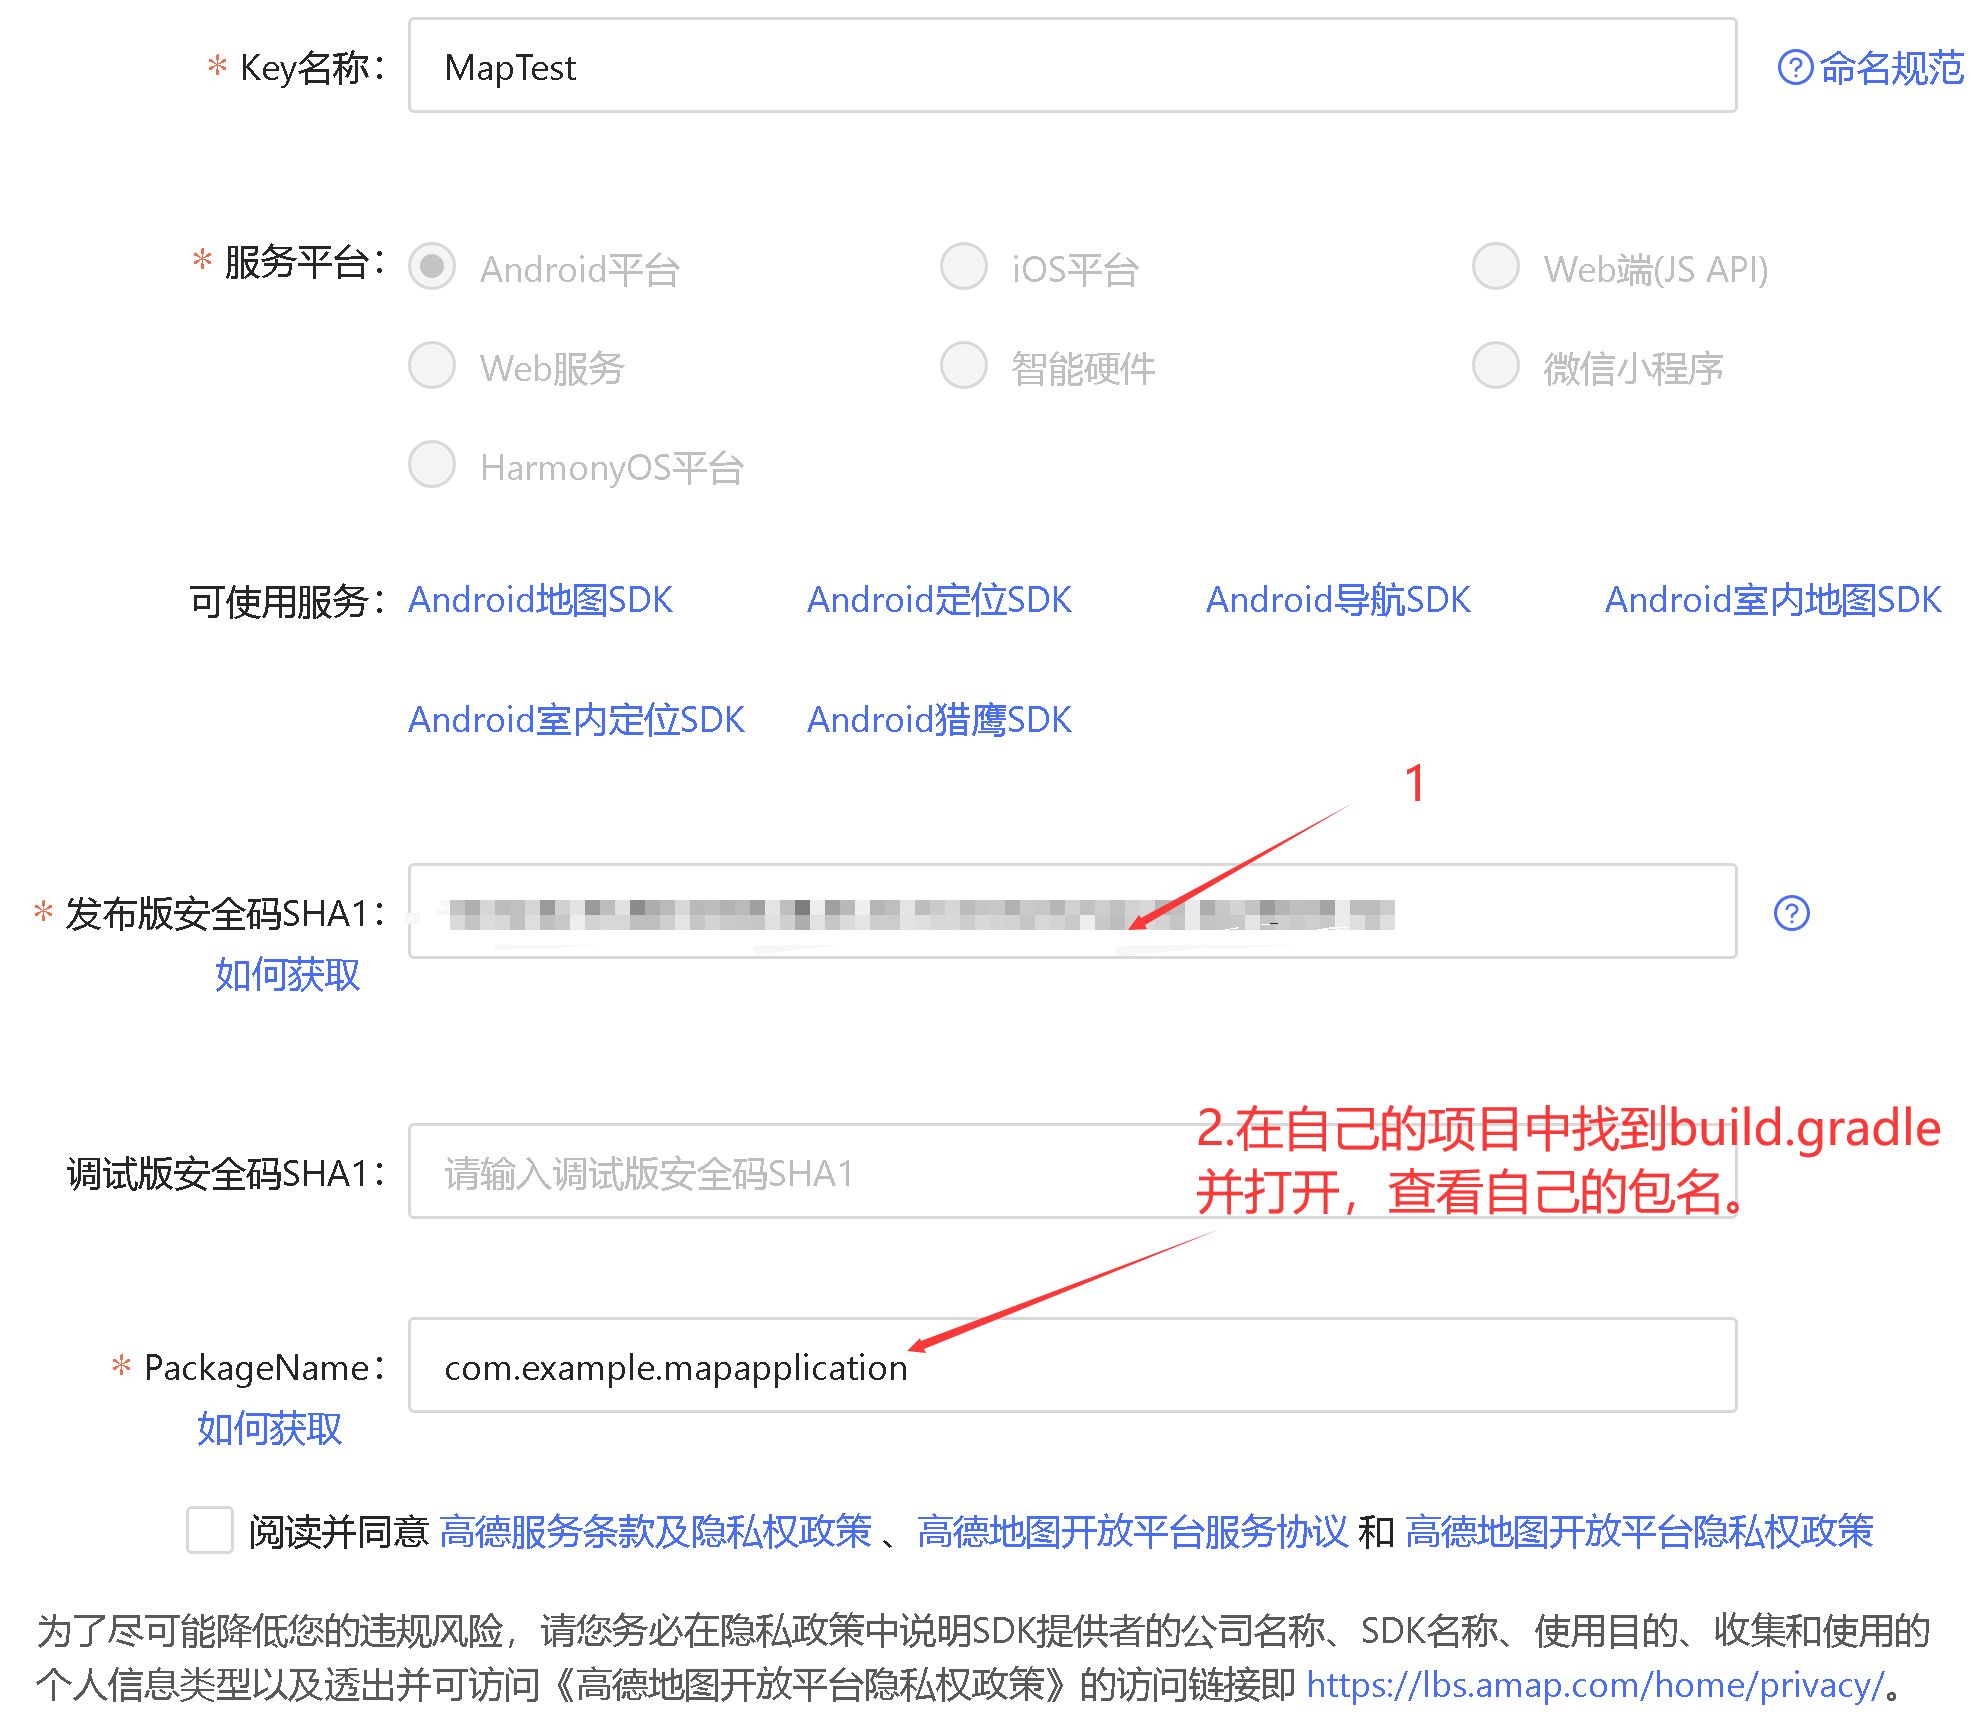
1. The process of obtaining the release security code SHA1 is as follows:
Find the bottom of Android Studio and open it yourself After finding the location of android in the computer, follow the following figure:
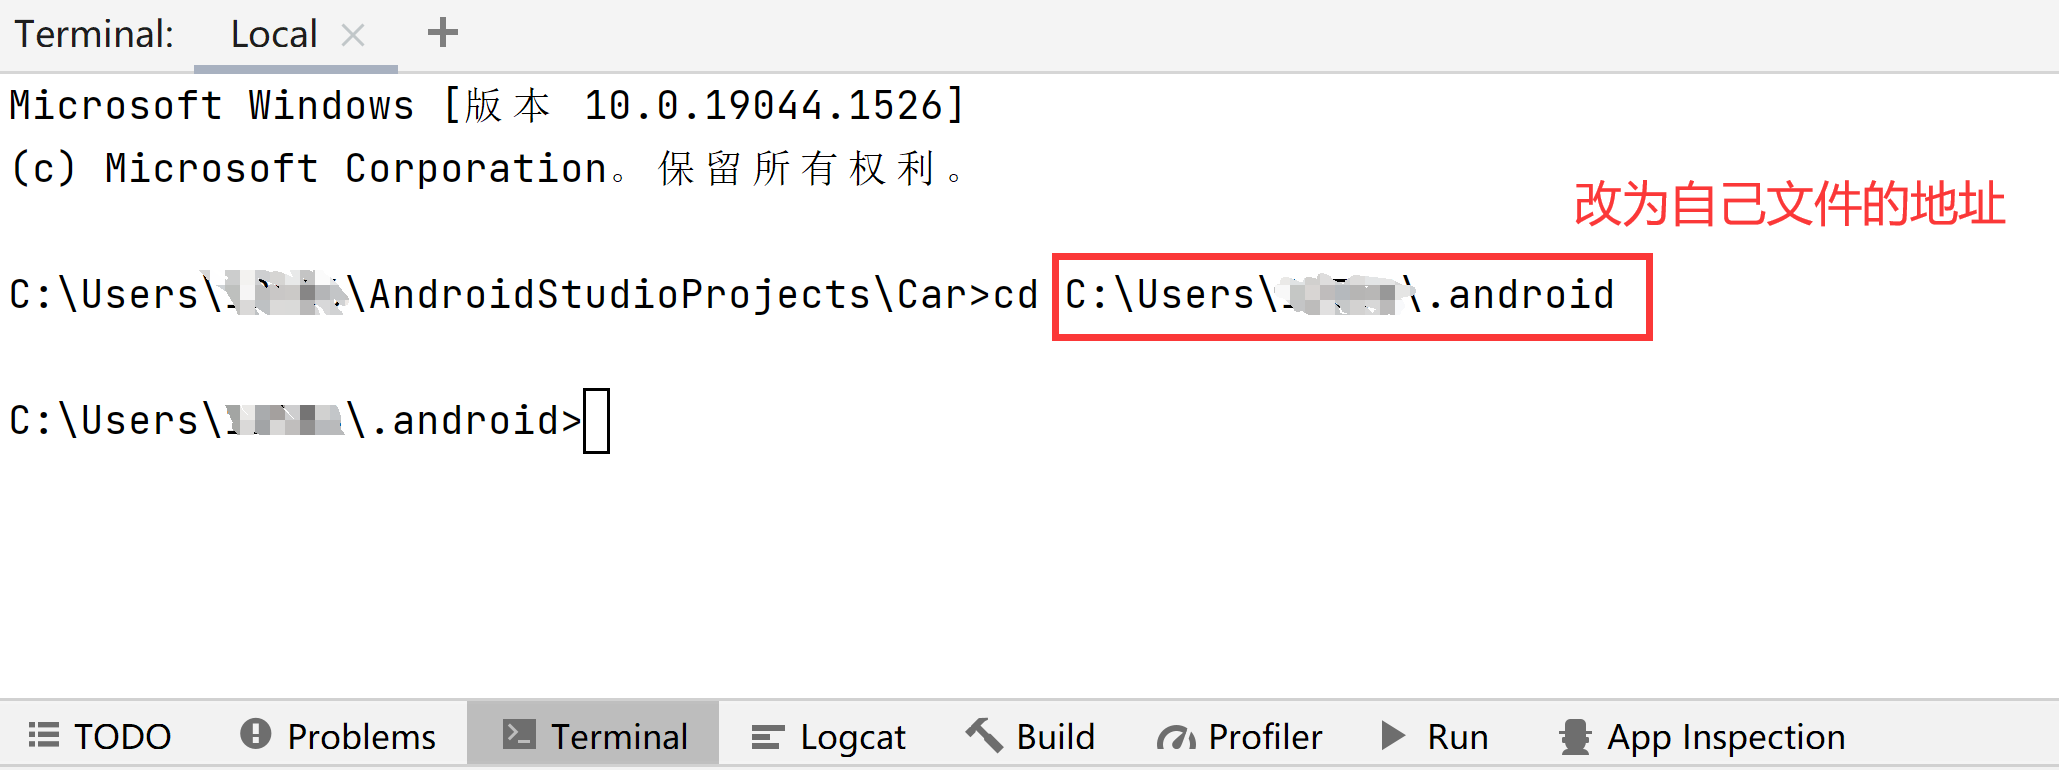
Then execute keytool -list -v -keystore to sign the location of the file (i.e. the location of. Keystore), as shown in the following figure:

If this problem occurs, you need to find the bin subdirectory of the JDK installation PATH (which contains the keytool.exe tool). If the prompt of this command cannot be found here, it indicates that% Java has not been added to the PATH environment variable_ Home% / bin PATH. After finding it, see the following figure:

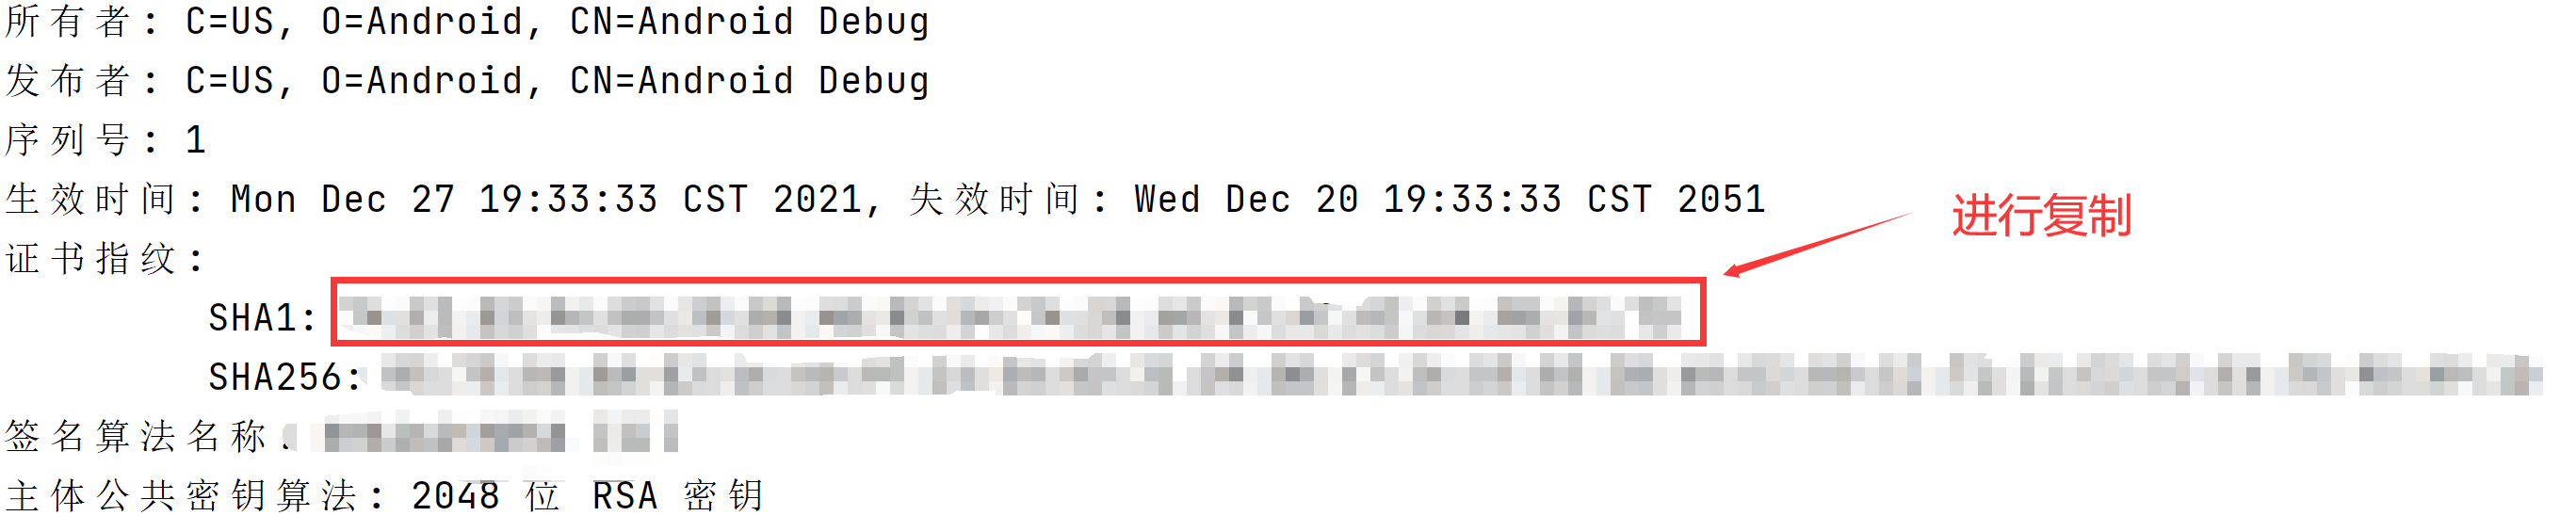
The default password is android. You can get SHA1 security code after entering it correctly, as shown in the figure below:
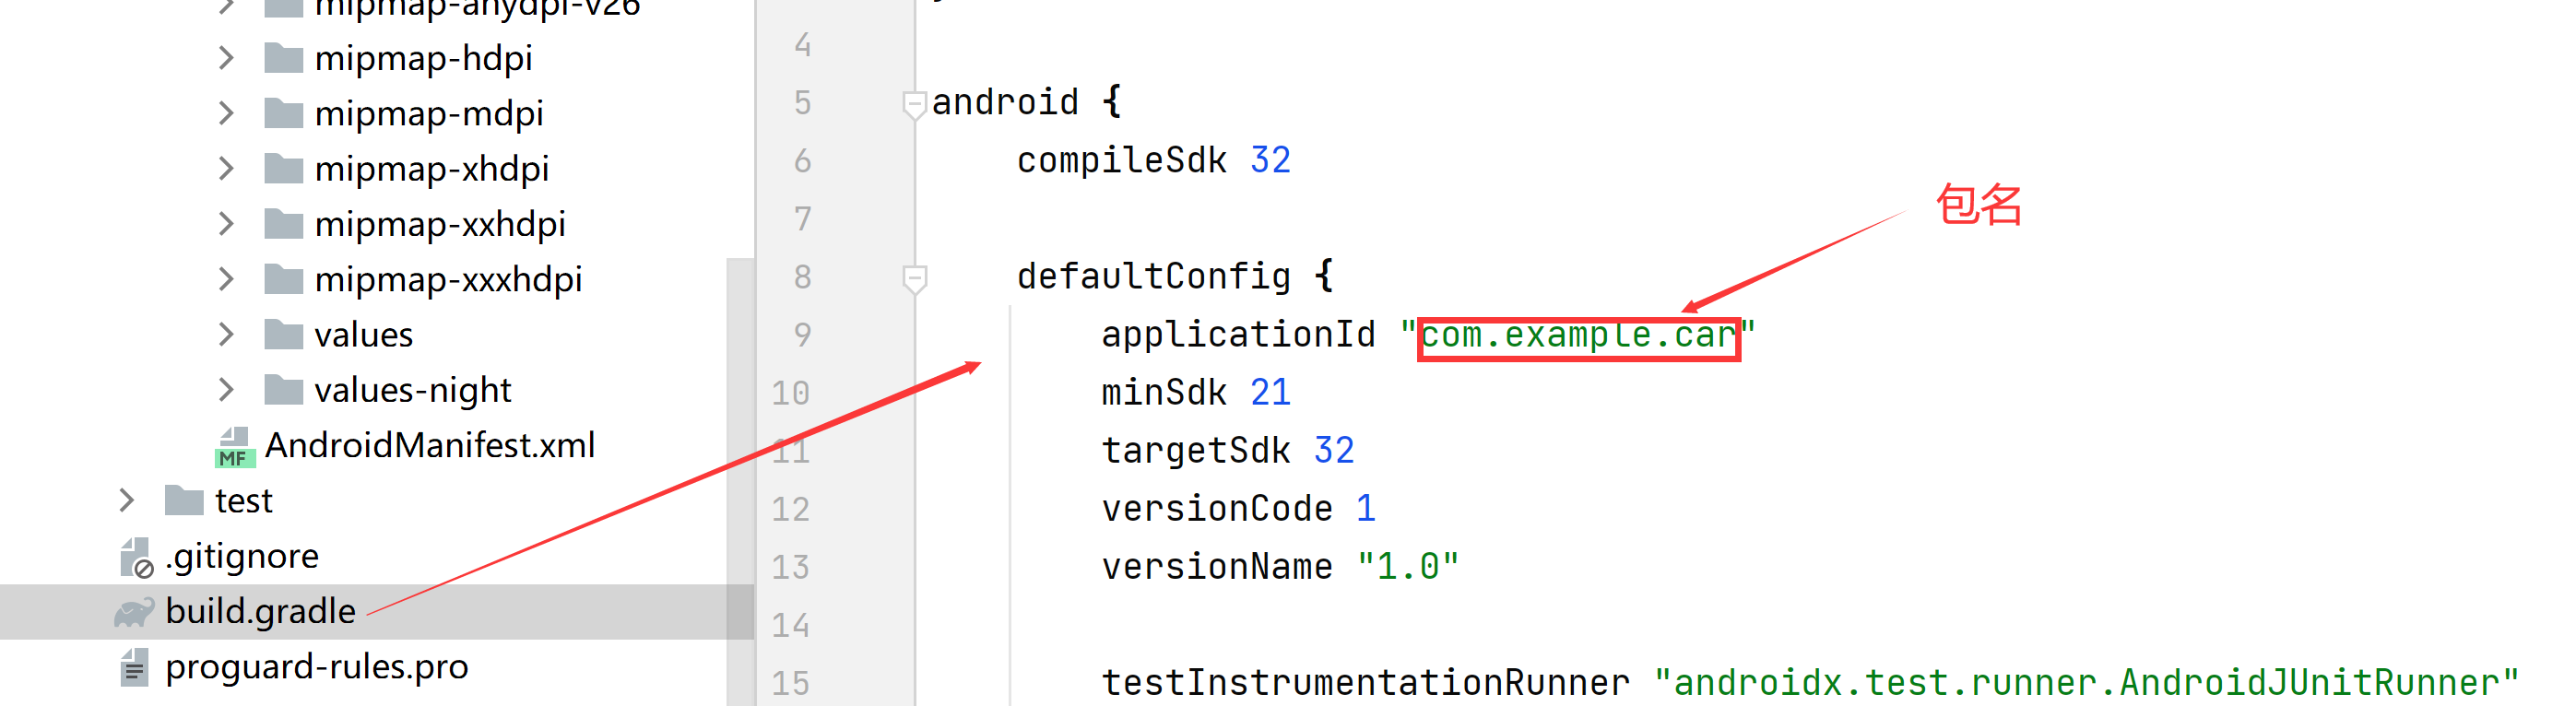
2. How do I get the package name?
After filling in, click submit to get the key, which will be used later, as shown in the figure below:
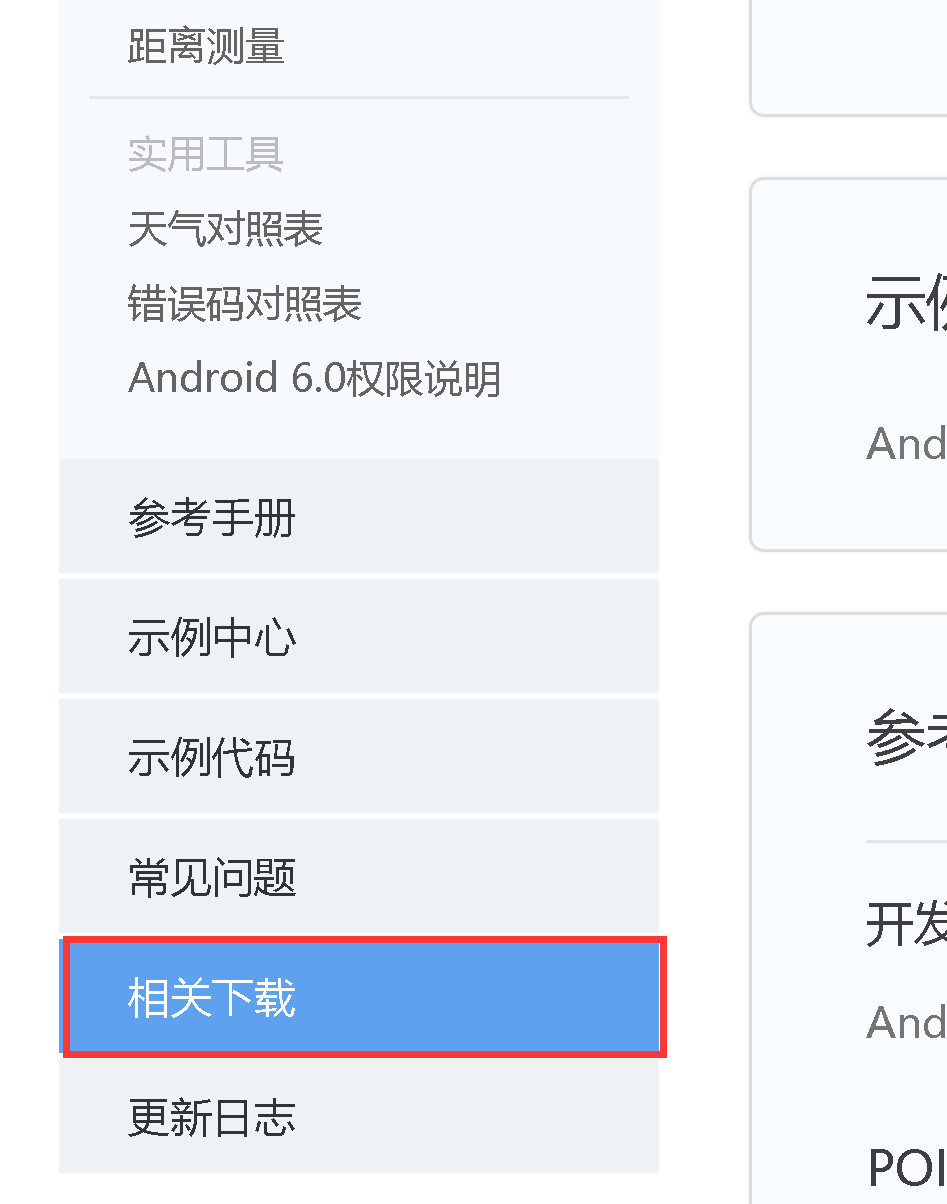
 II Download the Android map SDK and set relevant permissions.
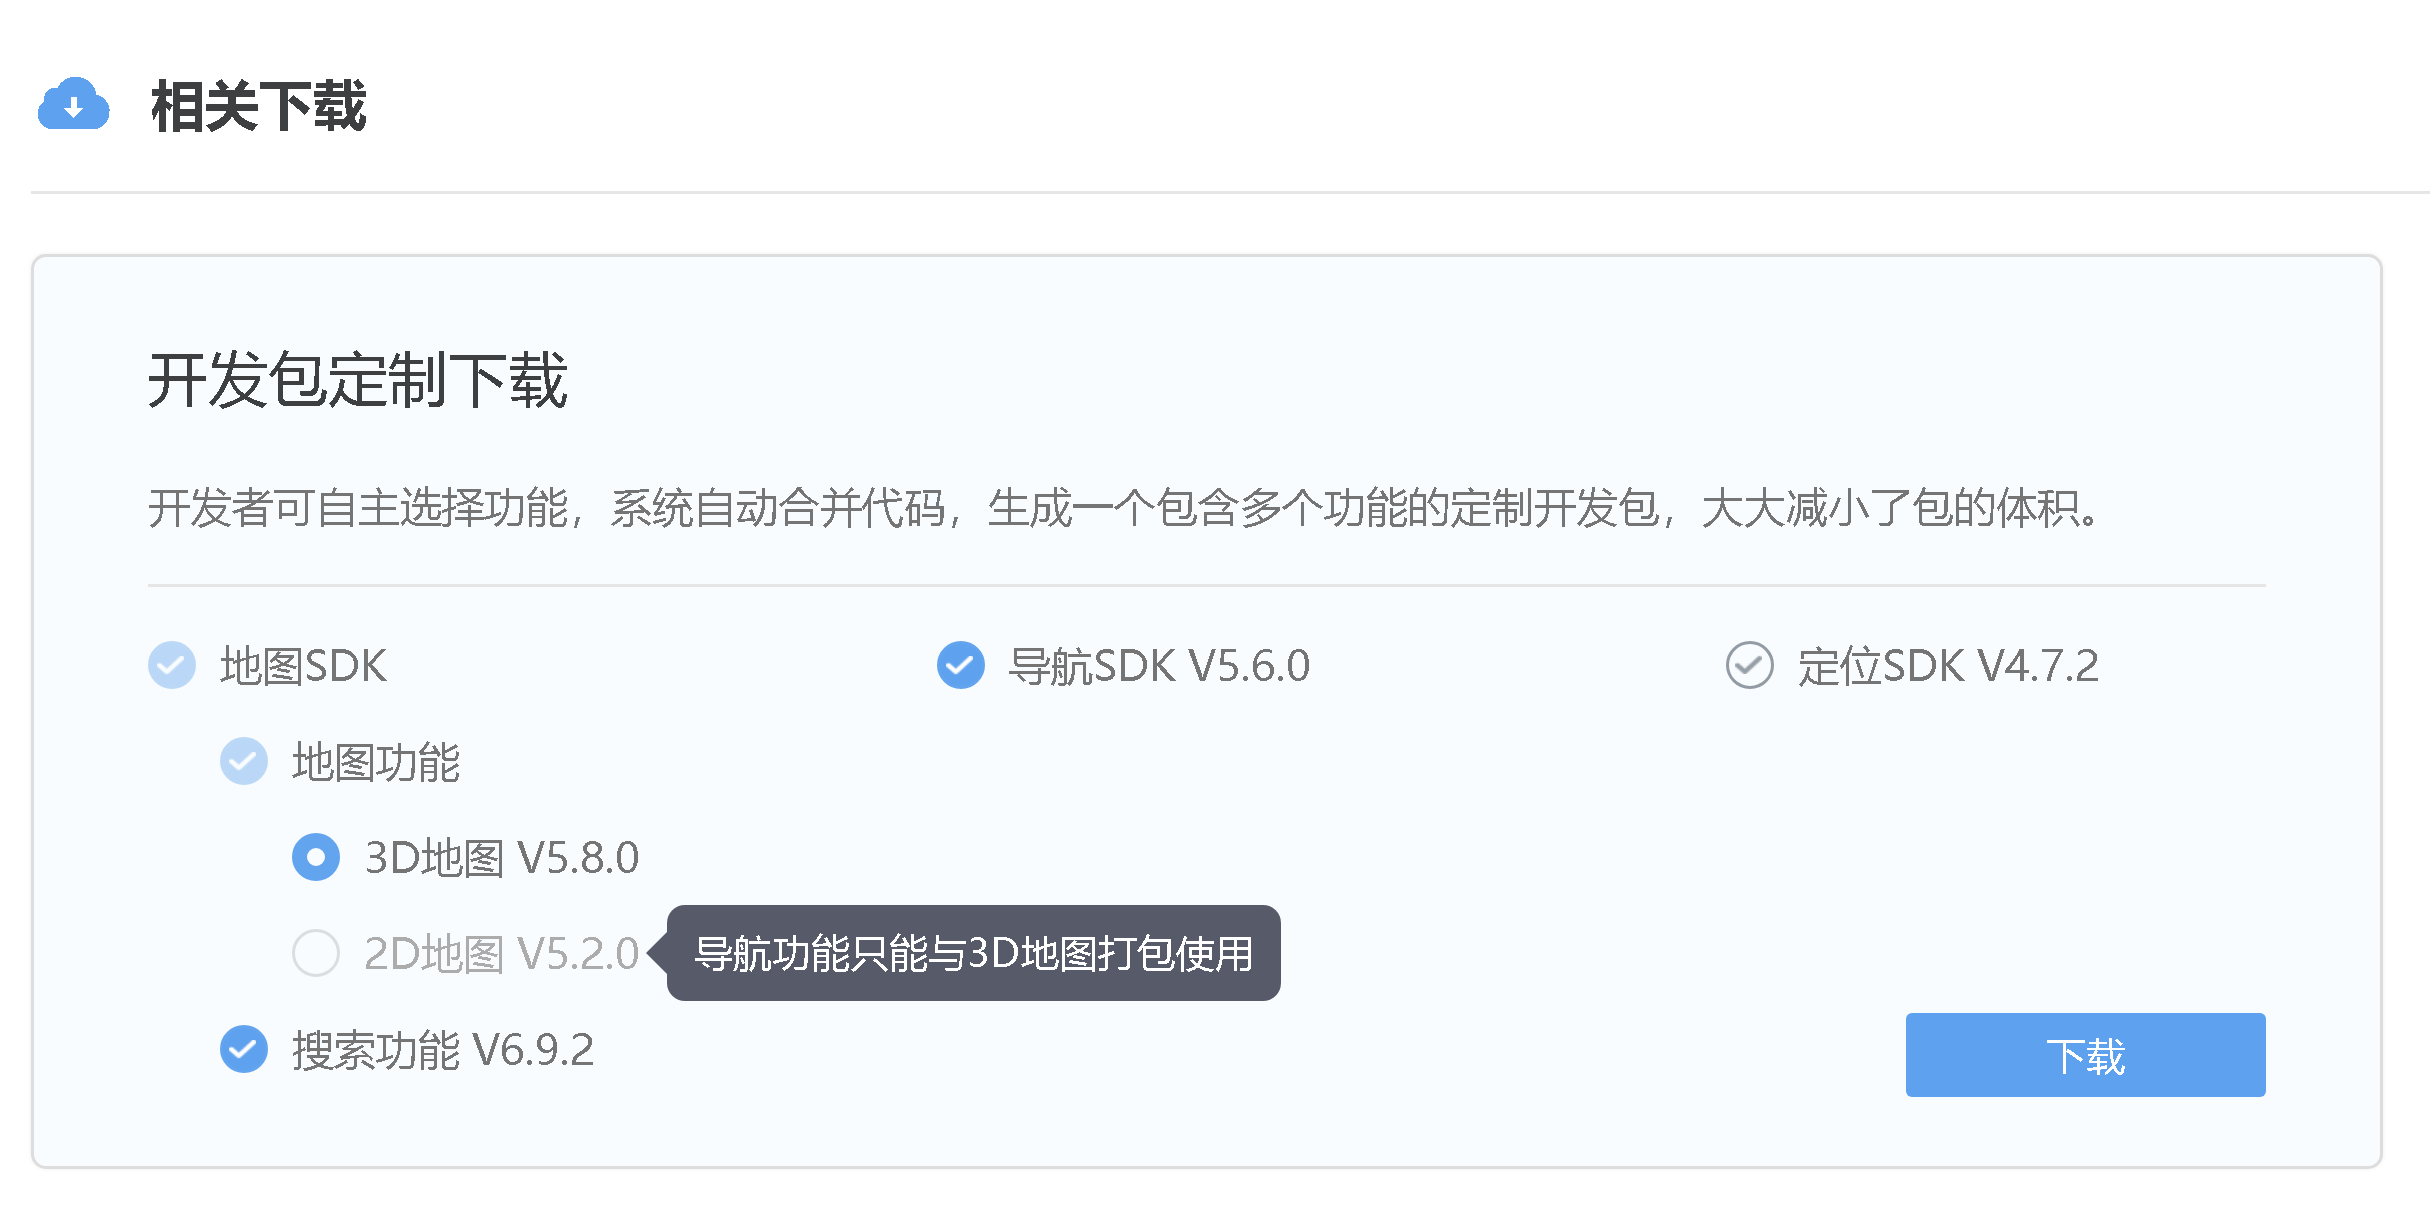
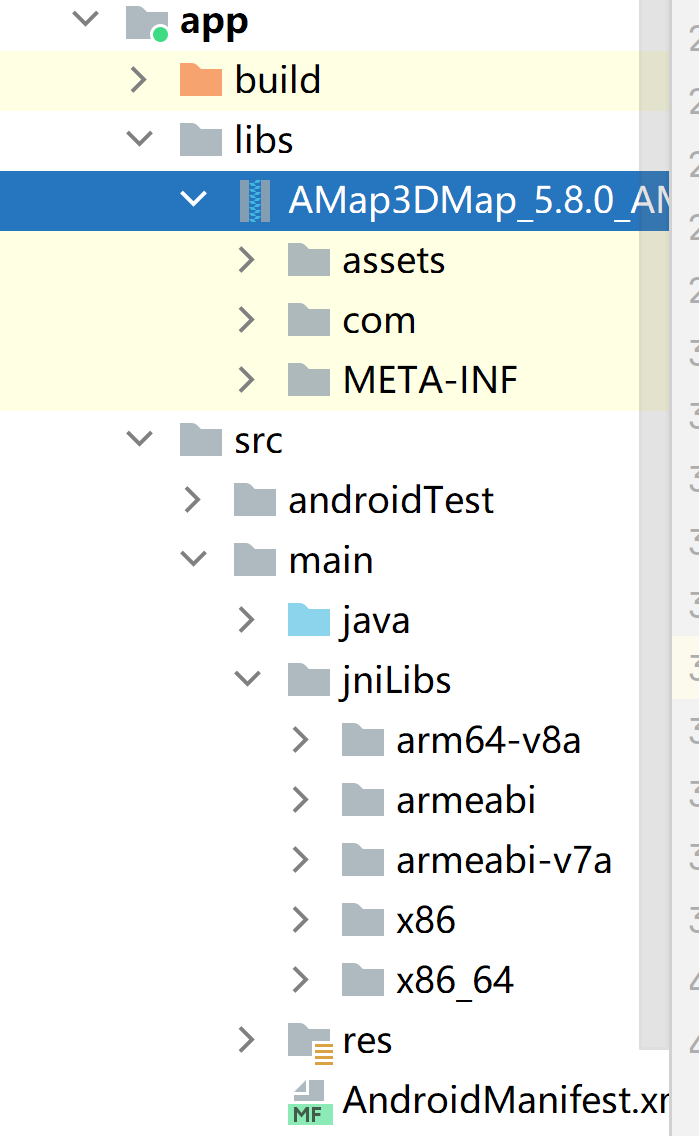
After downloading and decompressing, you will get as shown in the figure:

Then put the last jar package into the project libs and right-click Add As Library Load the jar package into build.exe In gradle, create a jniLibs subdirectory under src/main and copy the first five files in the above figure, as shown in the following figure:
Then at androidmanifest XML settings related permissions:
<!--Allows applications to open network sockets -->
    <uses-permission android:name="android.permission.INTERNET" />
    <!--Allow program settings built in sd Write permission of card-->
    <uses-permission android:name="android.permission.WRITE_EXTERNAL_STORAGE" />
    <!--Allow programs to get network status-->
    <uses-permission android:name="android.permission.ACCESS_NETWORK_STATE" />
    <!--Allow program access WiFi network information-->
    <uses-permission android:name="android.permission.ACCESS_WIFI_STATE" />
    <!--Allow programs to read and write phone status and identity-->
    <uses-permission android:name="android.permission.READ_PHONE_STATE" />
    <!--Used for network positioning-->
    <uses-permission android:name="android.permission.ACCESS_COARSE_LOCATION"></uses-permission>
    <!--For access GPS location-->
    <uses-permission android:name="android.permission.ACCESS_FINE_LOCATION"></uses-permission>
    <!--For obtaining wifi Access to, wifi Information will be used for network positioning-->
    <uses-permission android:name="android.permission.CHANGE_WIFI_STATE"></uses-permission>
    <!--Used to read the current status of the phone-->
    <uses-permission android:name="android.permission.READ_PHONE_STATE"></uses-permission>
    <!--Used to apply for call A-GPS modular-->
    <uses-permission android:name="android.permission.ACCESS_LOCATION_EXTRA_COMMANDS"></uses-permission>
At the same time, add the following code to the file application:
 <meta-data android:name="com.amap.api.v2.apikey" android:value="Previously obtained key value">
        </meta-data>
After setting these permissions, you will come to the part of displaying the map.
III Display the map.
Set the layout file with the following code:
<com.amap.api.maps.MapView
        xmlns:android="http://schemas.android.com/apk/res/android"
        android:id="@+id/mapView"
        android:layout_width="match_parent"
        android:layout_height="match_parent" >
</com.amap.api.maps.MapView>
The key code in java is shown below.
 private AMap aMap;
 MapView mMapView = null;
       //Get map control reference
        mMapView = (MapView)findViewById(R.id.mapView);
        //Execute mmapview when the activity executes onCreate Oncreate (savedinstancestate) to create a map
        mMapView.onCreate(savedInstanceState);

       //Initialize map controller object
        if (aMap == null) {
            aMap = mMapView.getMap();
        }
@Override
public void onDestroy() {
super.onDestroy();
//Execute mmapview when the activity executes onDestroy Ondestroy() to destroy the map
mMapView.onDestroy();
}
@Override
public void onResume() {
super.onResume();
//Execute mmapview when the activity executes onResume Onresume(), redraws the loaded map
mMapView.onResume();
}
@Override
public void onPause() {
super.onPause();
//Execute mmapview when the activity executes onPause Onpause(), pause the drawing of the map
mMapView.onPause();
}
@Override
public void onSaveInstanceState(Bundle outState) {
super.onSaveInstanceState(outState);
//Execute mmapview when the activity executes onSaveInstanceState Onsaveinstancestate (outstate) to save the current state of the map
mMapView.onSaveInstanceState(outState);
}After the above operations, click Run and the map will be displayed, as shown in the figure below.
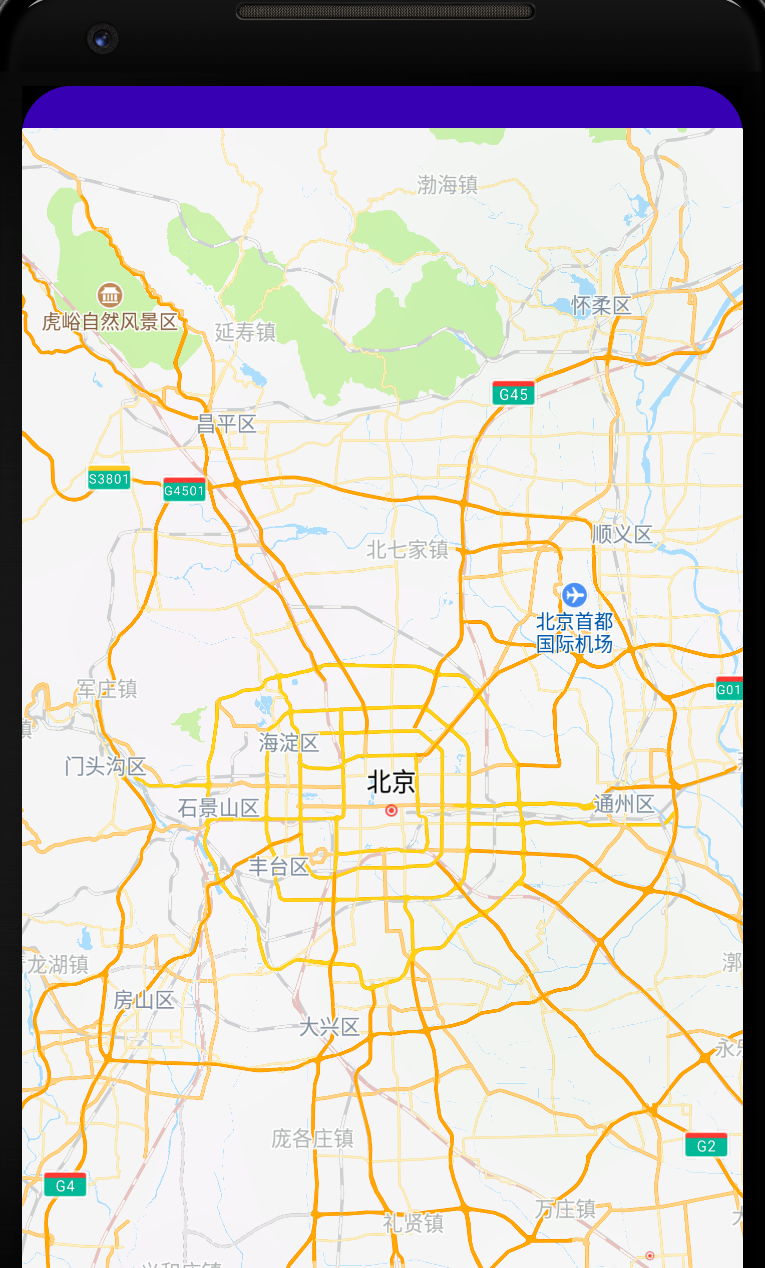
The above is my successful operation. I hope it can help you.