Catalog
1. Audio and Video Processing Software ffmpeg
(3) Case Practice in Class - Converting Multiple Pictures into Videos
1. Picture preparation, cutting video into pictures
Use software to add blurring to videos
2. Convert Picture to Grayscale
4. Select image to rotate and paste locally
3. Expansion - Combining Image Processing with Face Recognition
1. Audio and Video Processing Software ffmpeg
(1) Introduction of software
FFmpeg: Fast Forward Moving Picture Experts Group
ffmpeg is a free software that can run multiple formats of audio and video recording, conversion, streaming functions, including libavcodec (decoder library for audio and video in multiple projects), and libavformat (audio and video format conversion library).
(2) Common tools and commands
1,ffplay
ffplay is a tool for playing media files. Common commands are:
ffplay+"Audio and Video File Name in Same Directory"
#Play raw audio/video data

ffplay -i Video File Name -vf setpts=PTS/5
#Adjust the video playback rate to five times

ffplay -i Audio File Name -af atempo=2
#Adjust the audio playback rate to twice

......
2. ffmpeg main program
Common commands are:
ffmpeg –i input.mp4 –r fps output.mp4
#Set frame rate, set frame rate with -r parameter

ffmpeg -i input_file -s 320x240 output_file
#Adjust the video resolution, set the video resolution with the -s parameter, parameter value wxh, w width in pixels, h height in pixels

ffmpeg -i out.mp4 -vcodec copy -acodec copy out.flv
#Format conversion, i: input file; vcodec copy: video encoding processing; acodec copy: audio encoding processing

......
(3) Case Practice in Class - Converting Multiple Pictures into Videos
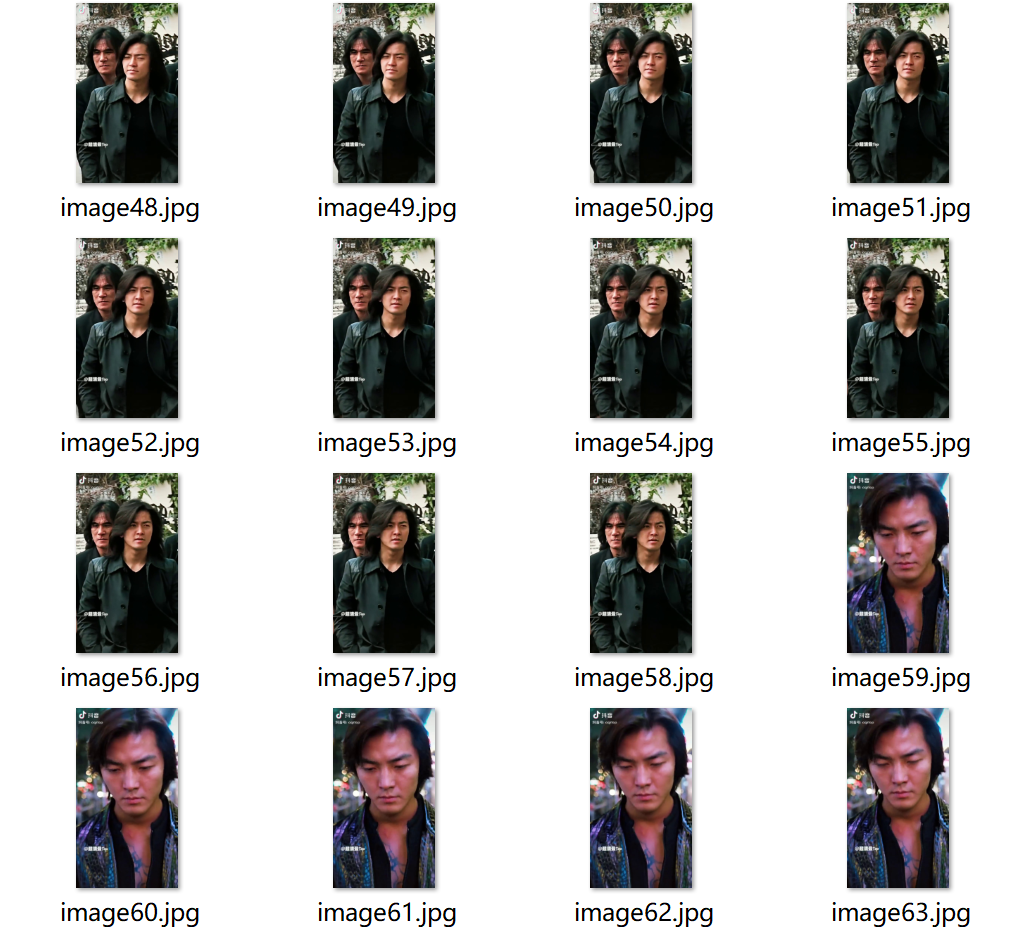
1. Picture preparation, cutting video into pictures
import cv2
import subprocess
#Import Third Party Library
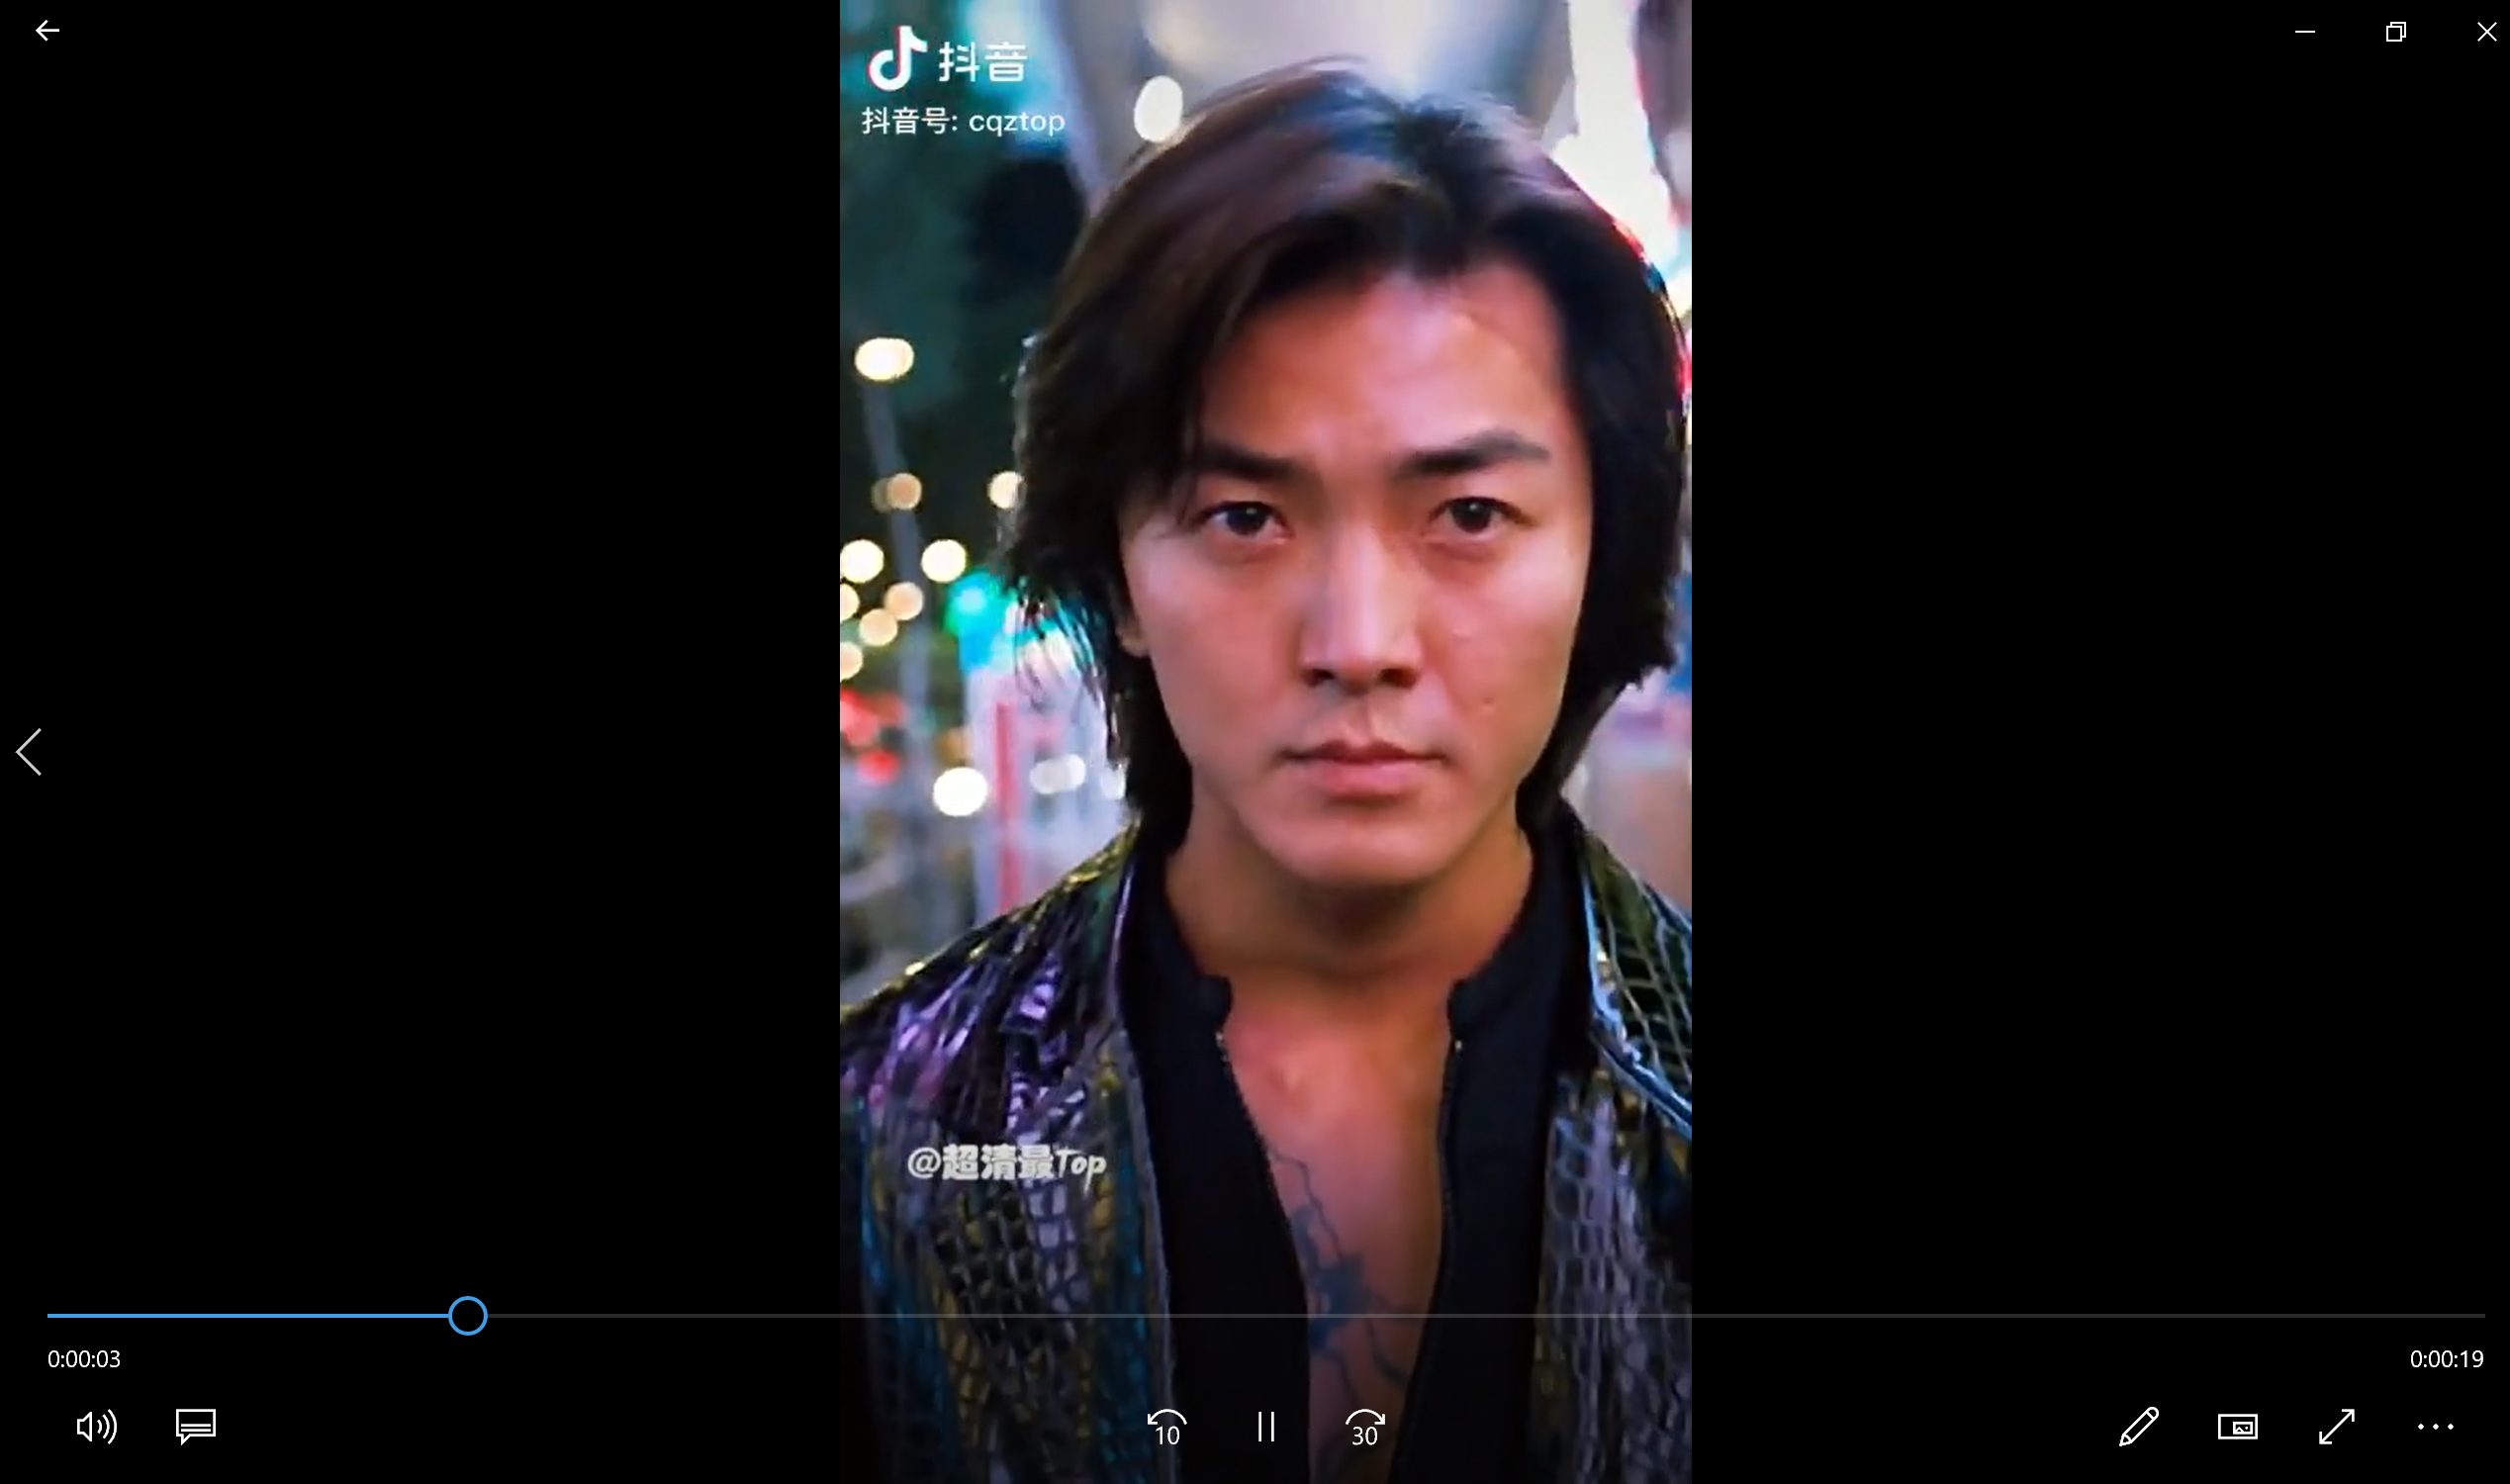
video_path="ghz.mp4"
#Set Video Path
image_save="./pic"
#Set the path to save the picture. Note: A new folder named "pic" needs to be created
cap=cv2.VideoCapture(video_path)
frame_count=cap.get(cv2.CAP_PROP_FRAME_COUNT)
#Frame-by-frame cropping video
for i in range(int(frame_count)):
_,img=cap.read()
cv2.imwrite("./pic/image{}.jpg".format(i),img)
#Output per frame
It is important to note here that ". /pic" is the path to the picture to be saved and needs to be created by itself, otherwise the picture will not be output.
The output is:
2. Run ffmpeg program
First, place the FFmpeg program in the same directory as the pic folder above and run the command in that directory at the same time. Windows can try to output "cmd" in the address bar of the current folder, return to the bus, and start the command prompt.

ffmpeg -f image2 -i ./pic/image%d.jpg -r 24 output.mp4
#Convert picture to 24 frames per second video
The output is:
(4) Self-study expansion
Use software to add blurring to videos
Grammar:
boxblur=luma_r:luma_p[:chroma_r:chram_p[:alpha_r:alpha_p]]

ffplay -f lavfi -i testsrc -vf boxblur=1:10:4:10
#The luma_r and alpha_r radii range from 0~min (w, h)/2 and the chroma_r radius range from 0~min(cw/ch)/2.
Operation:
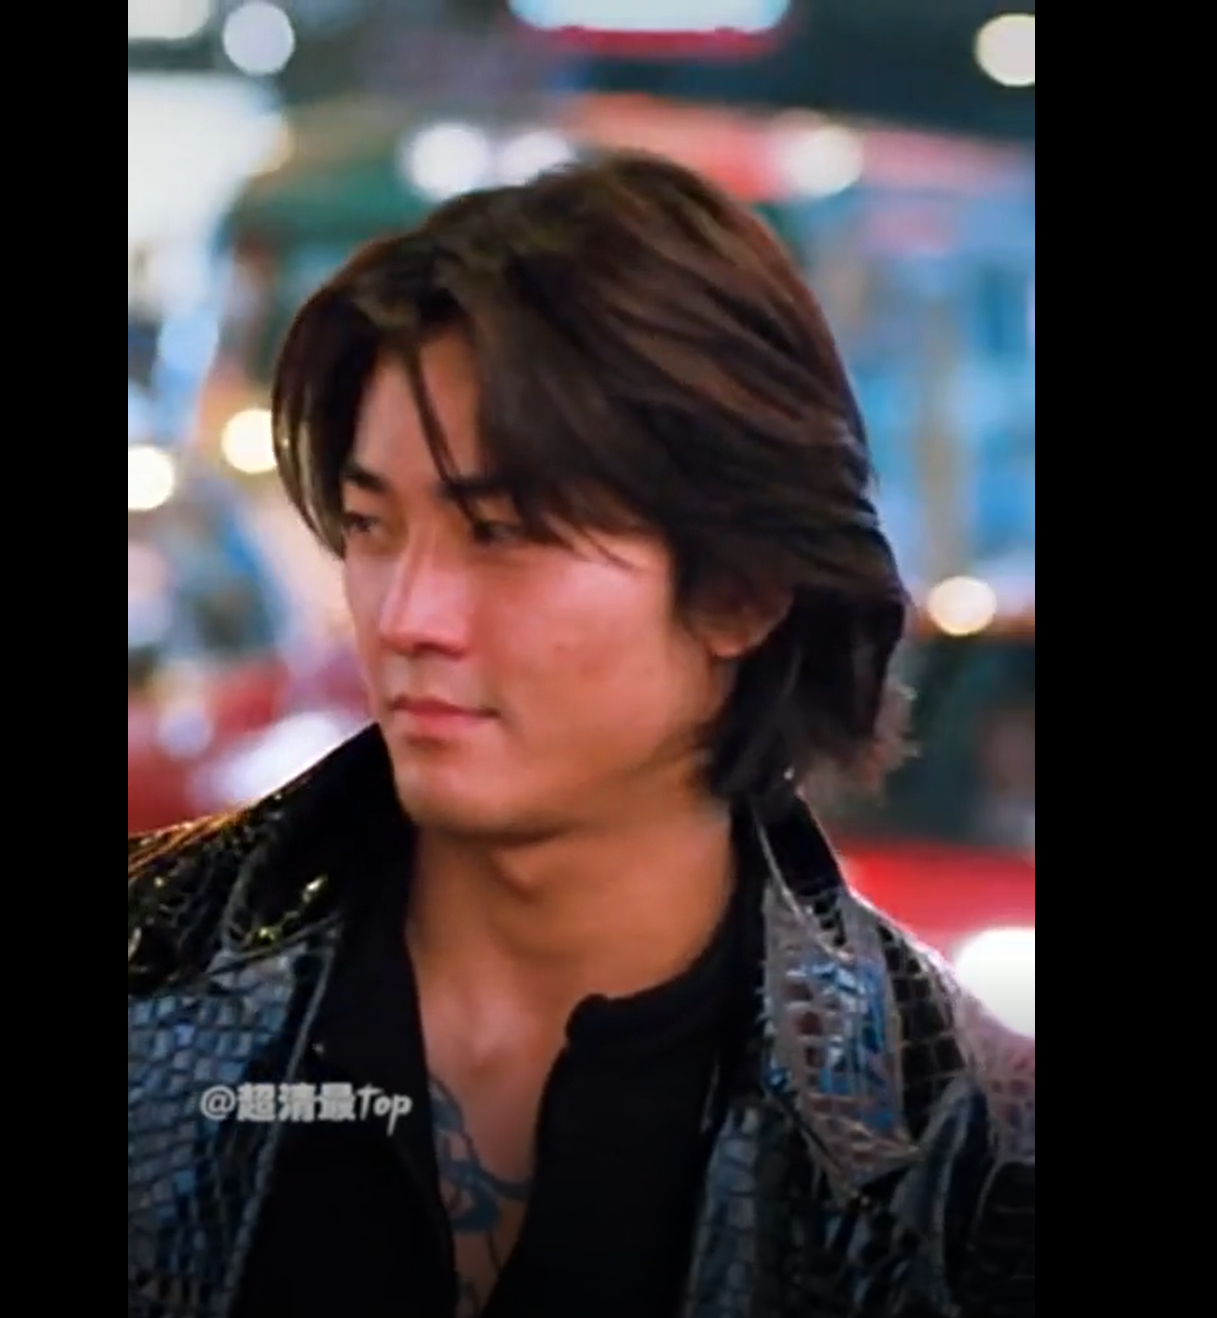
ffmpeg -i ghz.mp4 -vf boxblur=1.5:1 out.mp4
Run result:
2. Picture Processing-PIL
(1) Common functions
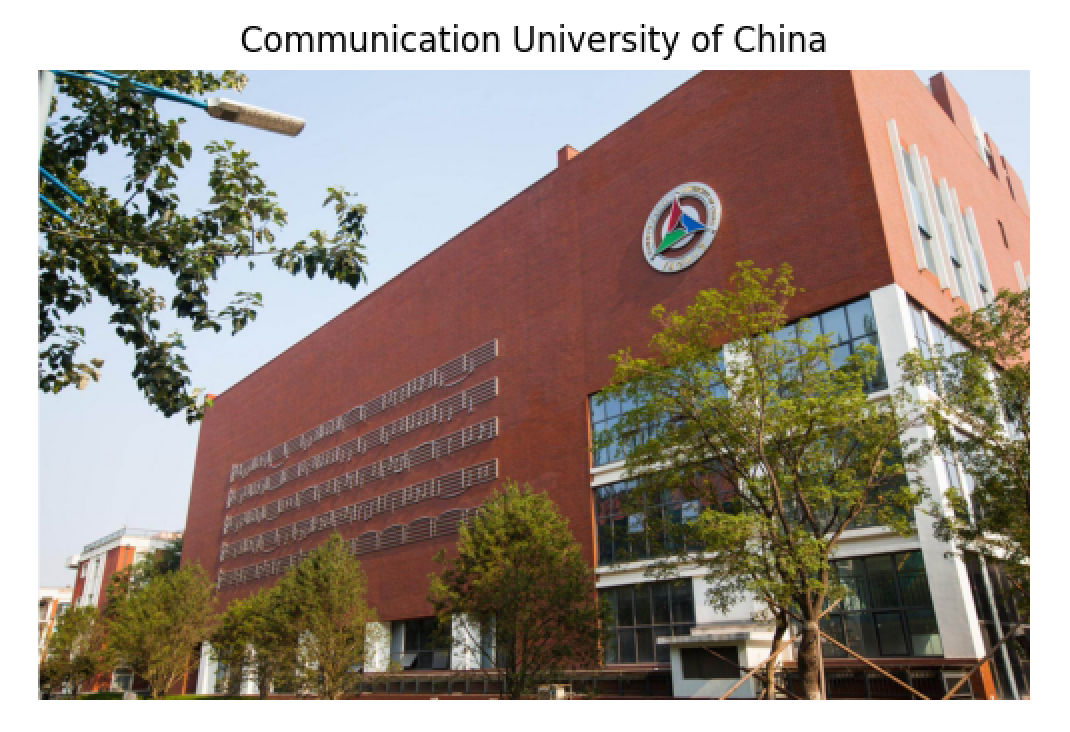
1. Add a title to the picture
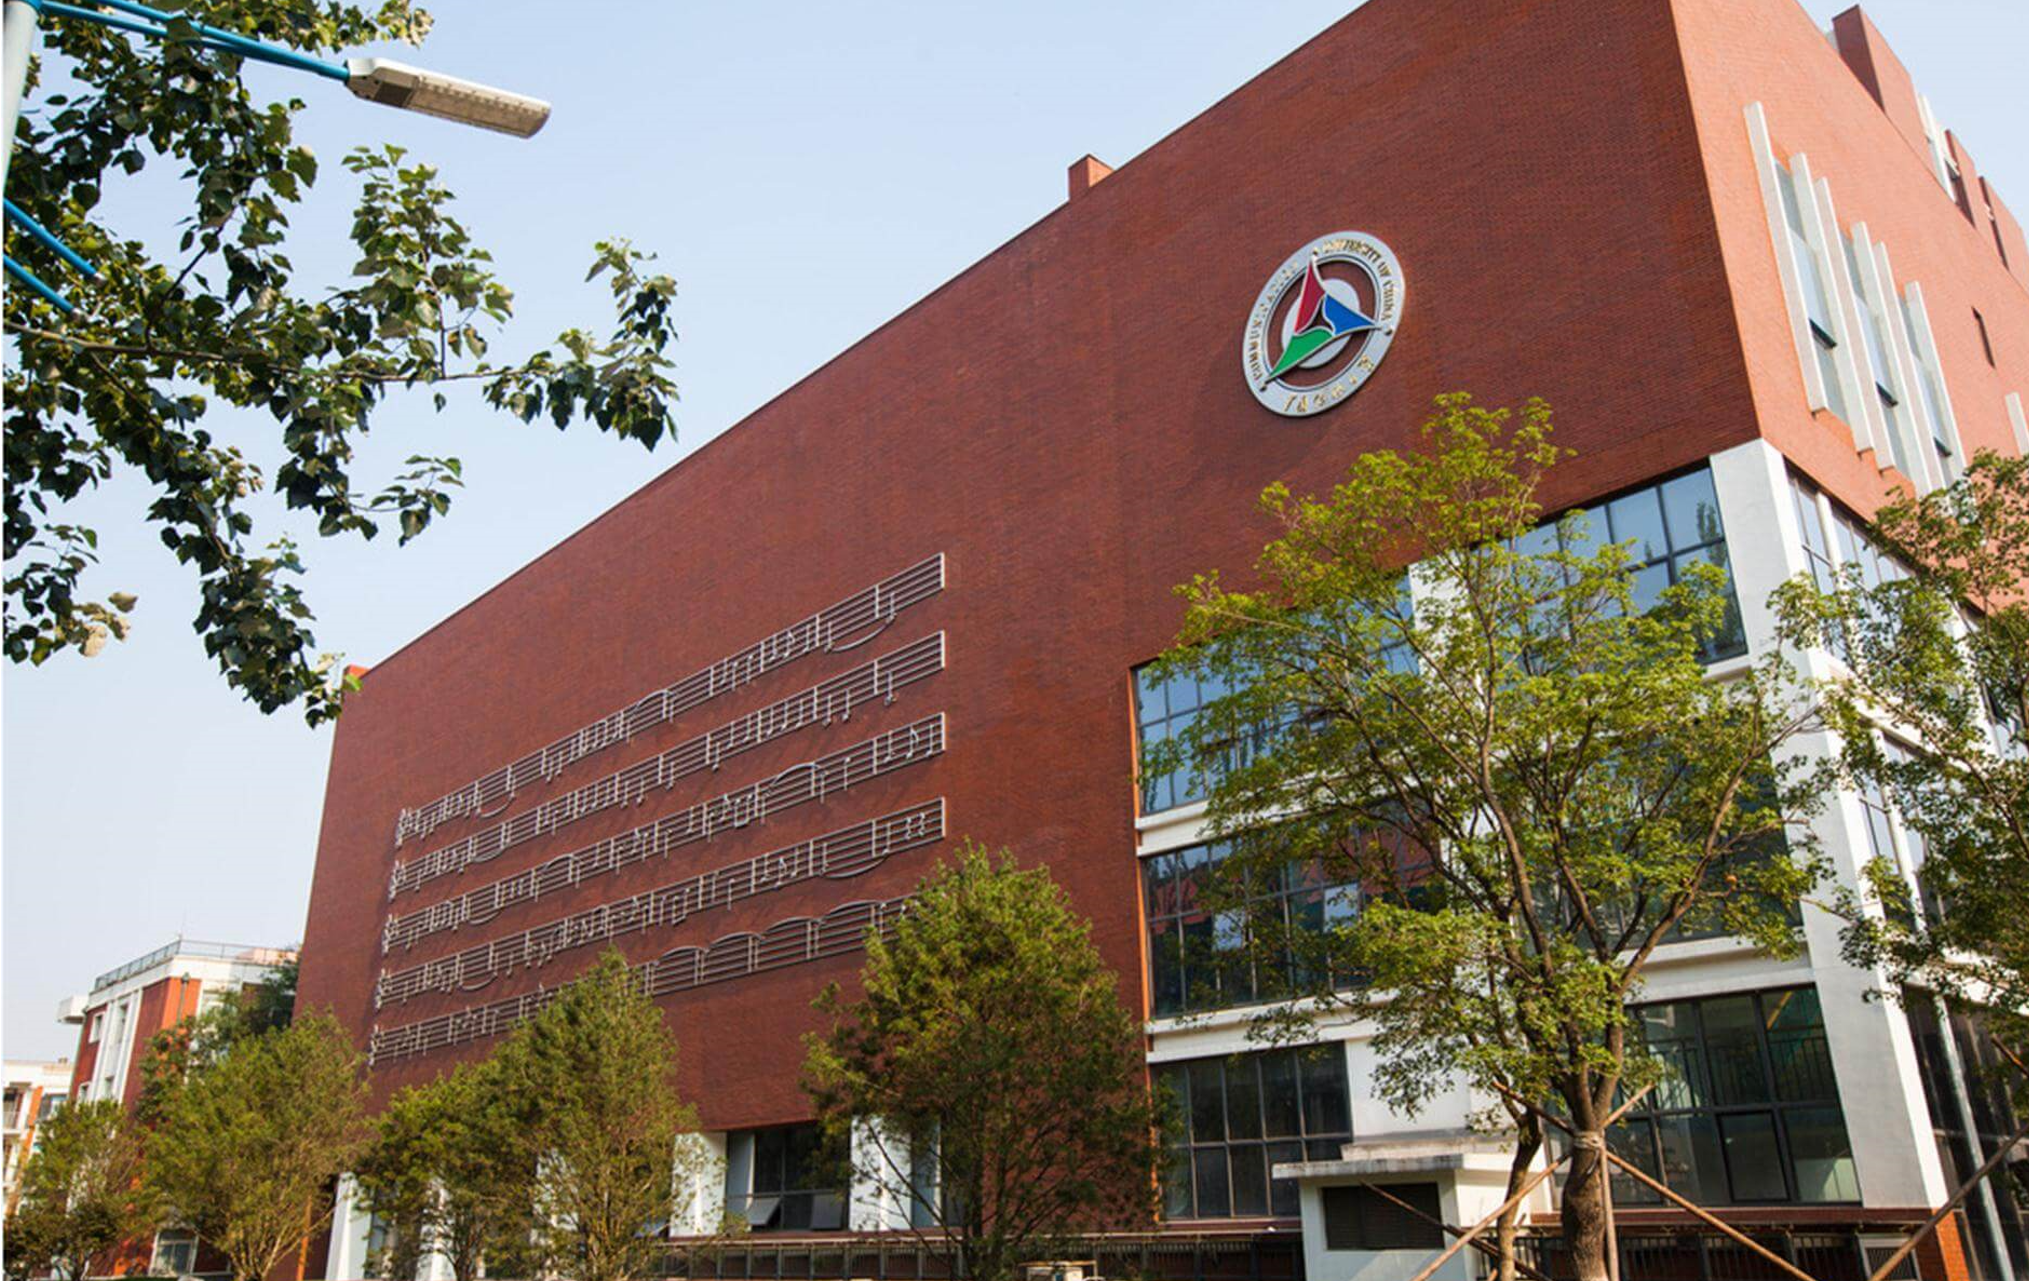
The original picture is:
Run the following code:
from PIL import Image
import matplotlib.pyplot as plt
#Introducing third-party libraries

im=Image.open('cuc.jpg')
#Read pictures

plt.imshow(im)
plt.title("Communication University of China")
#Add Title

plt.axis('off')
#Close Axis

plt.show()
#display
The results are:
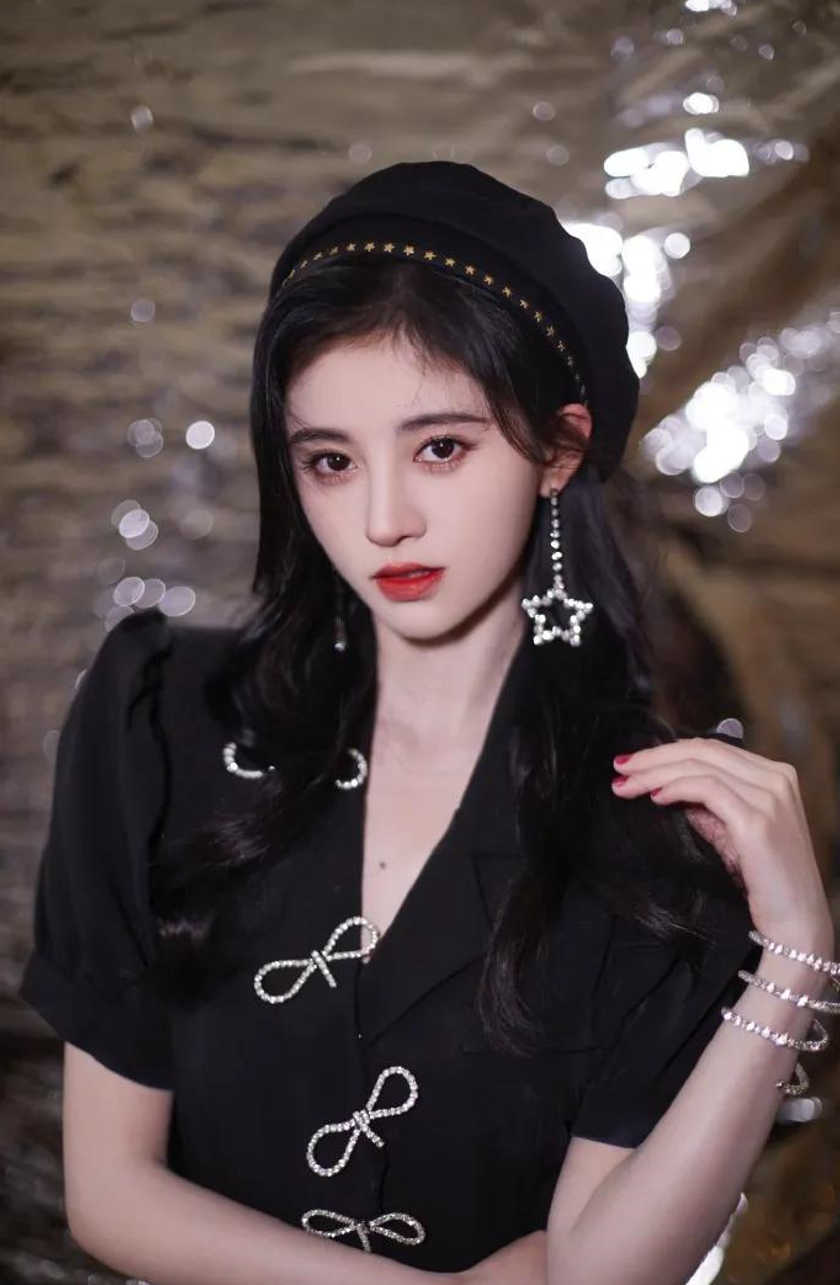
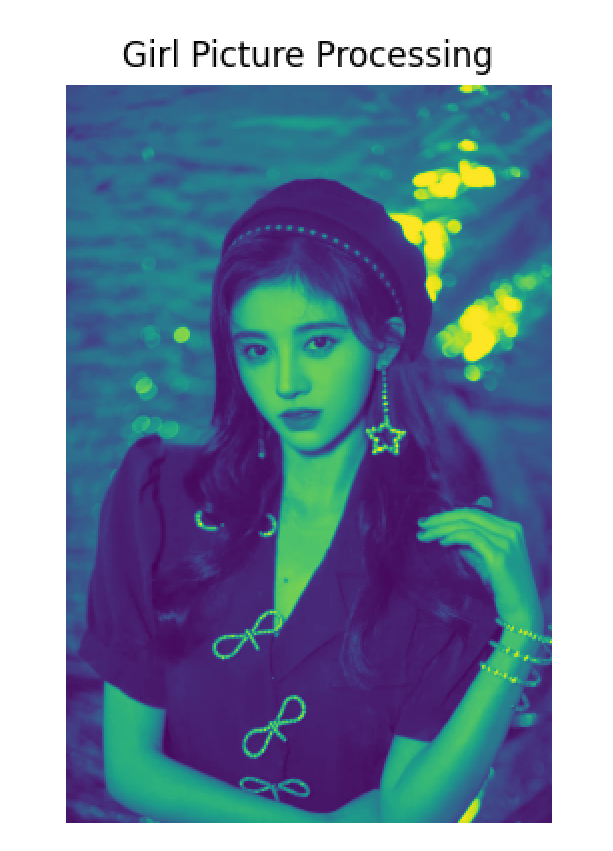
2. Convert Picture to Grayscale
The original picture is as follows:
Run the following code:
from PIL import Image
import matplotlib.pyplot as plt
import numpy as np
#Import Third Party Library

pic=Image.open("ju.jpg").convert("L")
#Read pictures and convert them to grayscale

plt.imshow(pic)
plt.title("Girl Picture Processing")
plt.axis("off")
plt.show()
#Output Picture
The results are:
3. Image Blurring
The original image is as above
Run the following code:
from PIL import Image
from scipy.ndimage import filters
import matplotlib.pyplot as plt
import numpy as np
#Import Third Party Library

pic=np.array(Image.open('ju.jpg'))
pic_fliter=filters.gaussian_filter(pic,5)
#Set Picture Blur

plt.figure()
plt.imshow(pic)
plt.axis("off")
#Export original

plt.figure()
plt.imshow(pic_fliter)
plt.axis("off")
plt.show()
#Export processed pictures
The results are:

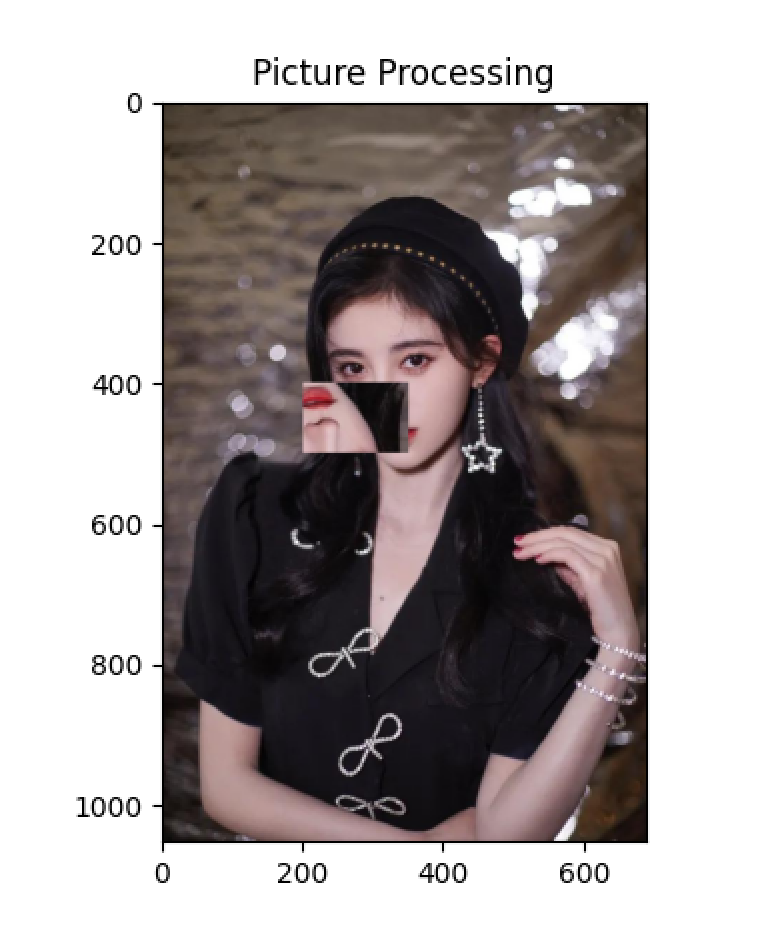
4. Select image to rotate and paste locally
The original image is as above
Run the following code:
from PIL import Image
import matplotlib.pyplot as plt
import numpy as np
#Import Third Party Library

pic=Image.open("ju.jpg")
#Read pictures

box=(200,400,350,500)
#Intercept the content to be enlarged (x-coordinate, p-coordinate, x-coordinate, p-coordinate)
region=pic.crop(box)
region=region.transpose(Image.ROTATE_180)
#Rotate intercept content
pic.paste(region,box)
#Paste intercepted content

plt.imshow(pic)
plt.title("Picture Processing")
#plt.axis("off")
plt.show()
#Output Picture
The results are:
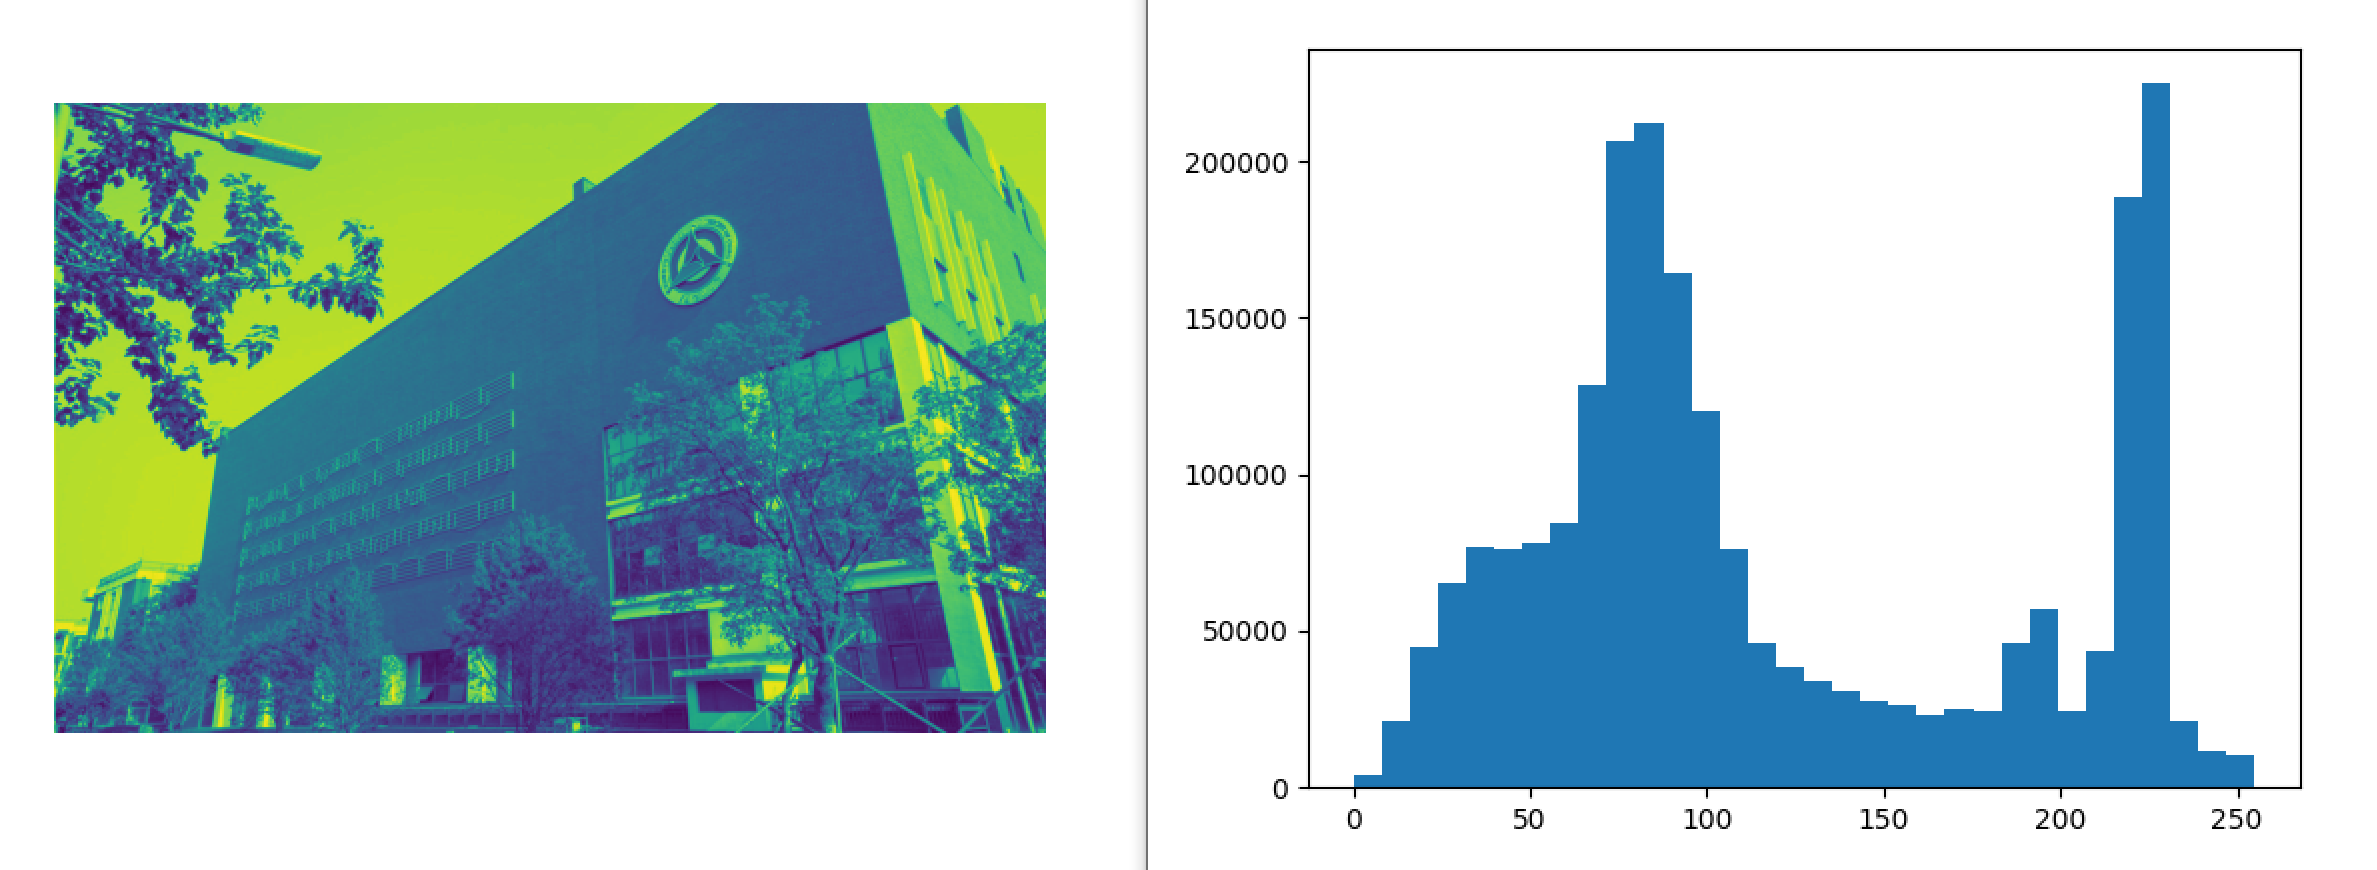
5. View Histogram
The code to run is as follows:
from PIL import Image
from pylab import *
import matplotlib.pyplot as plt
#Introducing third-party libraries

img=array(Image.open('cuc.jpg').convert('L'))
#Load pictures and gray scale them

hist(img.flatten(),32)
#Analyzing Picture Histogram

plt.figure("Image")
plt.imshow(img)
plt.axis('off')
plt.show()
#Output Picture
The results are as follows:
(2) Self-study function
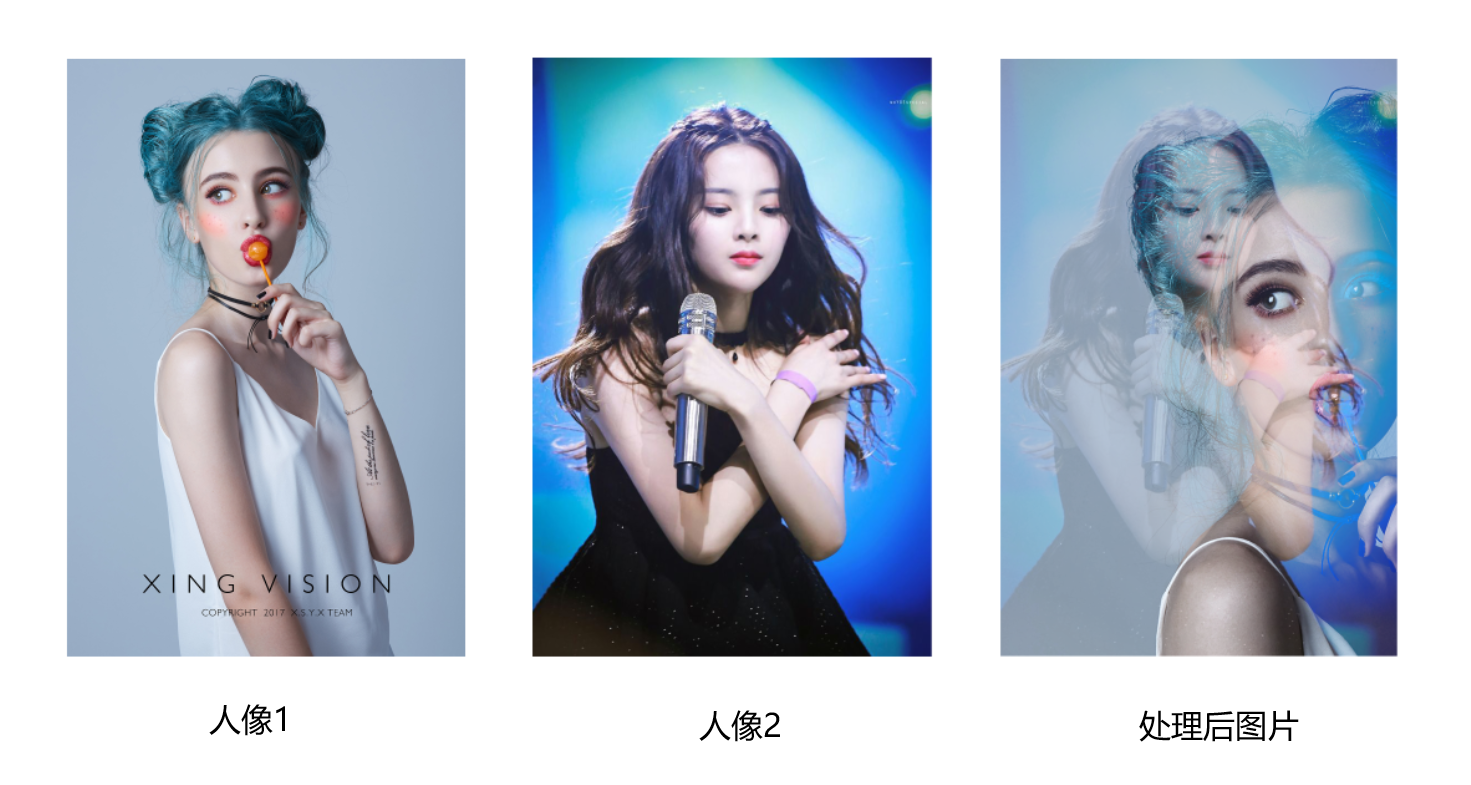
1. Image Fusion
Use the composite function in PIL to fuse two given images with mask image as transparency. The pattern of variable mask image can be "1", "L" or "RGBA".
Note: The two pictures should be the same size.
The code is as follows:
from PIL import Image
#Introducing third-party libraries

im1 = Image.open("renxiang1.jpg")
im2 = Image.open("renxiang2.jpg")
#Load pending pictures

r,g,b = im1.split()
#Separate r, g, b

print(b.mode)
print(im1.mode,im1.size)
print(im2.mode,im2.size)
#Output relevant information to verify picture size is consistent

im = Image.composite(im1,im2,b)
im.show()
#display picture
The results are:

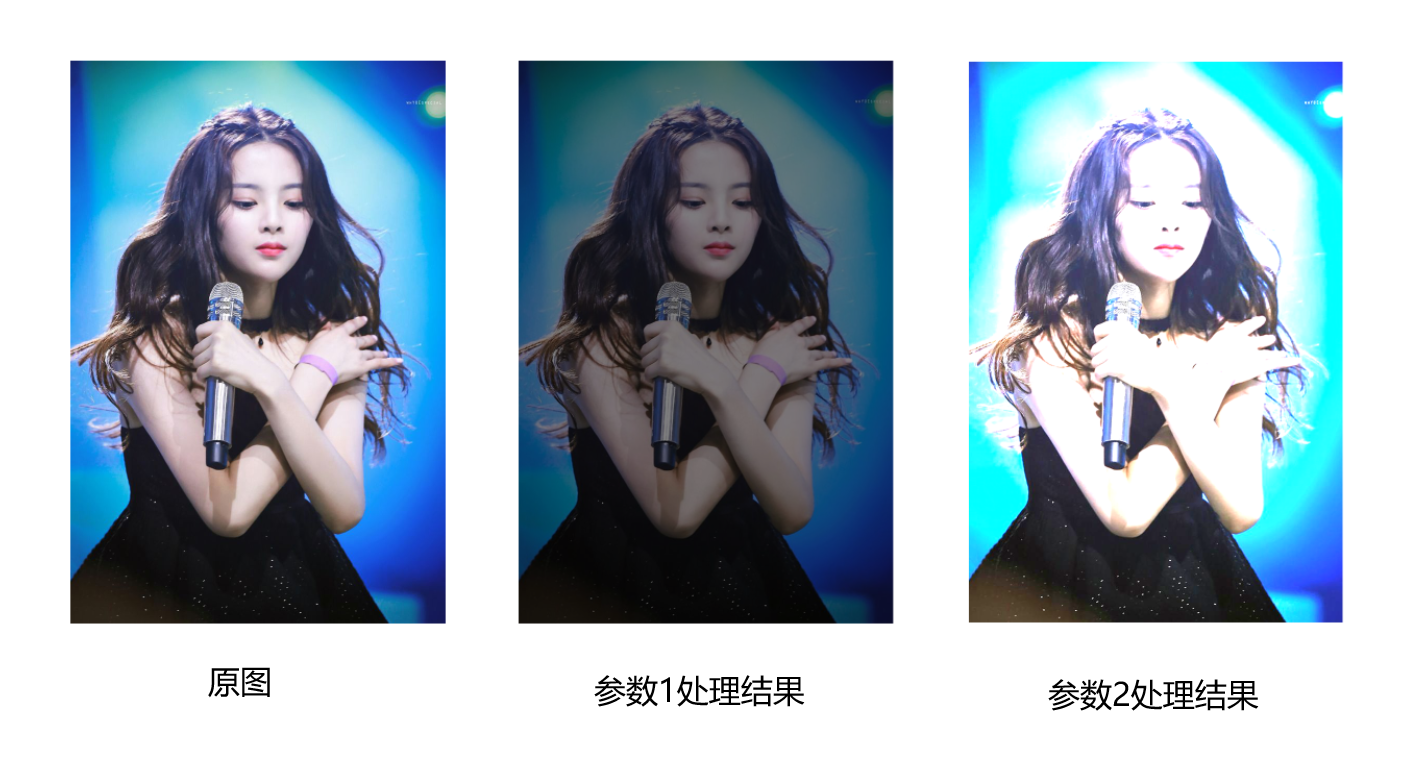
2. Adjust picture brightness
Use the eval function in PIL to adjust the brightness of the picture. The specific function is Image.eval(image,function), where the function corresponding to the variable function processes each pixel point in the image represented by the variable image. If the variable image represents an image with multiple channels, the function corresponding to the variable function acts on each channel.
Note: The variable function only processes each pixel once, so random components and other generators cannot be used.
The code is as follows:
from PIL import Image
#Import Third Party Library

im = Image.open("renxiang2.jpg")
#Load Images

def fun01(x):
    return x*0.5
def fun02(y):
    return y*2.0
#Define function parameters

im1_eval = Image.eval(im, fun01)
im2_eval = Image.eval(im, fun02)
#Processing images

im1_eval.show()
im2_eval.show()
#Output processing results with two parameters
The results are:
3. Expansion - Combining Image Processing with Face Recognition
face-recognition is used to analyze face data, then fromarray function in PIL is used to transform image data from array to image and draw face features.
The code is as follows:
from PIL import Image, ImageDraw
import face_recognition
#Introducing third-party libraries

image = face_recognition.load_image_file("ju1.jpg")
#Loading a jpg file into a numpy array

face_landmarks_list = face_recognition.face_landmarks(image)
#Find all facial features of all faces in the image

for face_landmarks in face_landmarks_list:
    #Building a list of feature locations
    facial_features = [
        'chin',
        'left_eyebrow',
        'right_eyebrow',
        'nose_bridge',
        'nose_tip',
        'left_eye',
        'right_eye',
        'top_lip',
        'bottom_lip']

    pil_image = Image.fromarray(image)
    #Implement array to image conversion
    d = ImageDraw.Draw(pil_image)
    #Set Brush

    for facial_feature in facial_features:
        d.line(face_landmarks[facial_feature], width=5)
        #Traverse through the feature points and draw on the picture

    pil_image.show()
    #display picture
The results are:
